


The Negatives at the Bottom of the Cupboard
Photography can preserve memory and connect generations. How I gave a worn packet of 80-year-old negatives found in a cupboard a new life
Giving 80-year-old photographs another life
The small packet of negatives had spent decades sitting at the bottom of a cupboard. They were not carefully catalogued or stored in archival sleeves. They were simply kept in a single worn Kodak envelope.
They survived for one simple reason: they were kept in a dark, somewhat consistent environment.
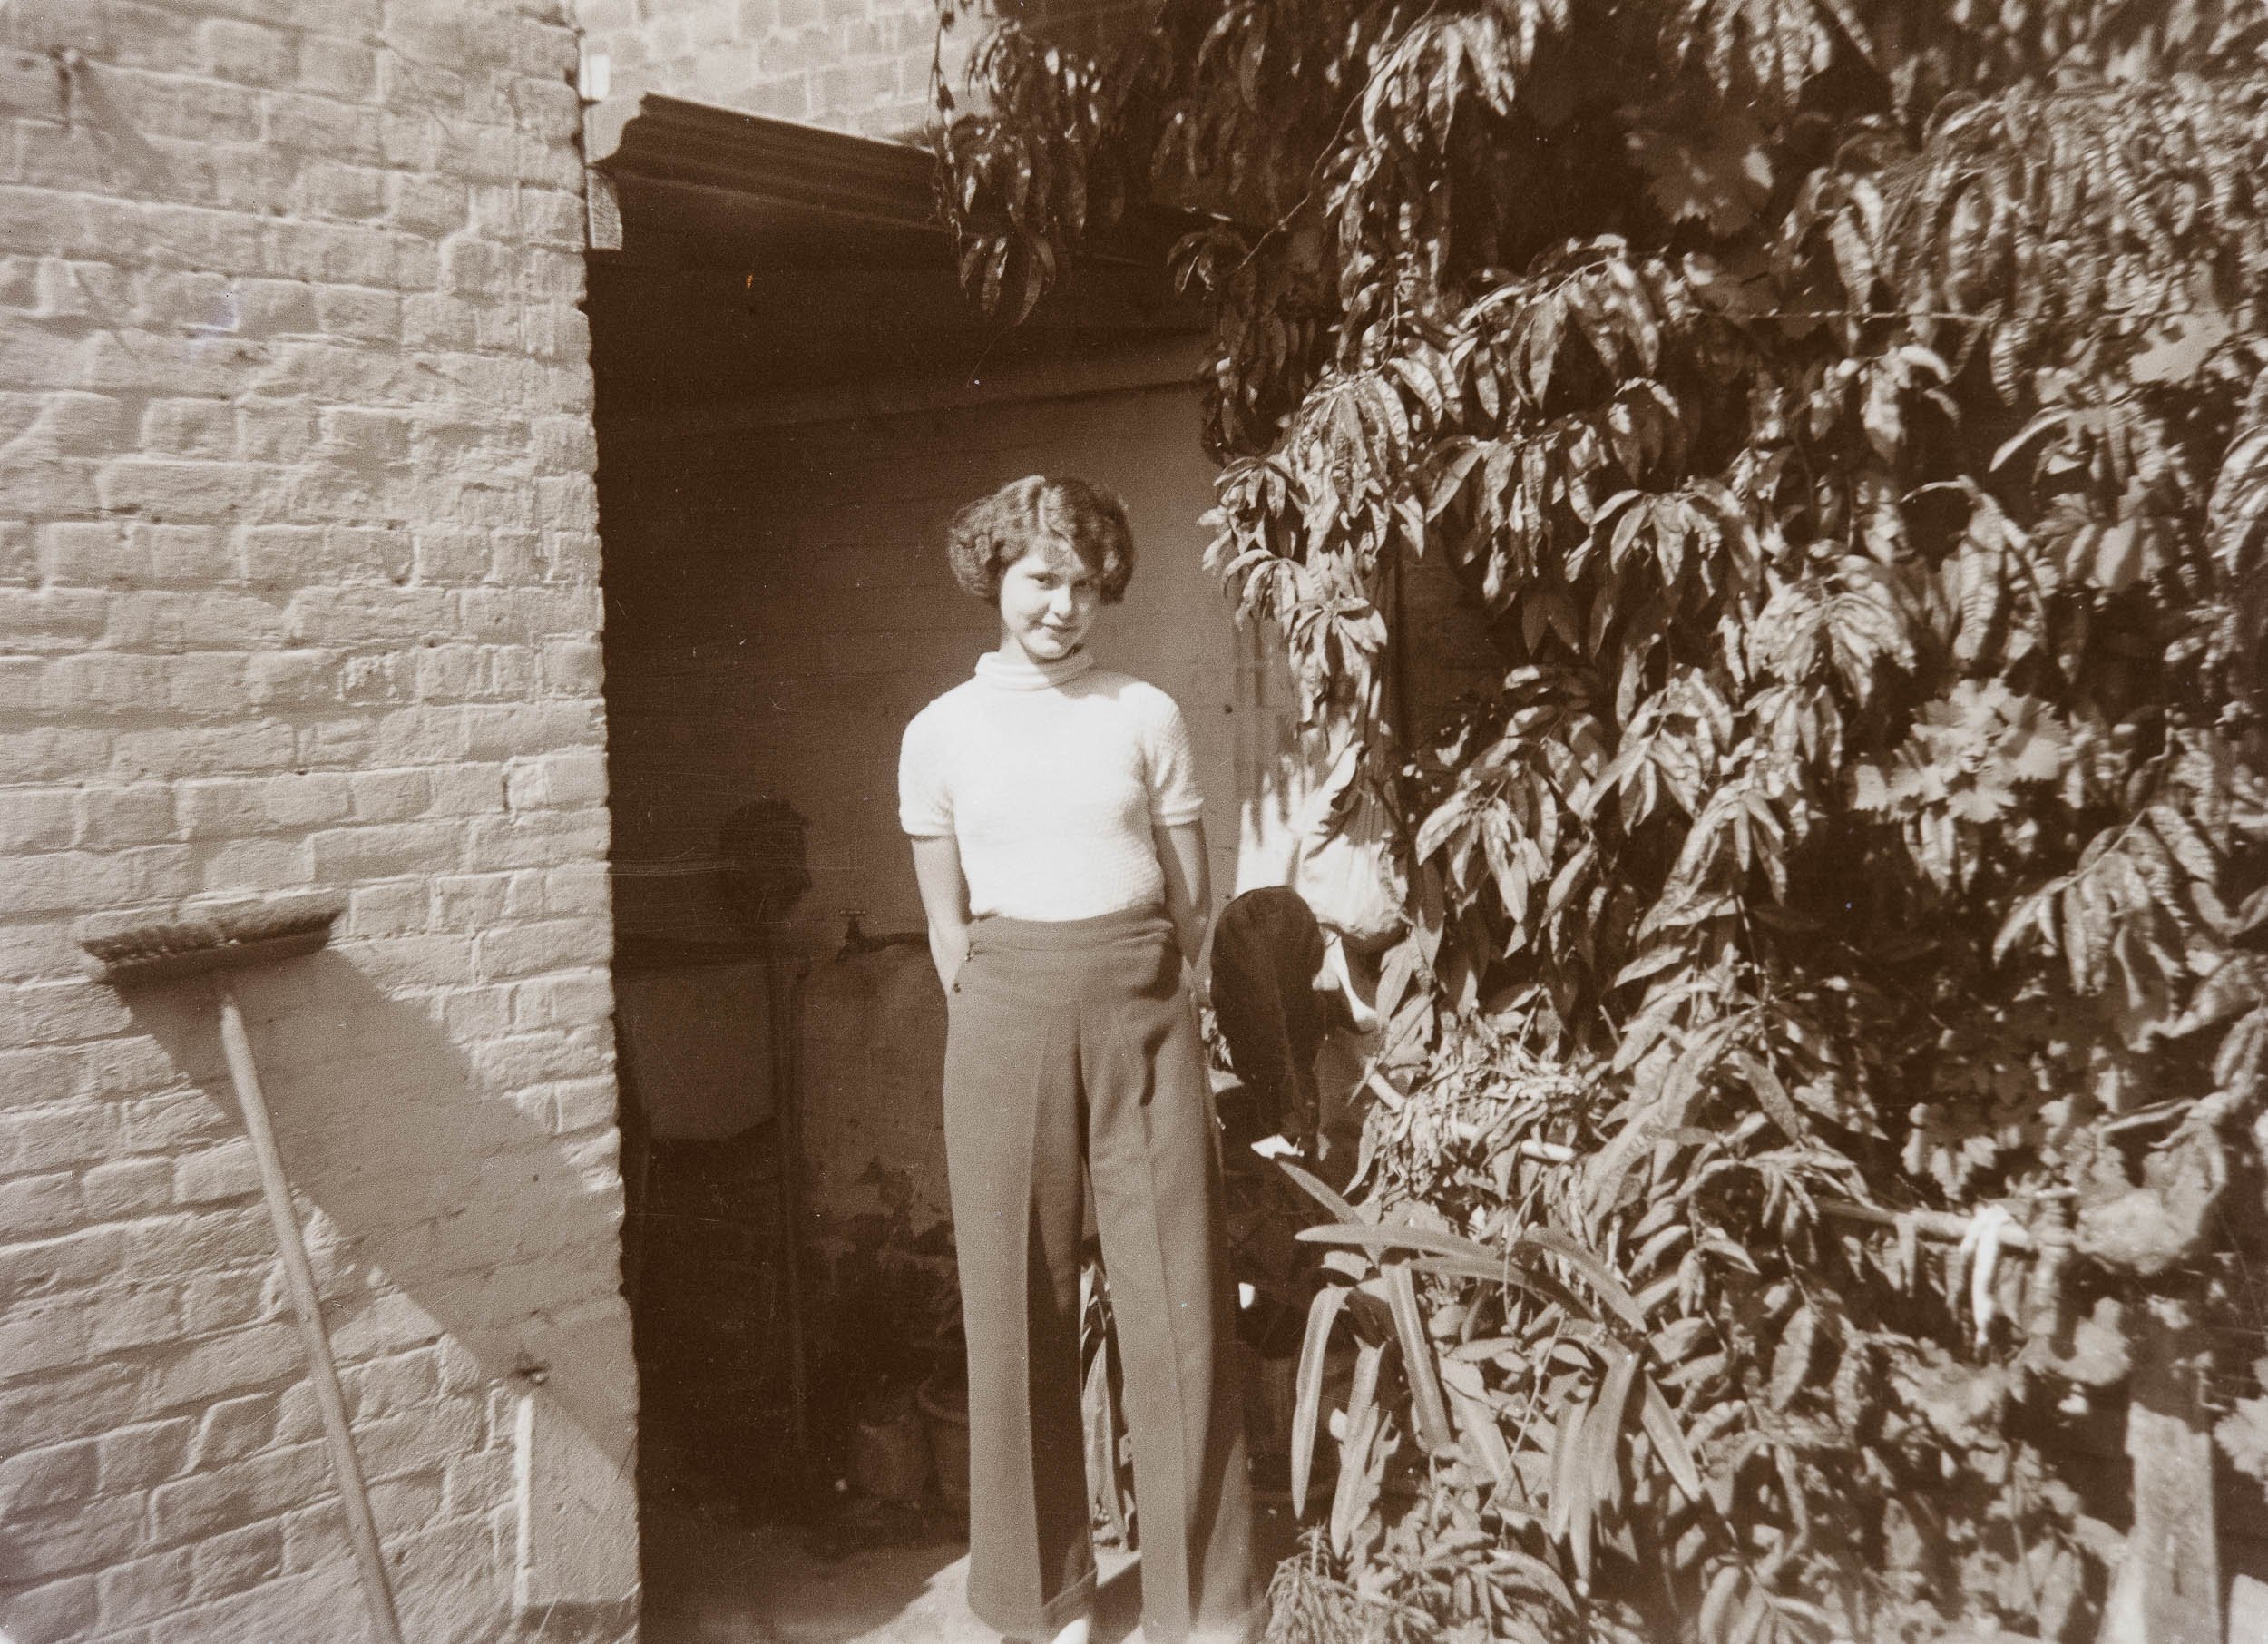
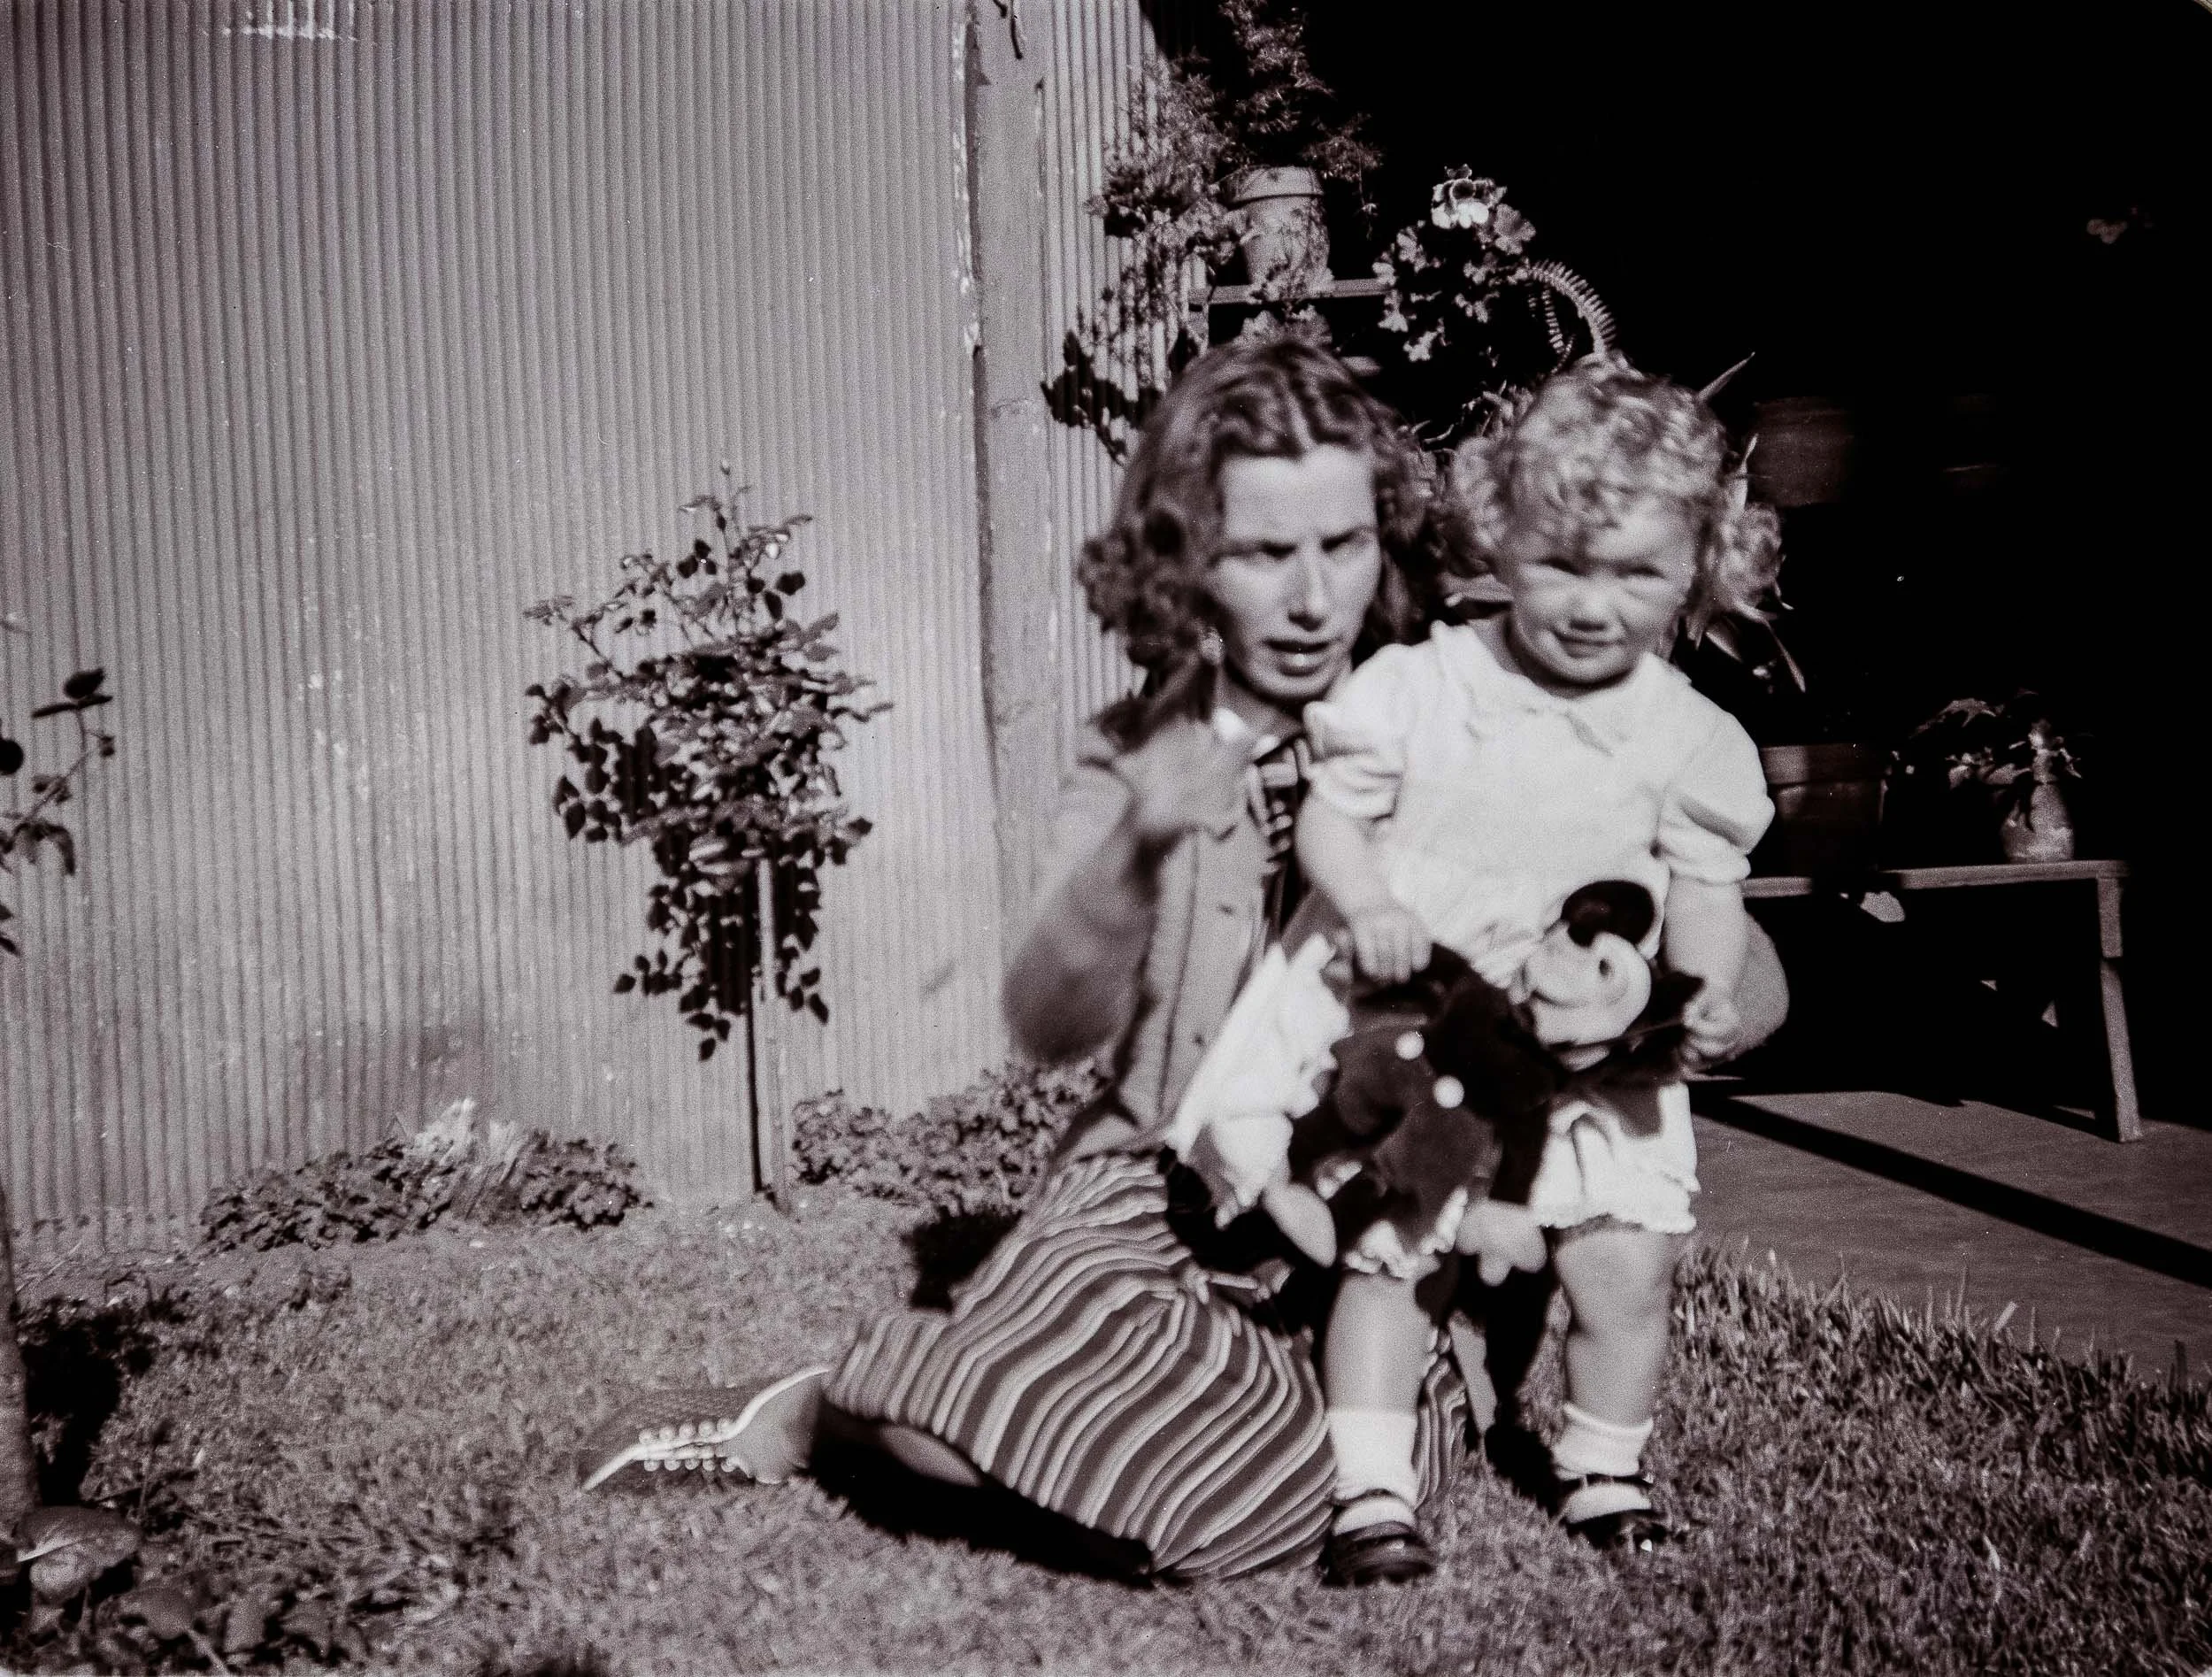
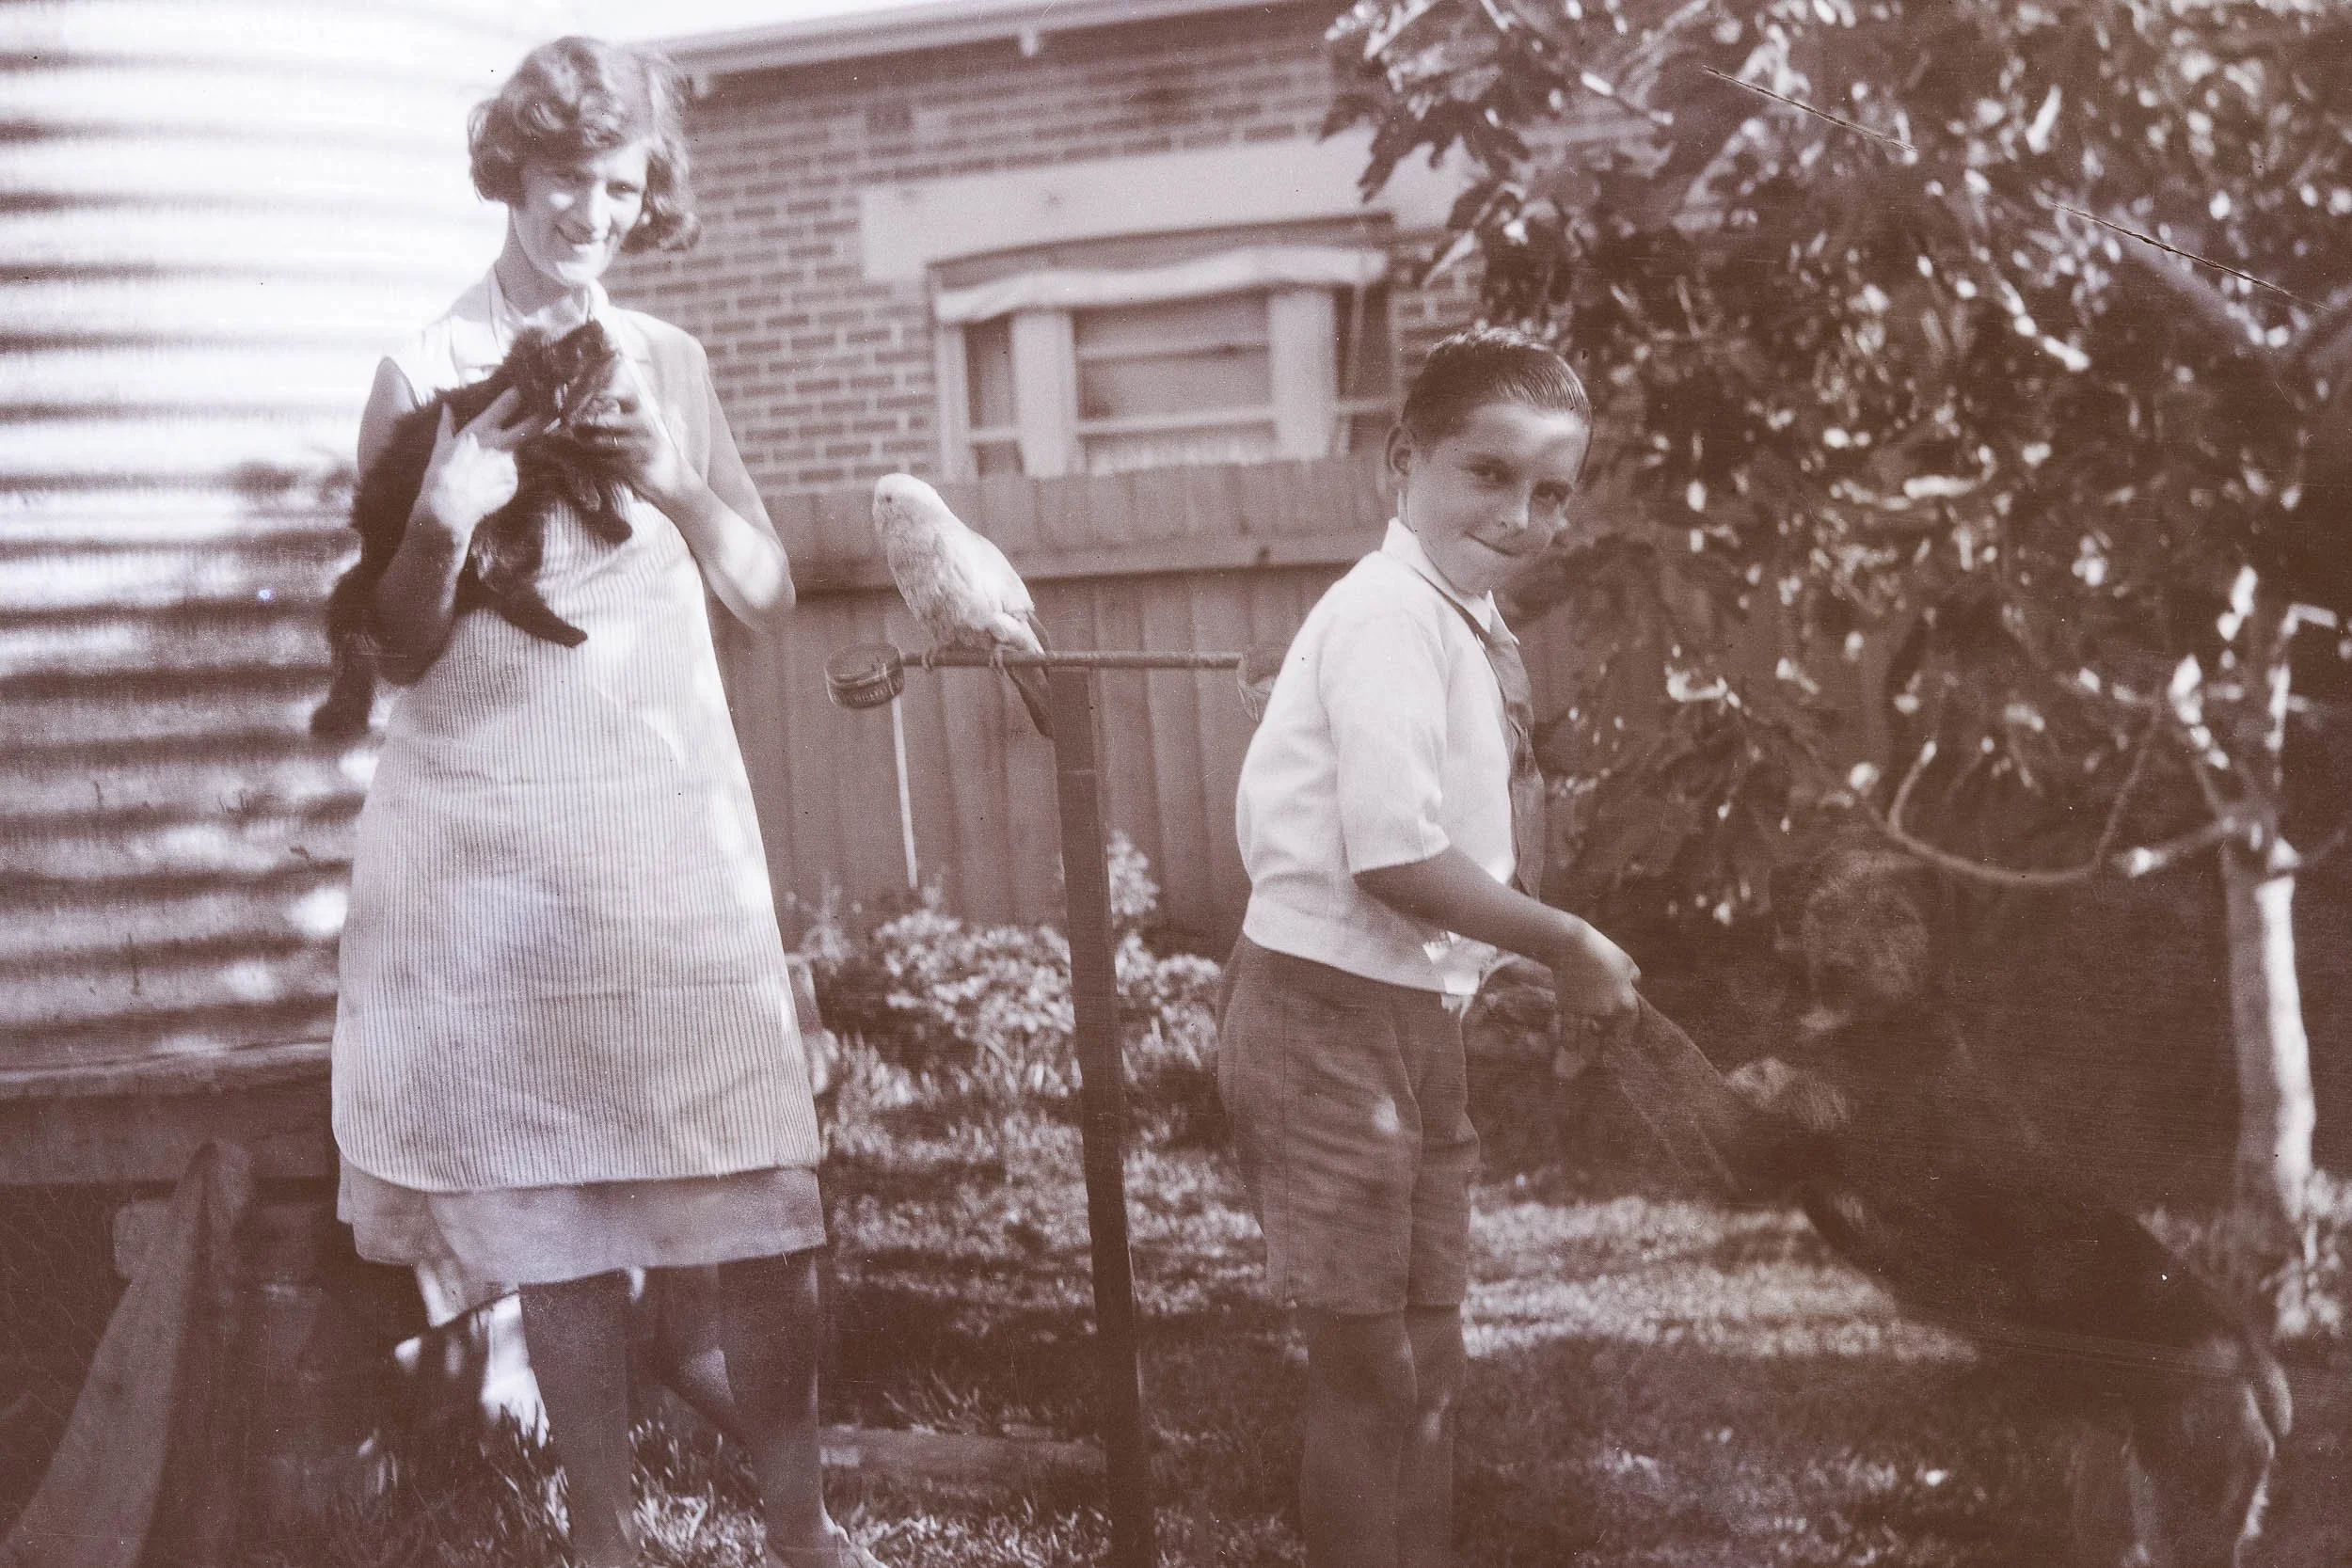
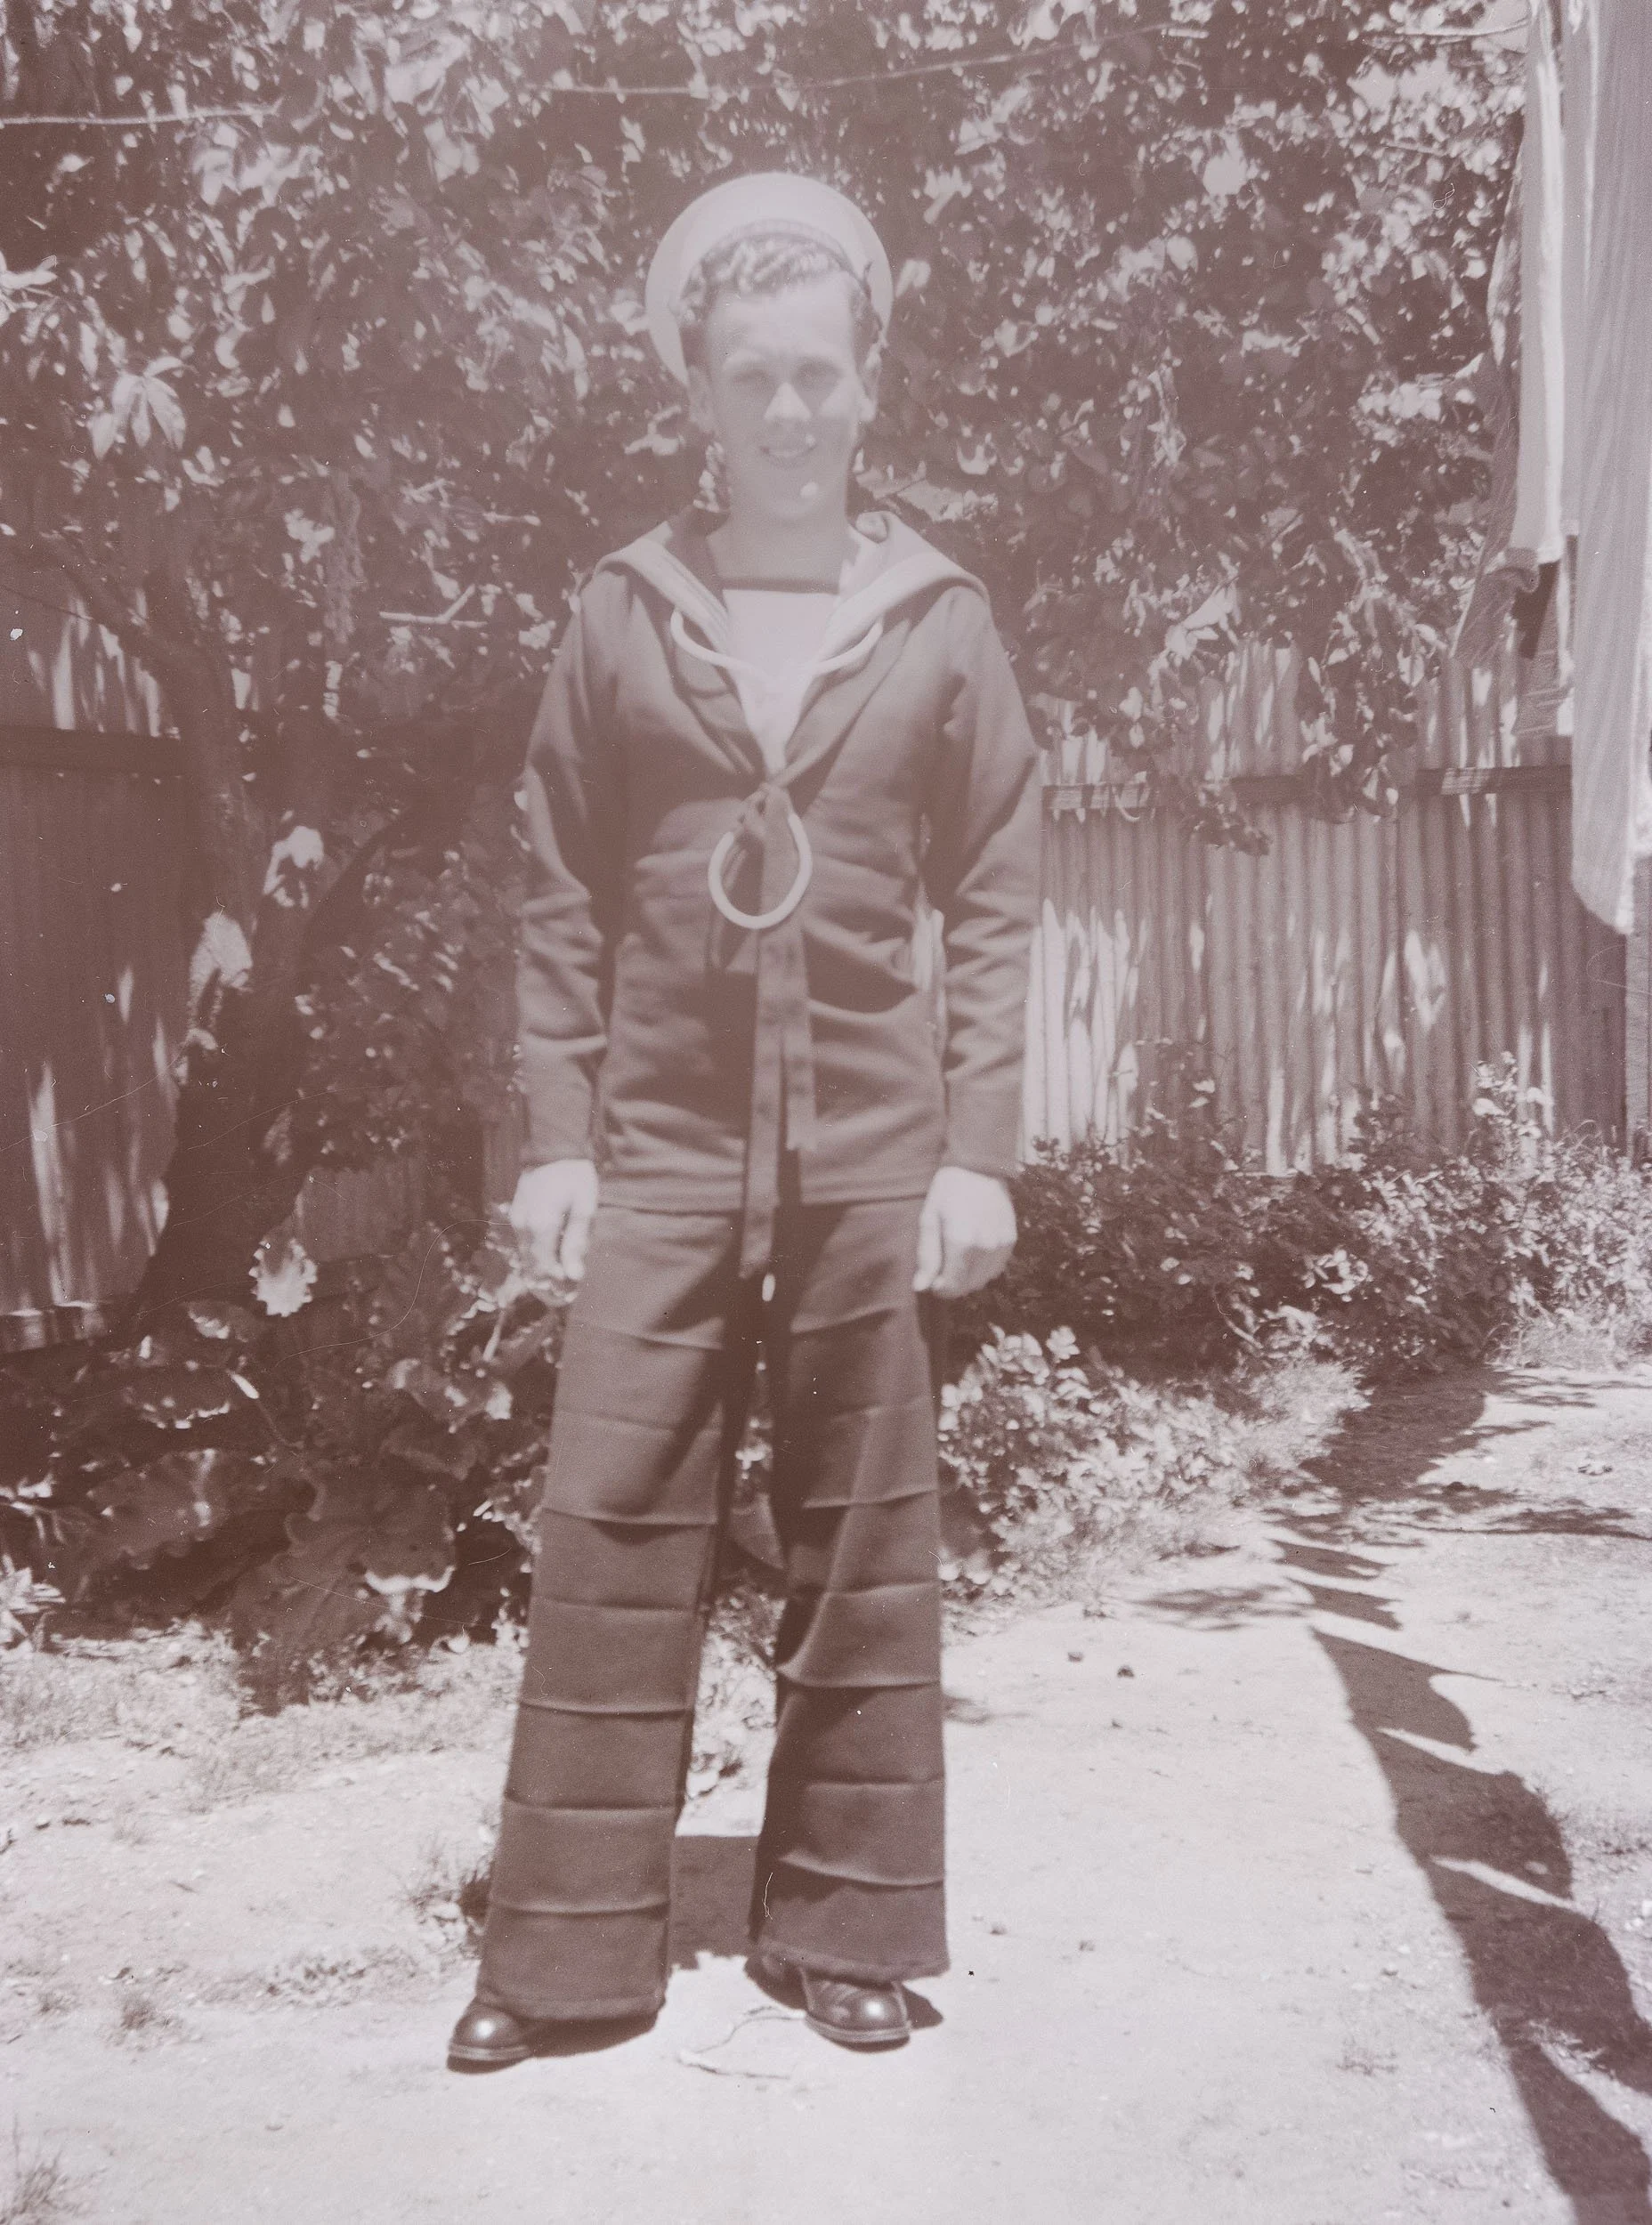
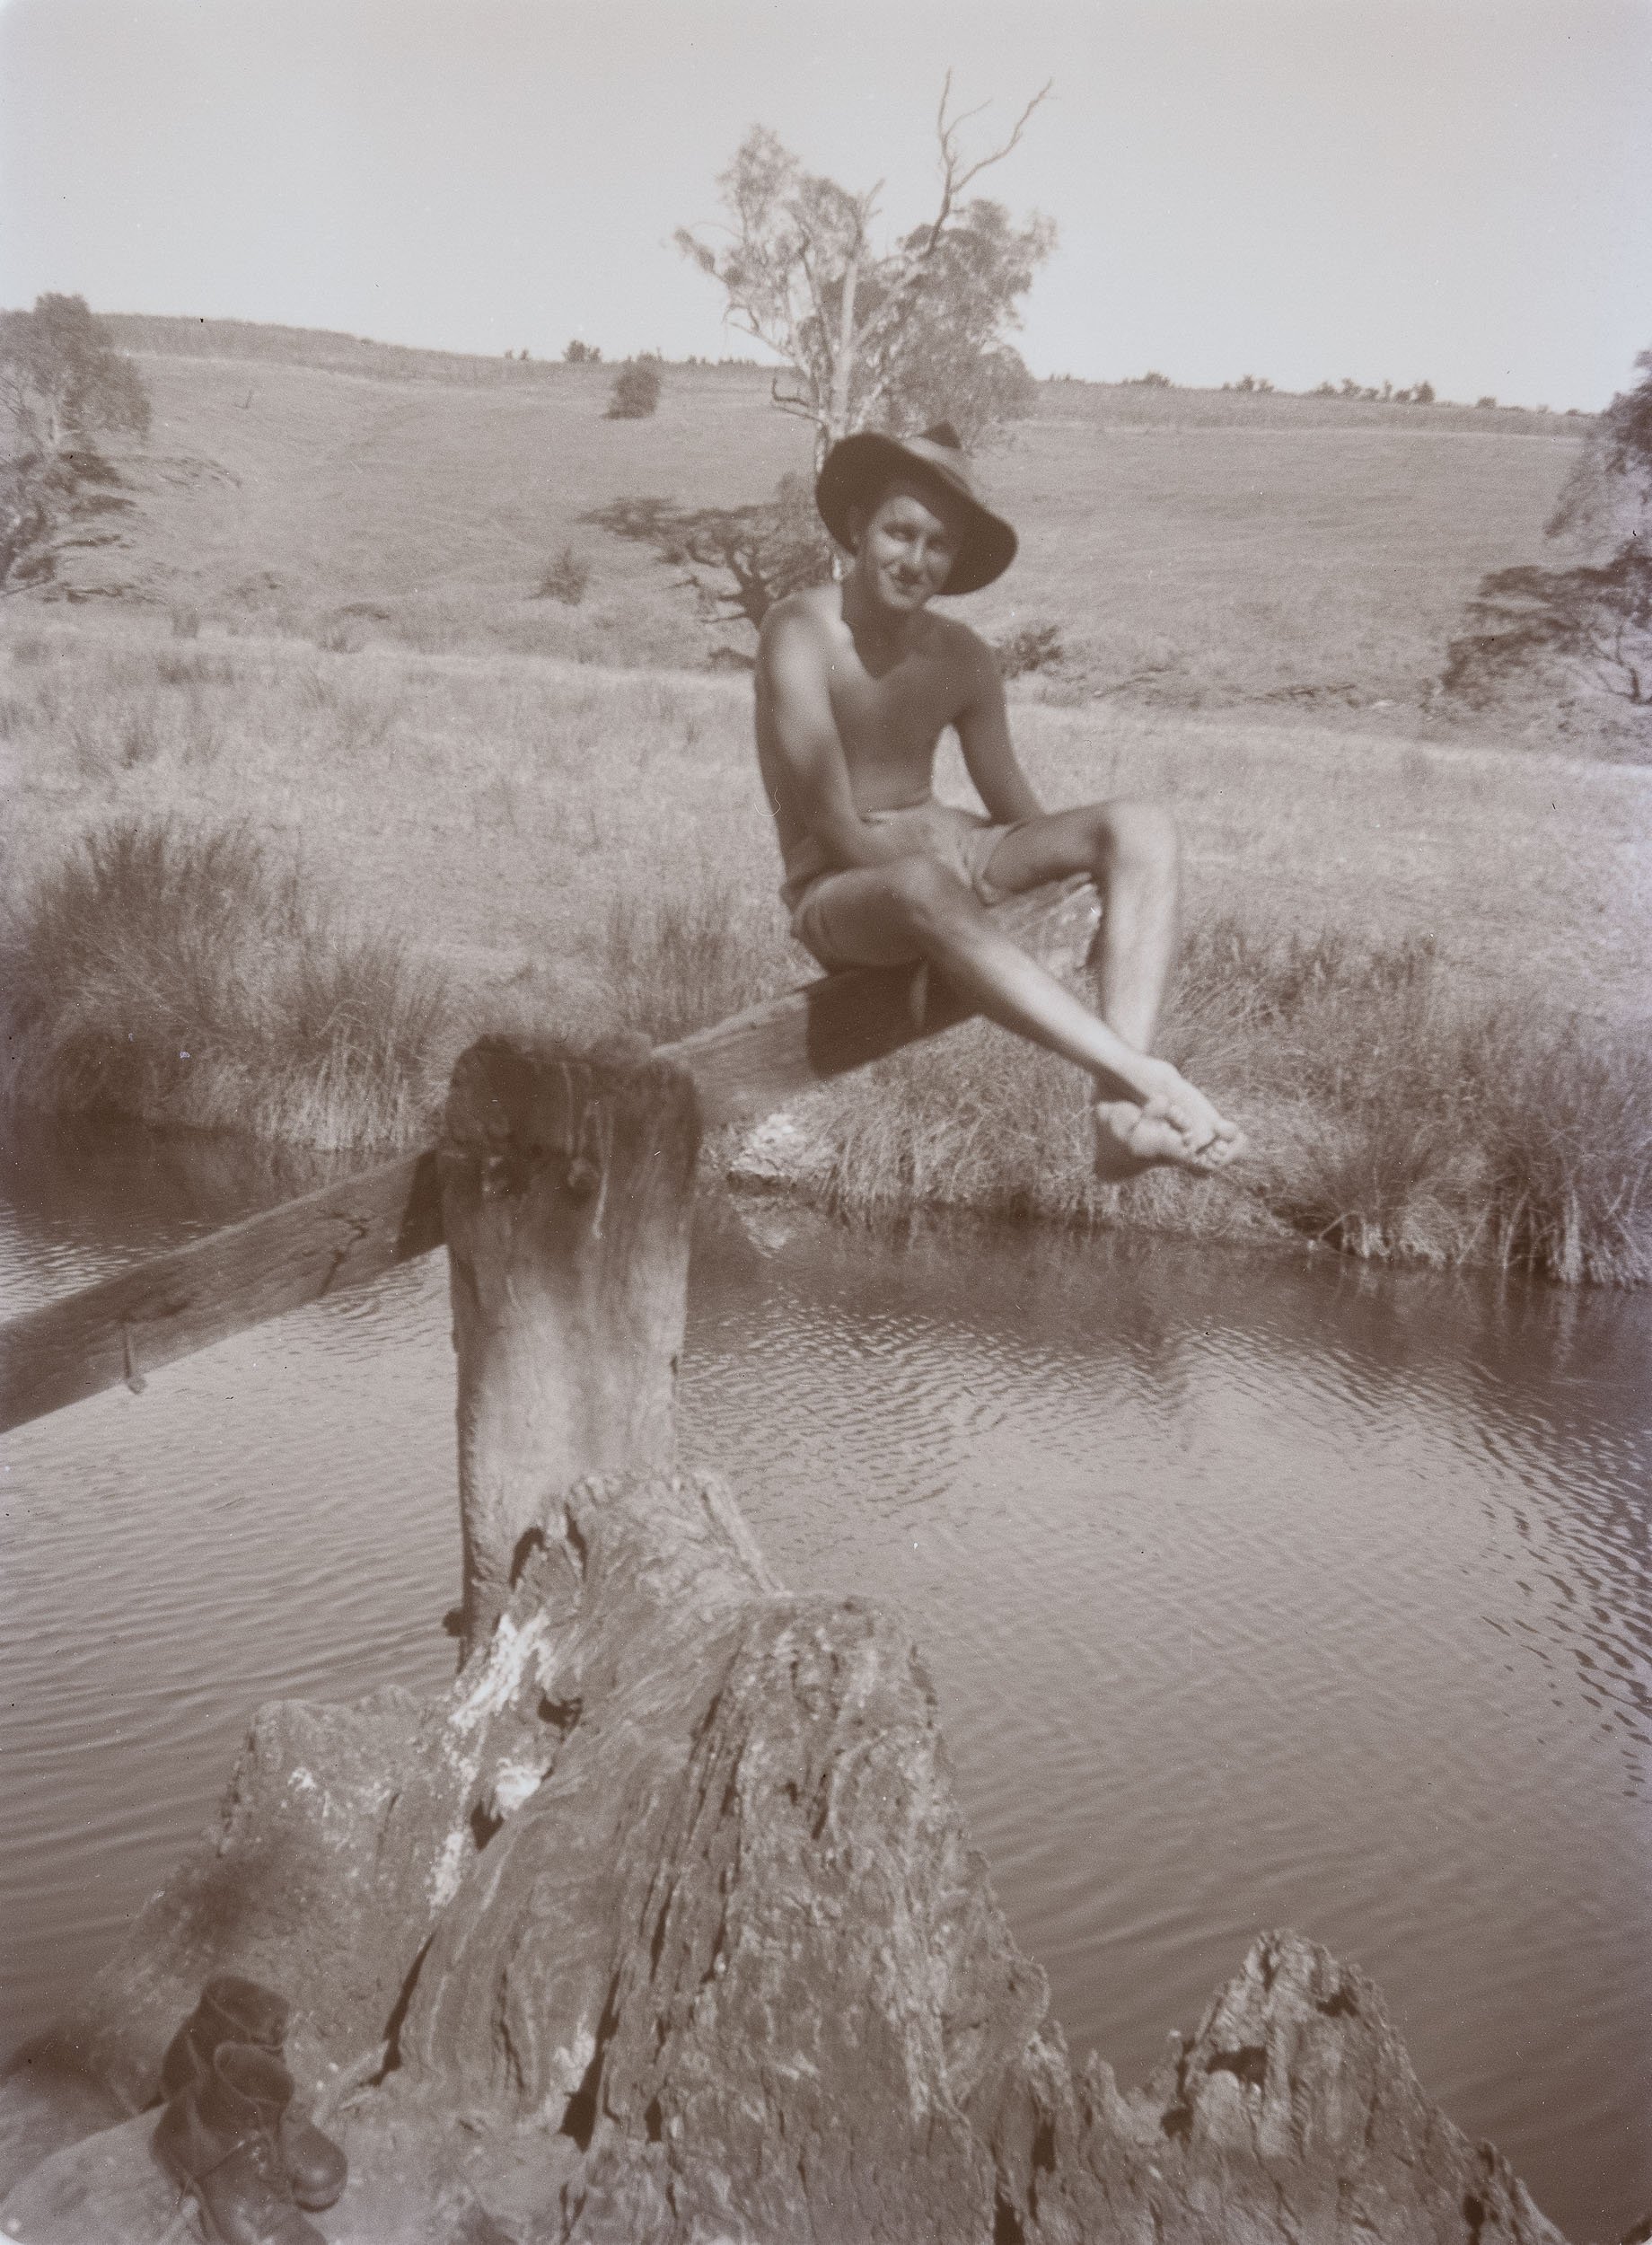
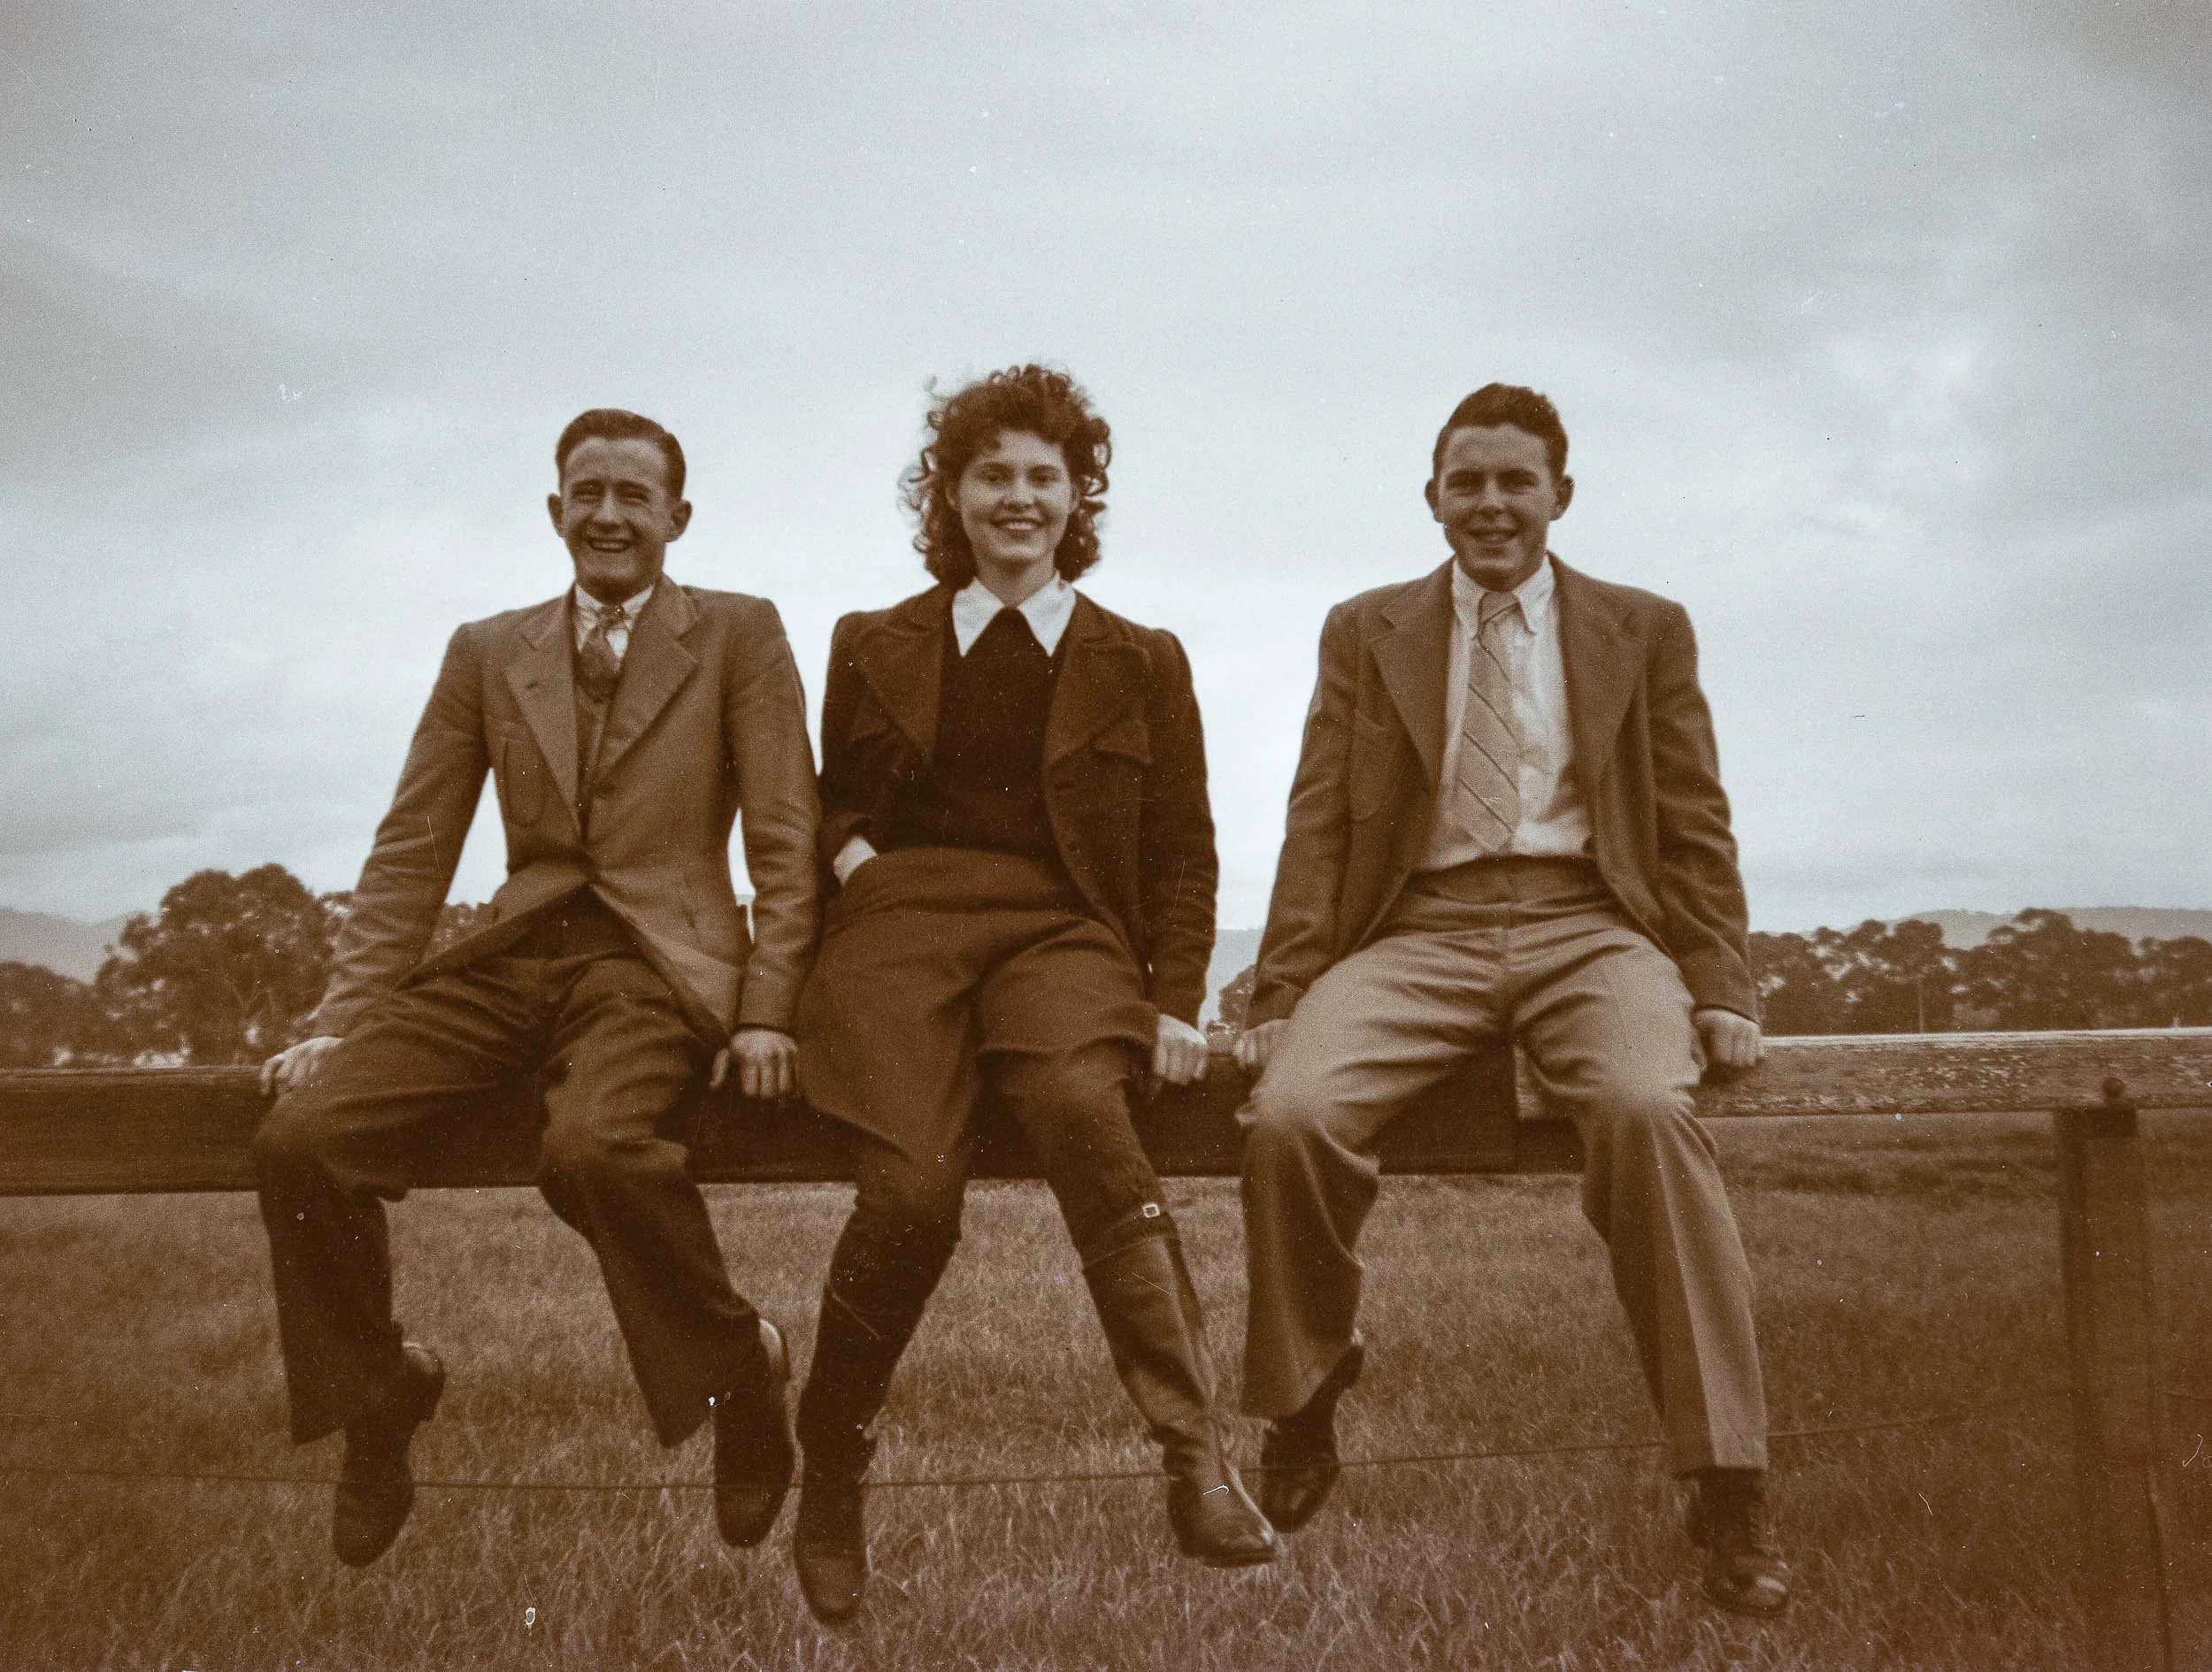
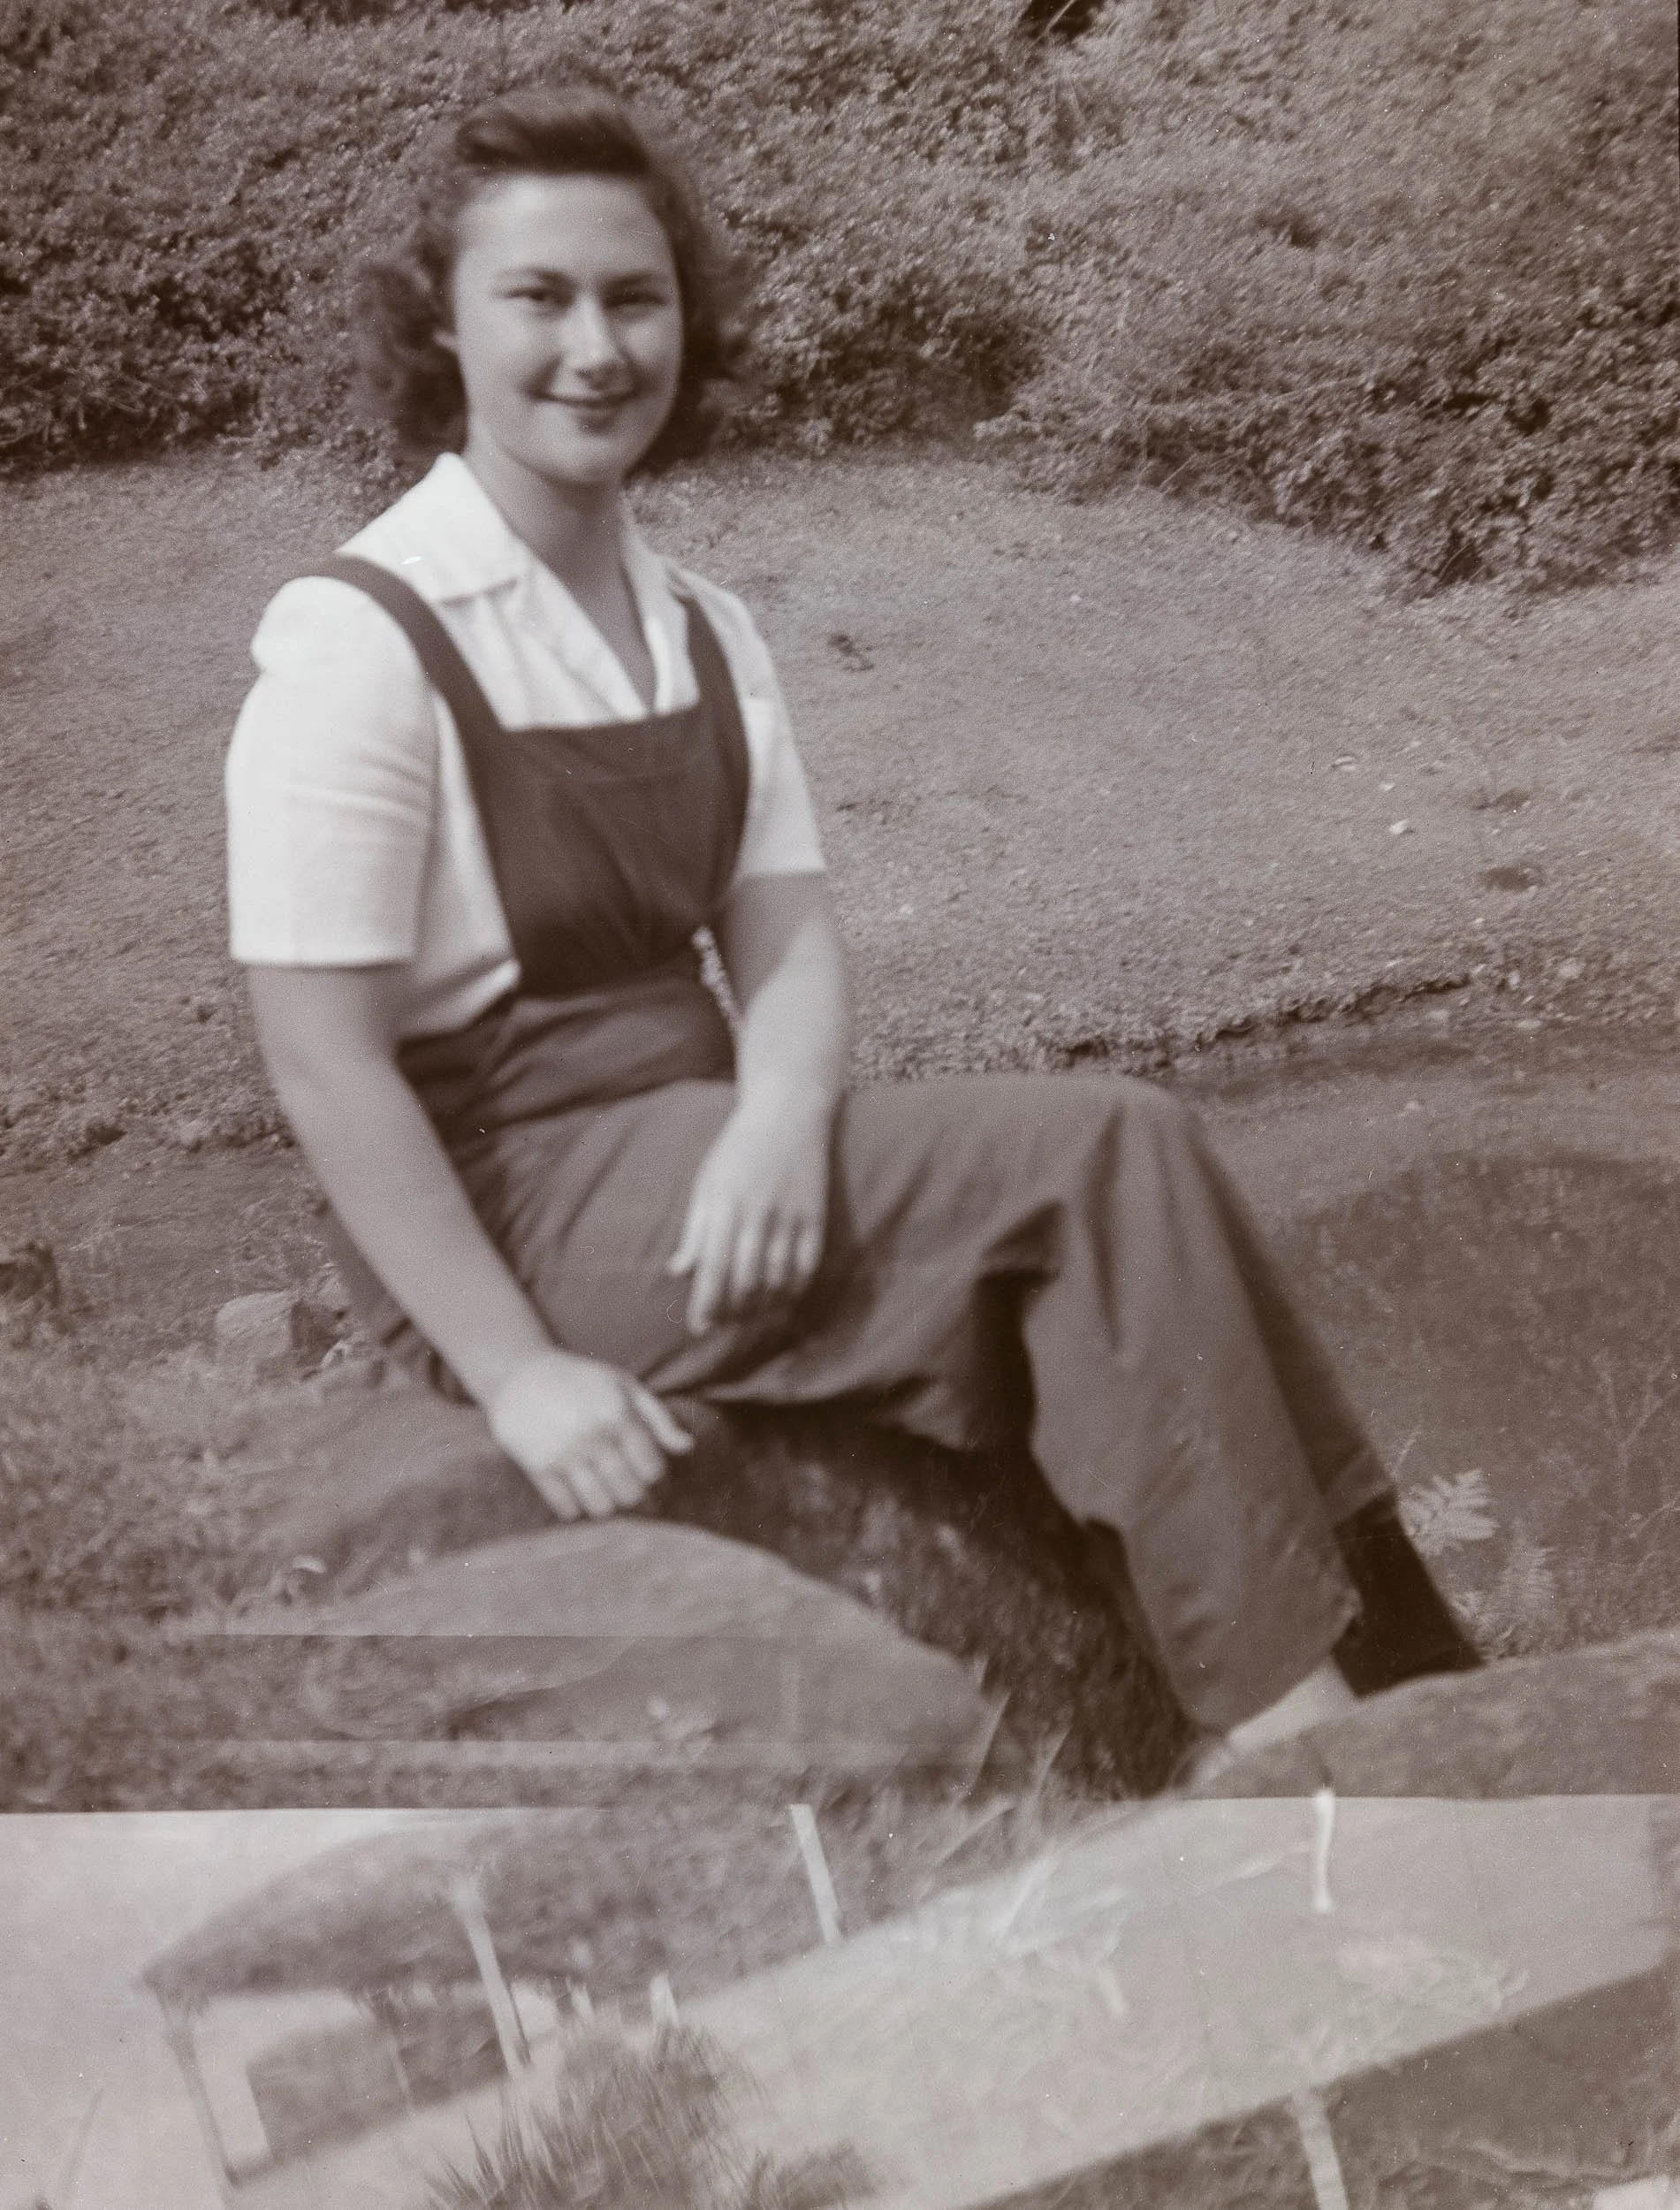
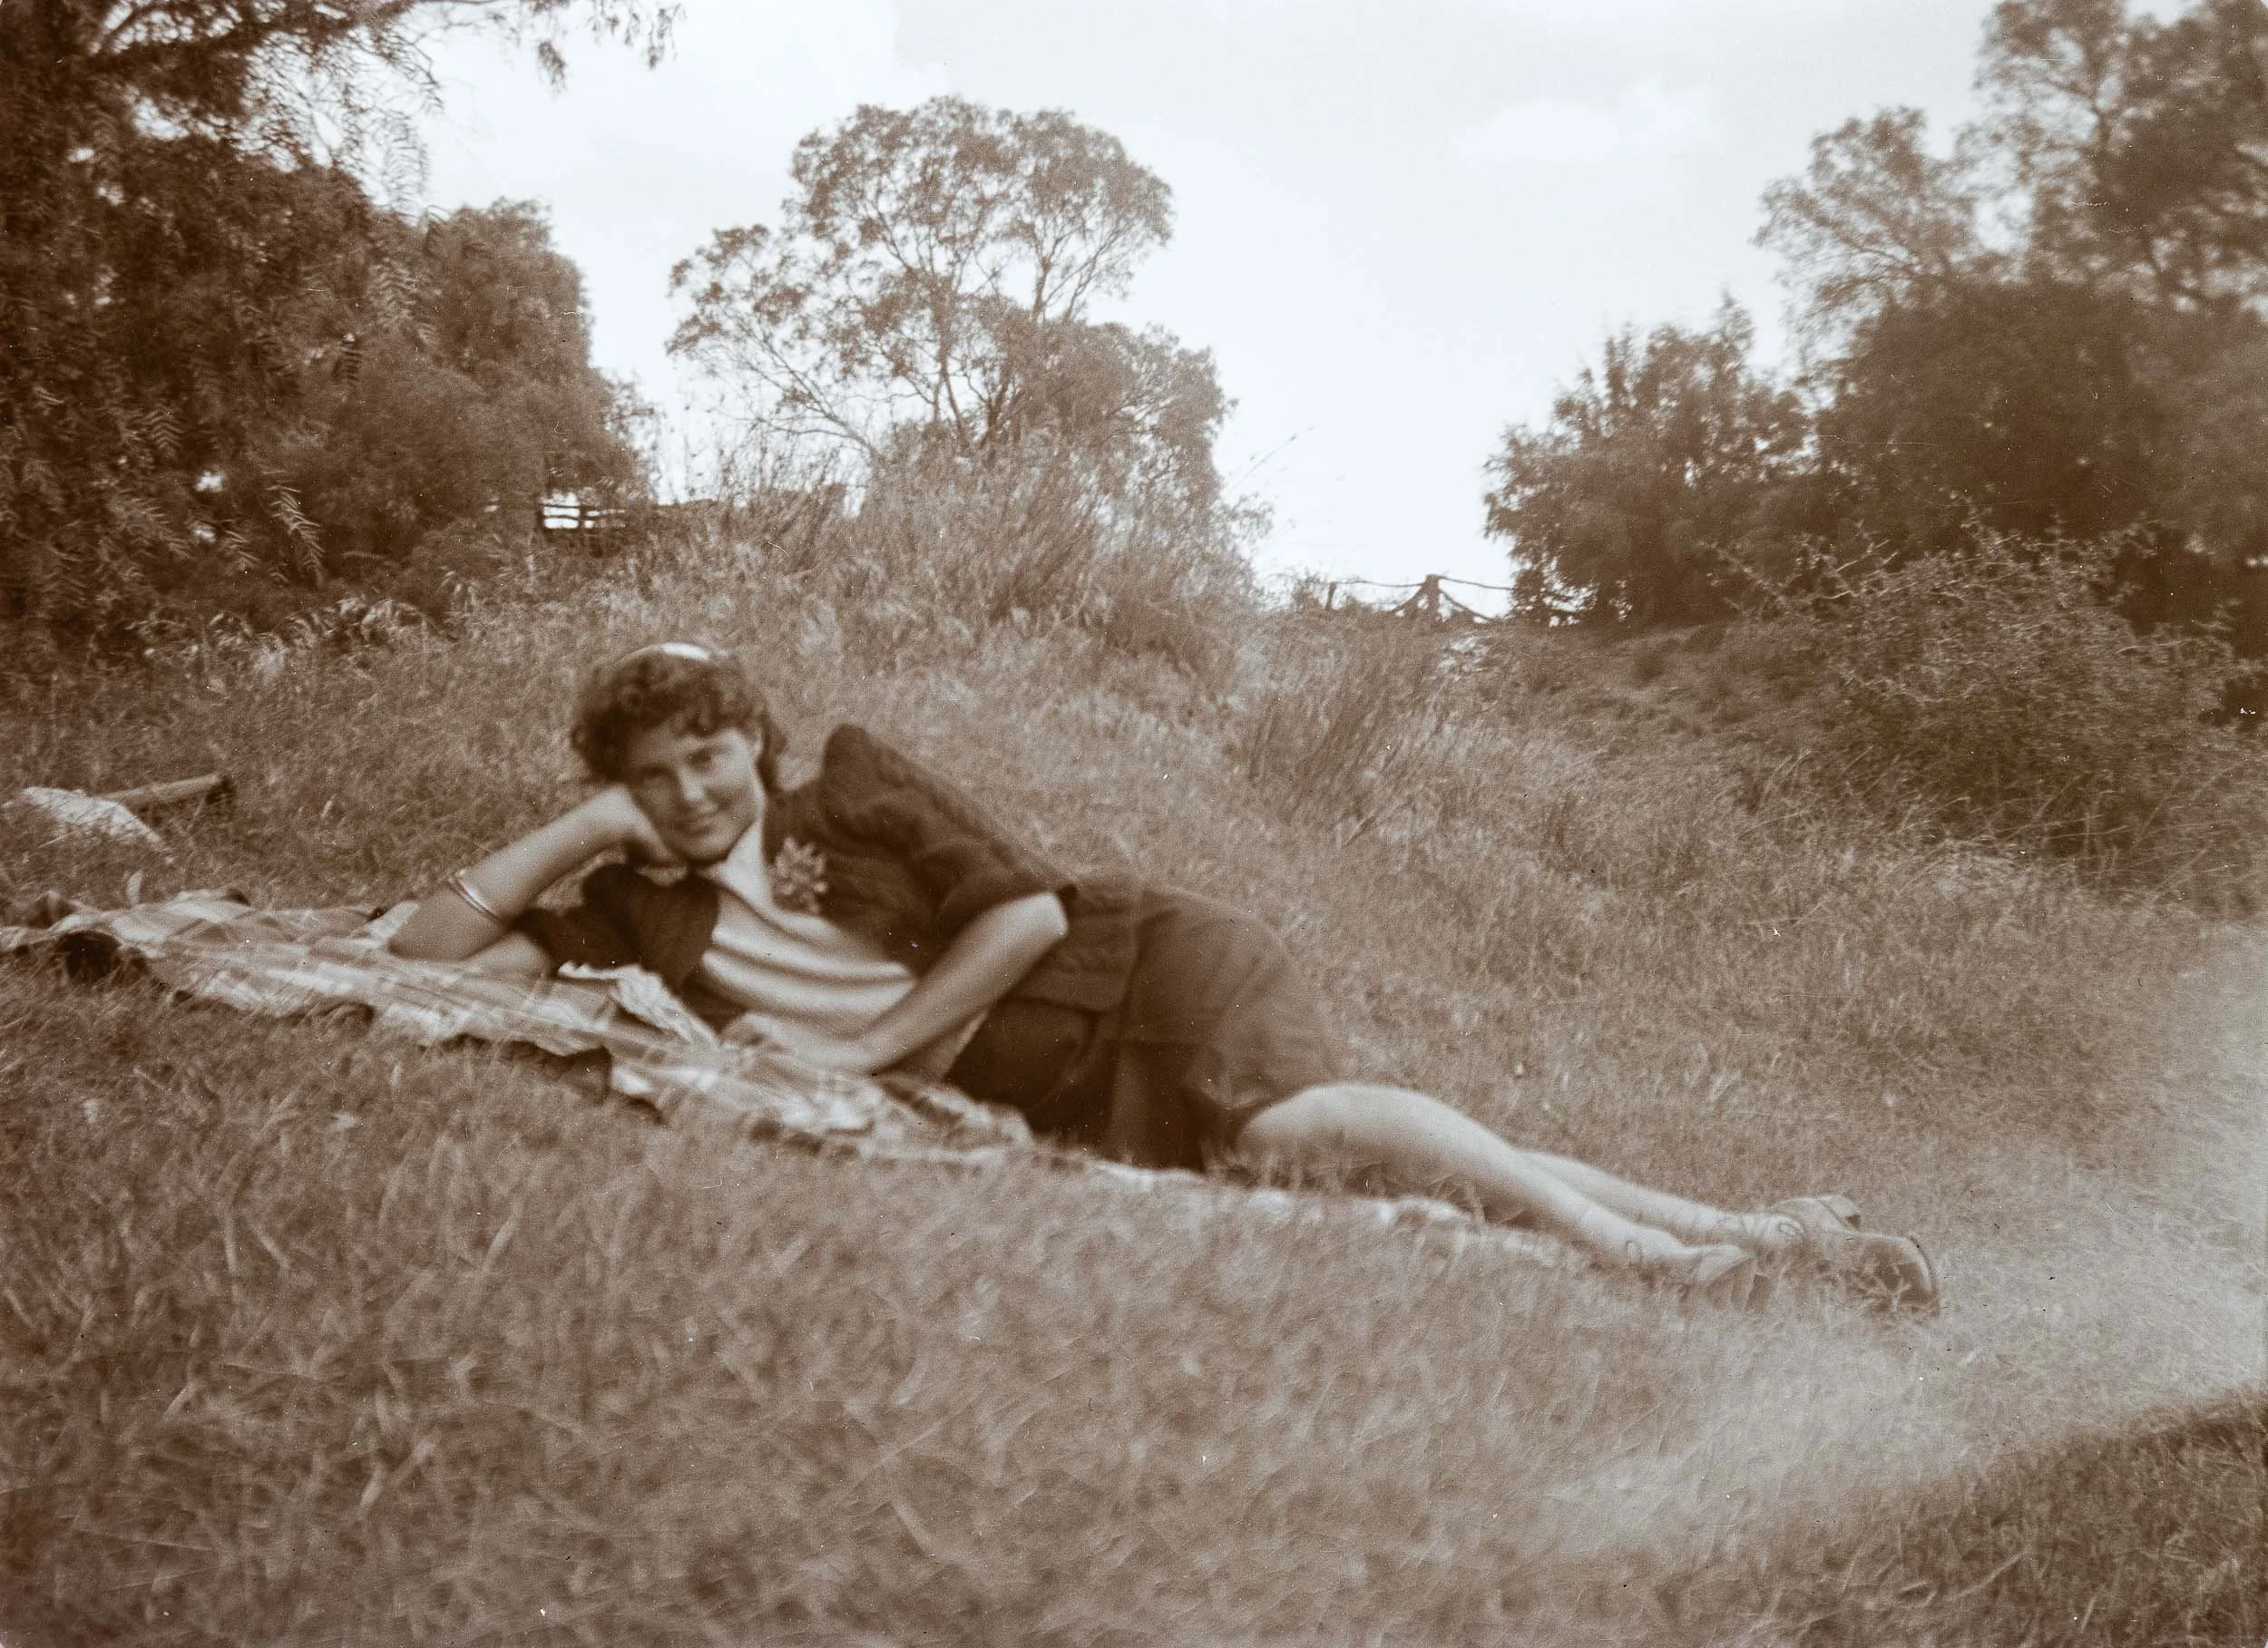
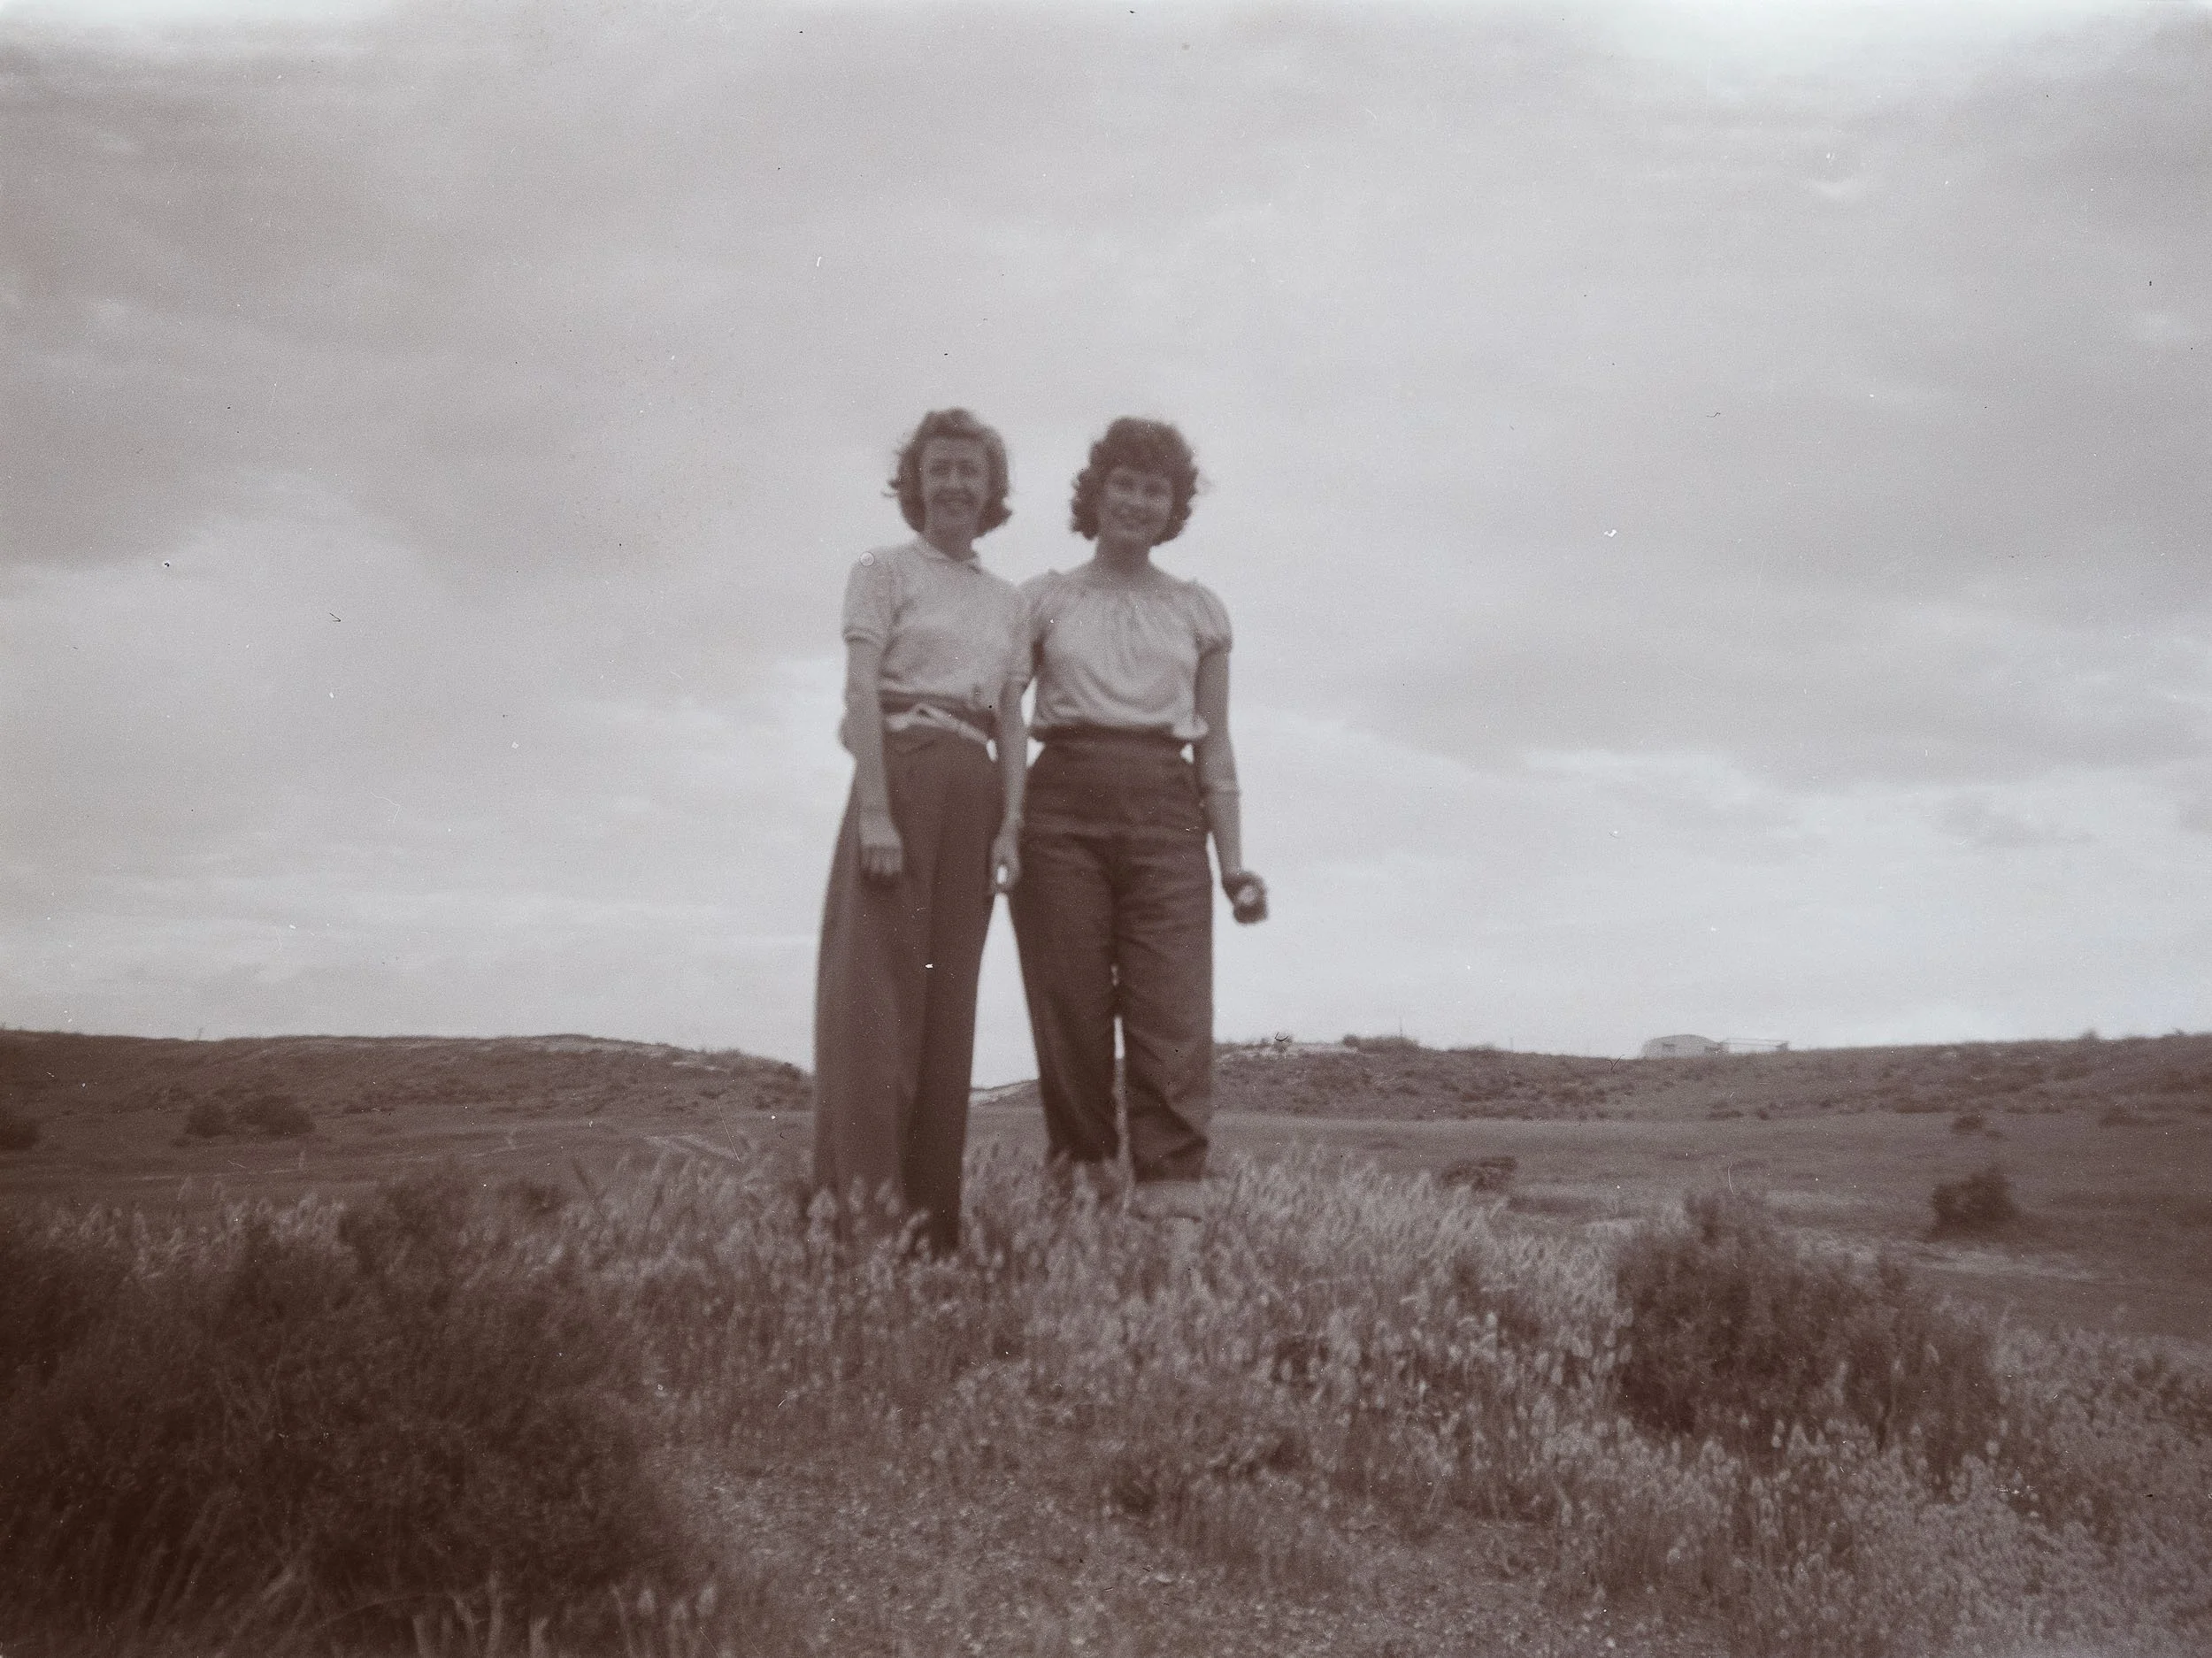
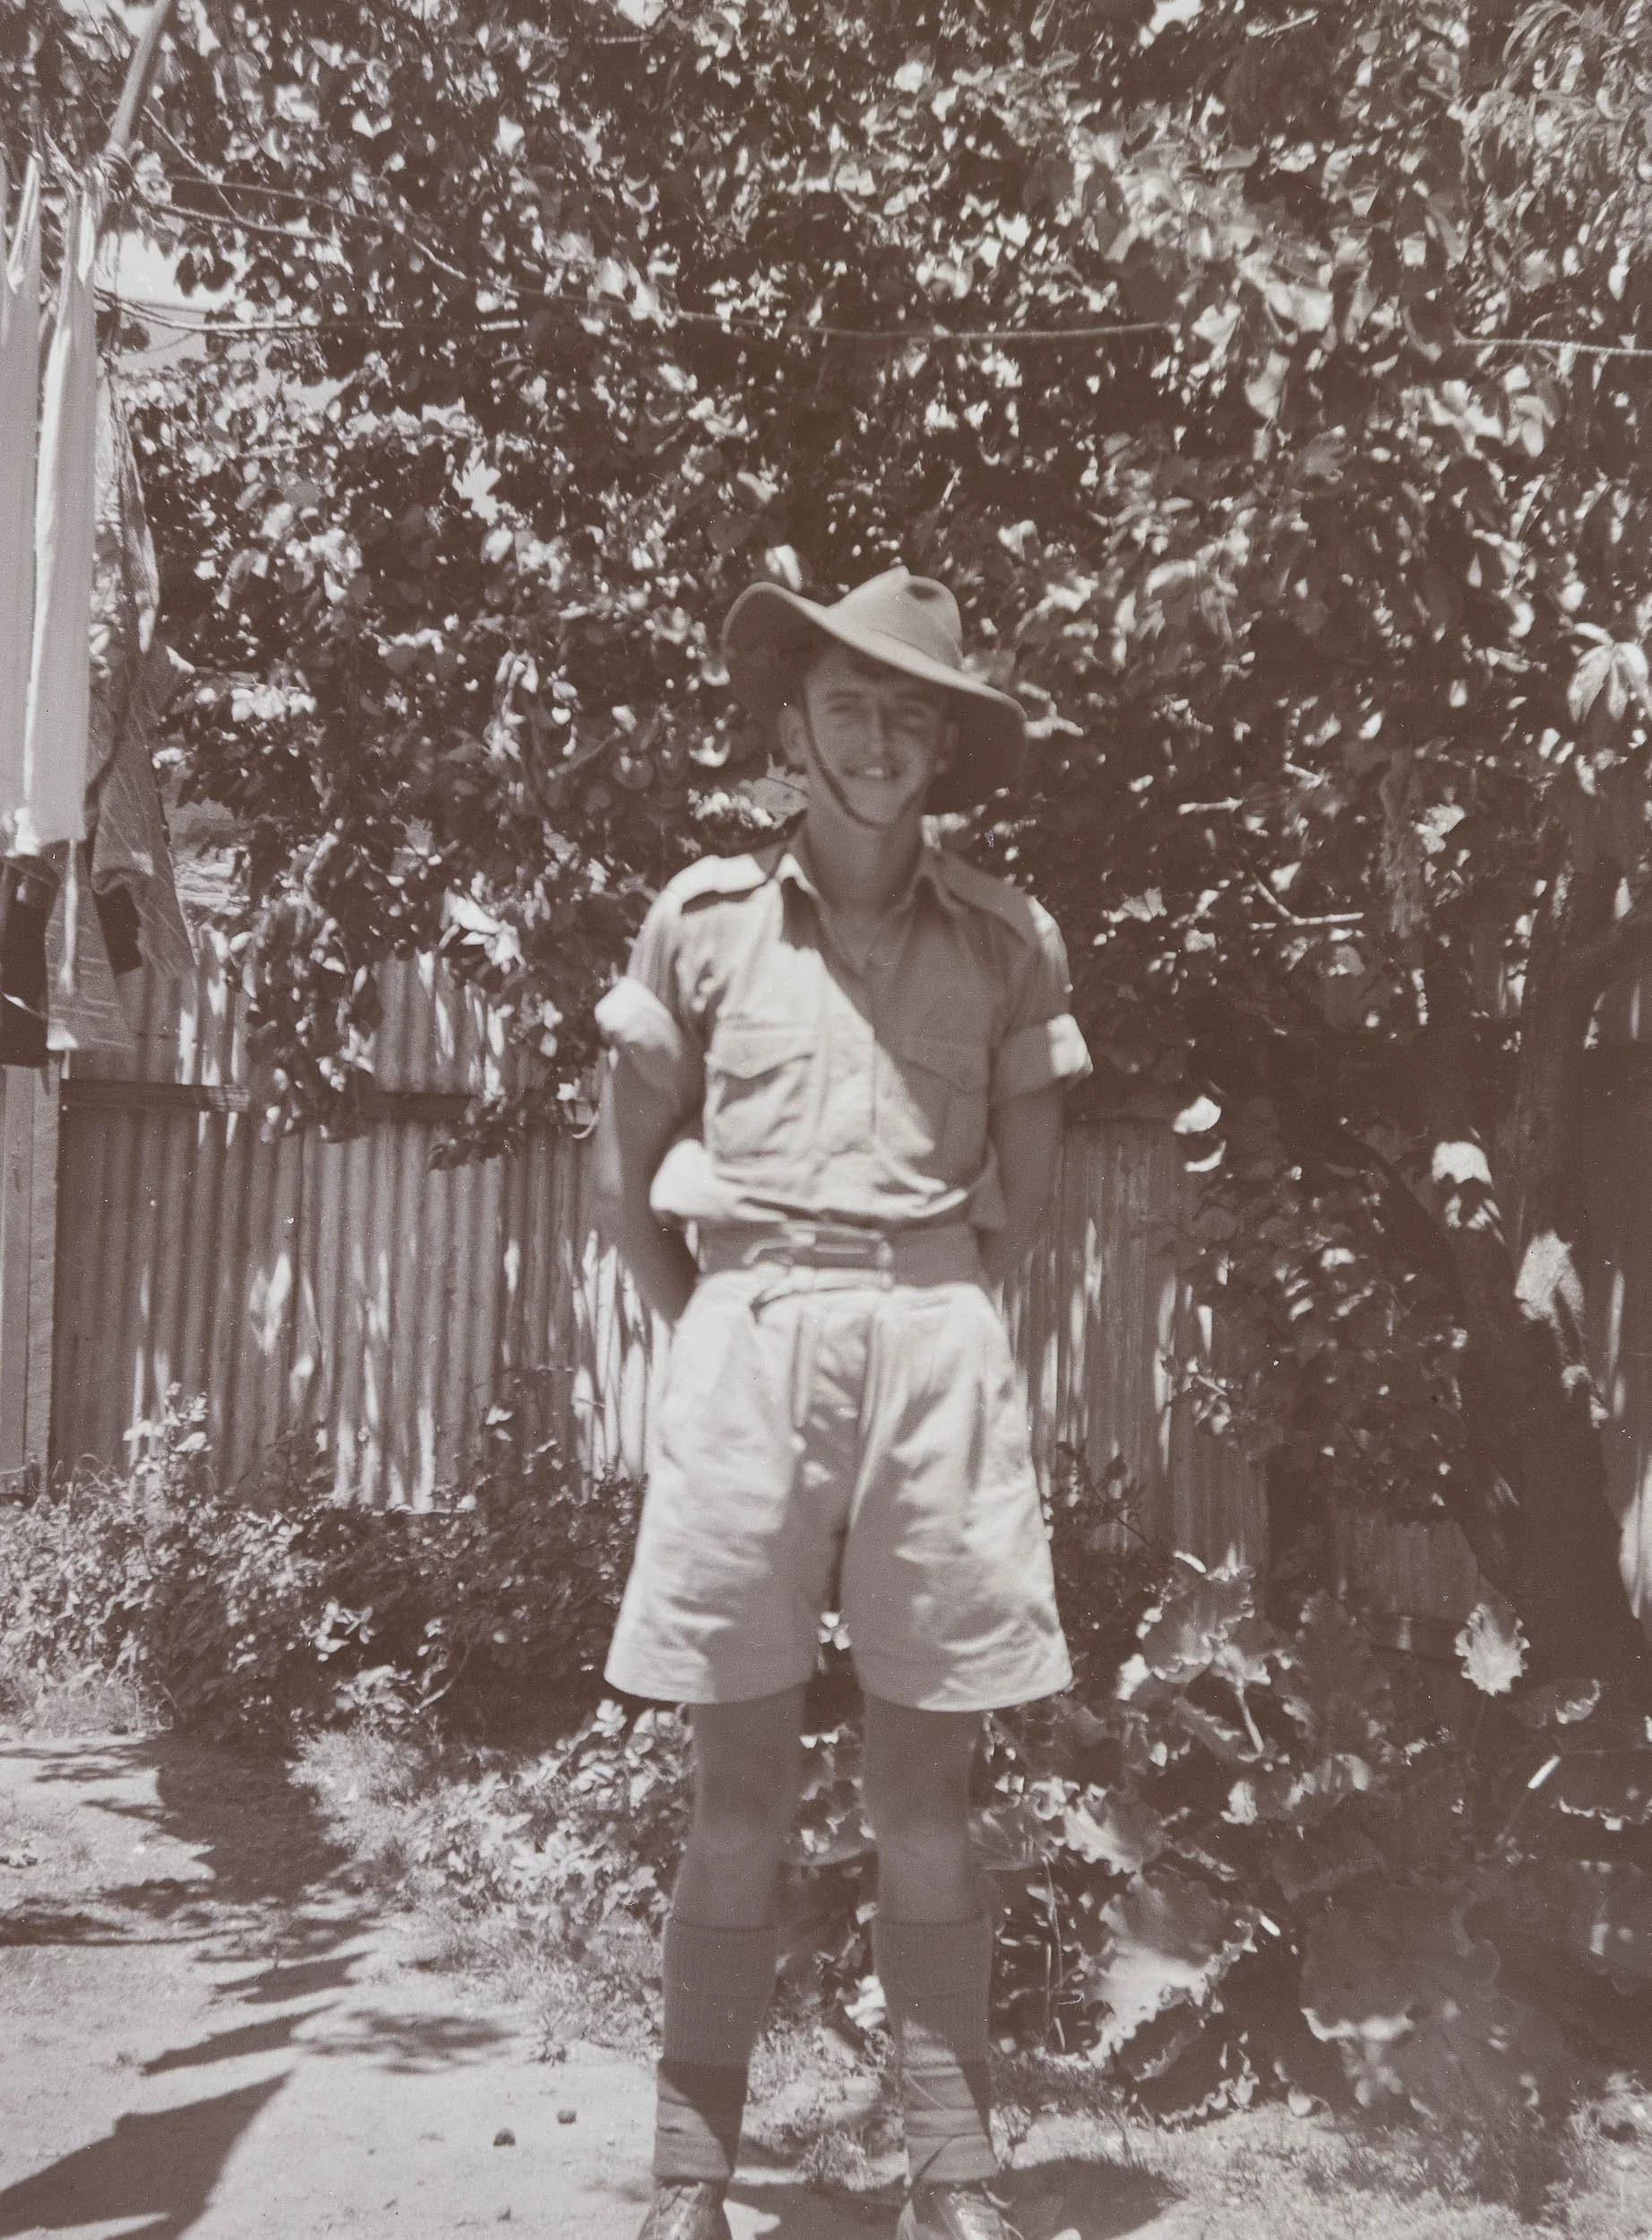
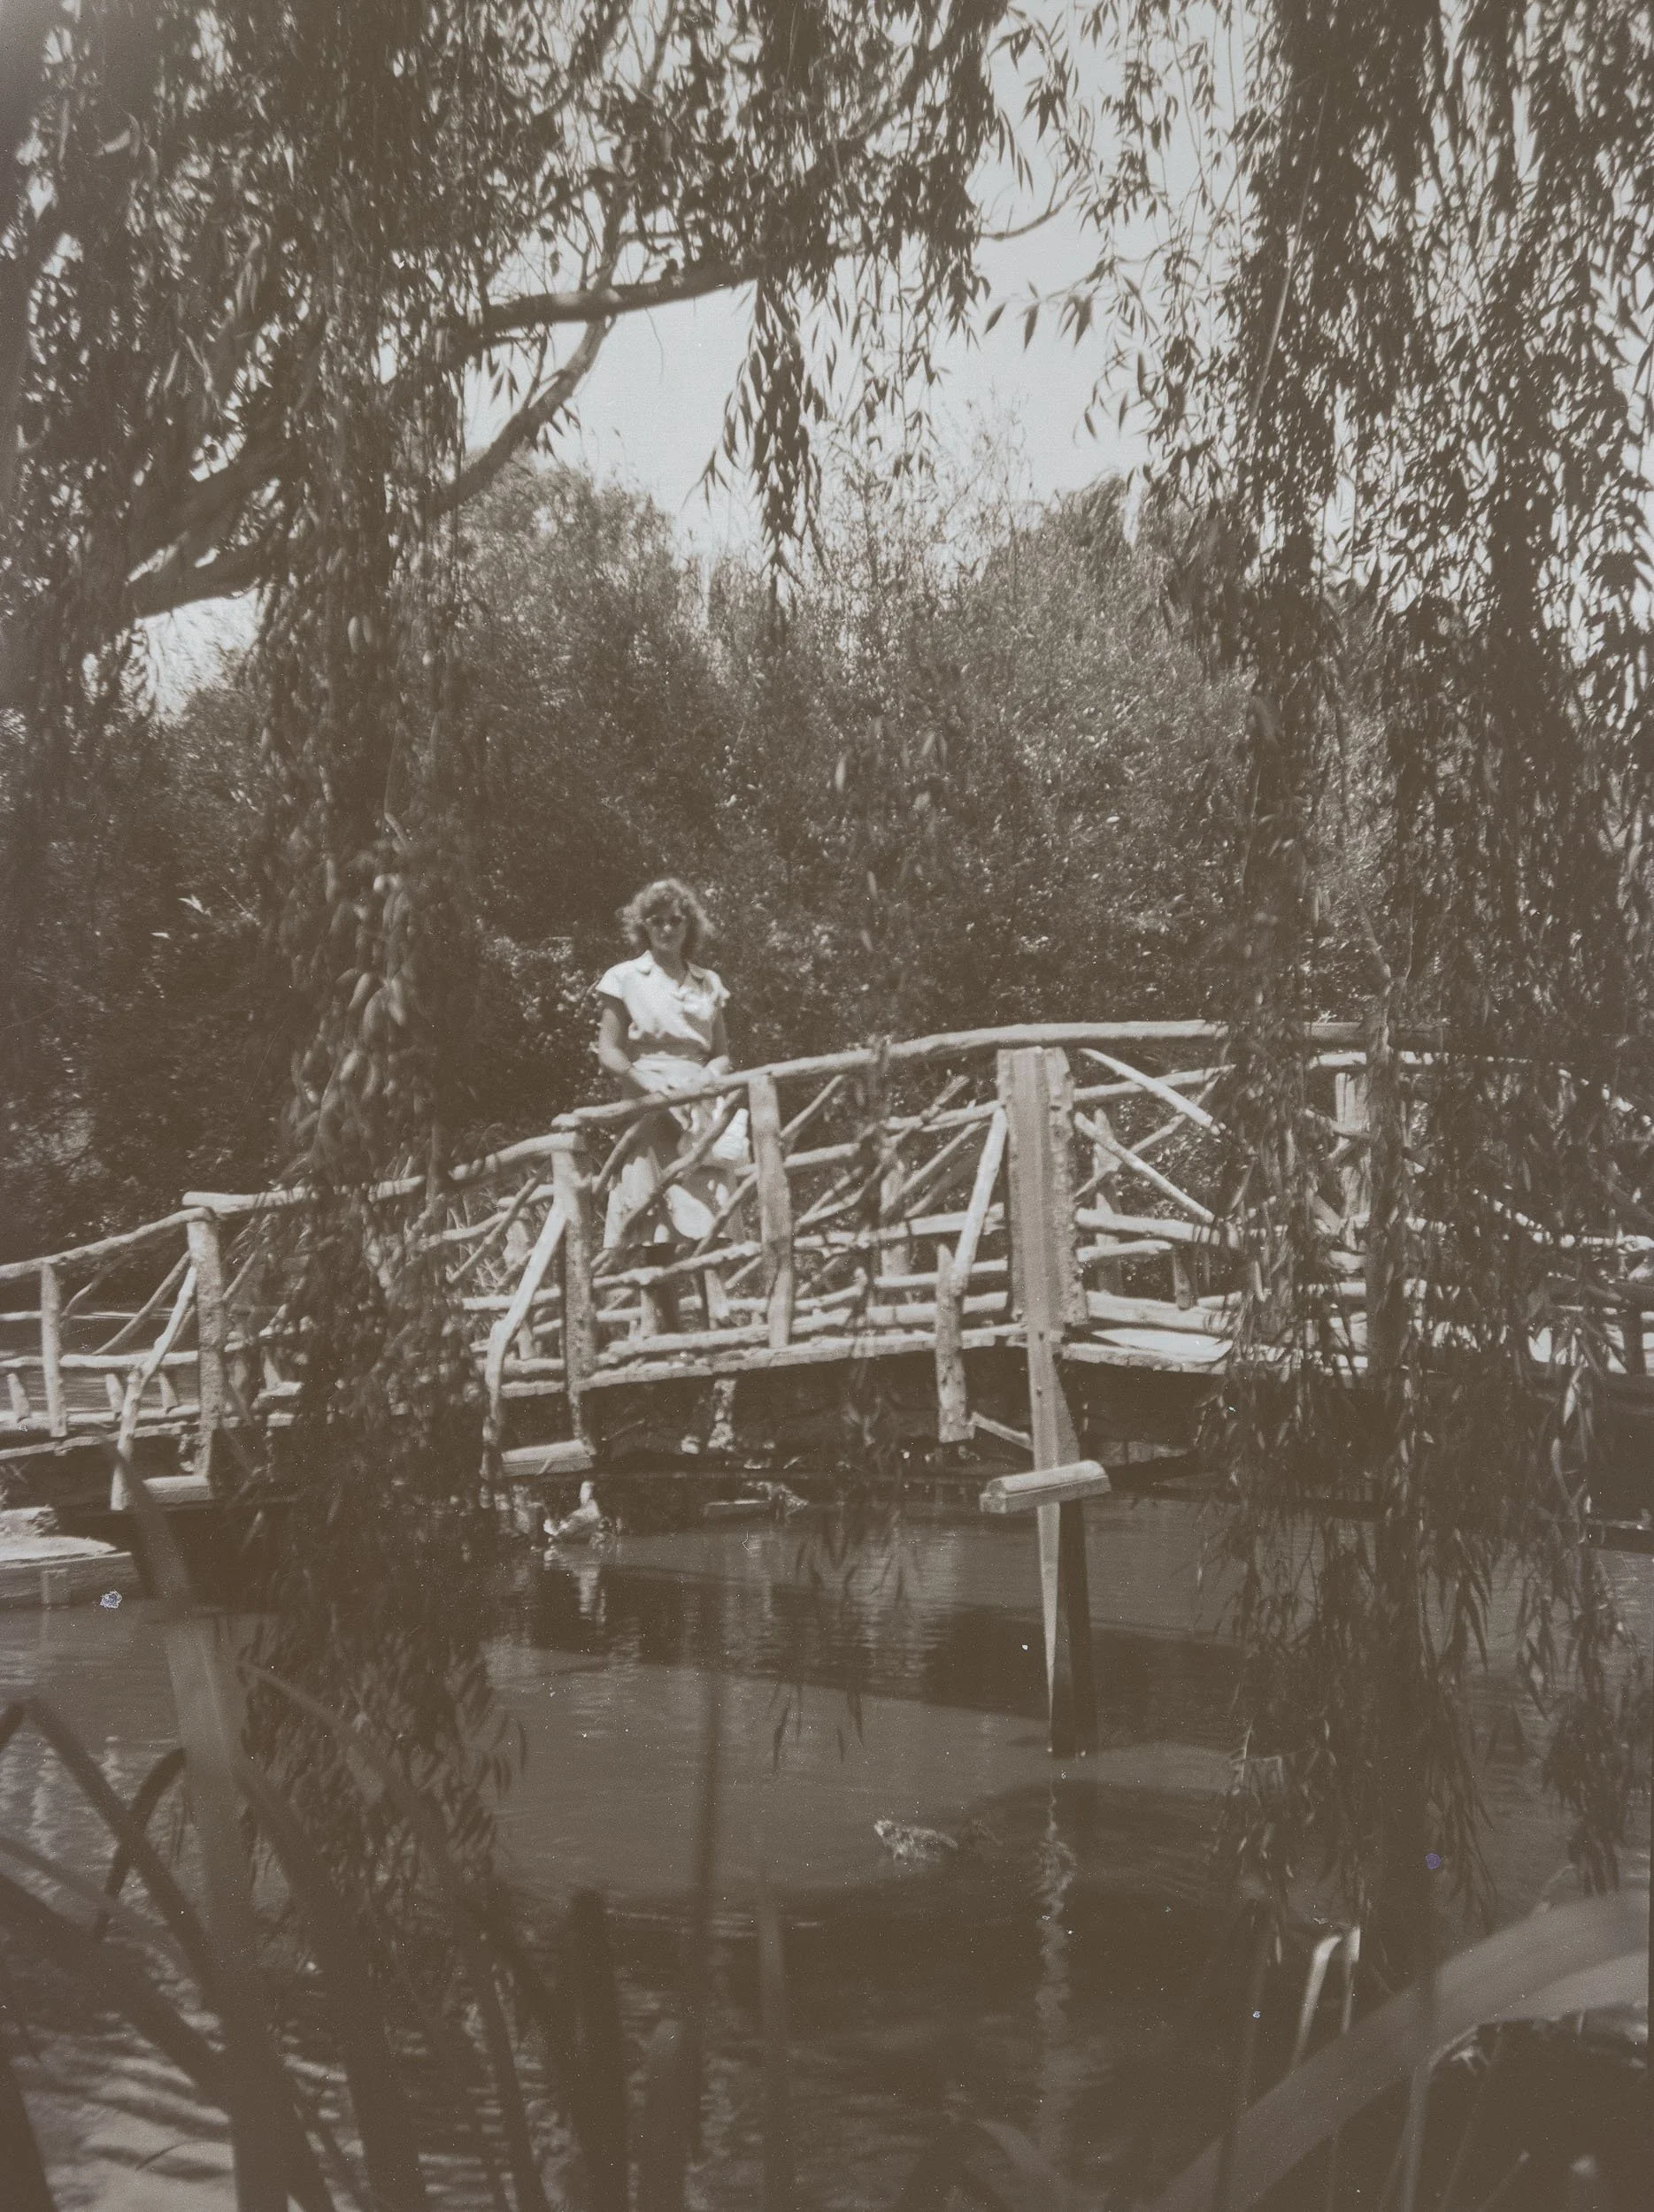
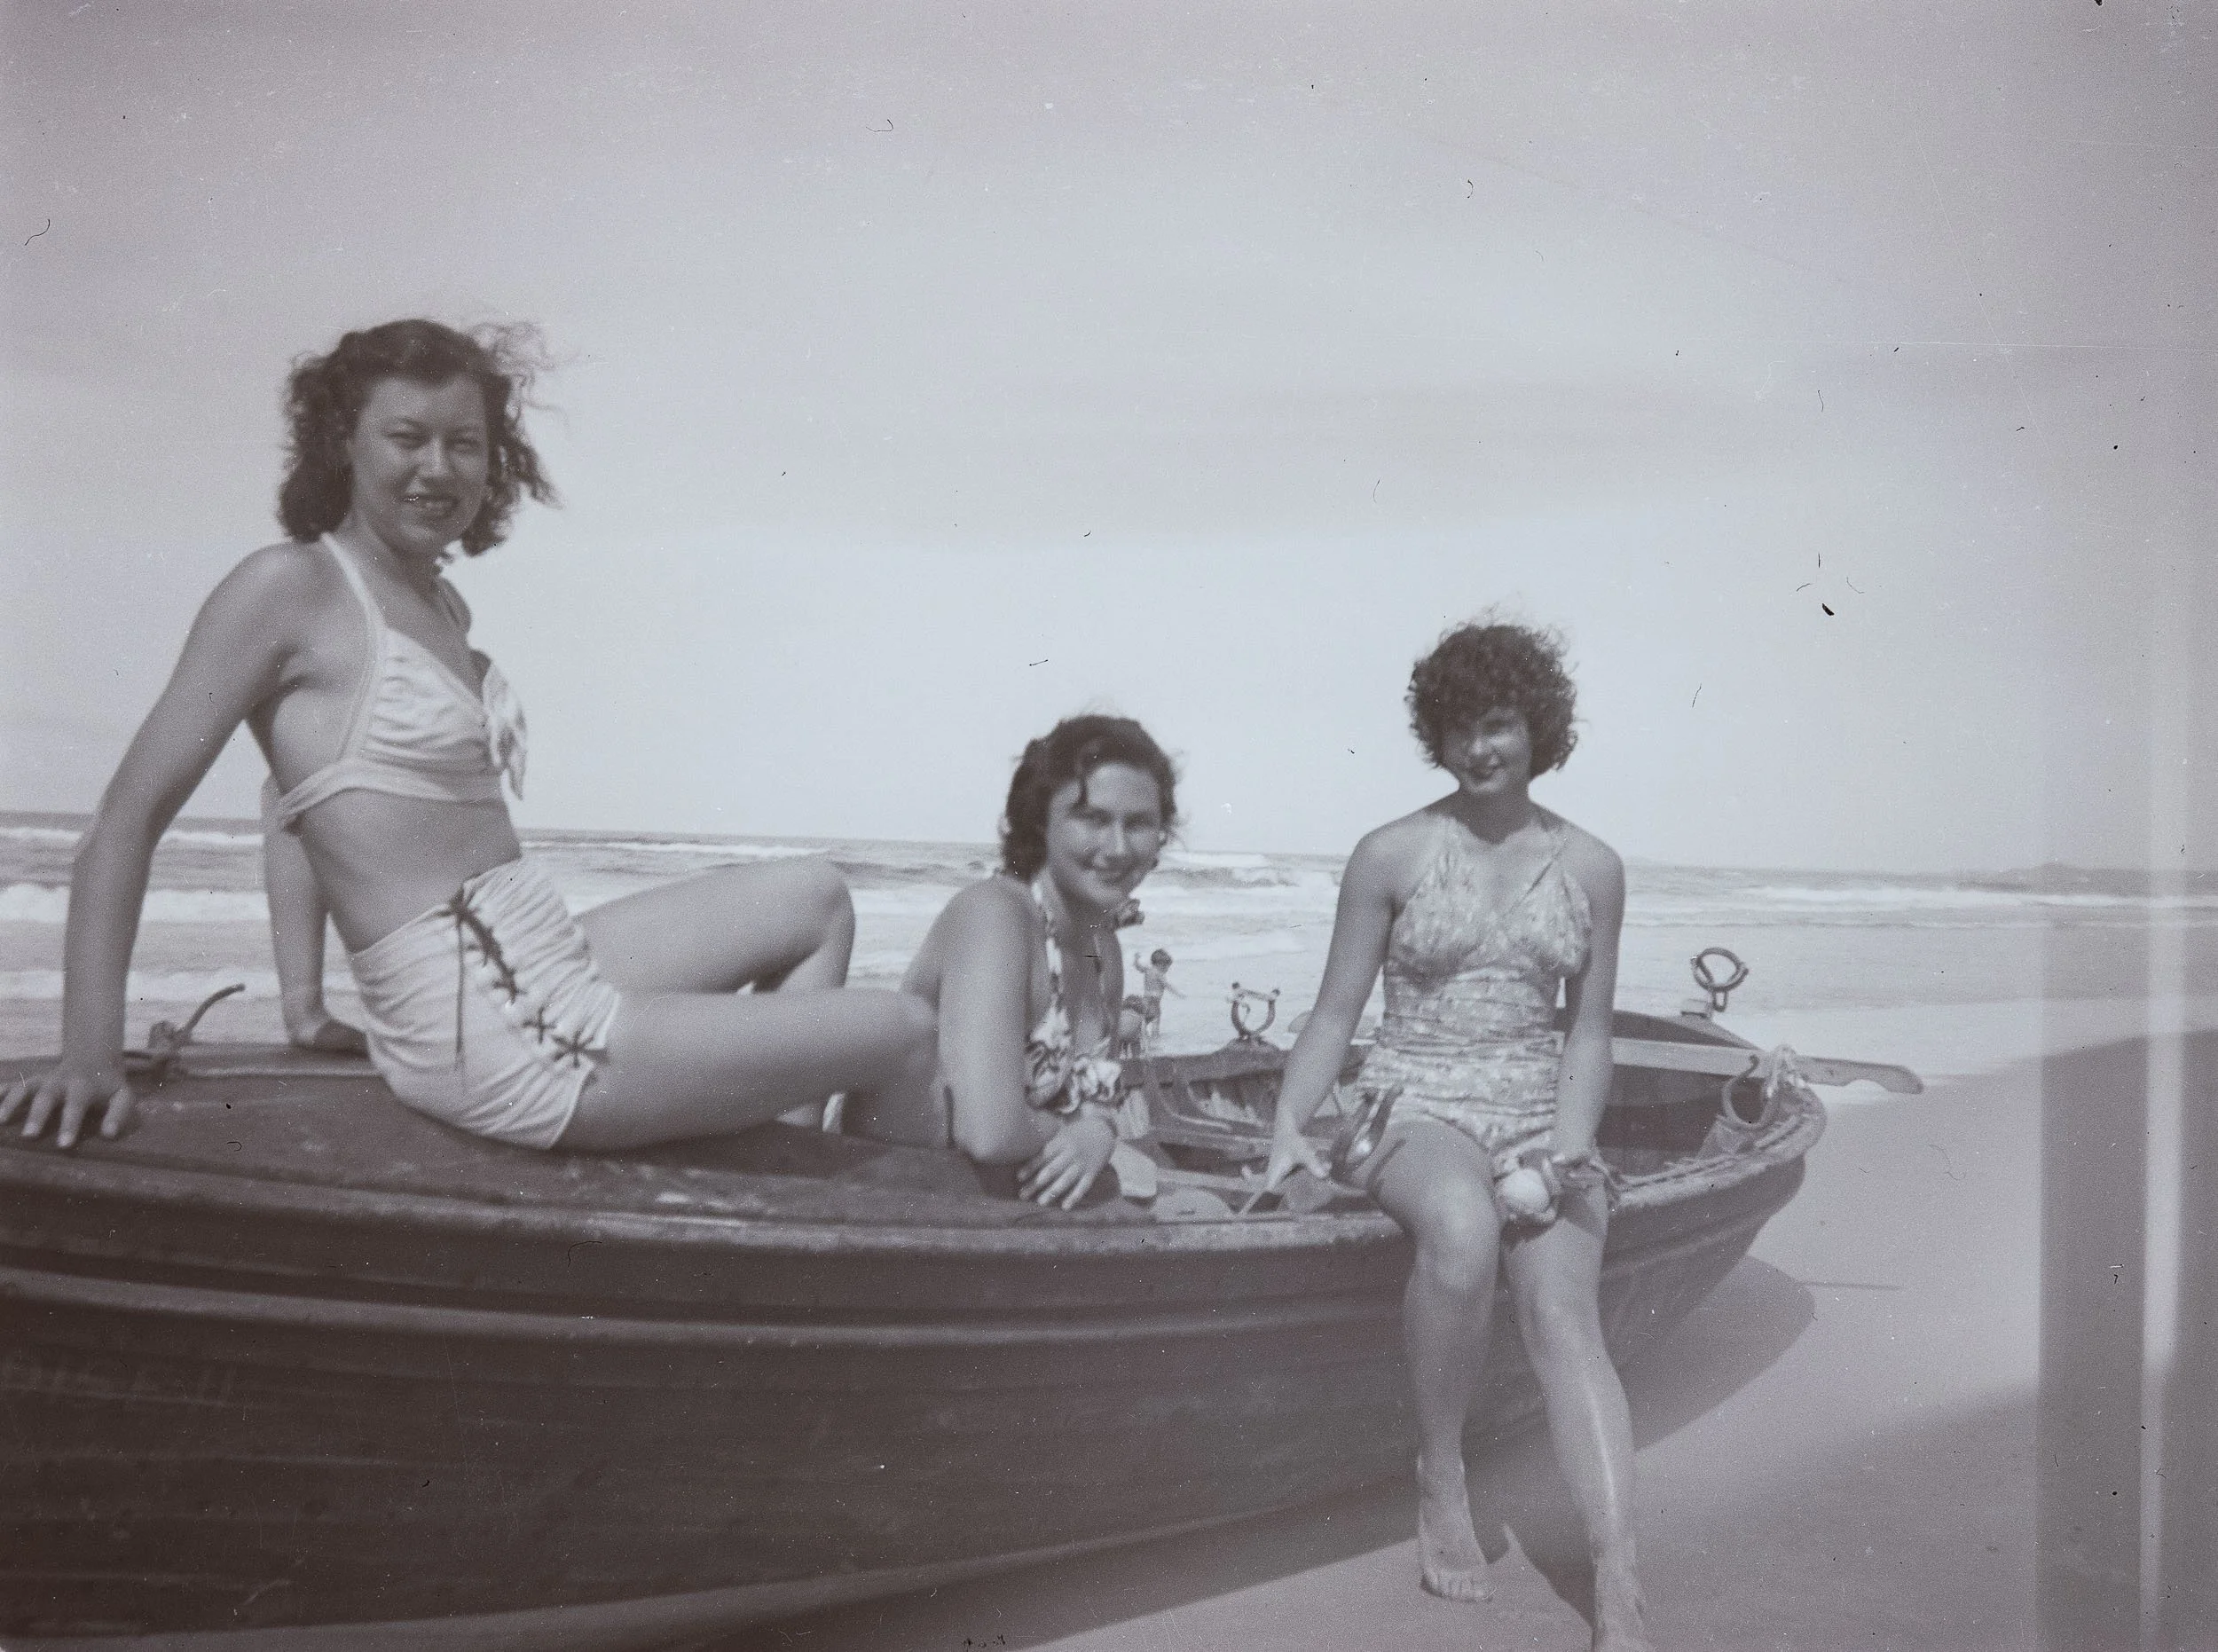
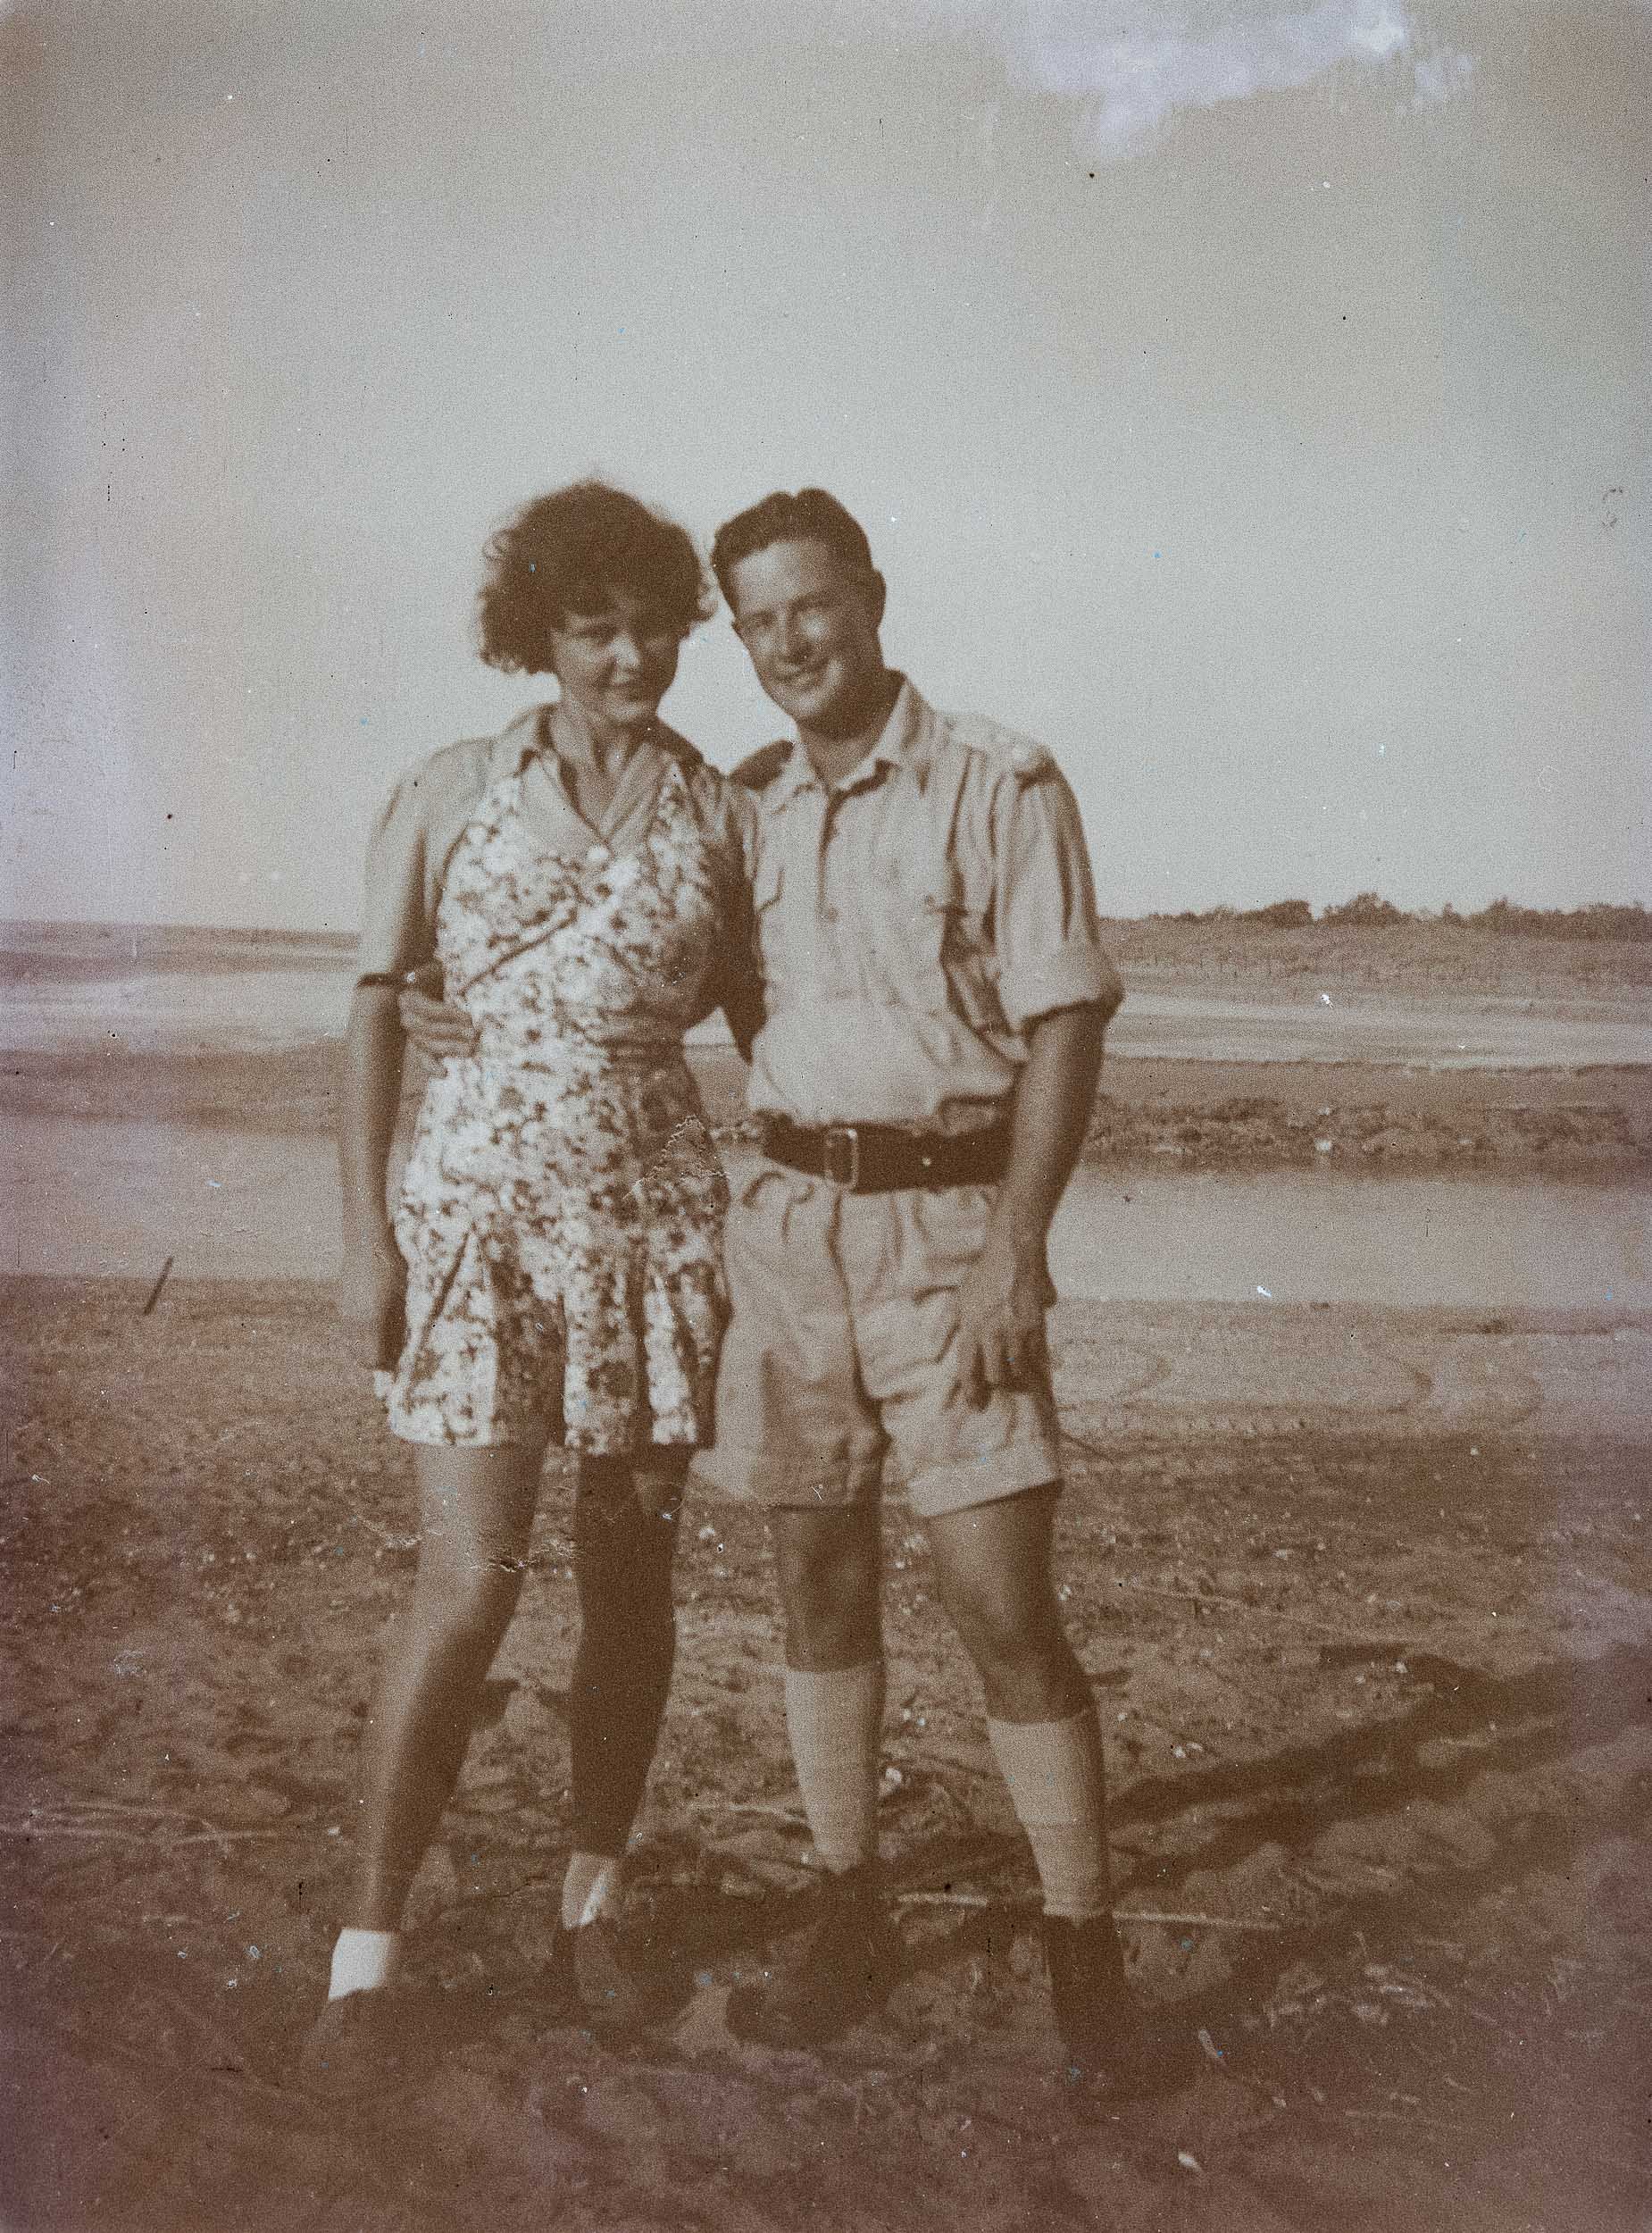
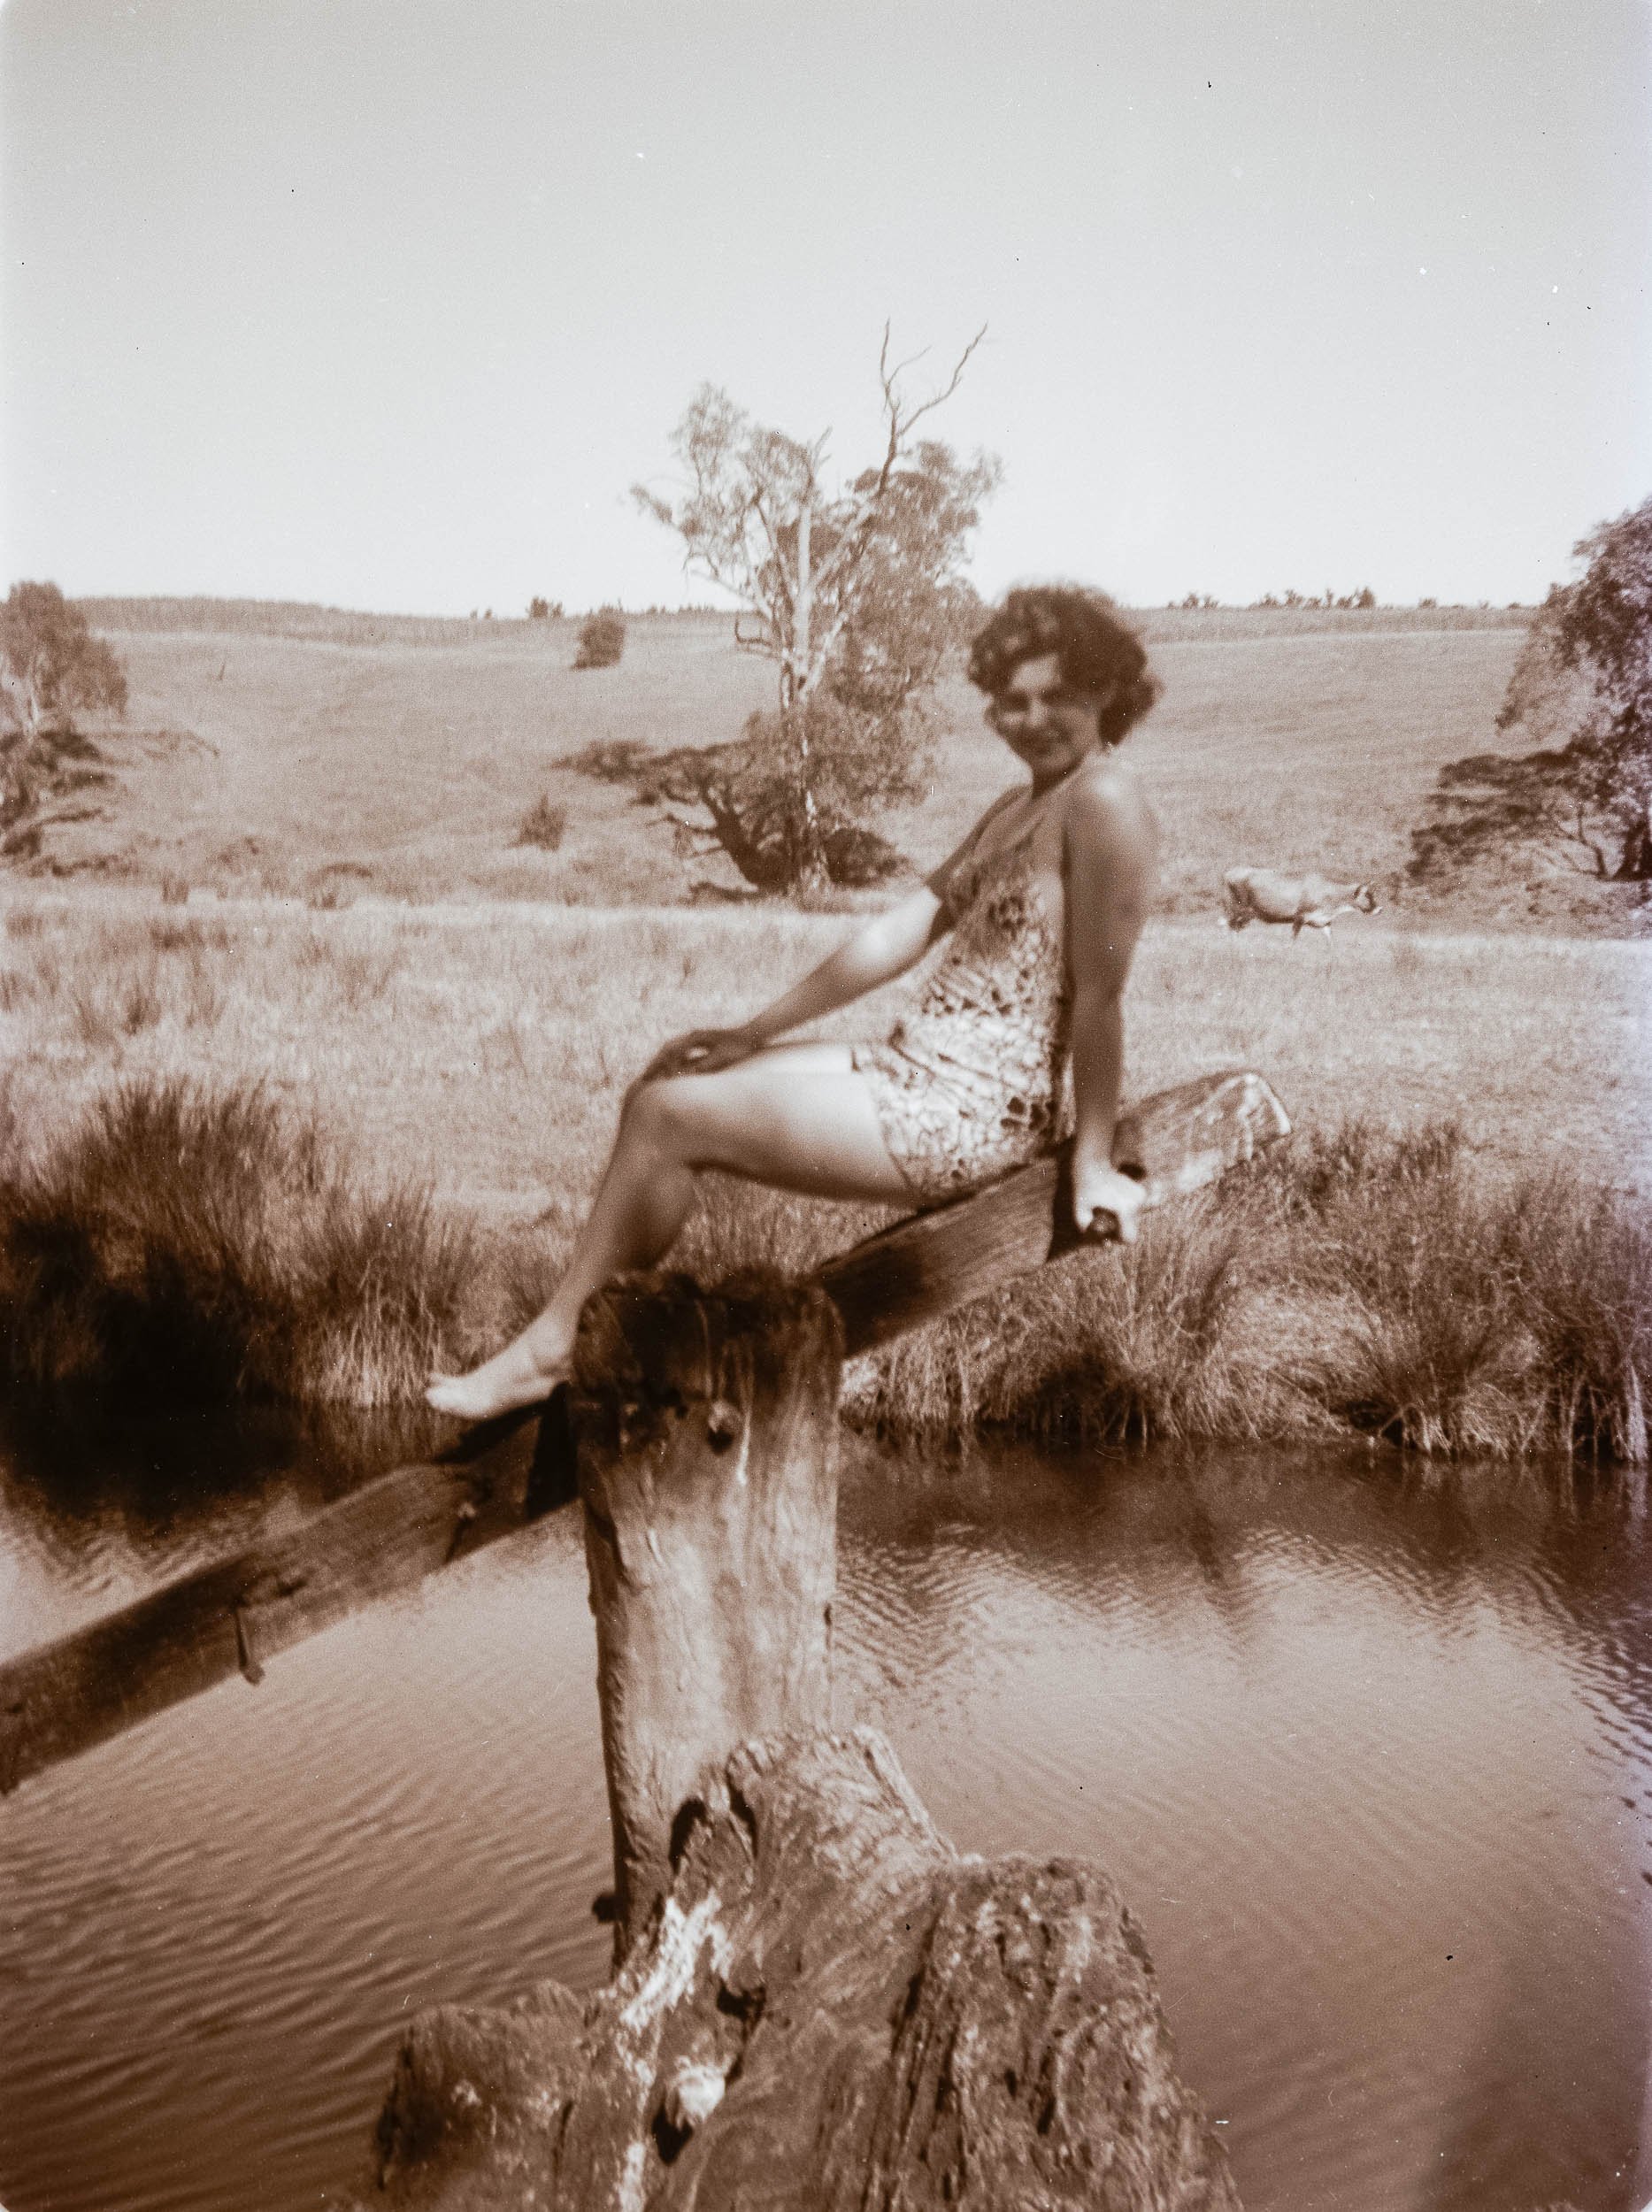
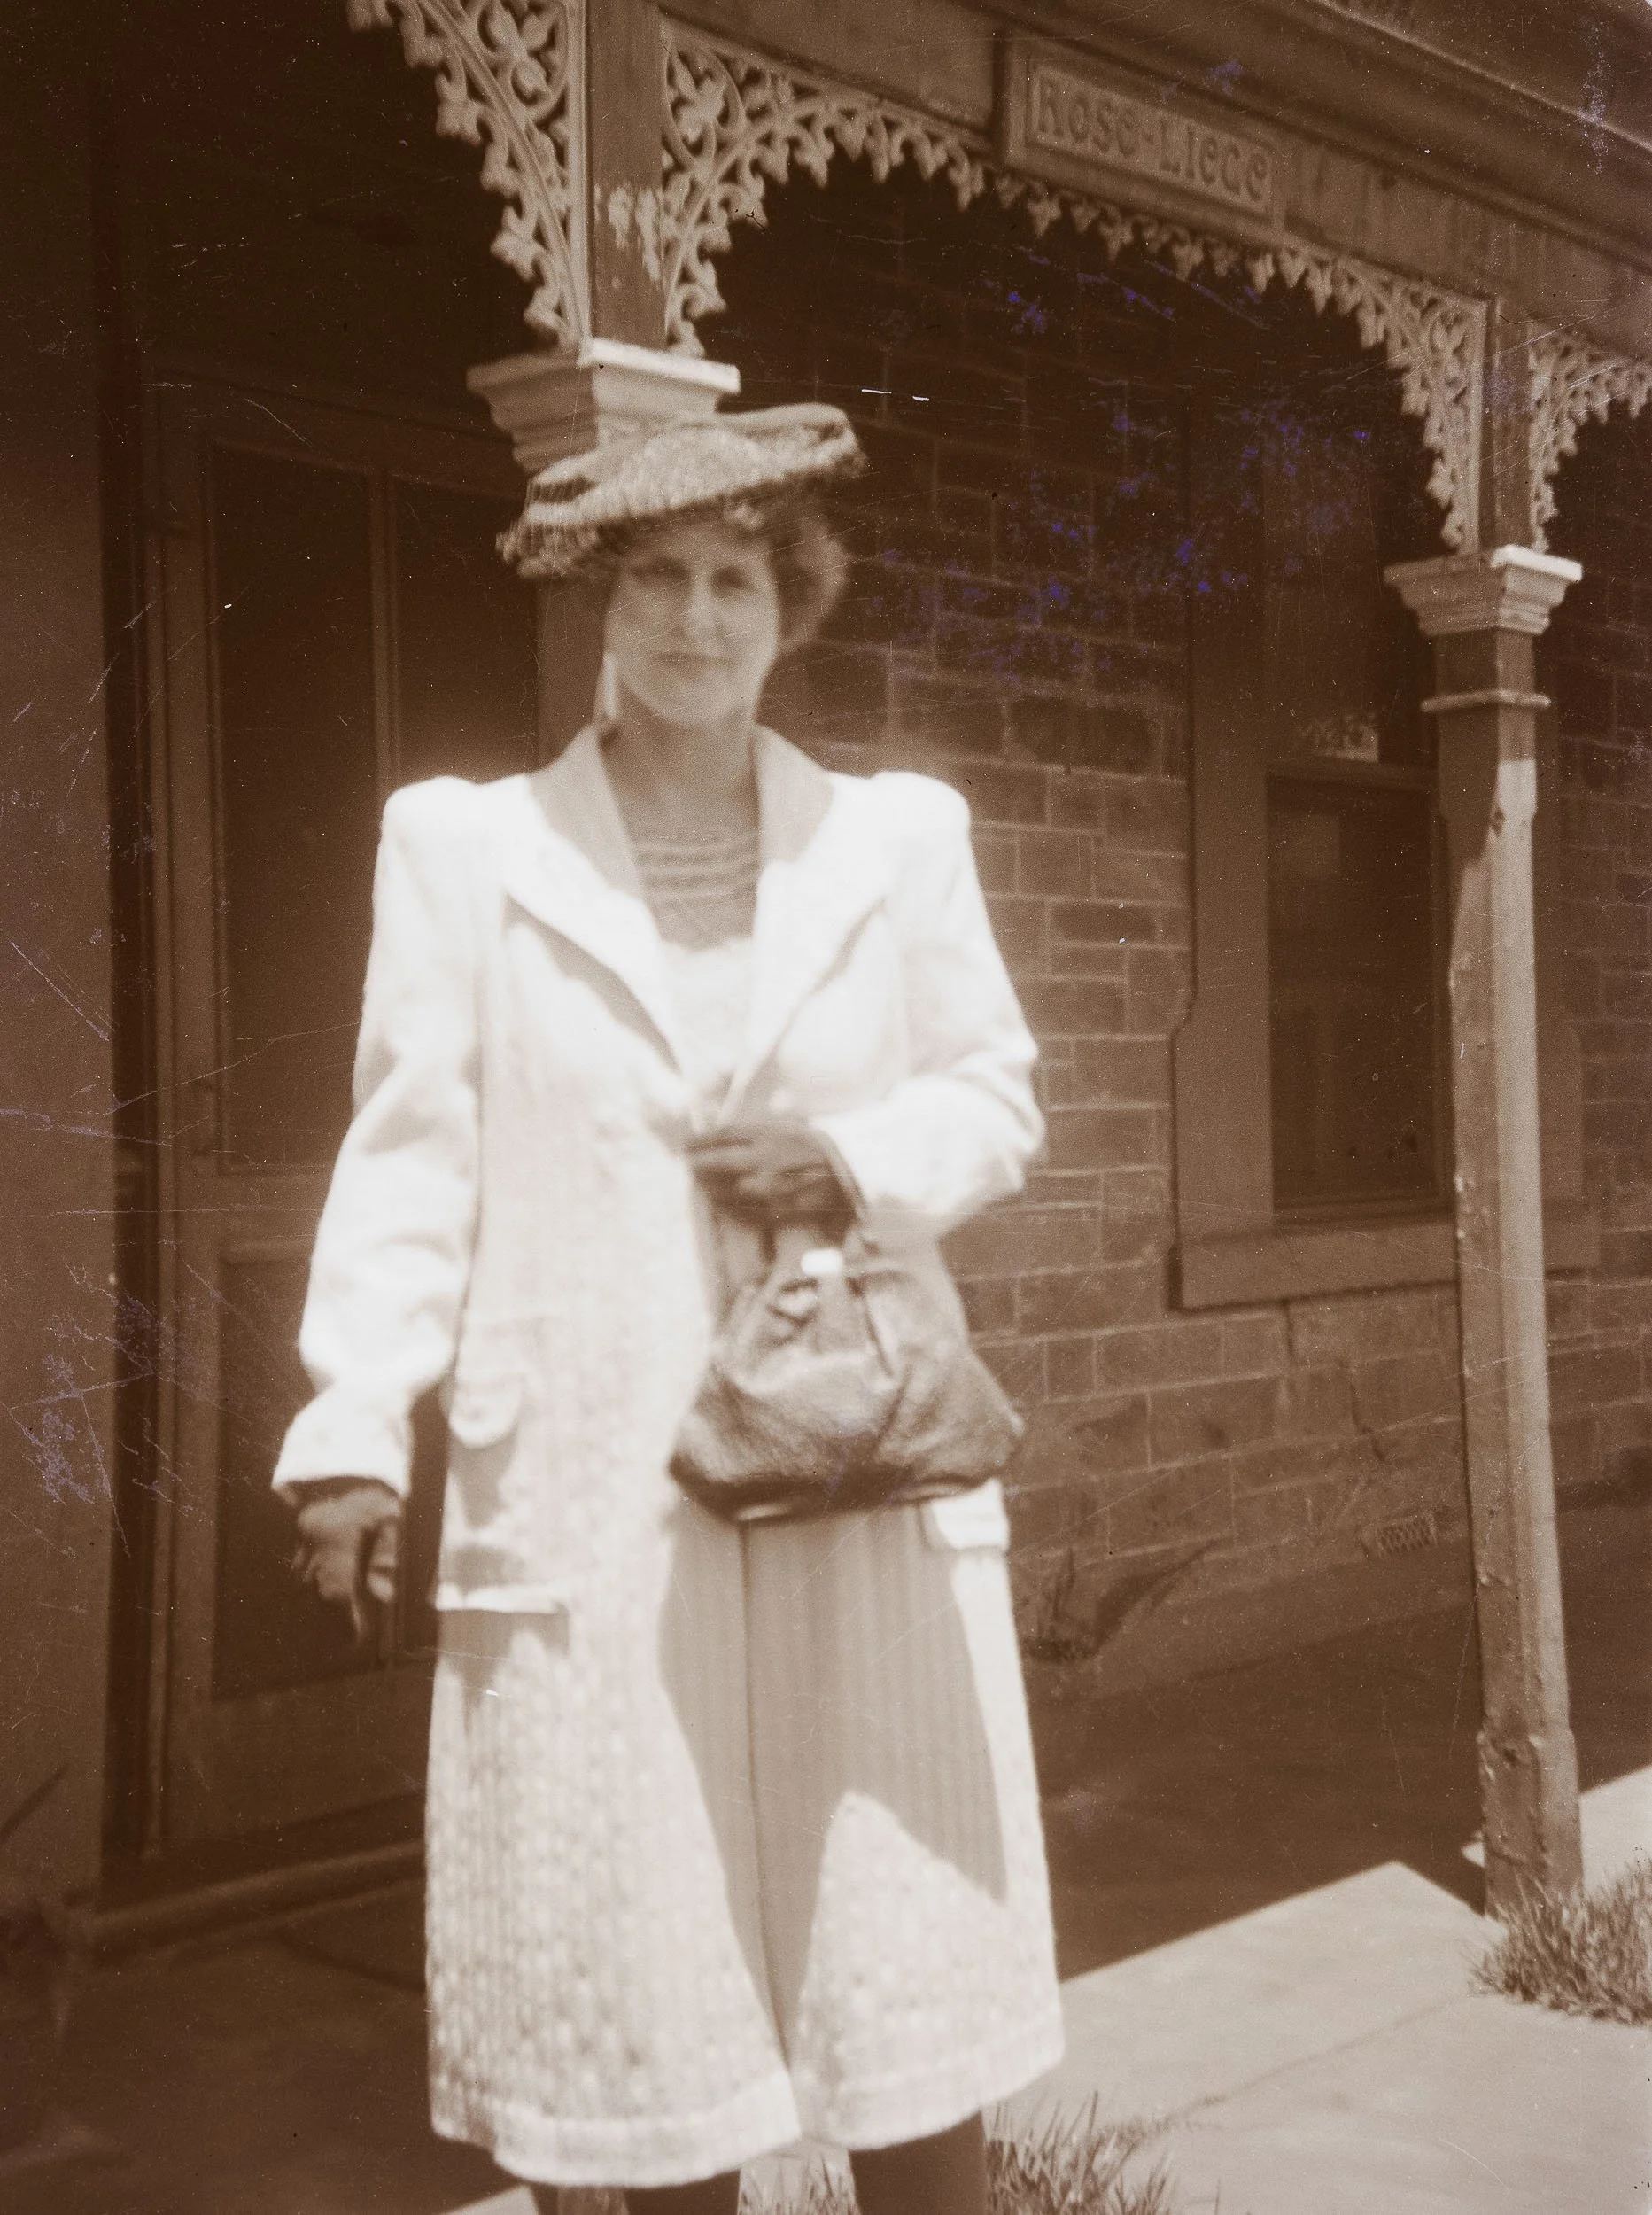
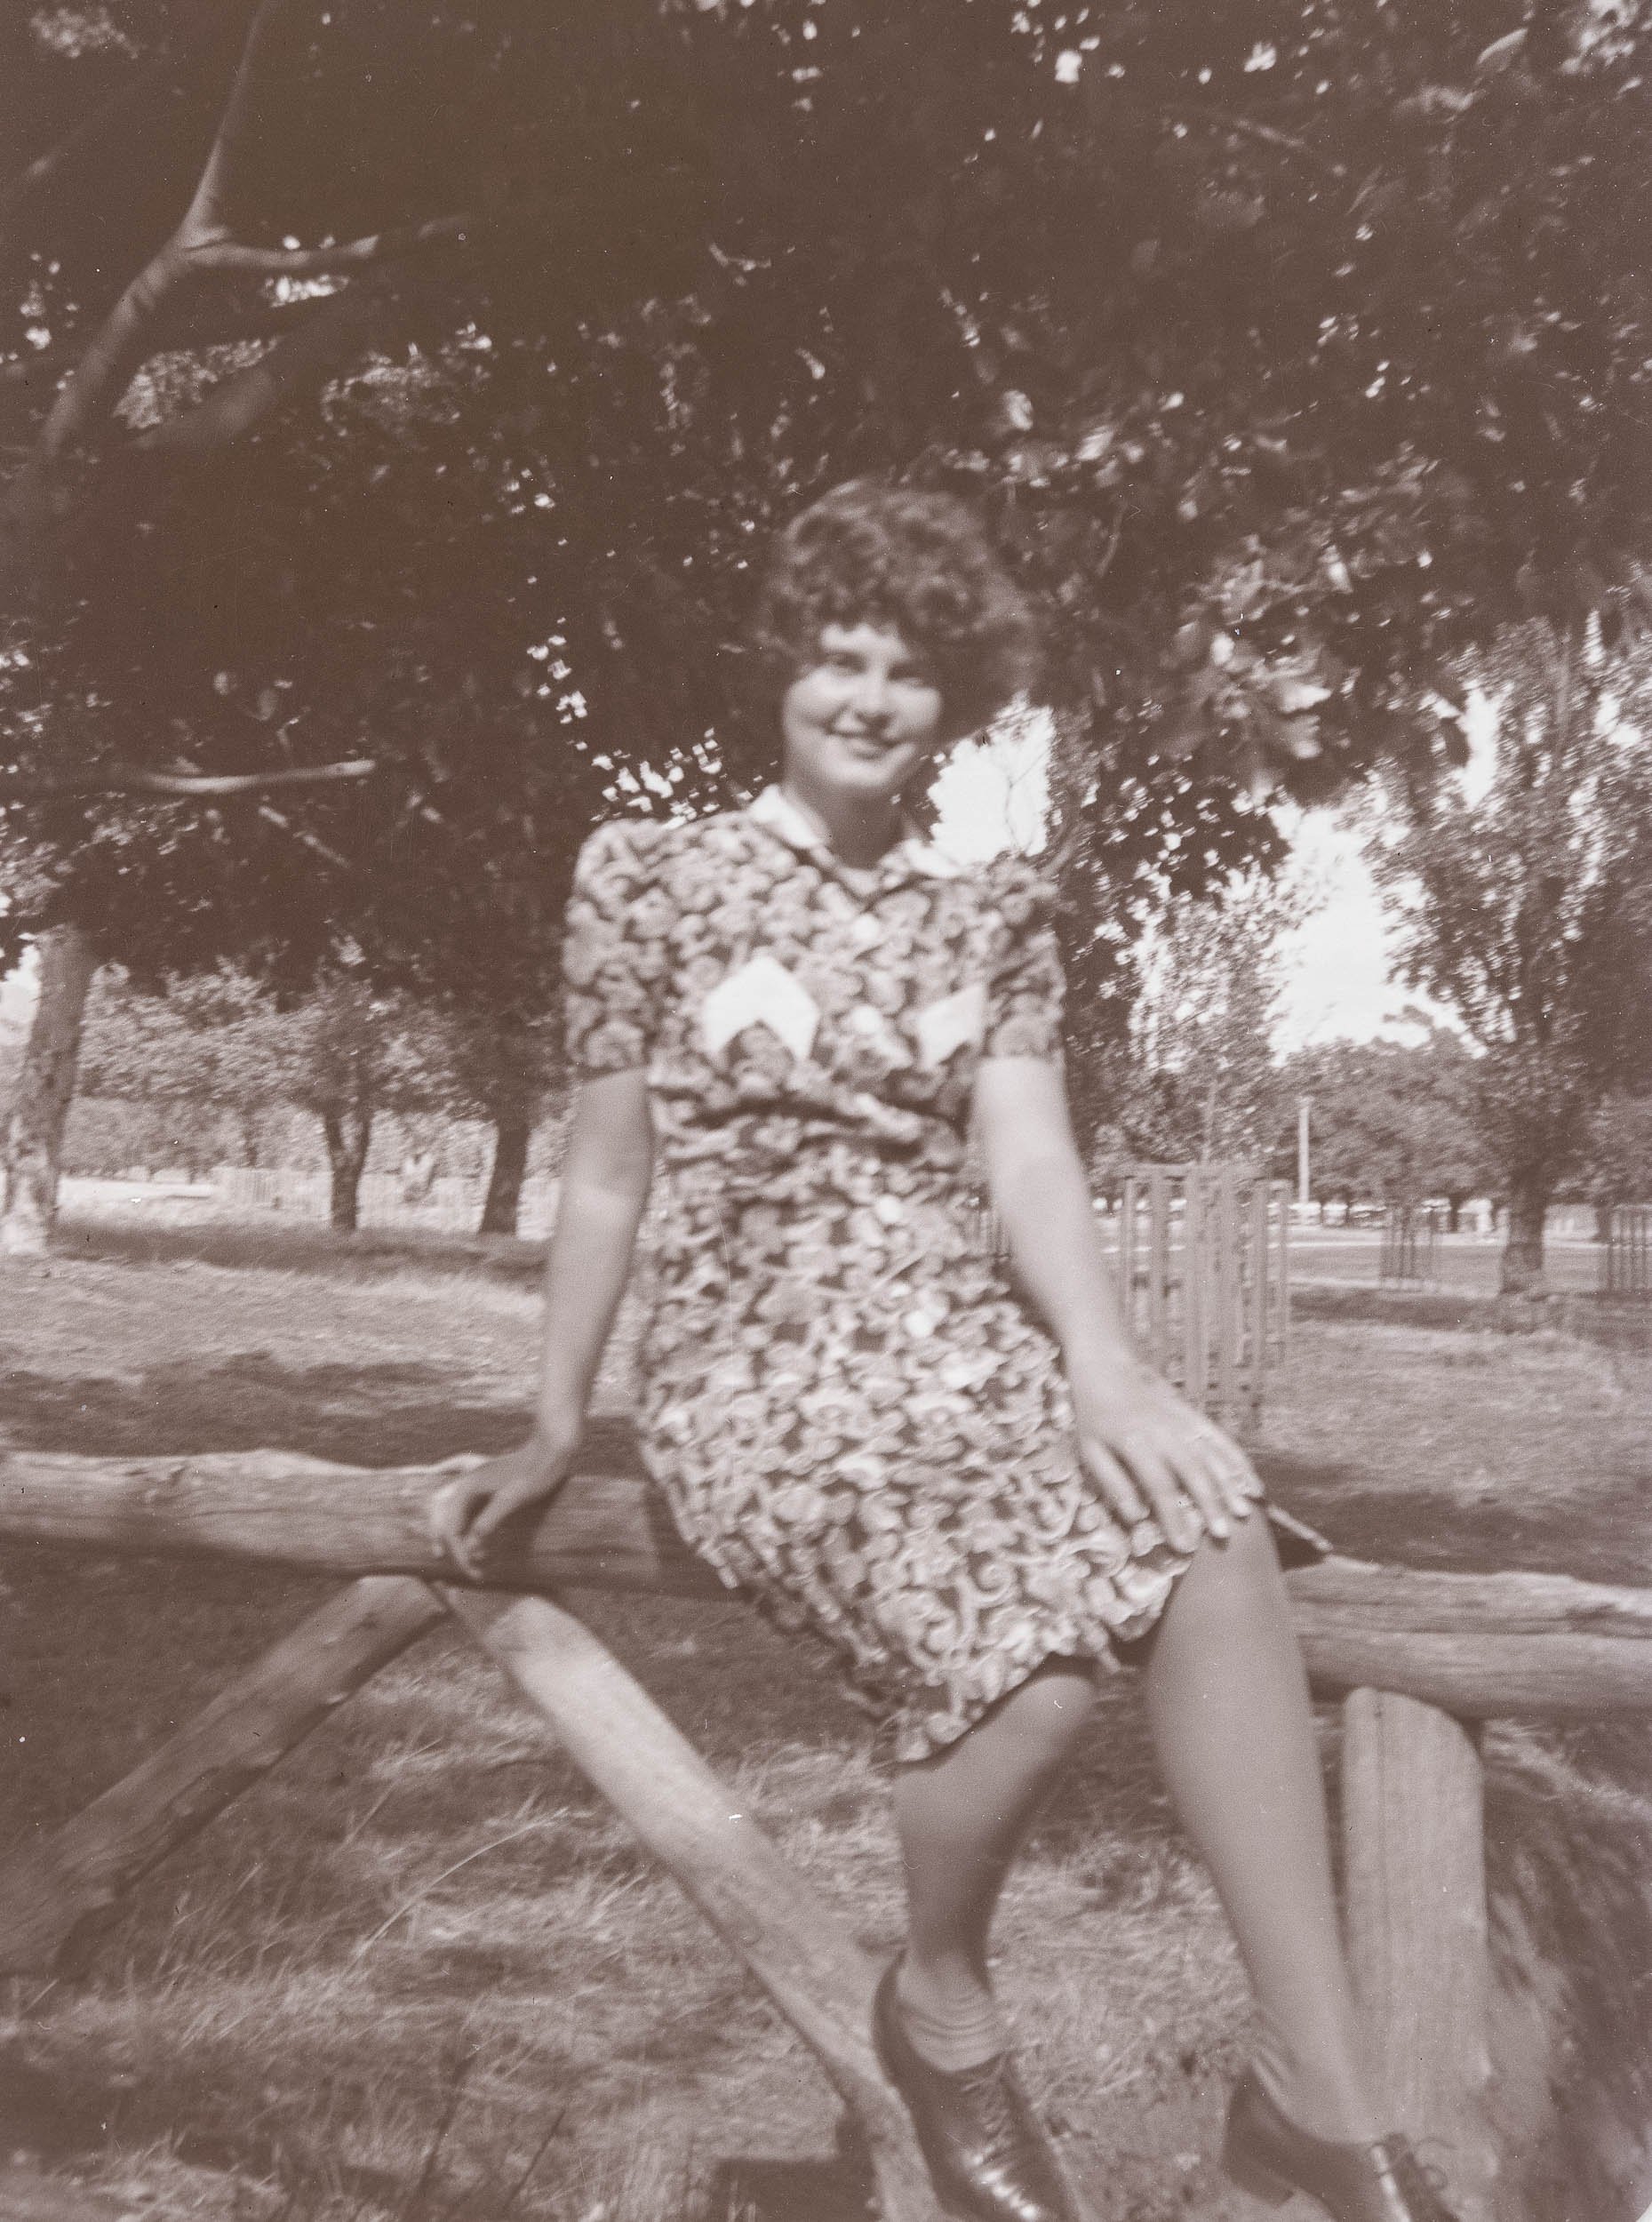
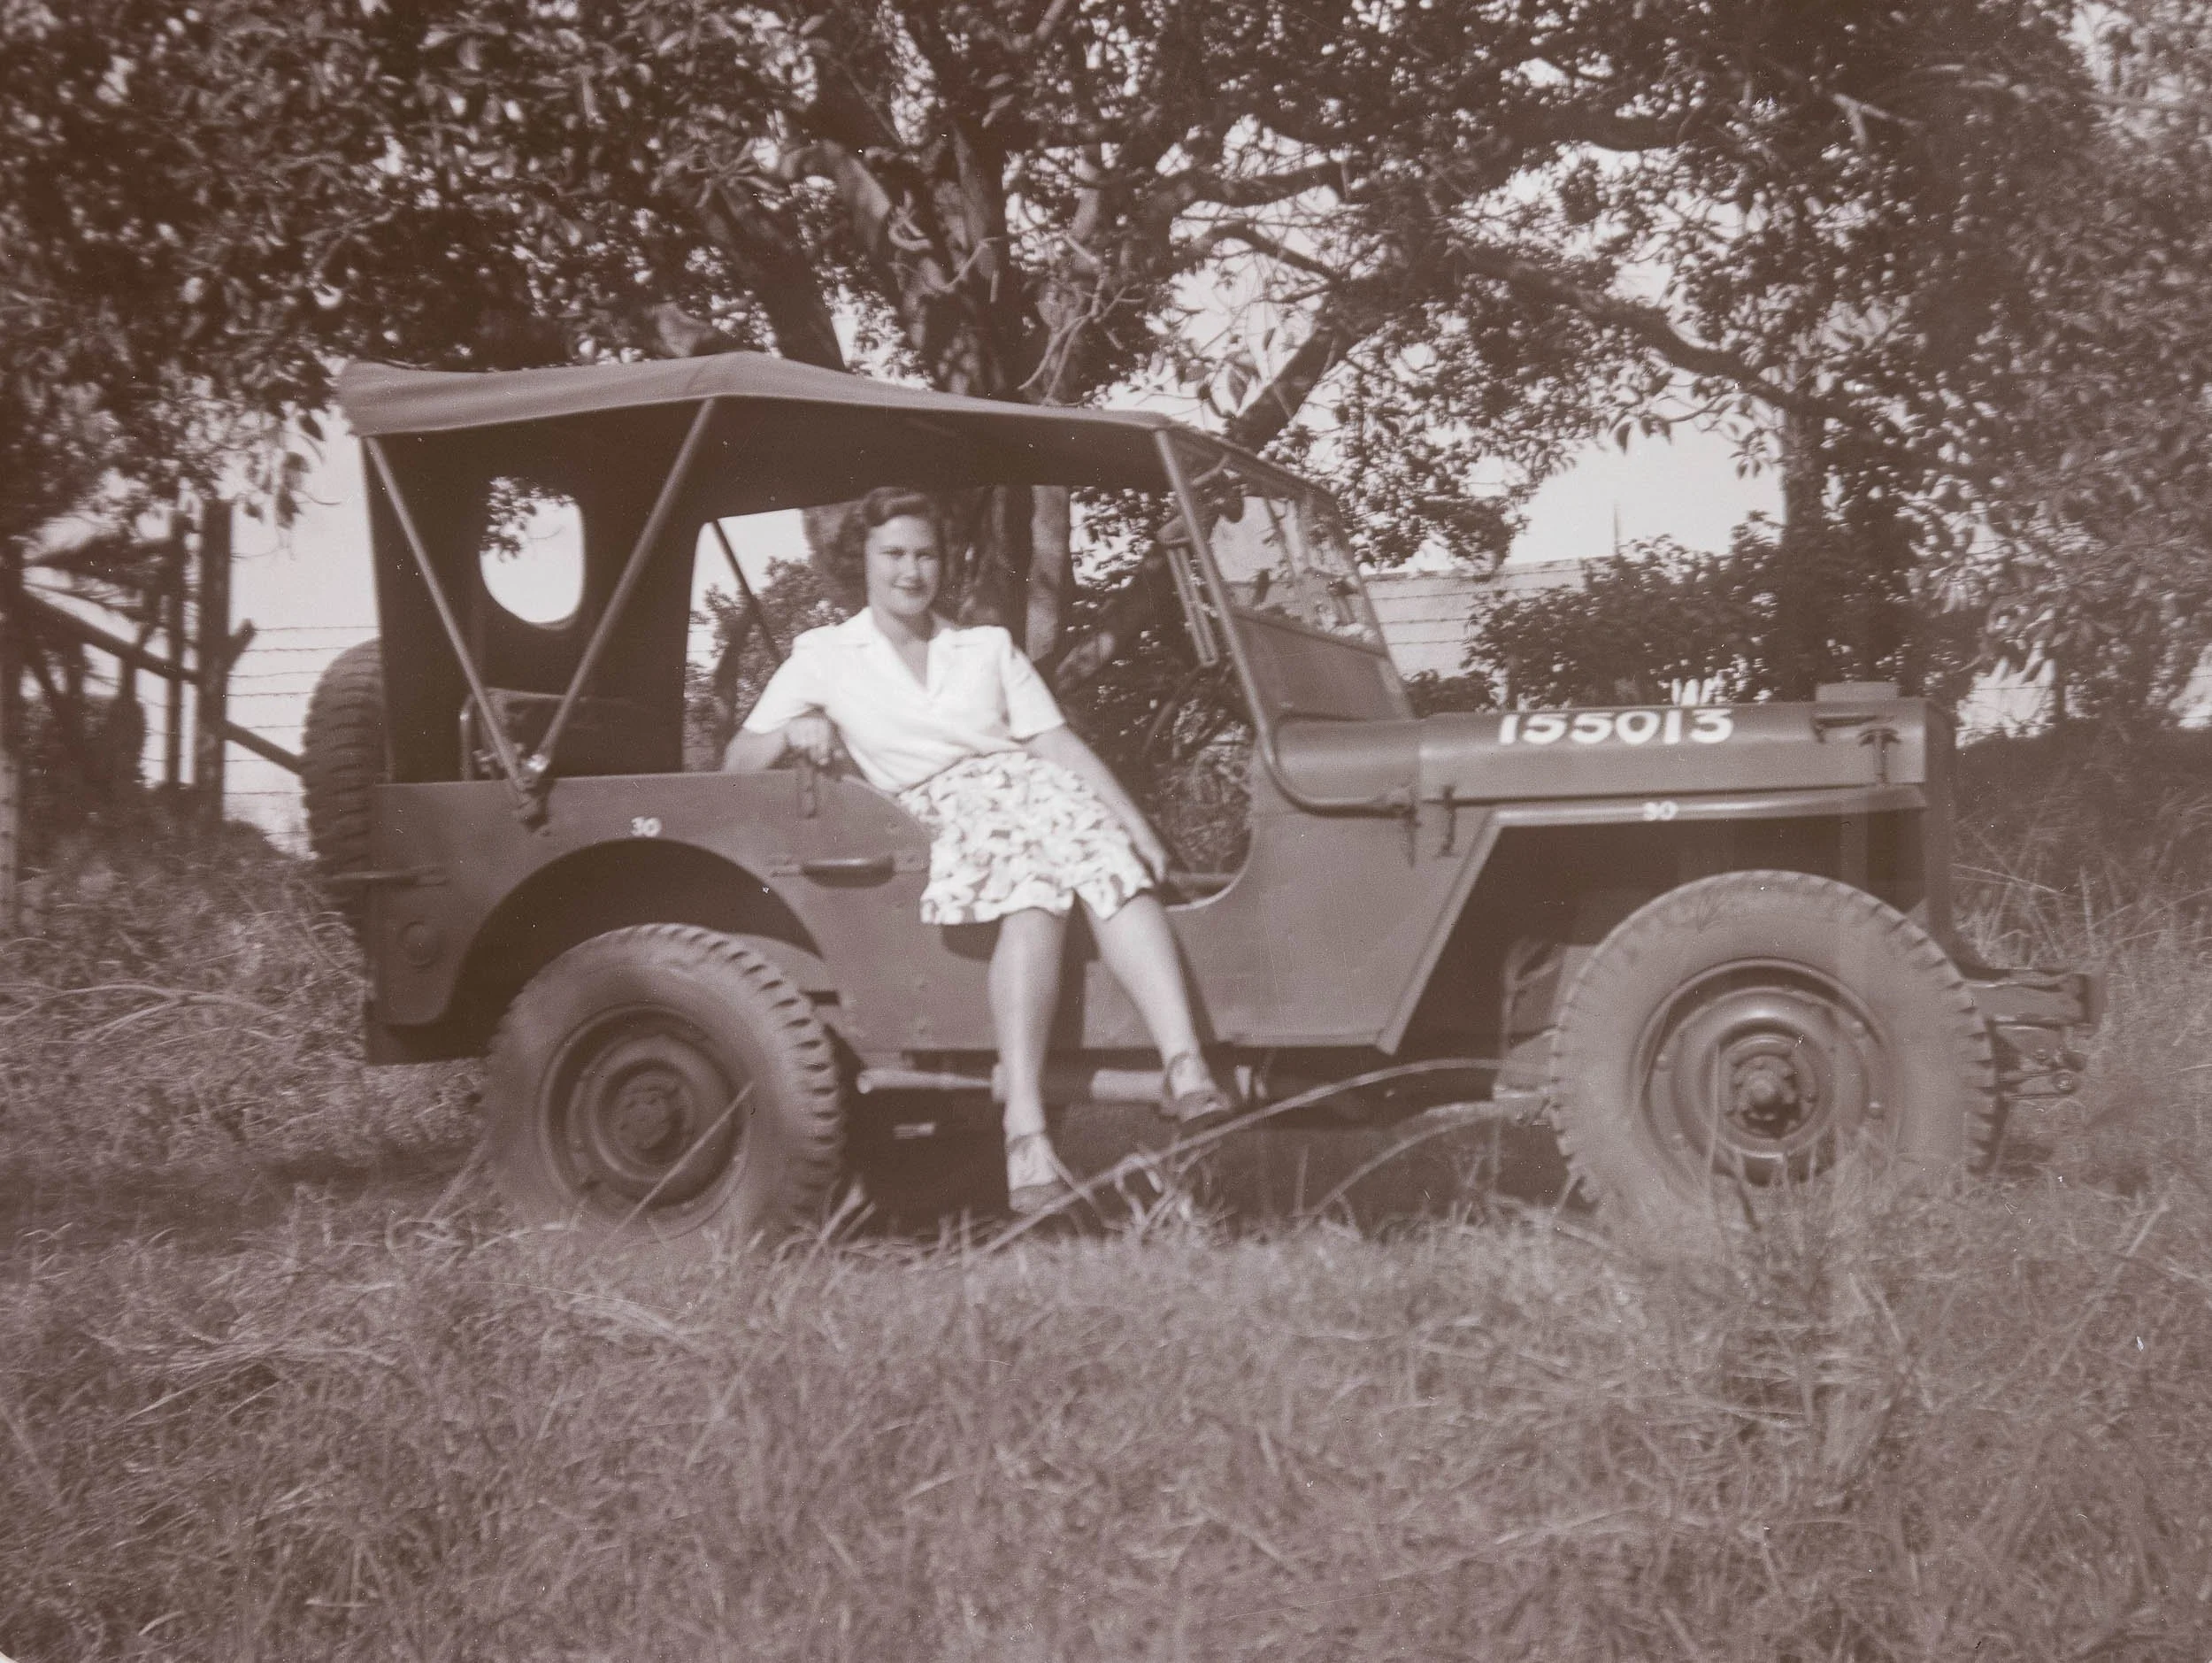
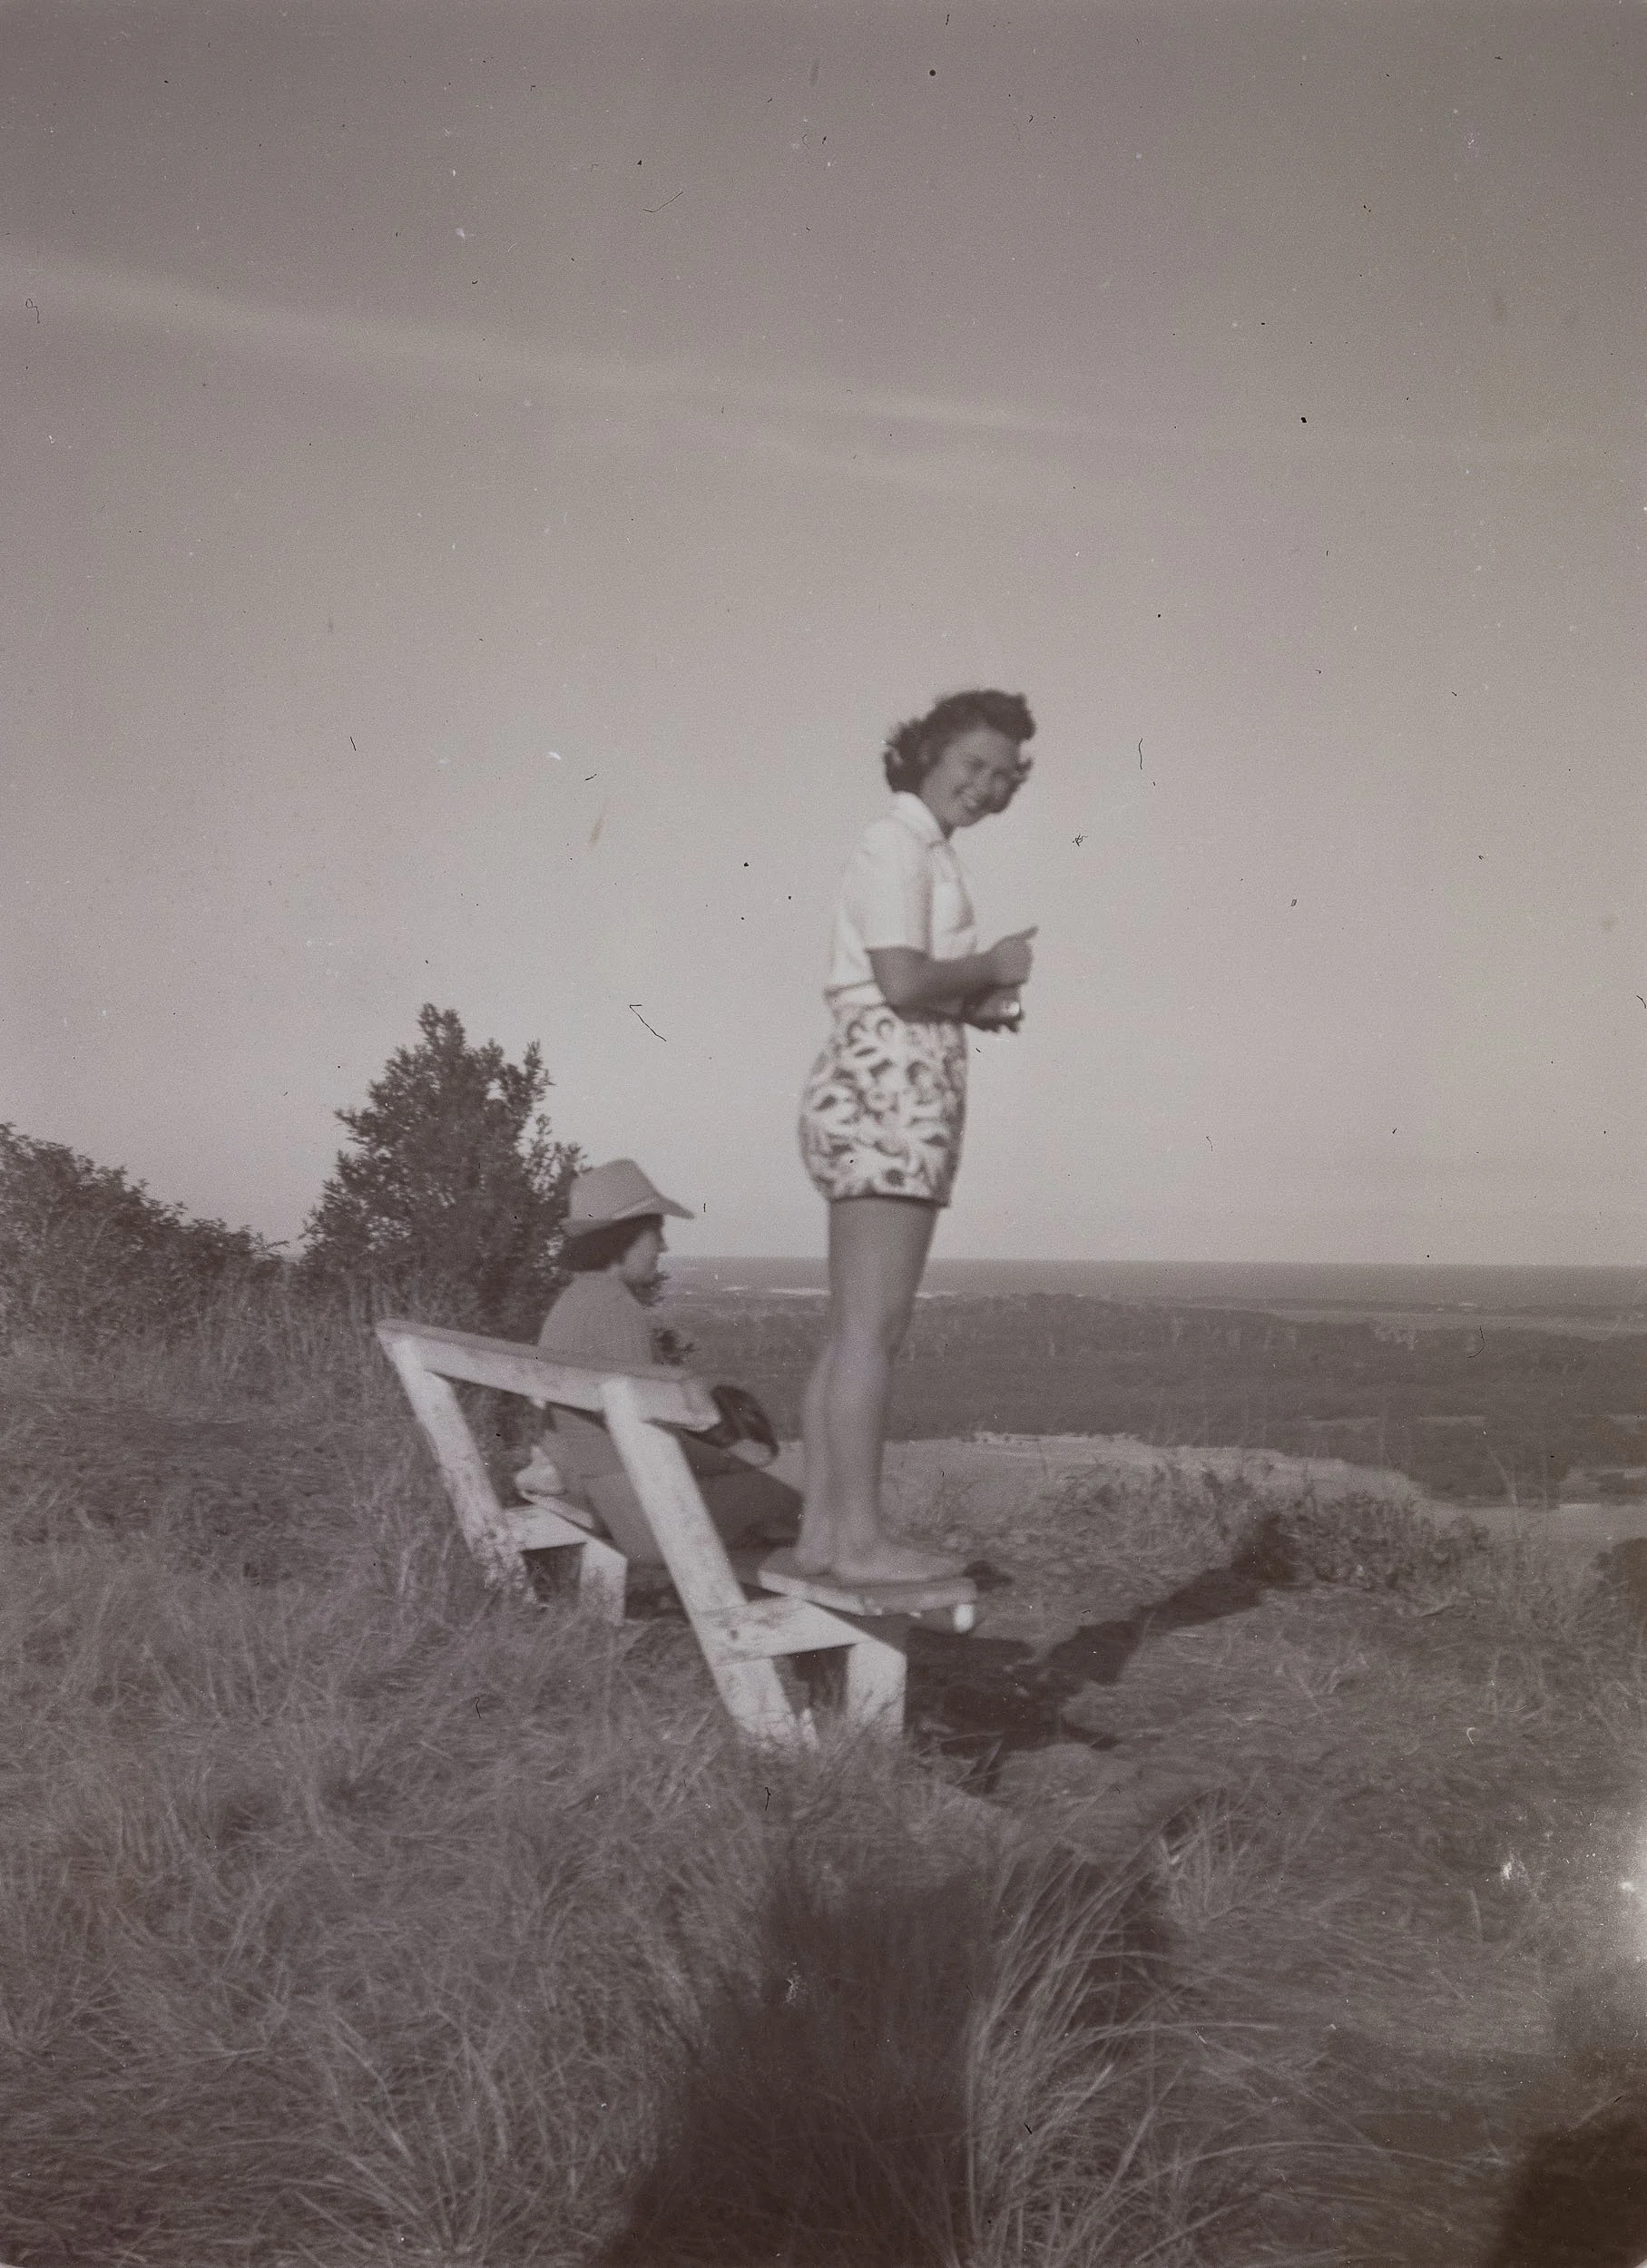
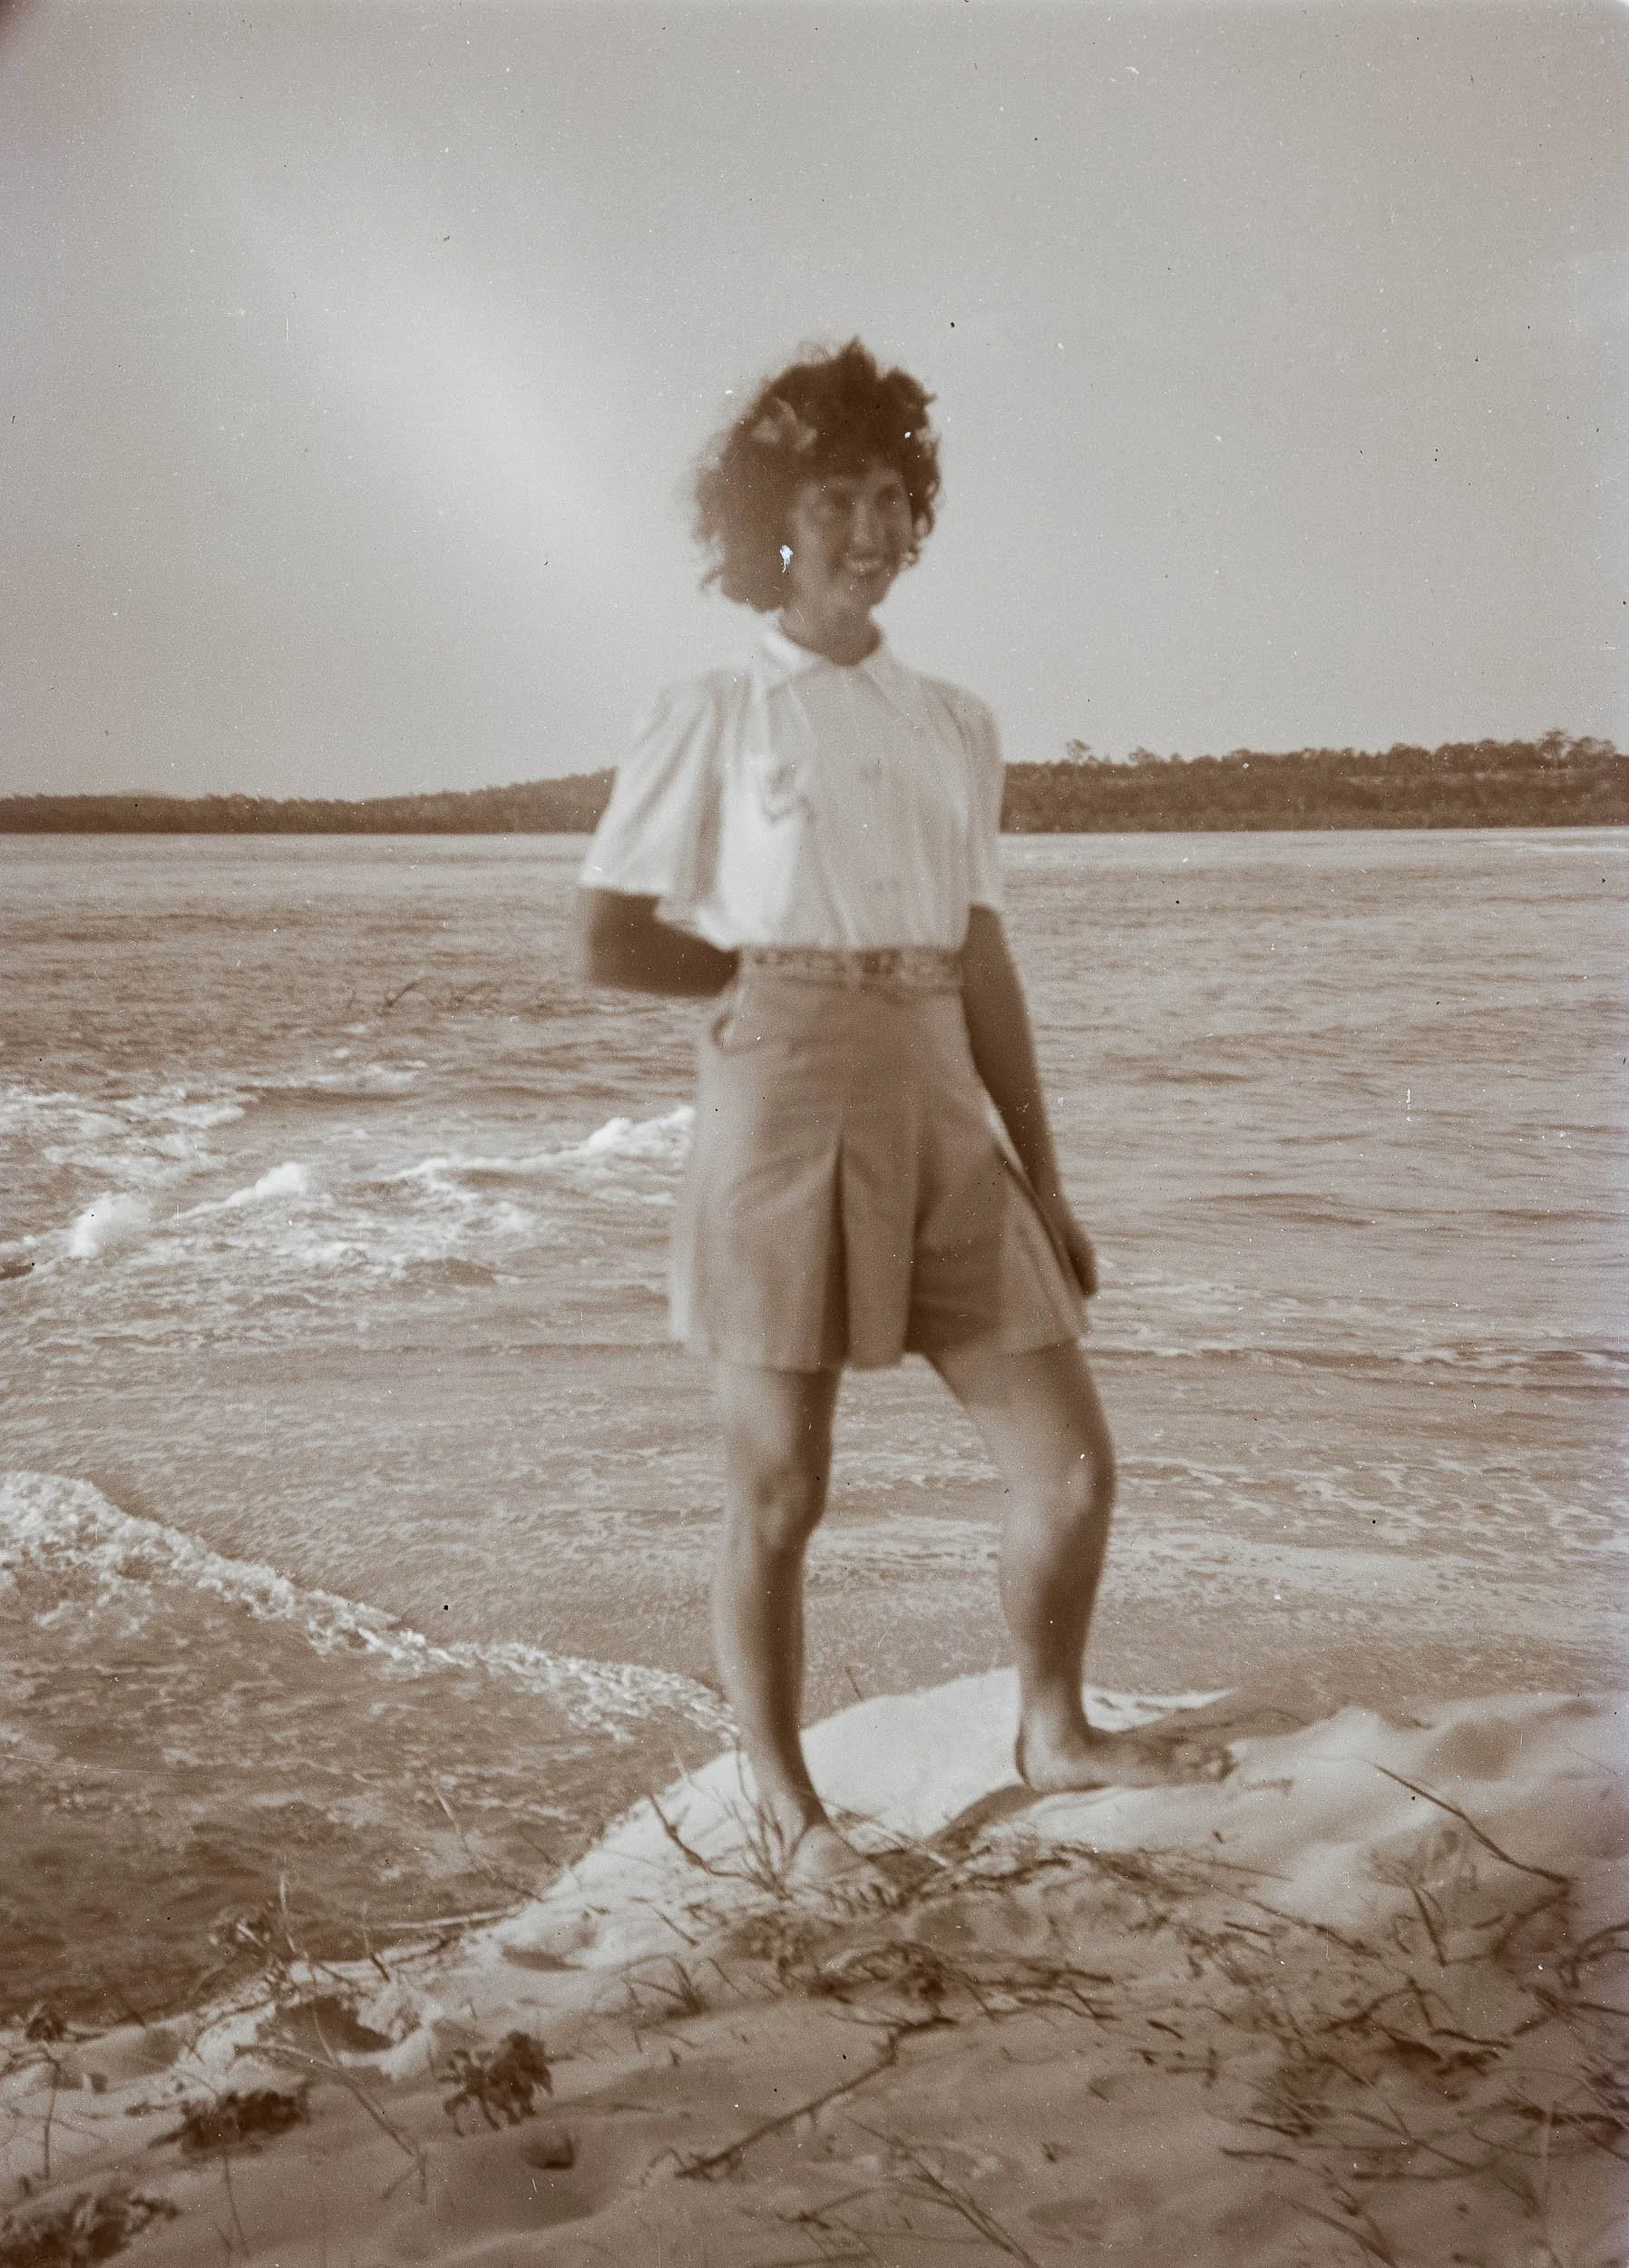
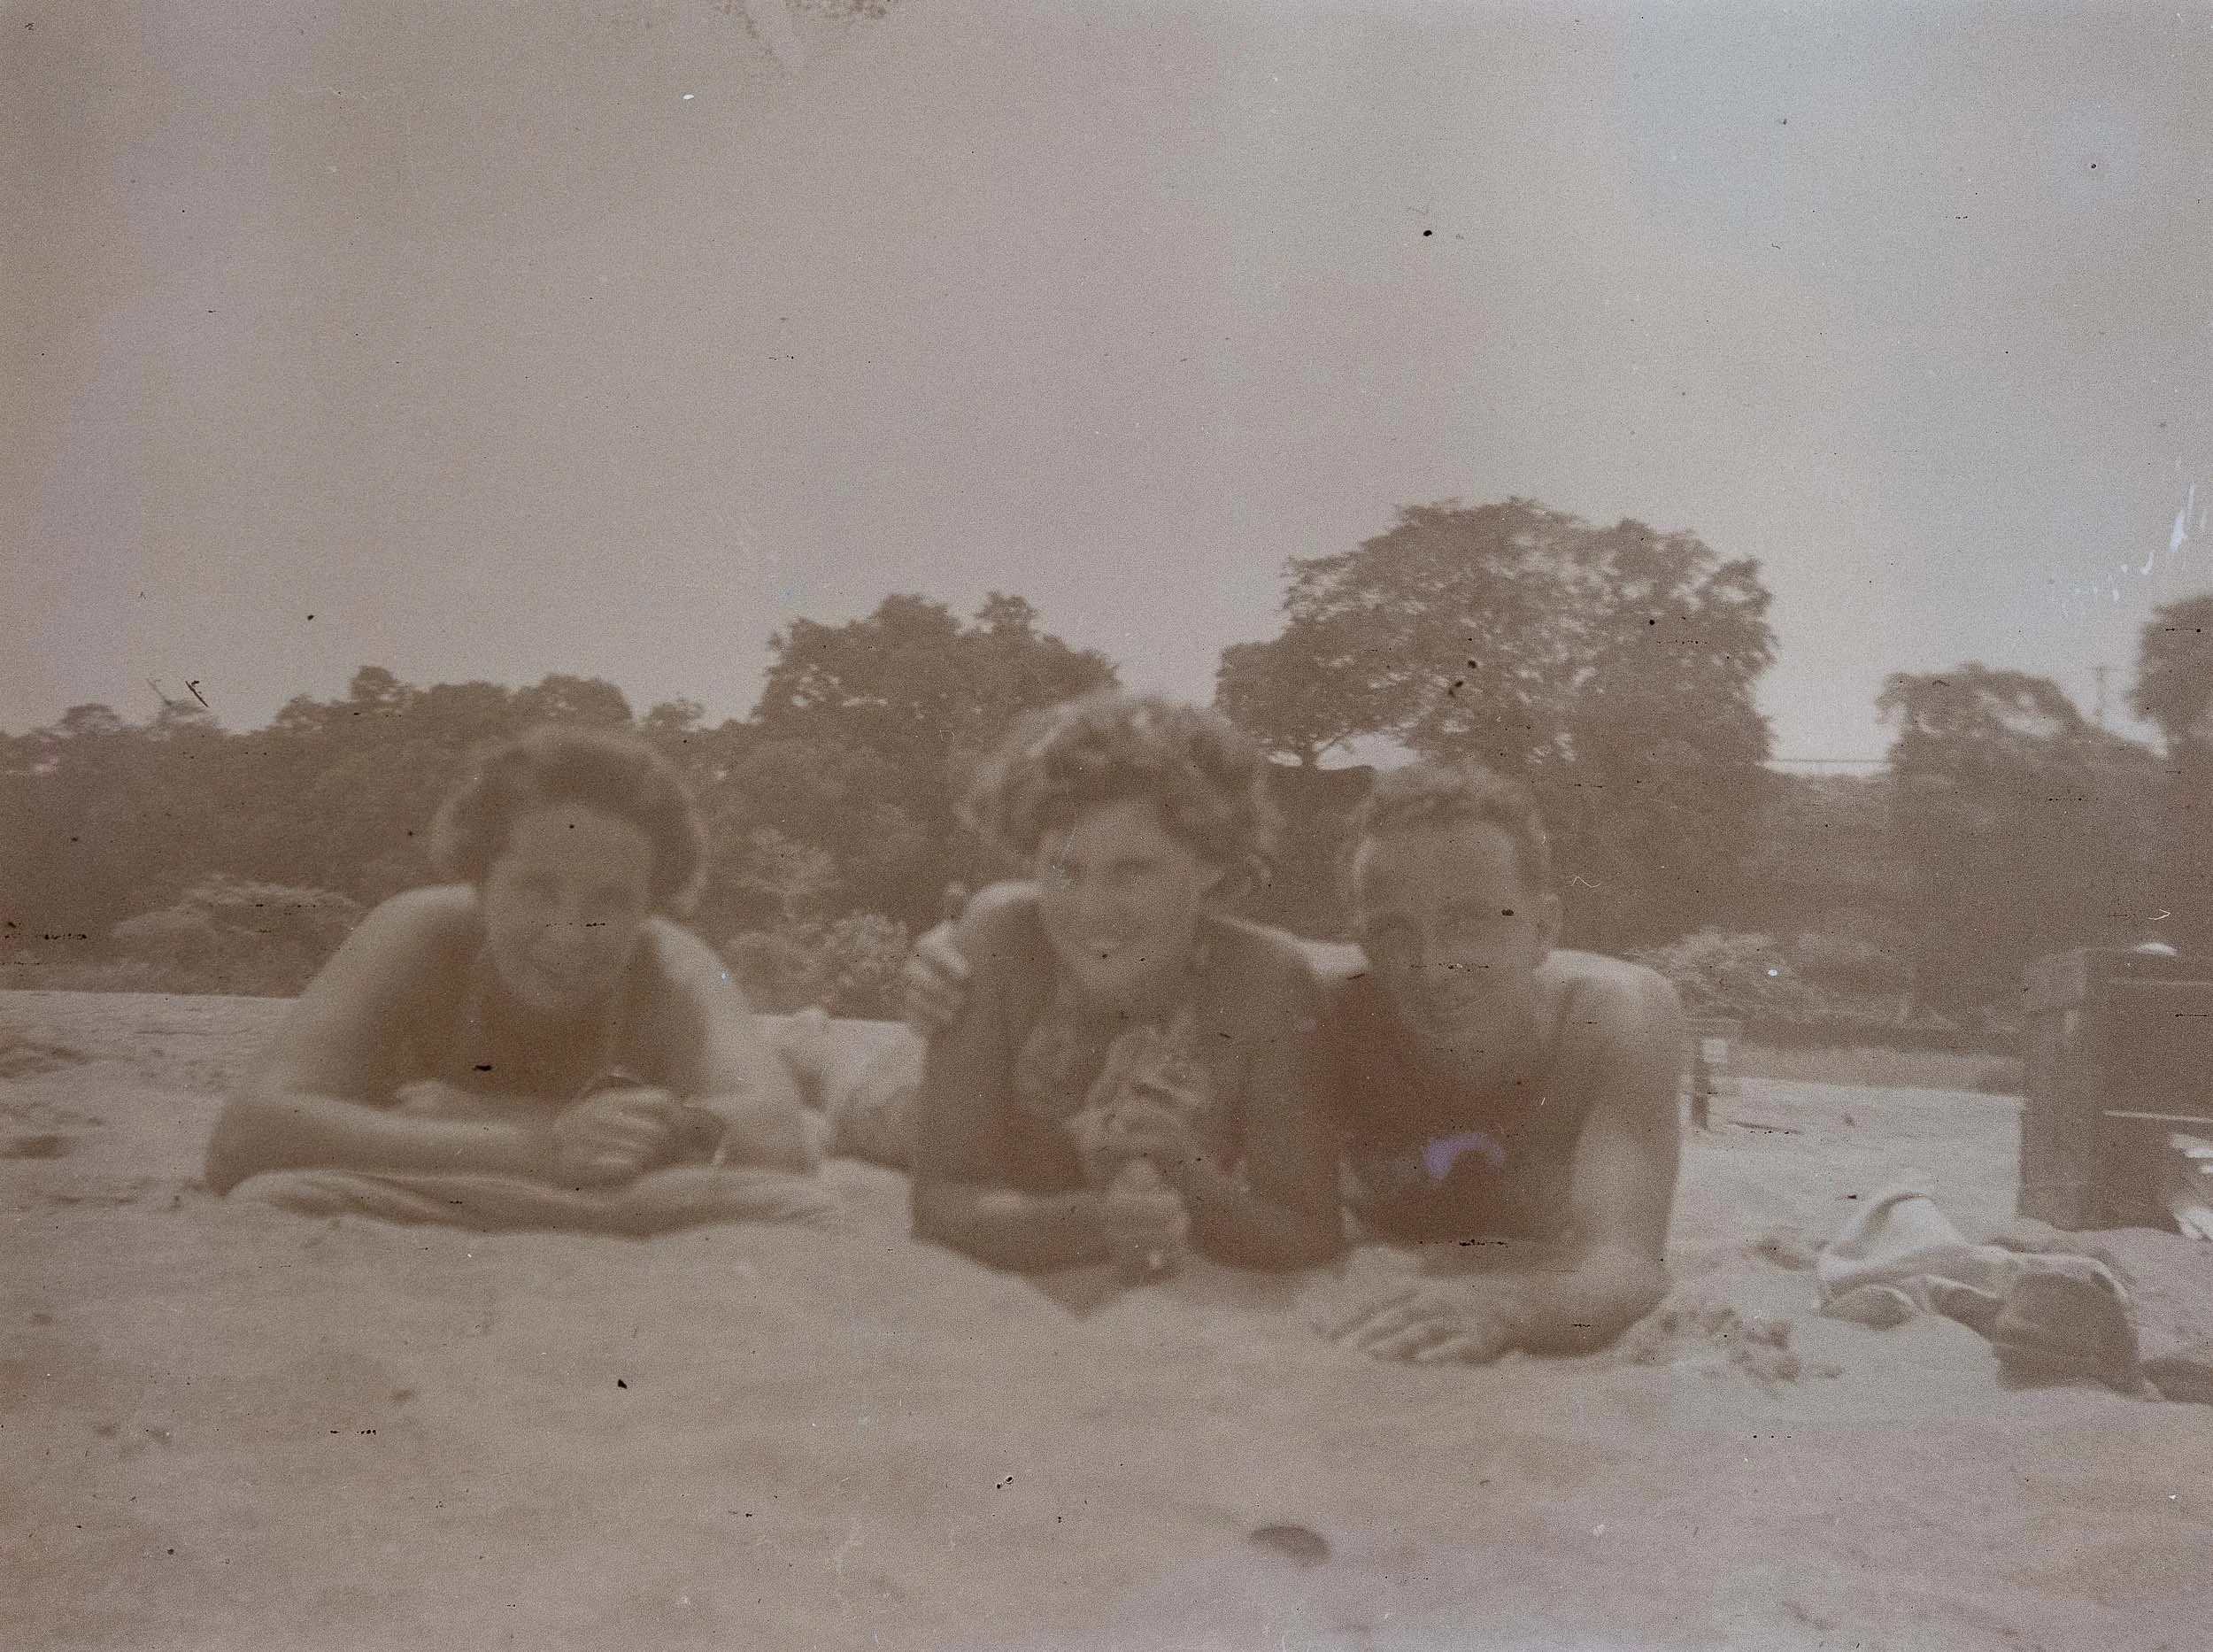
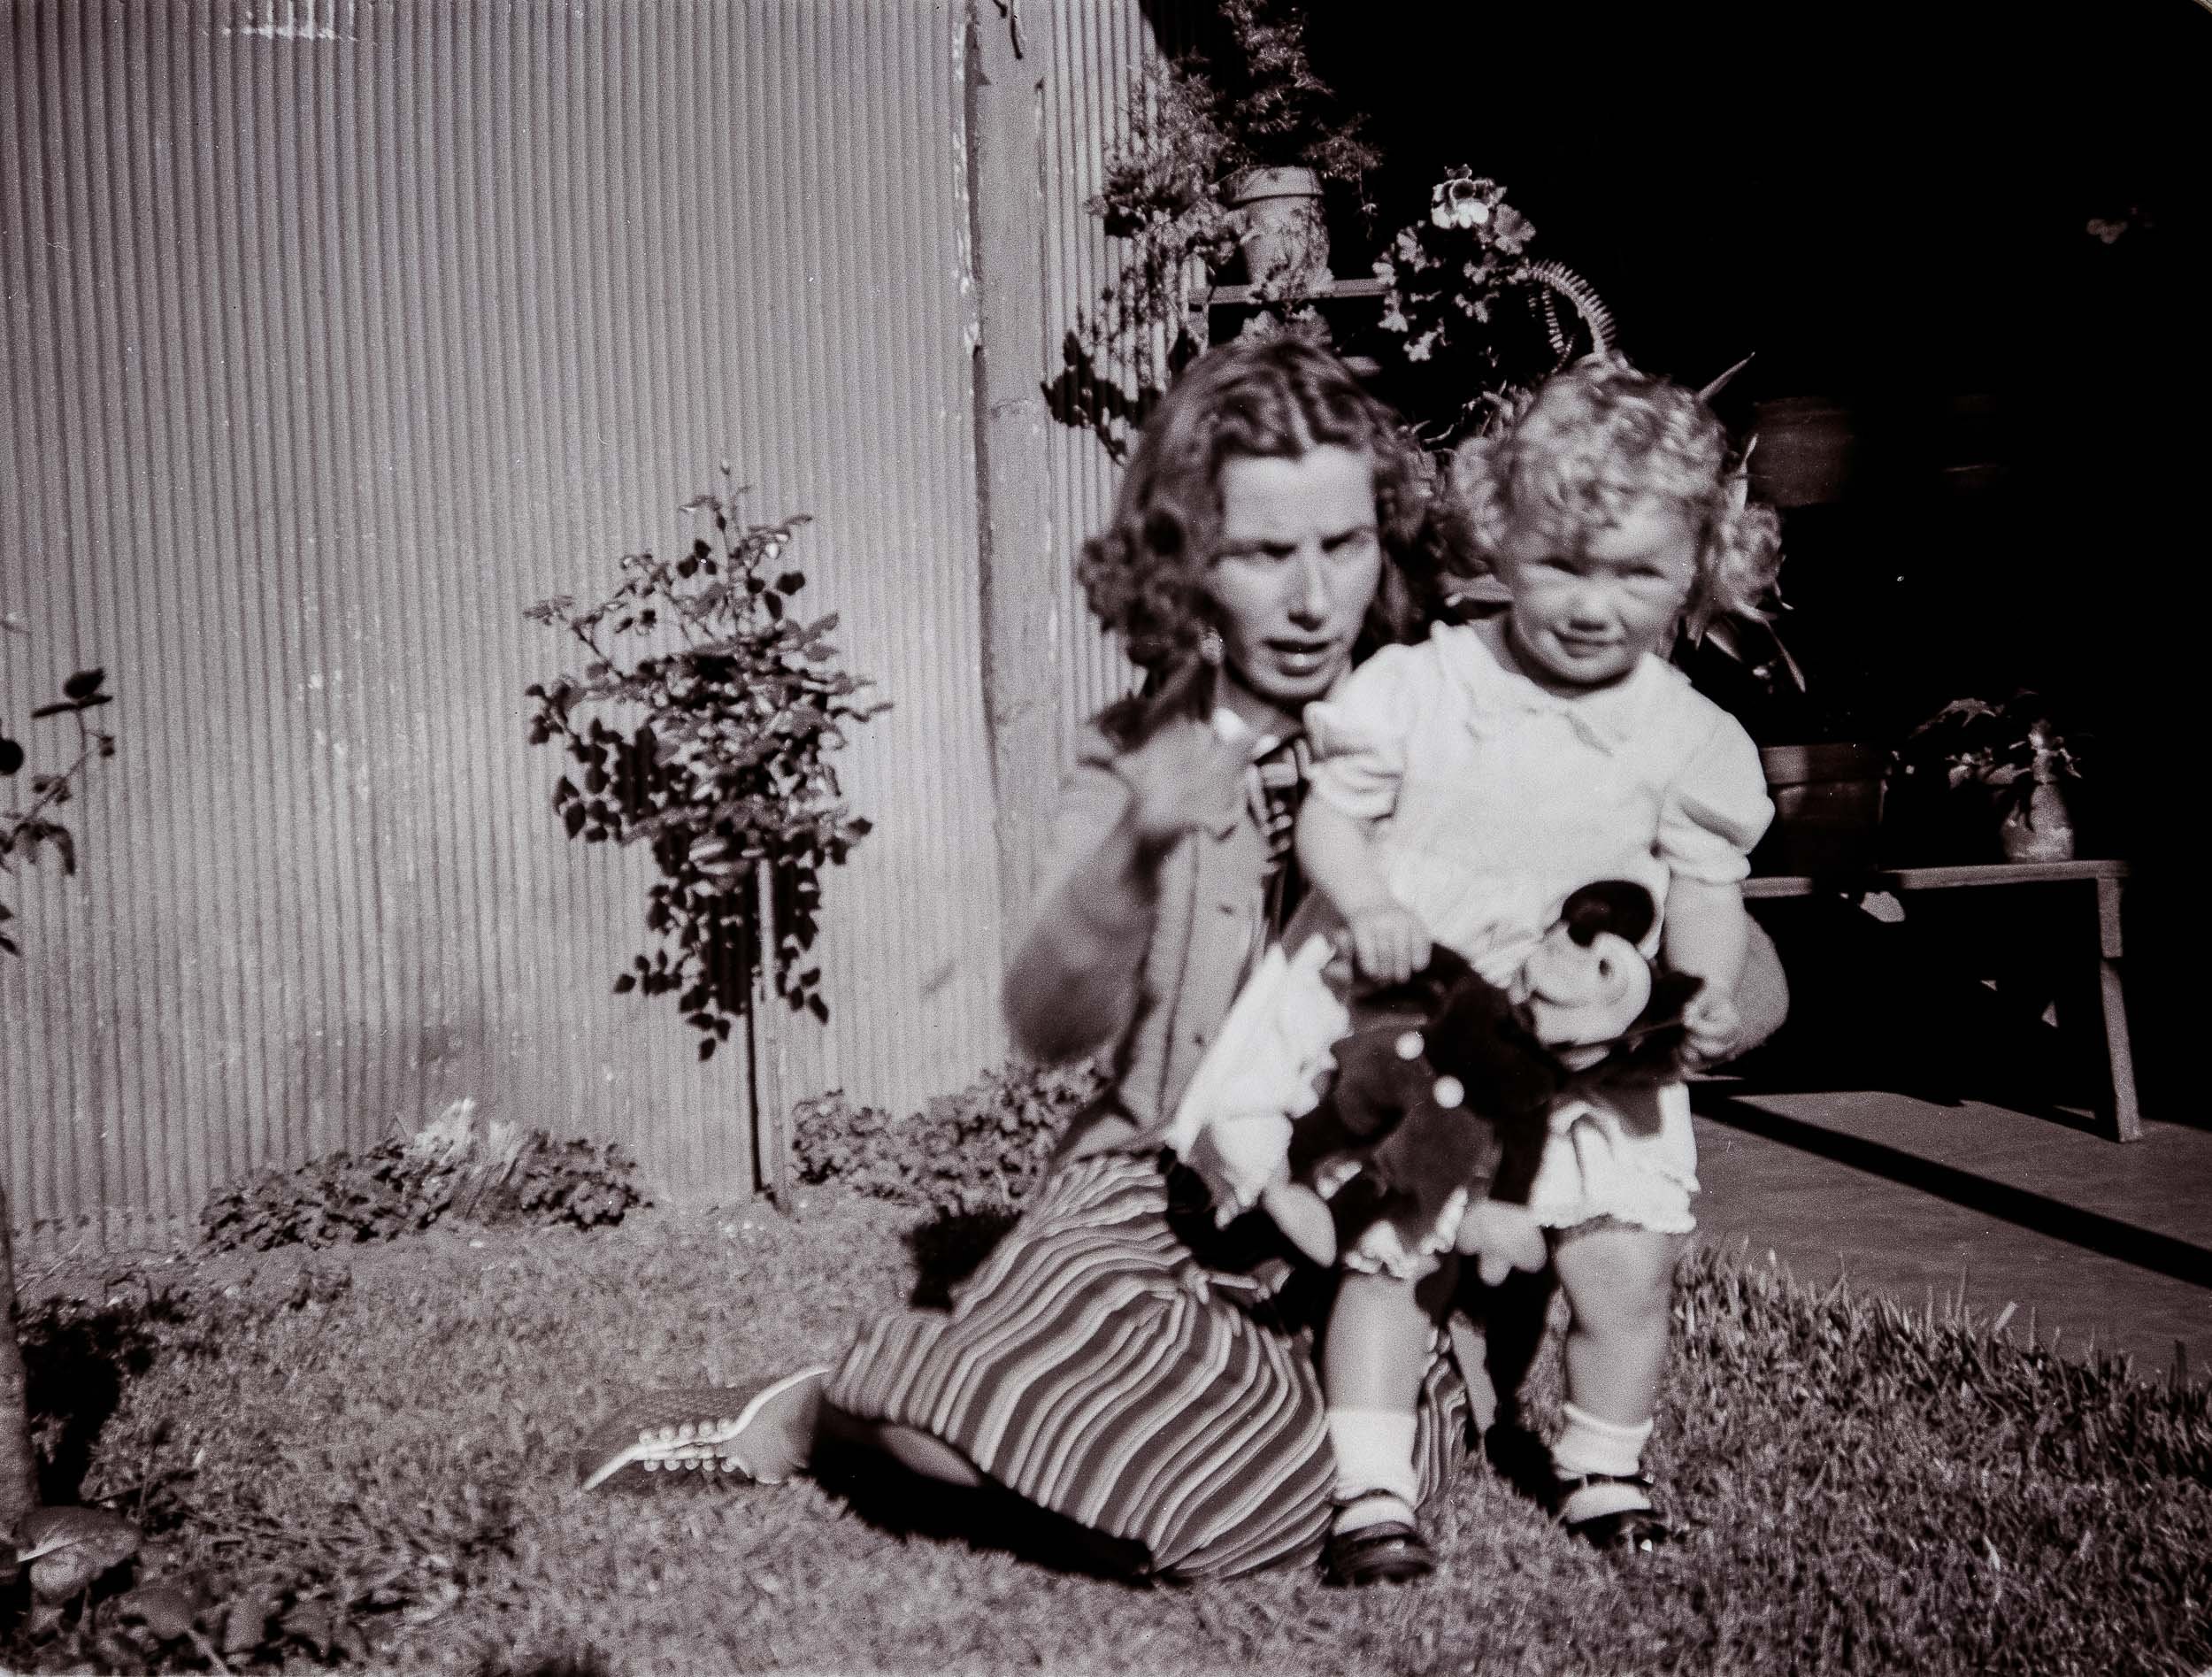
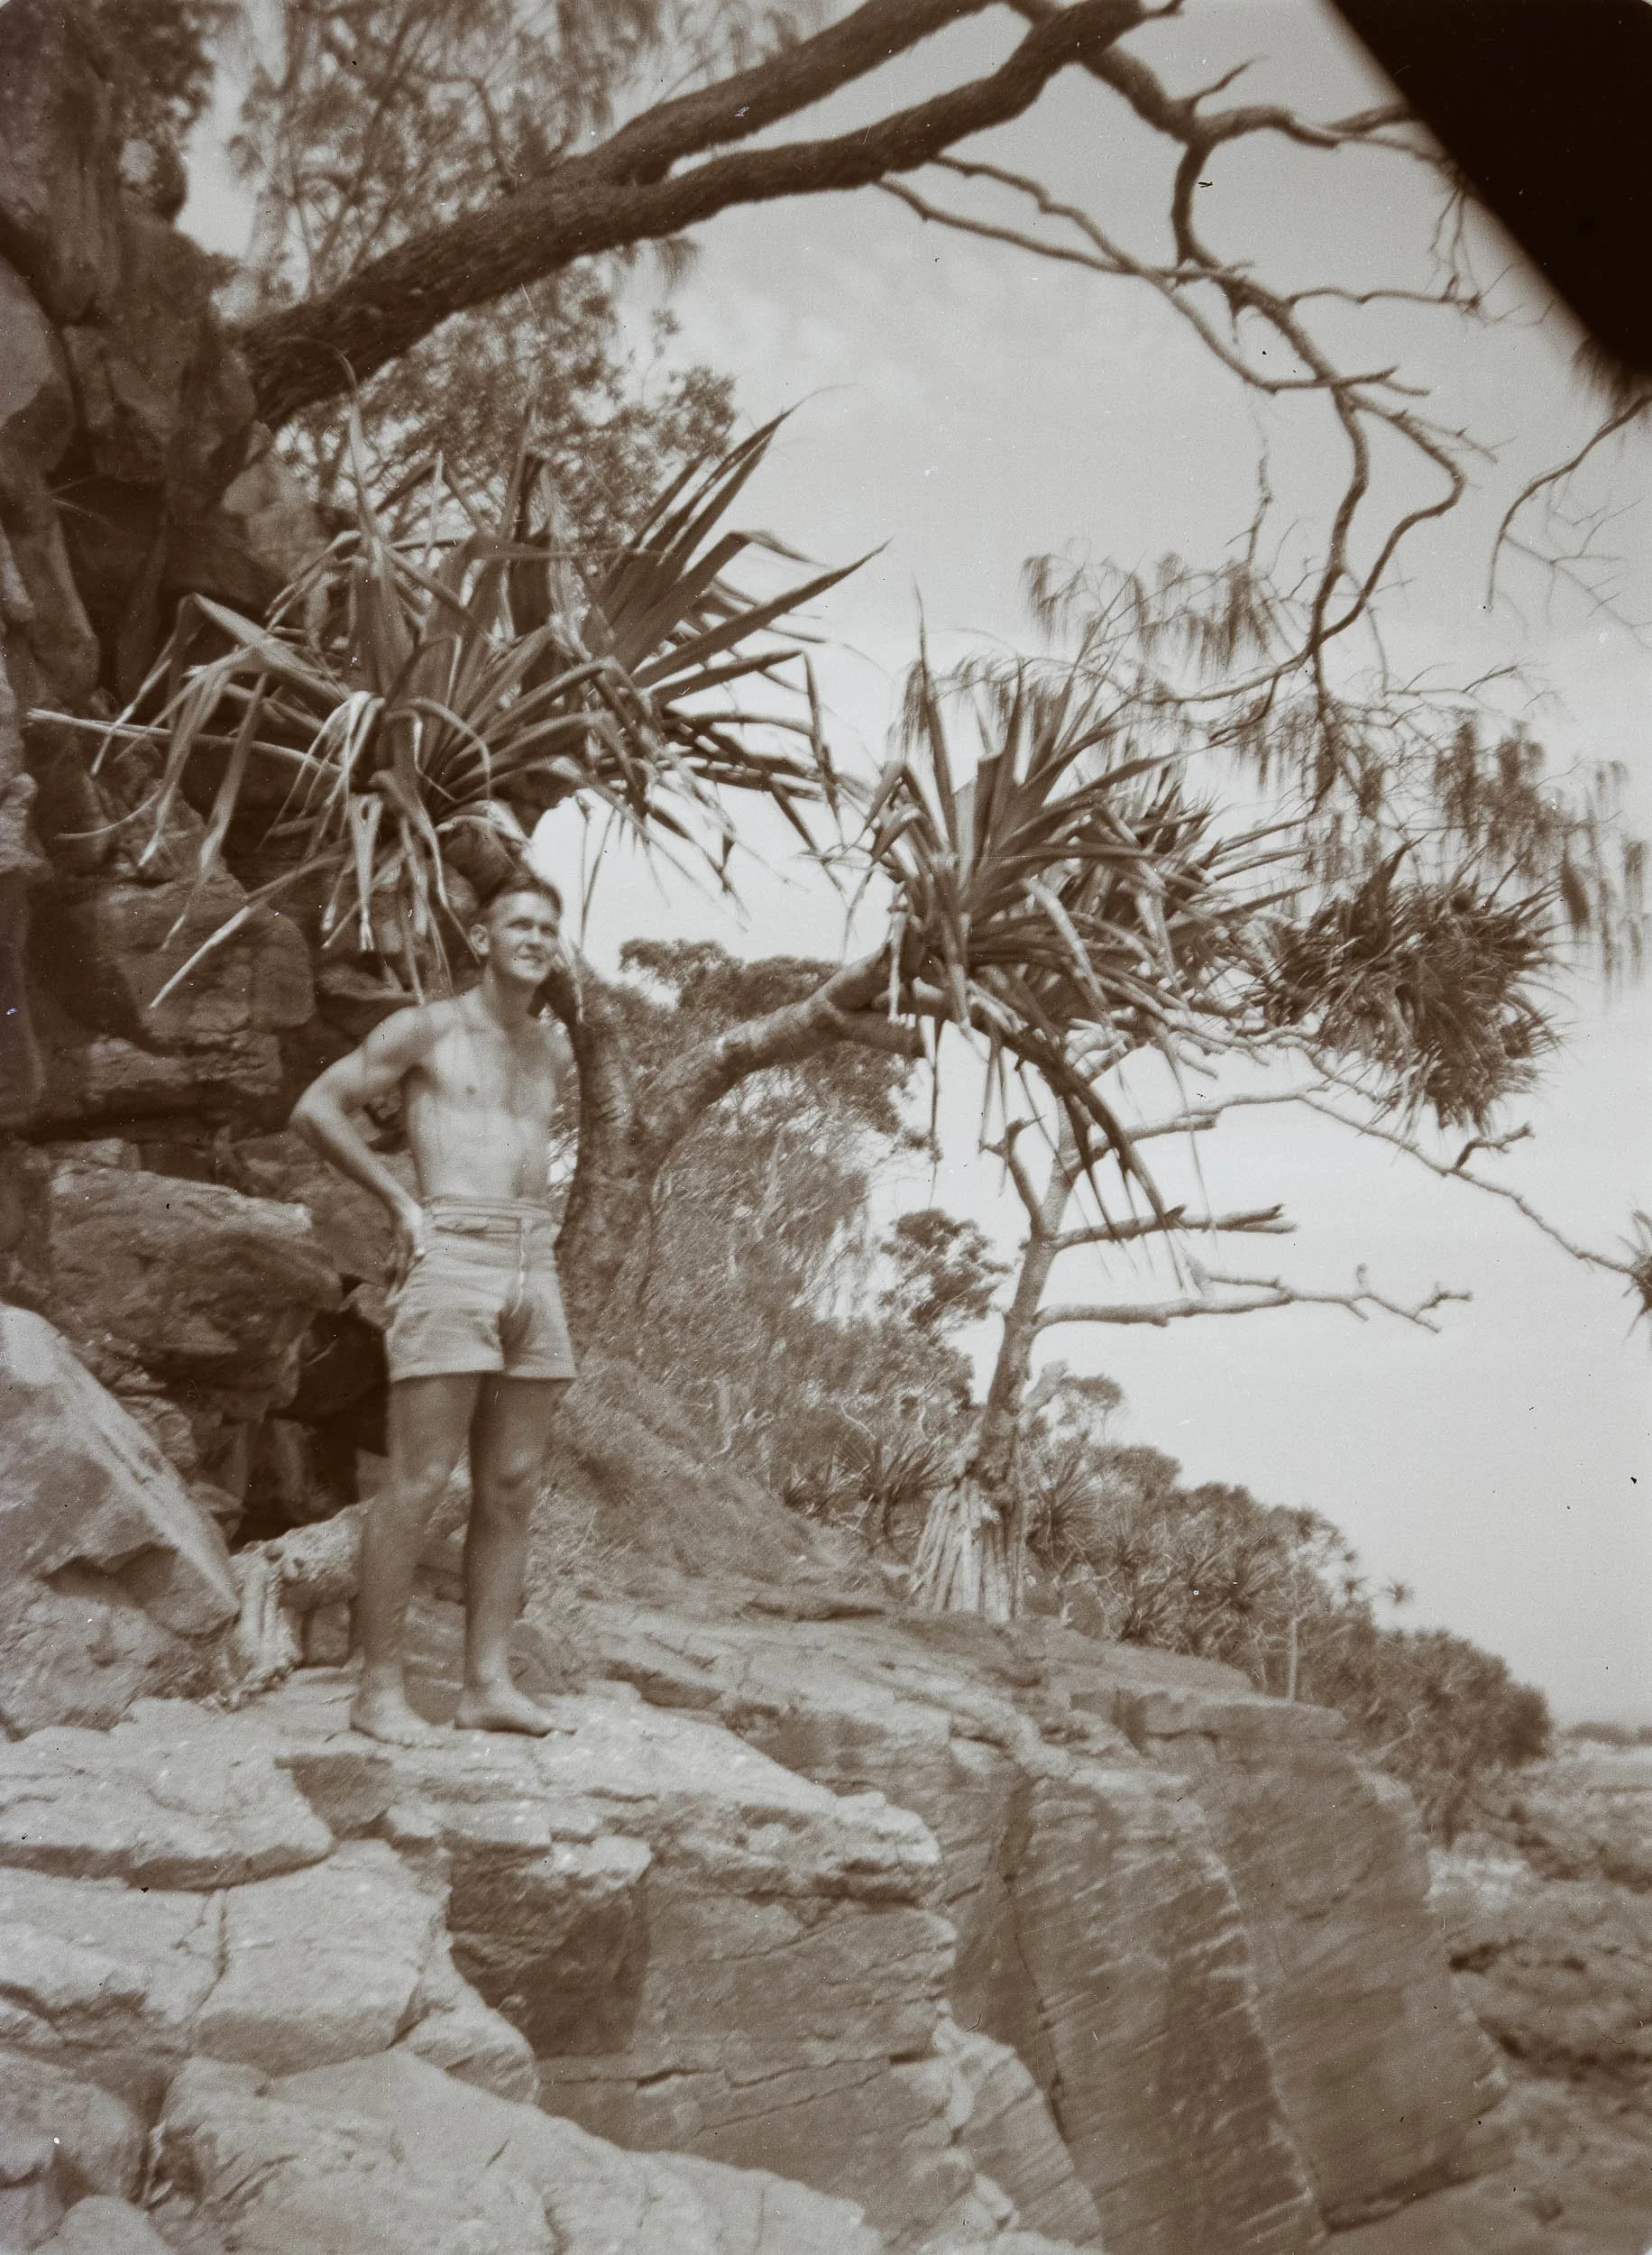
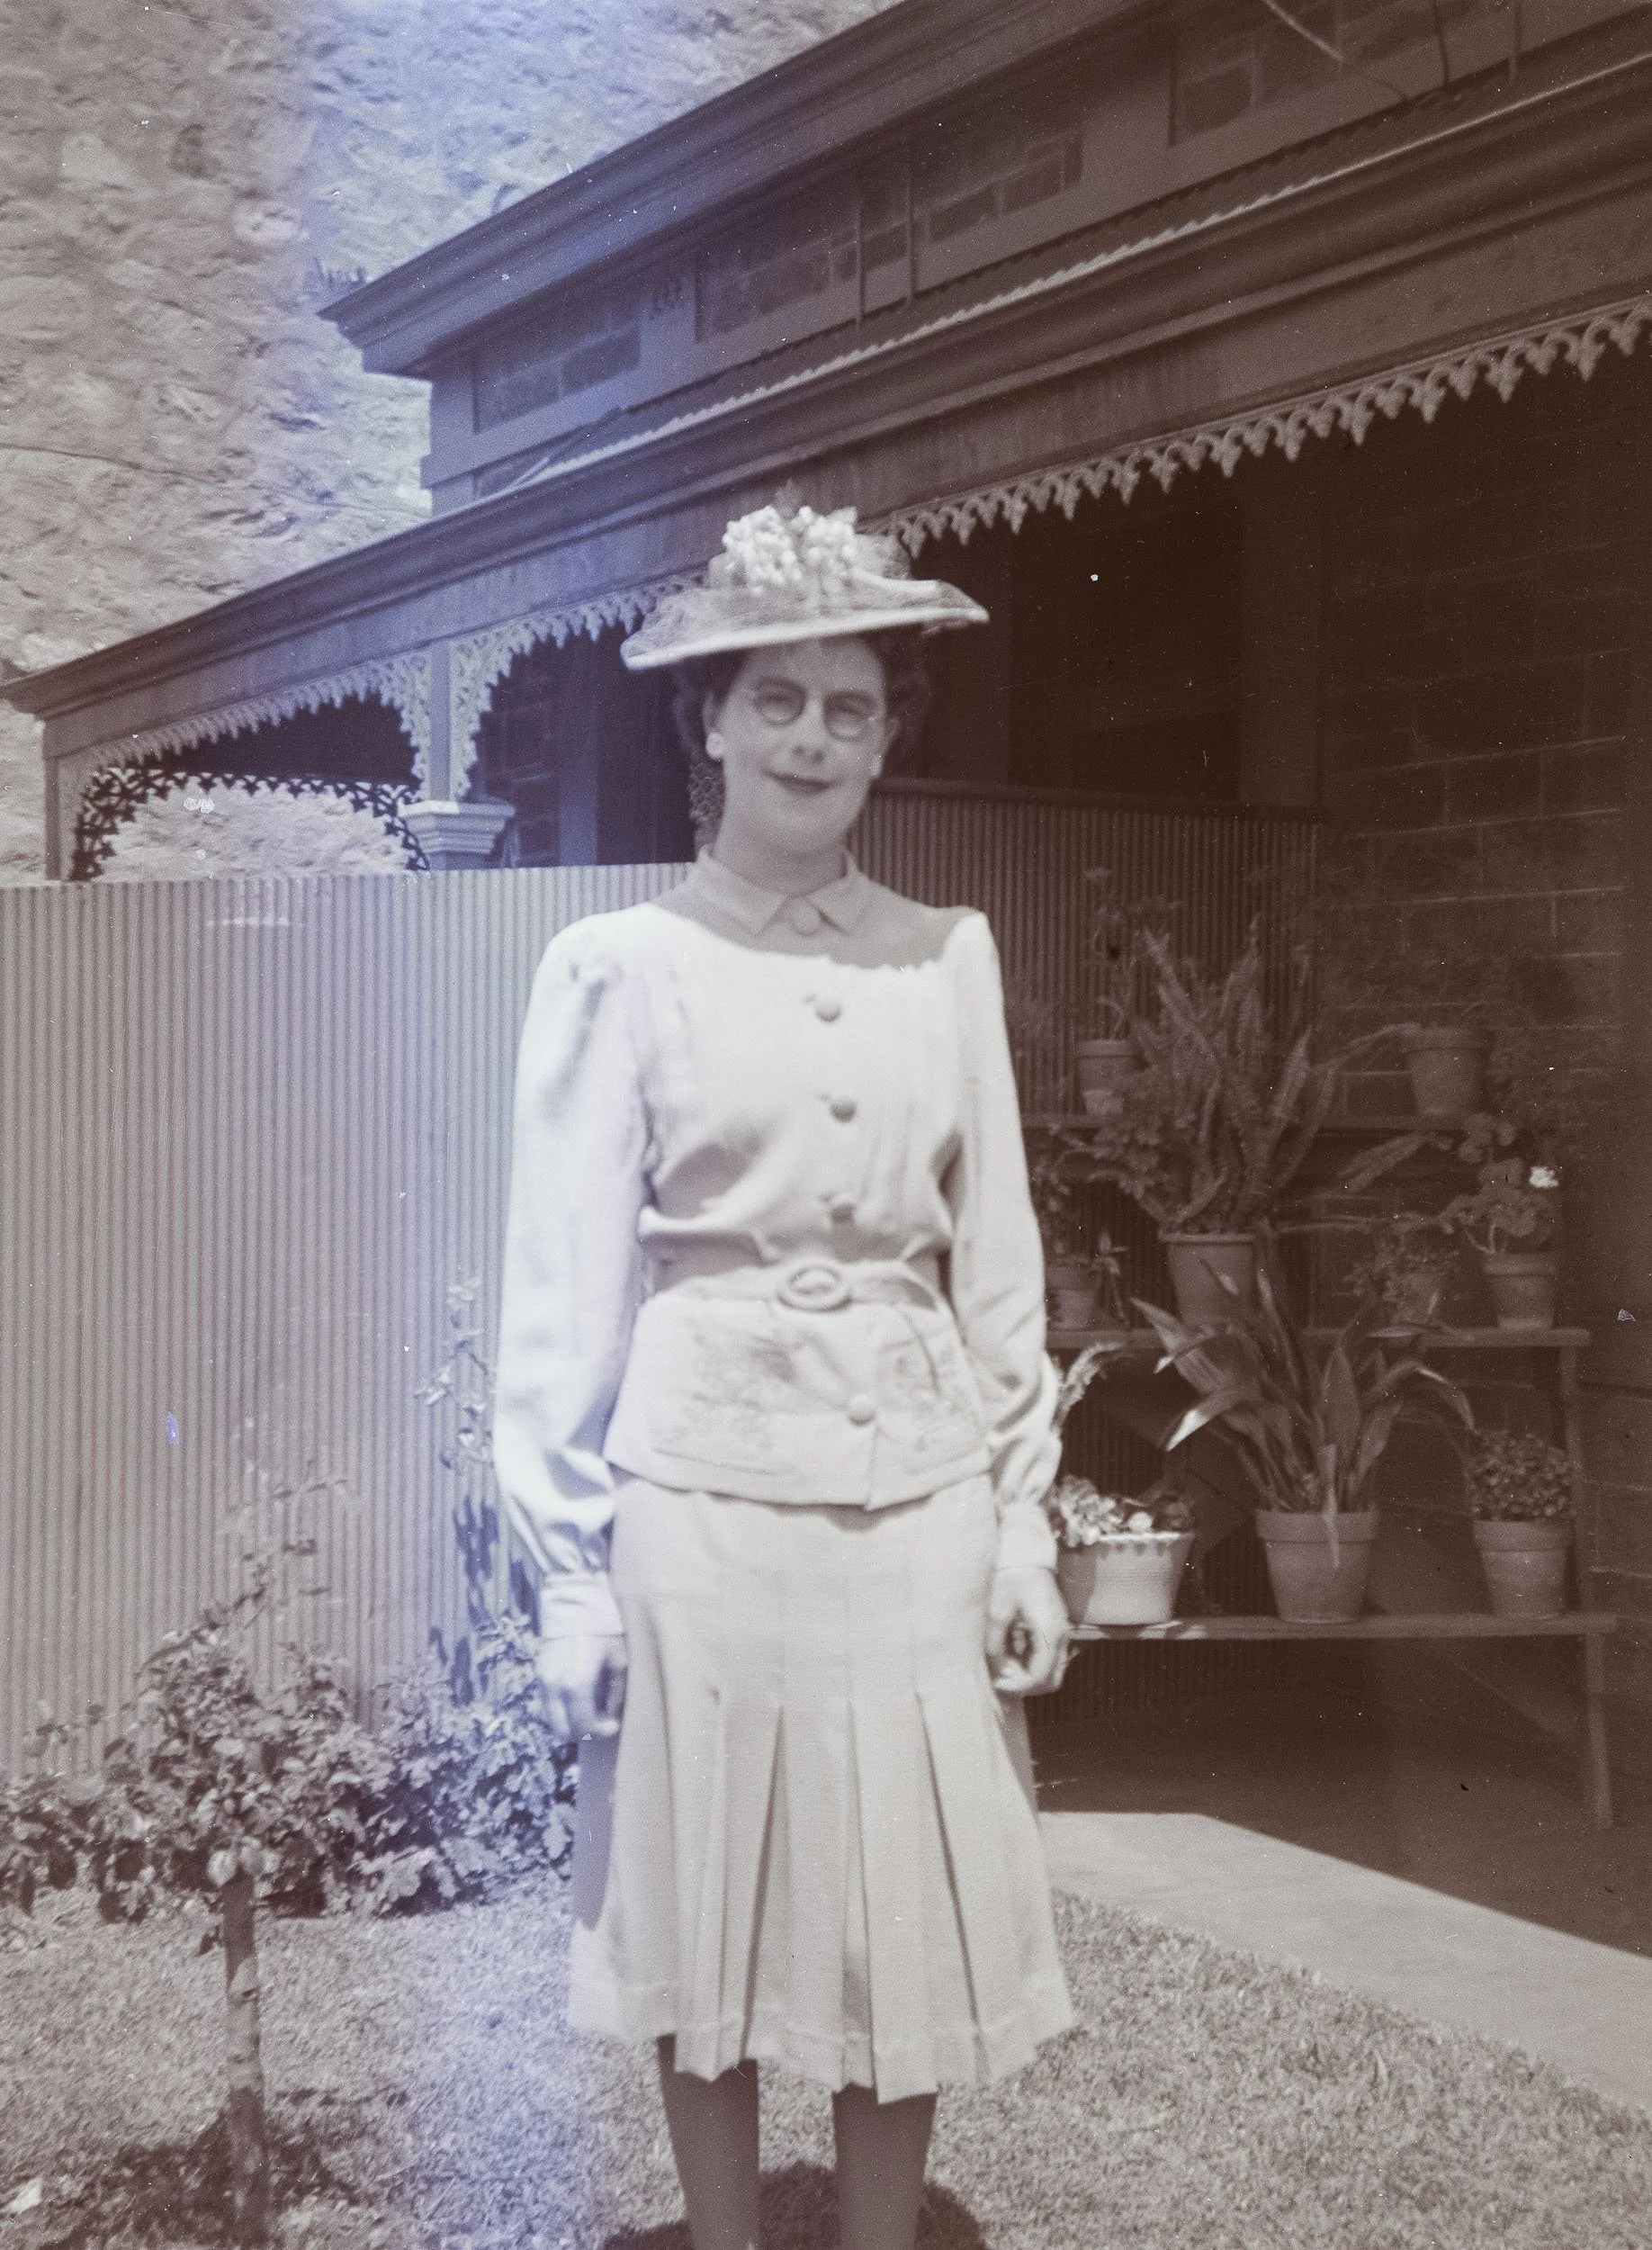
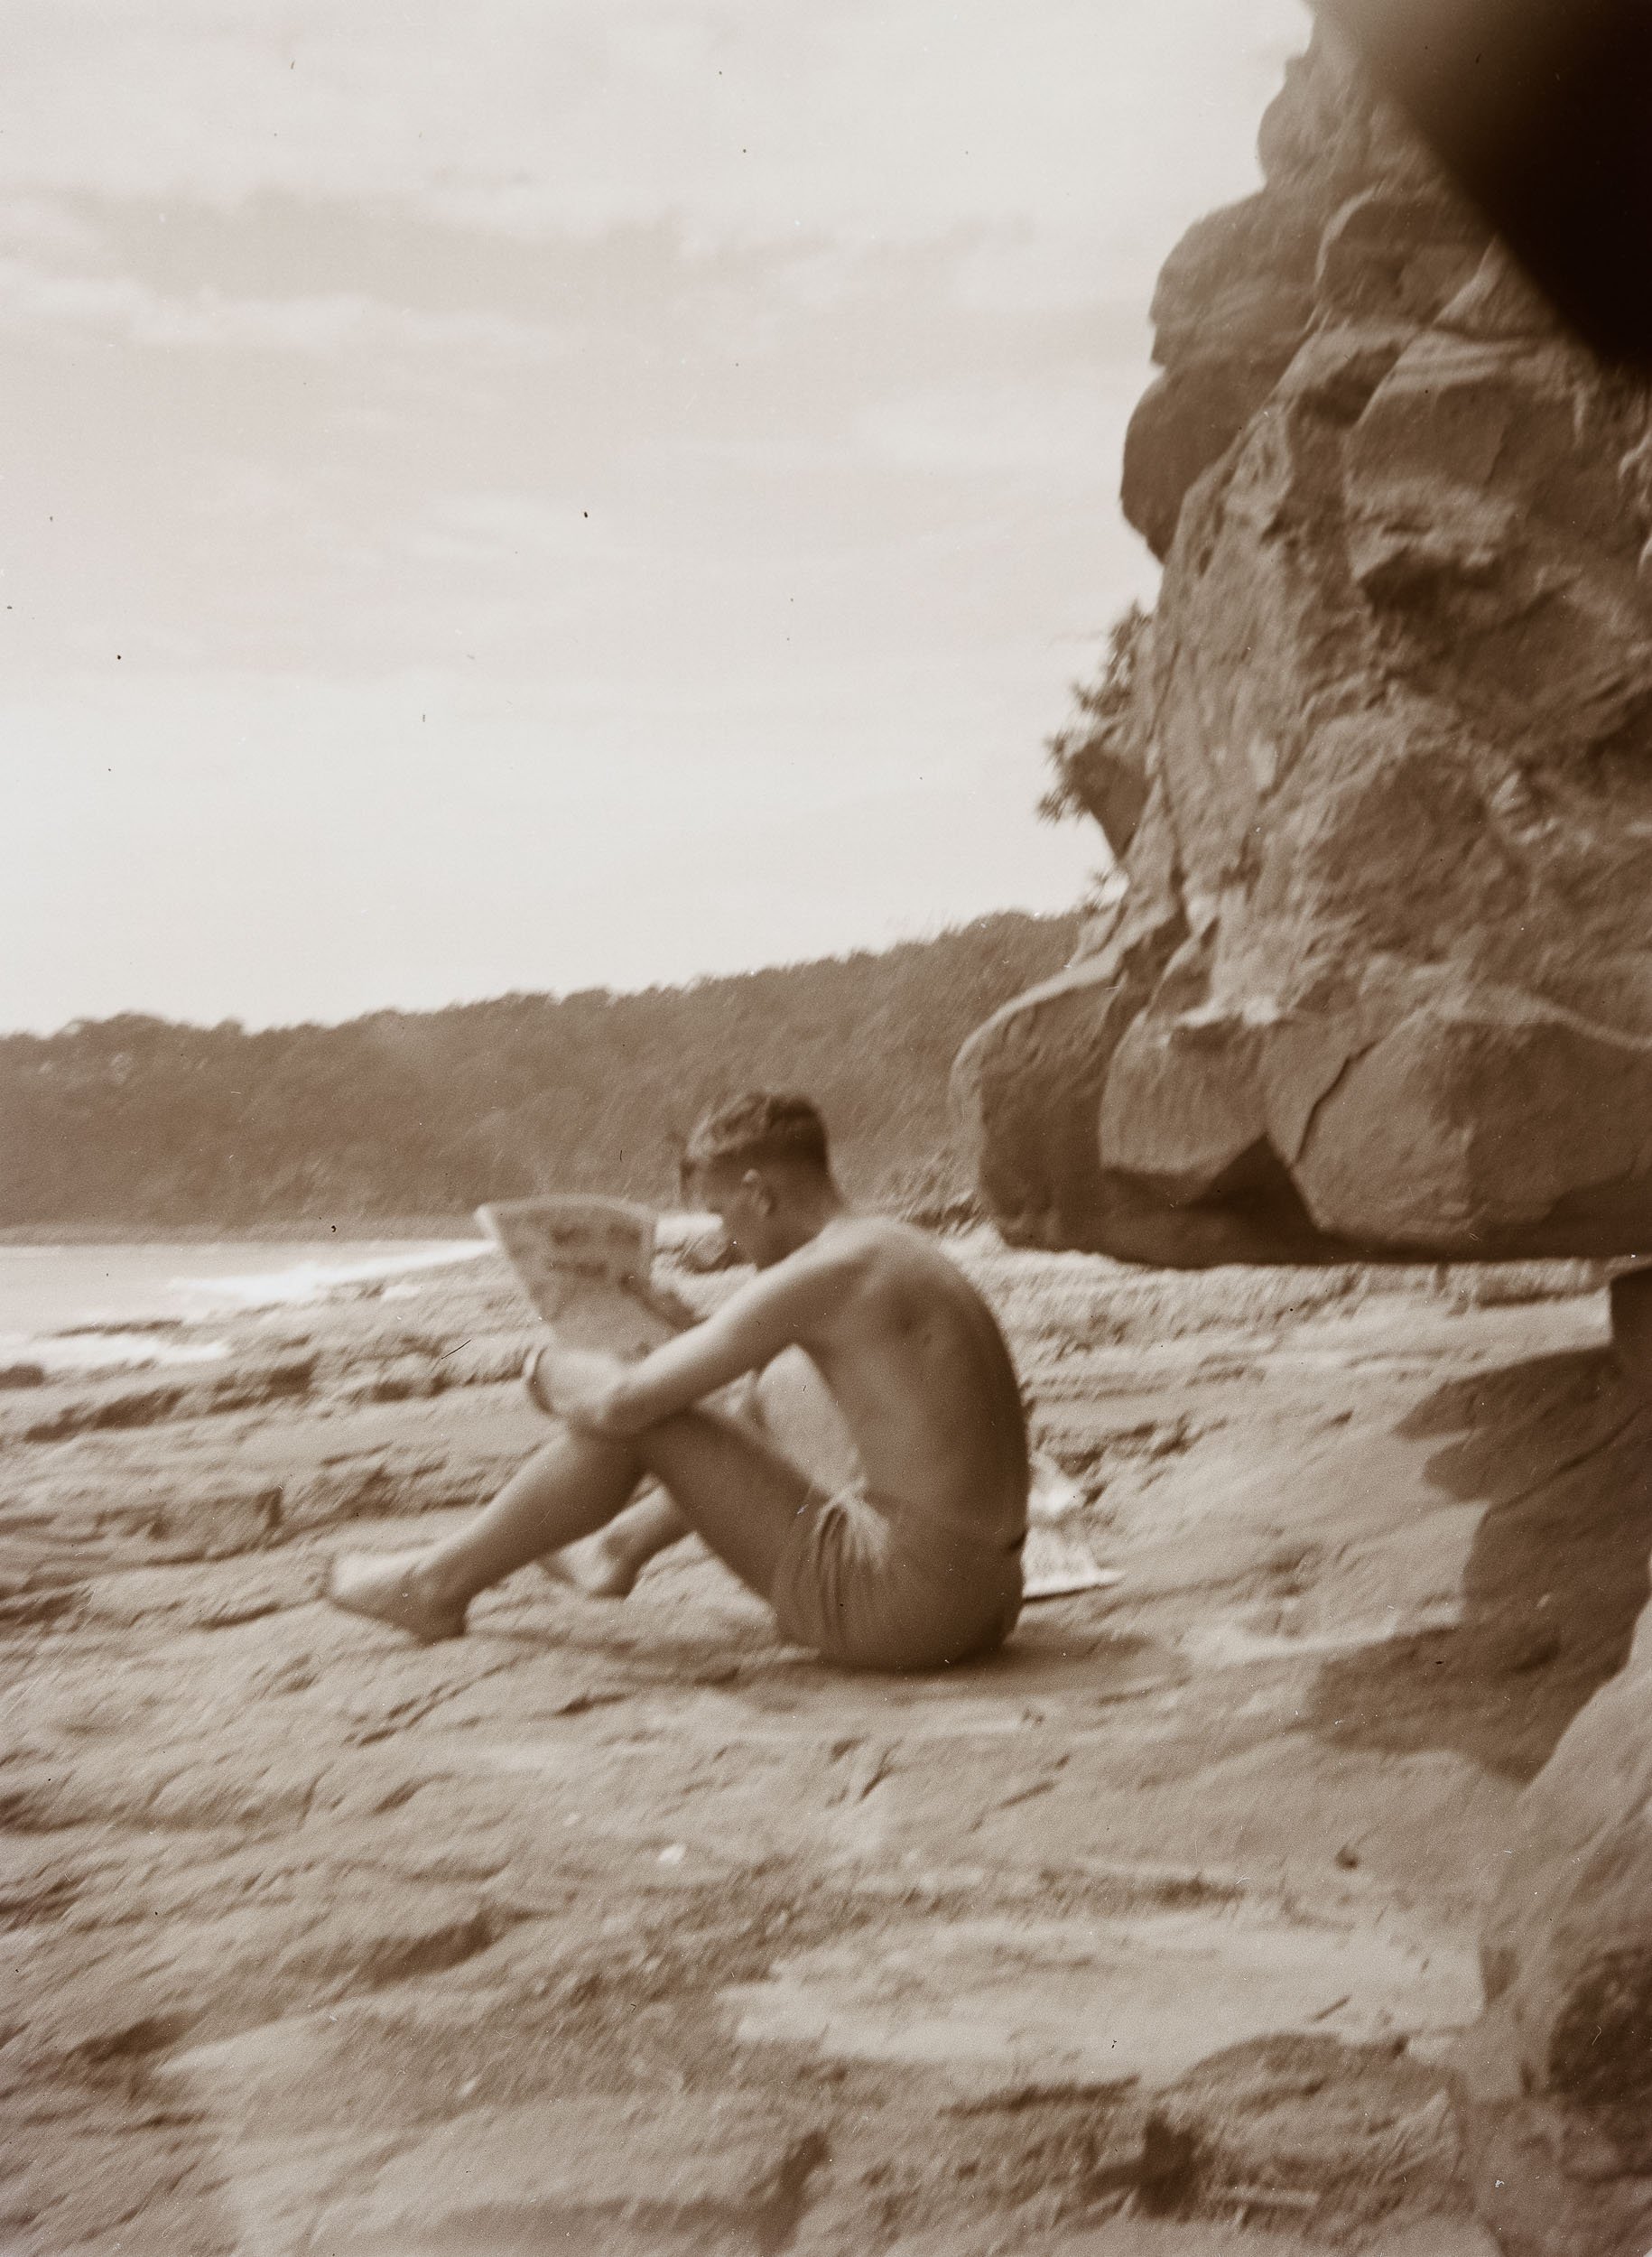
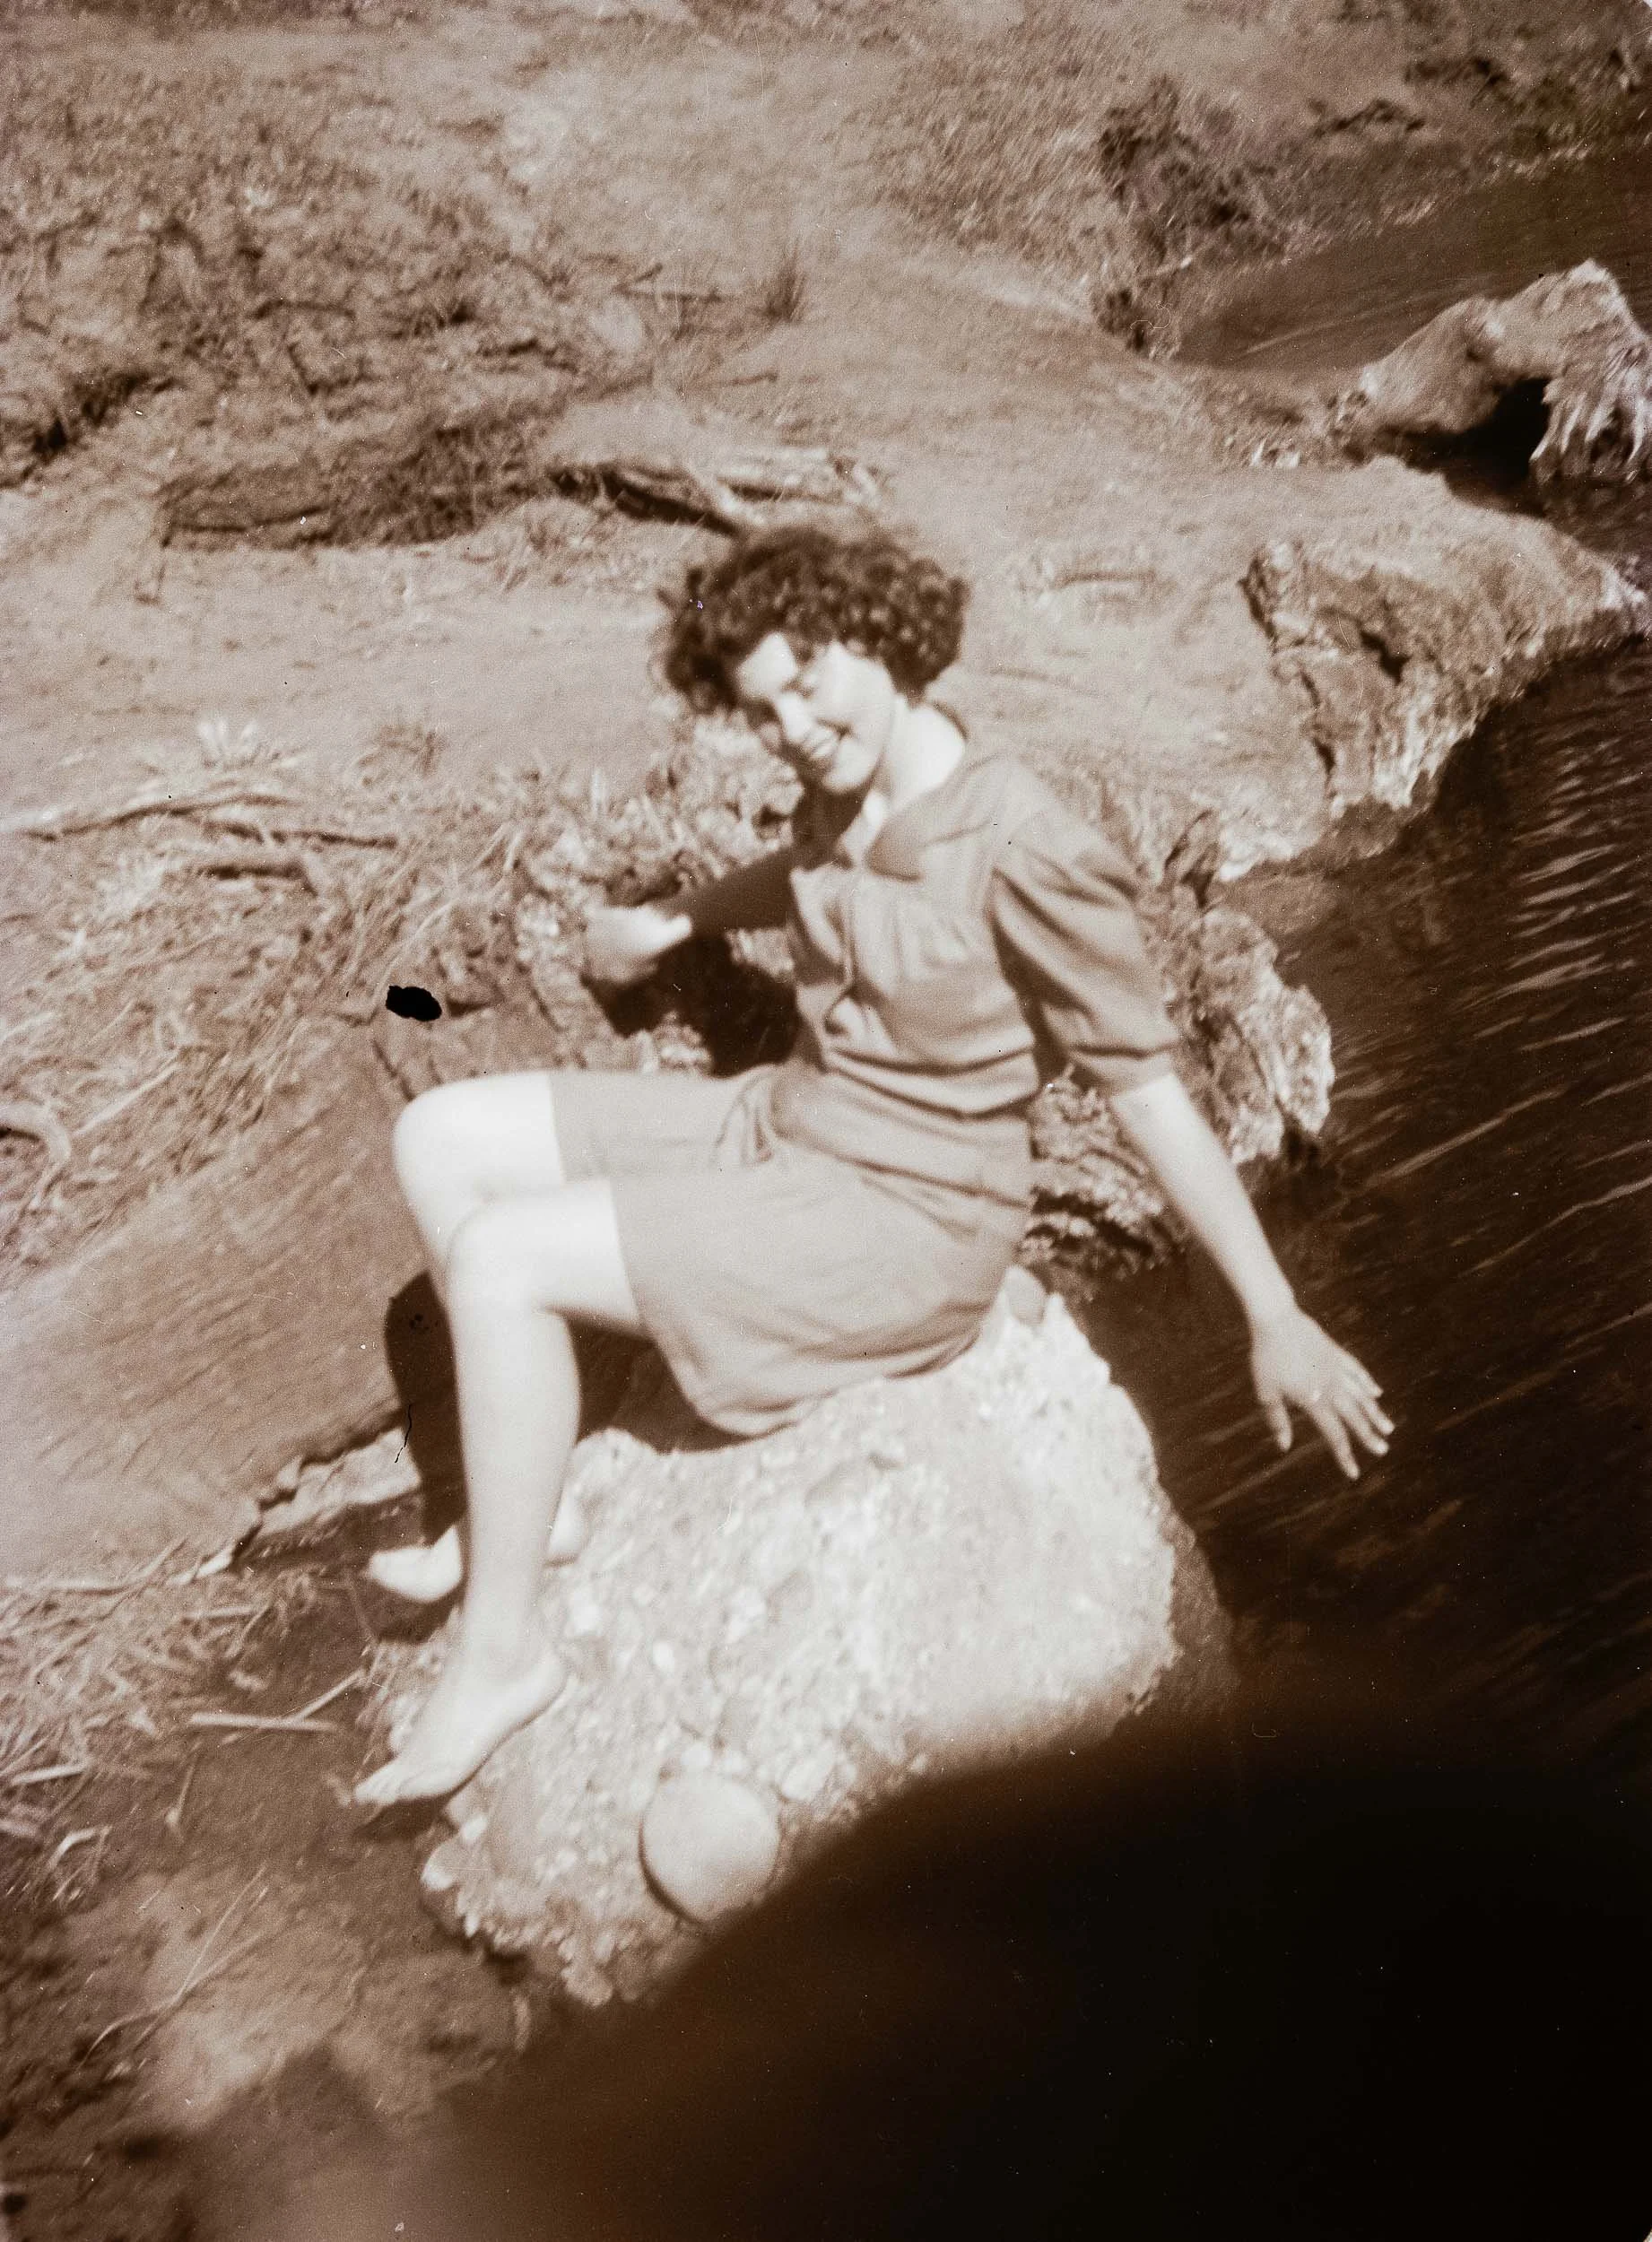
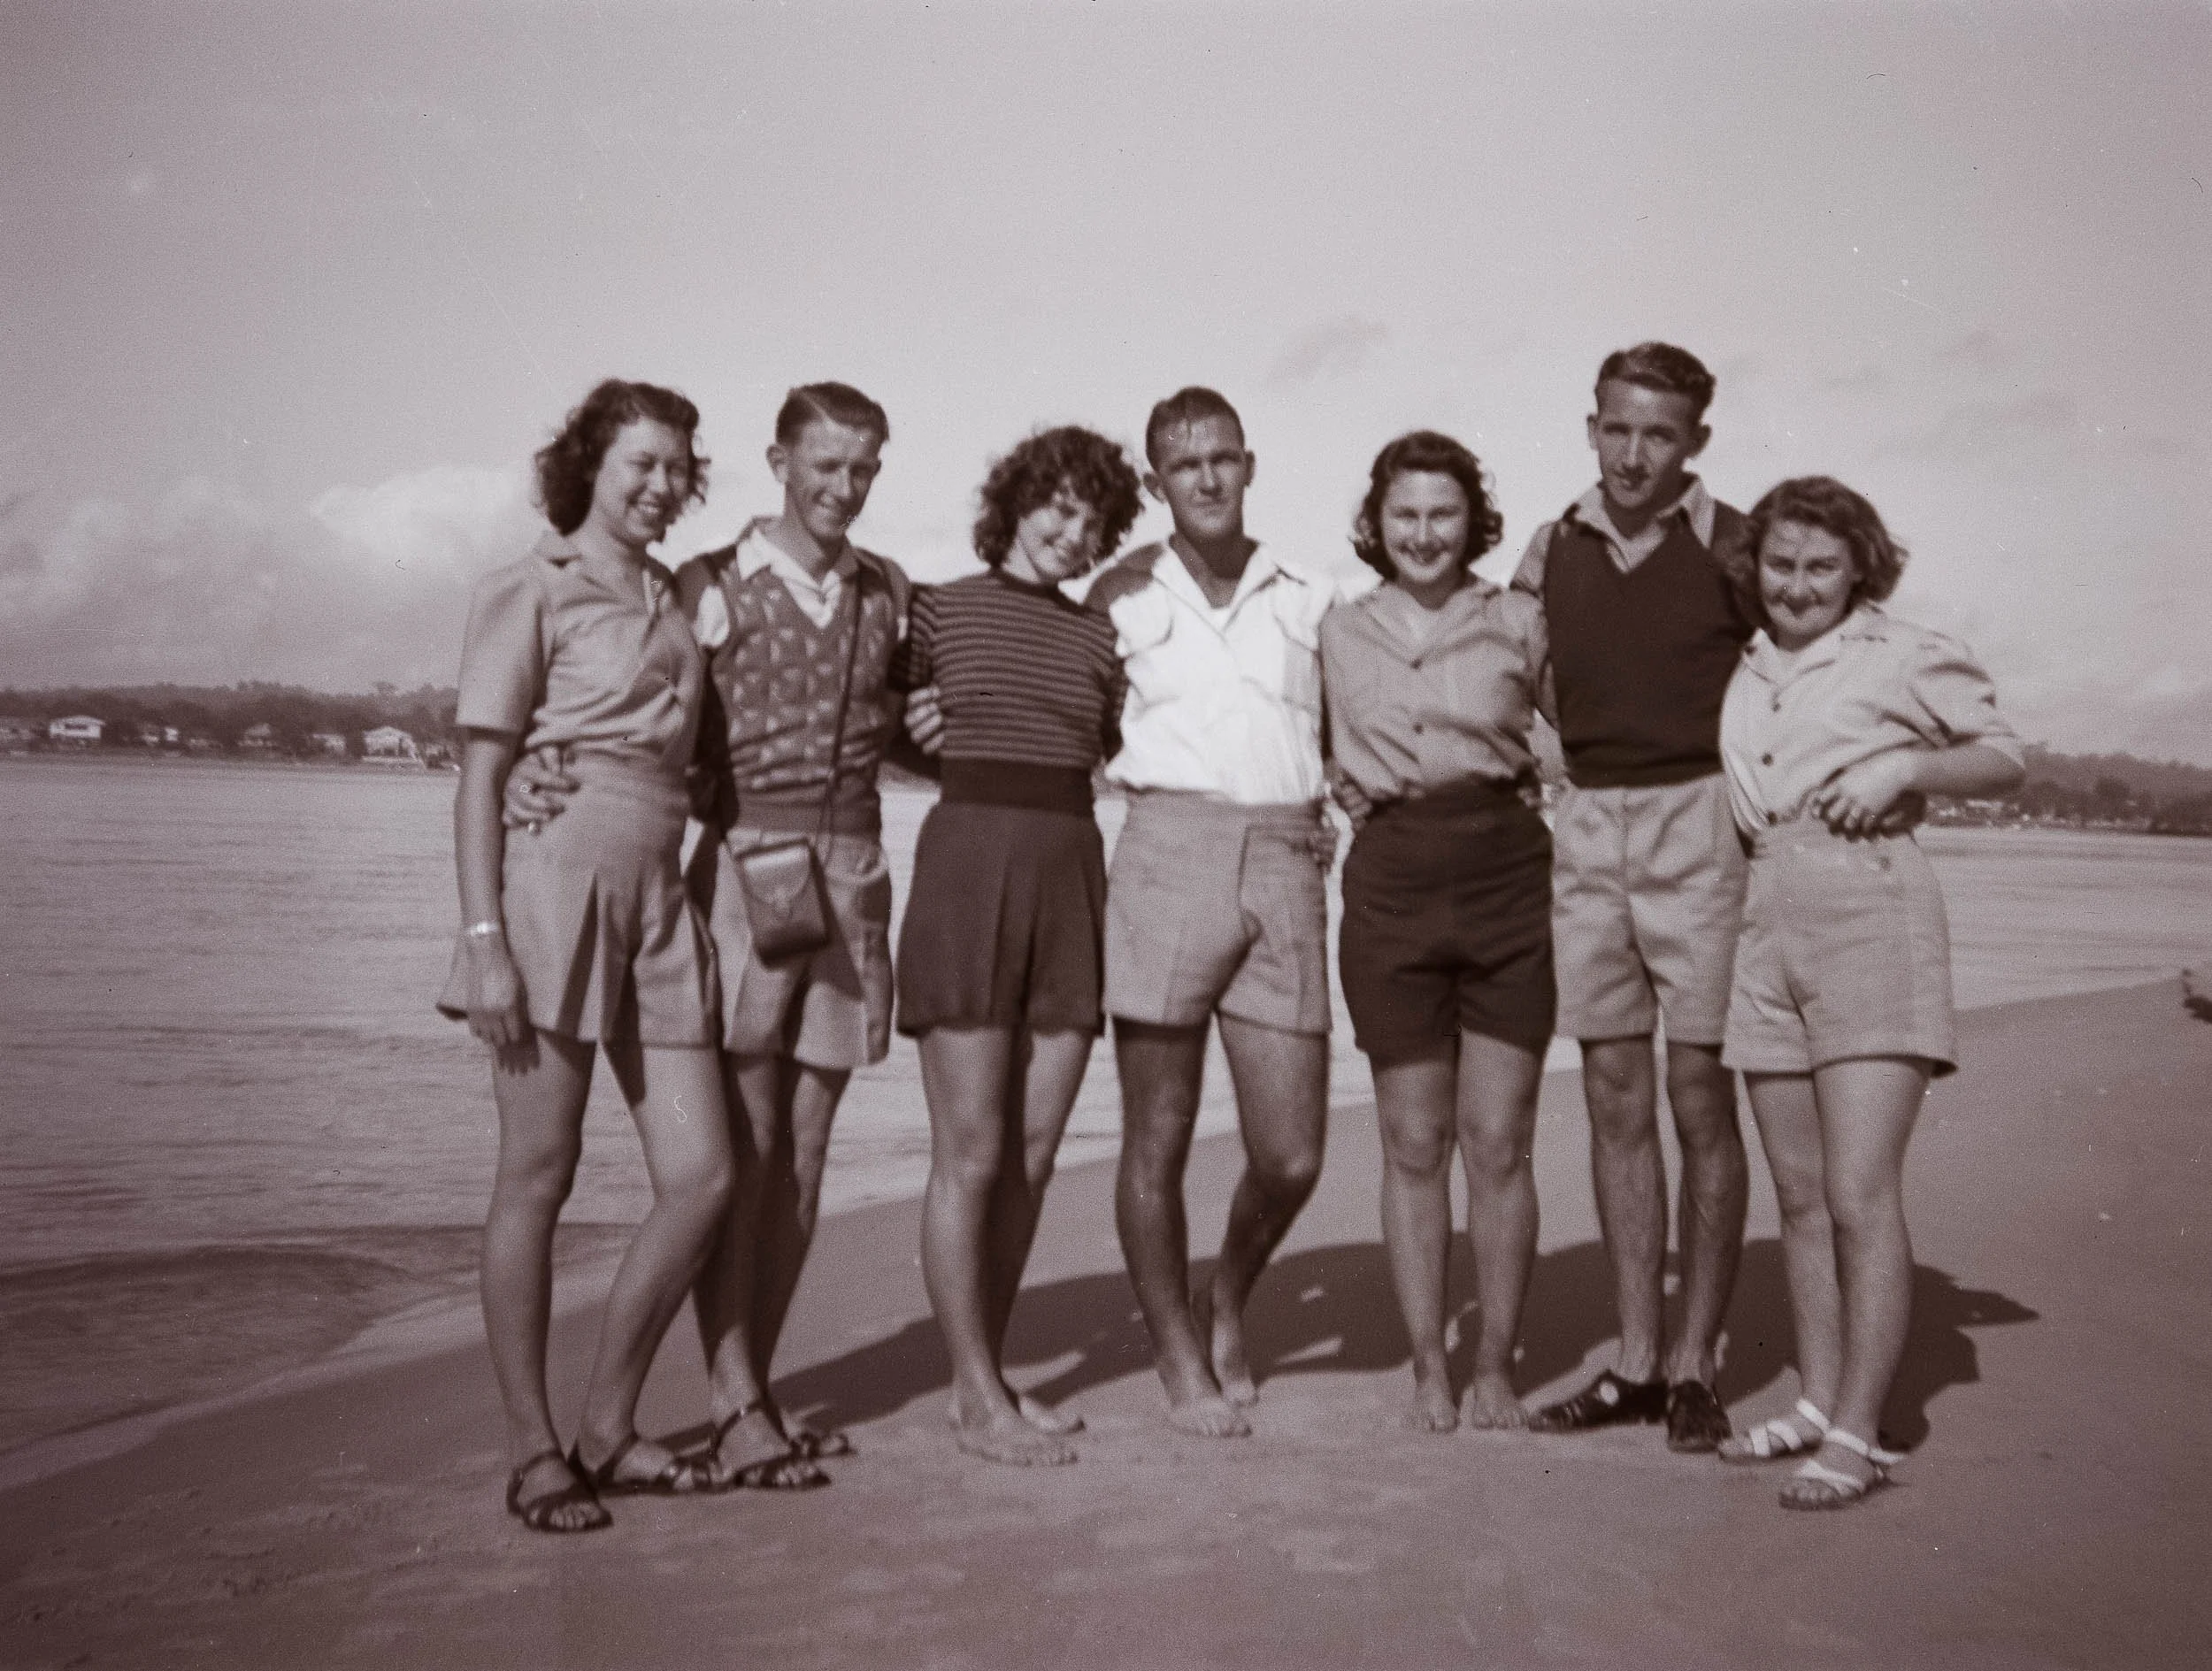
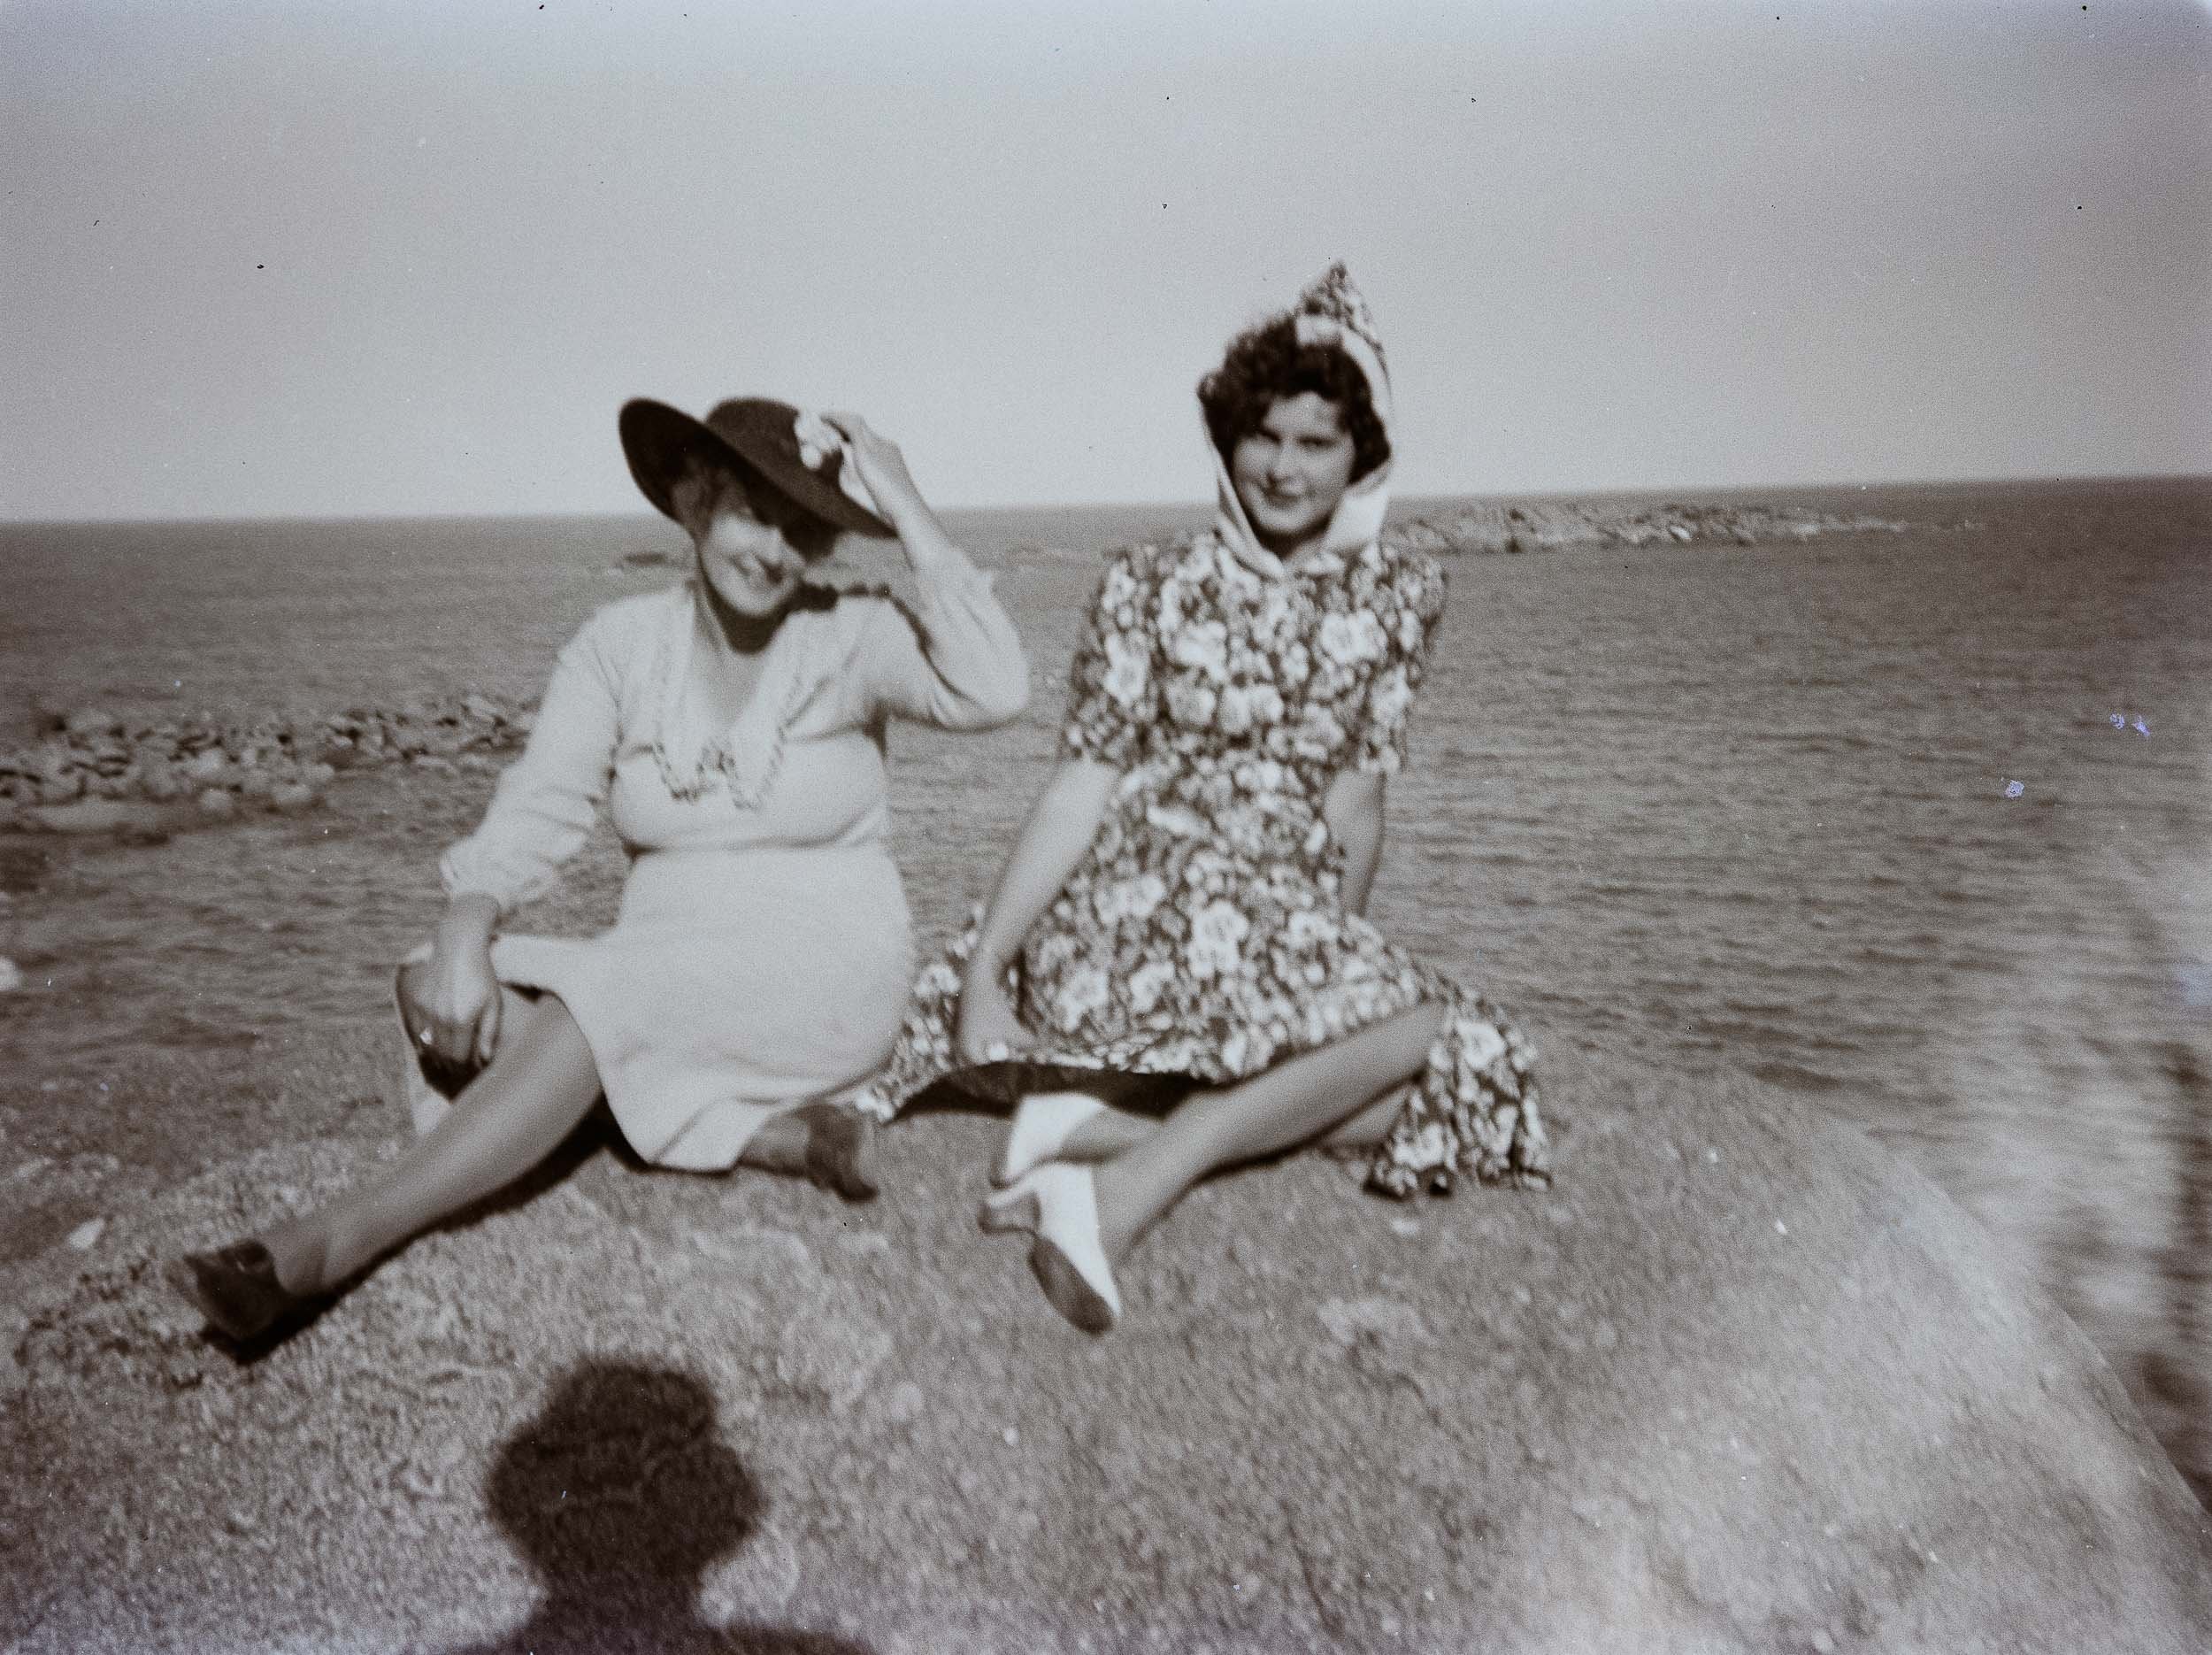
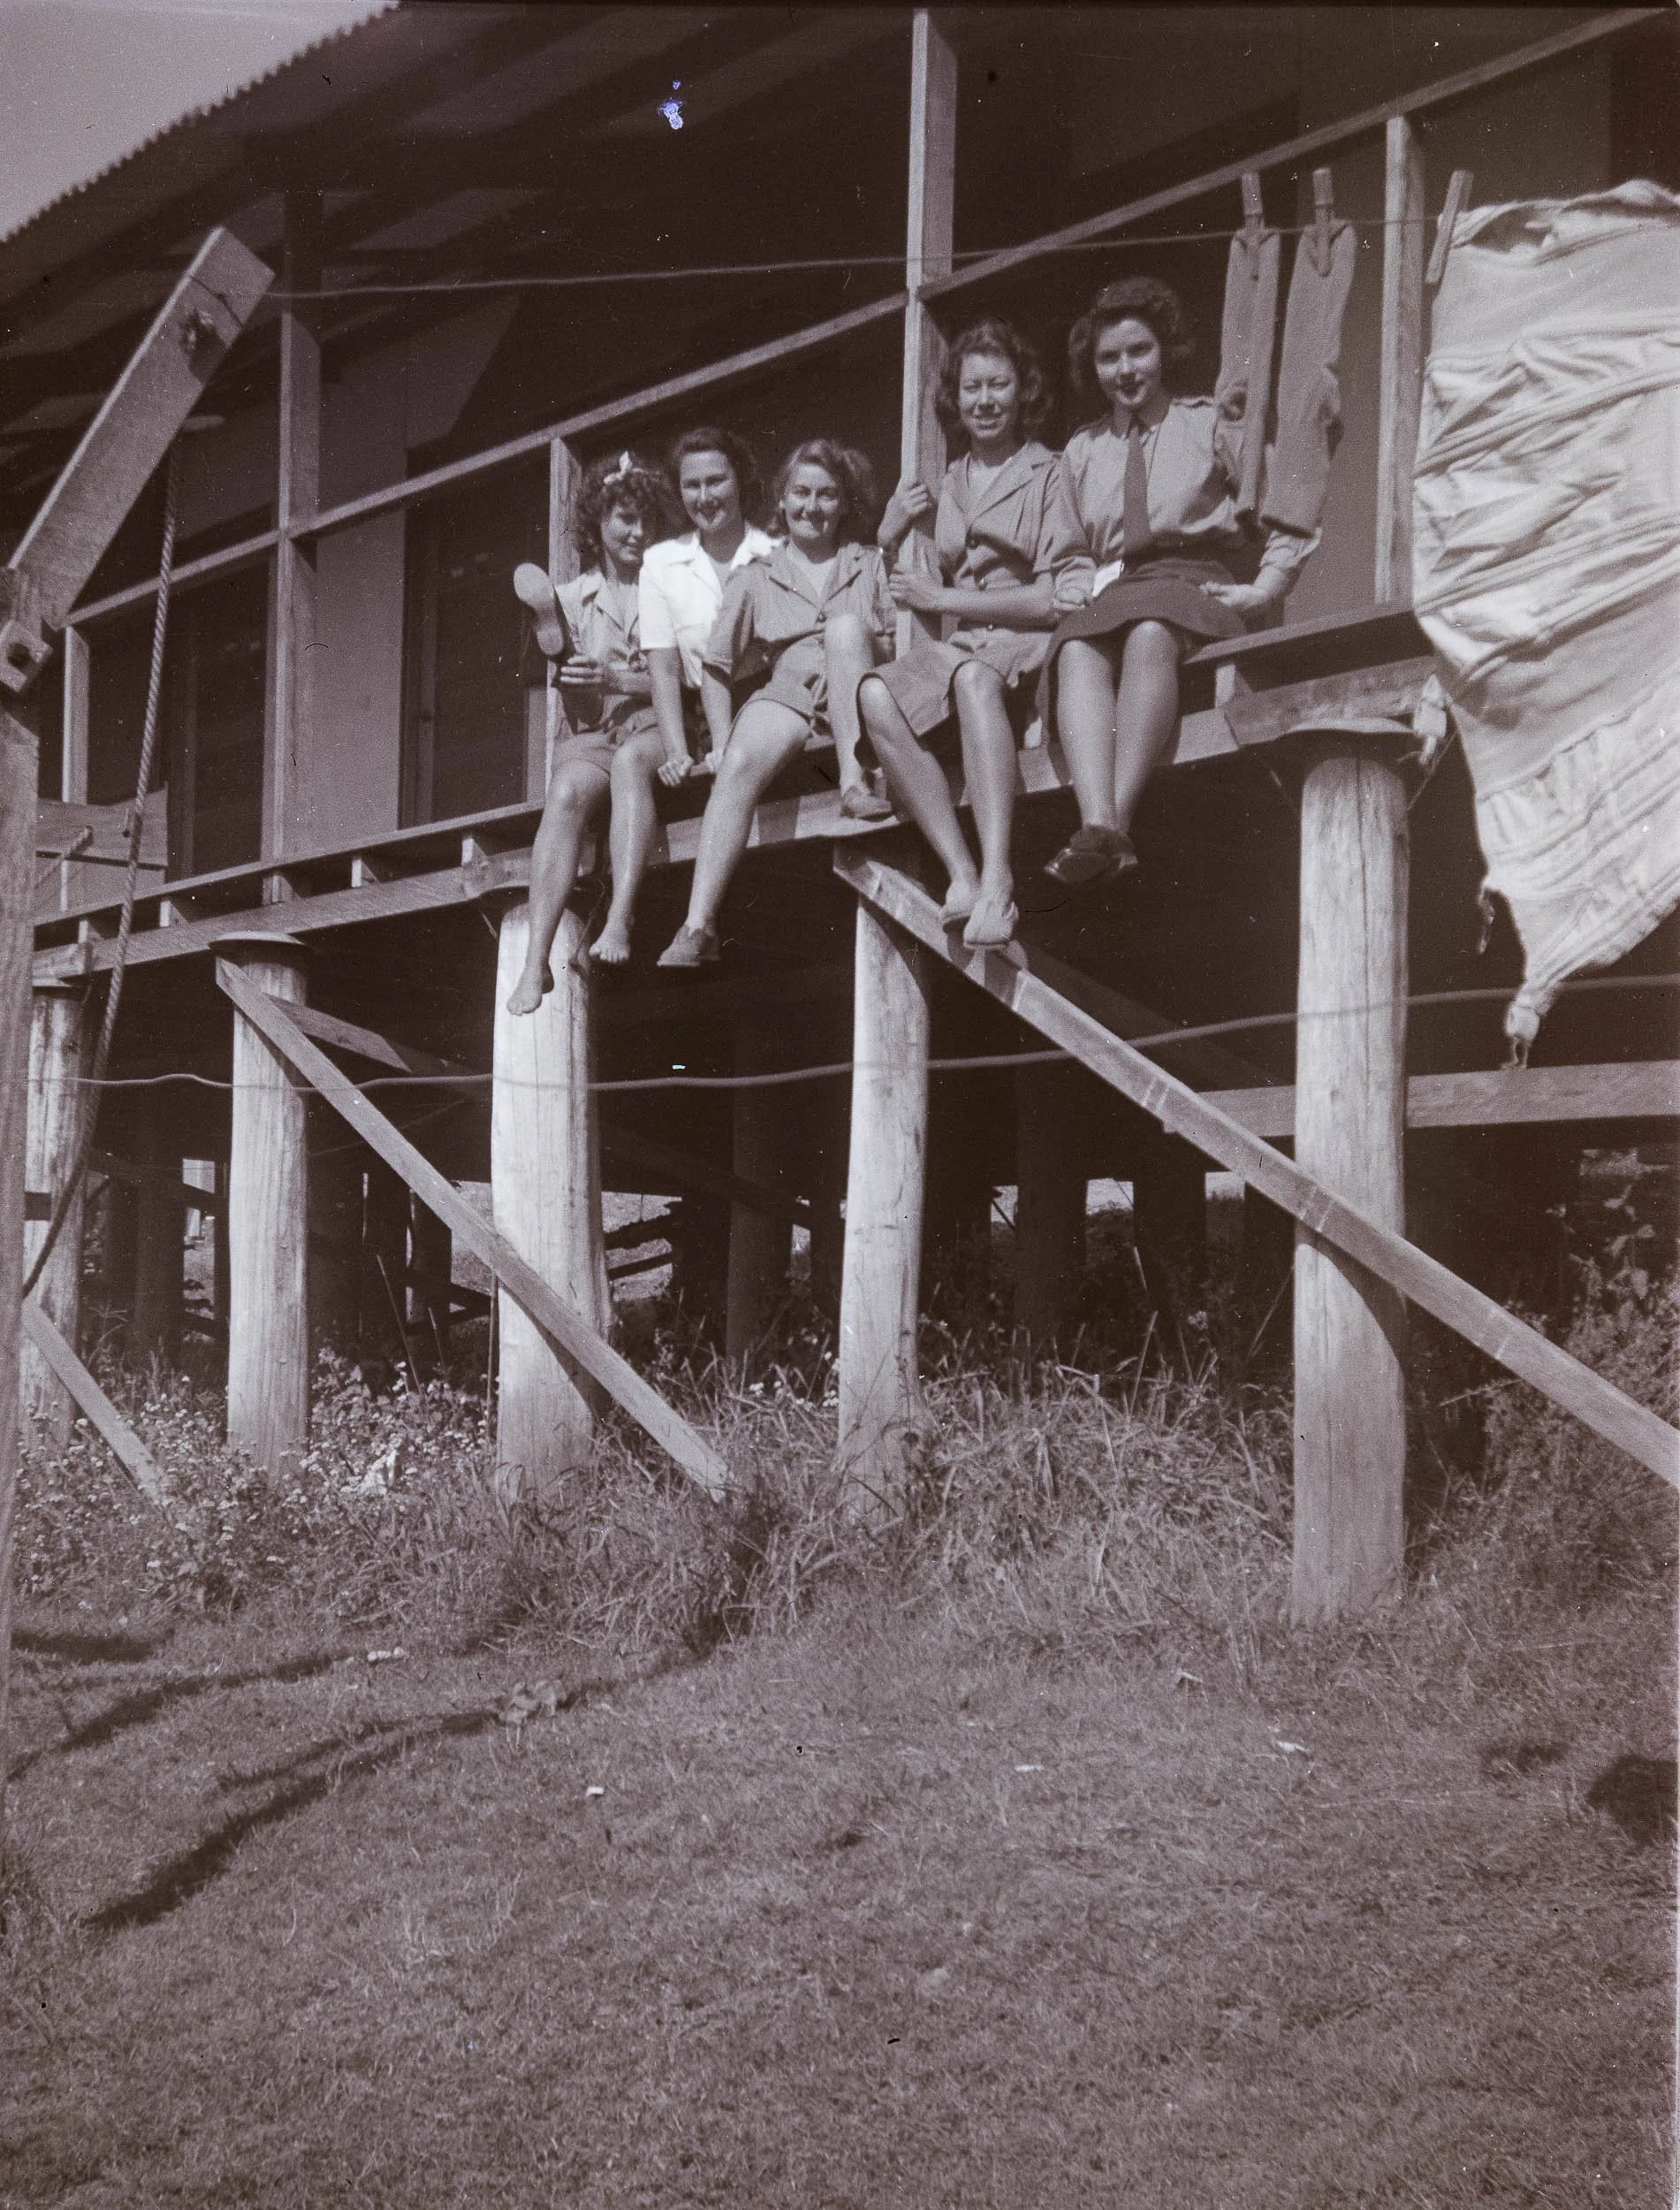
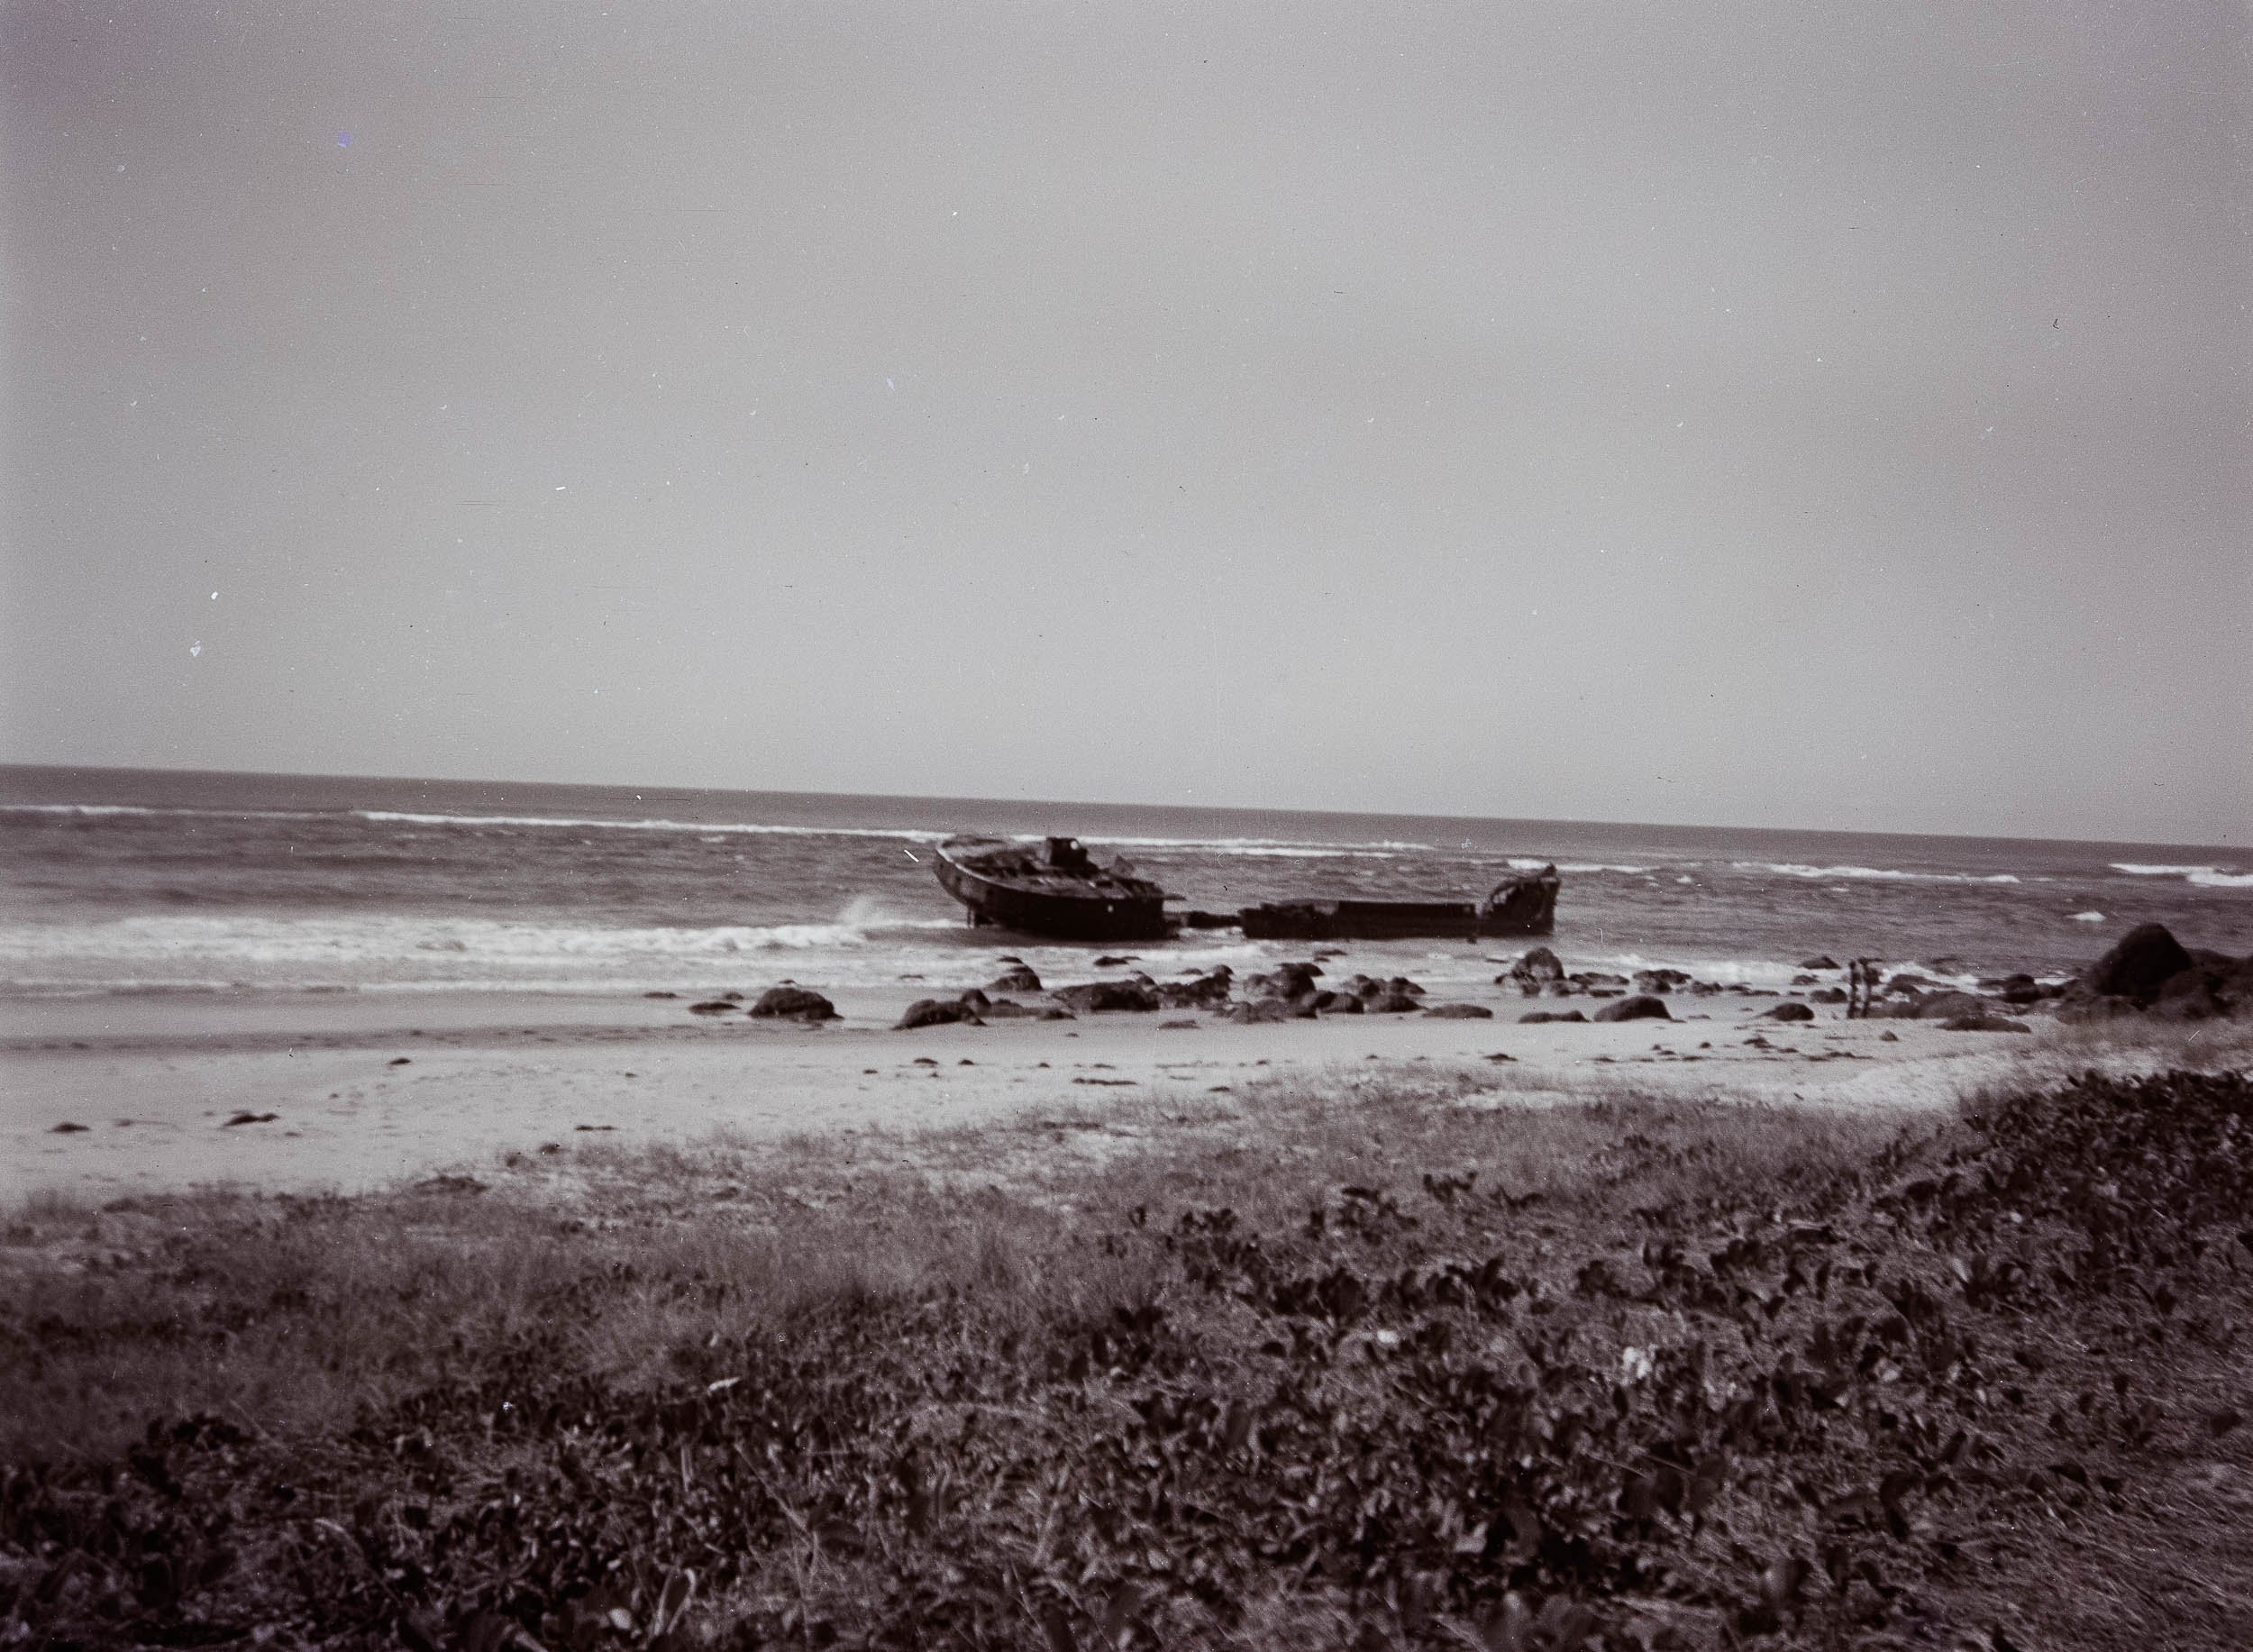
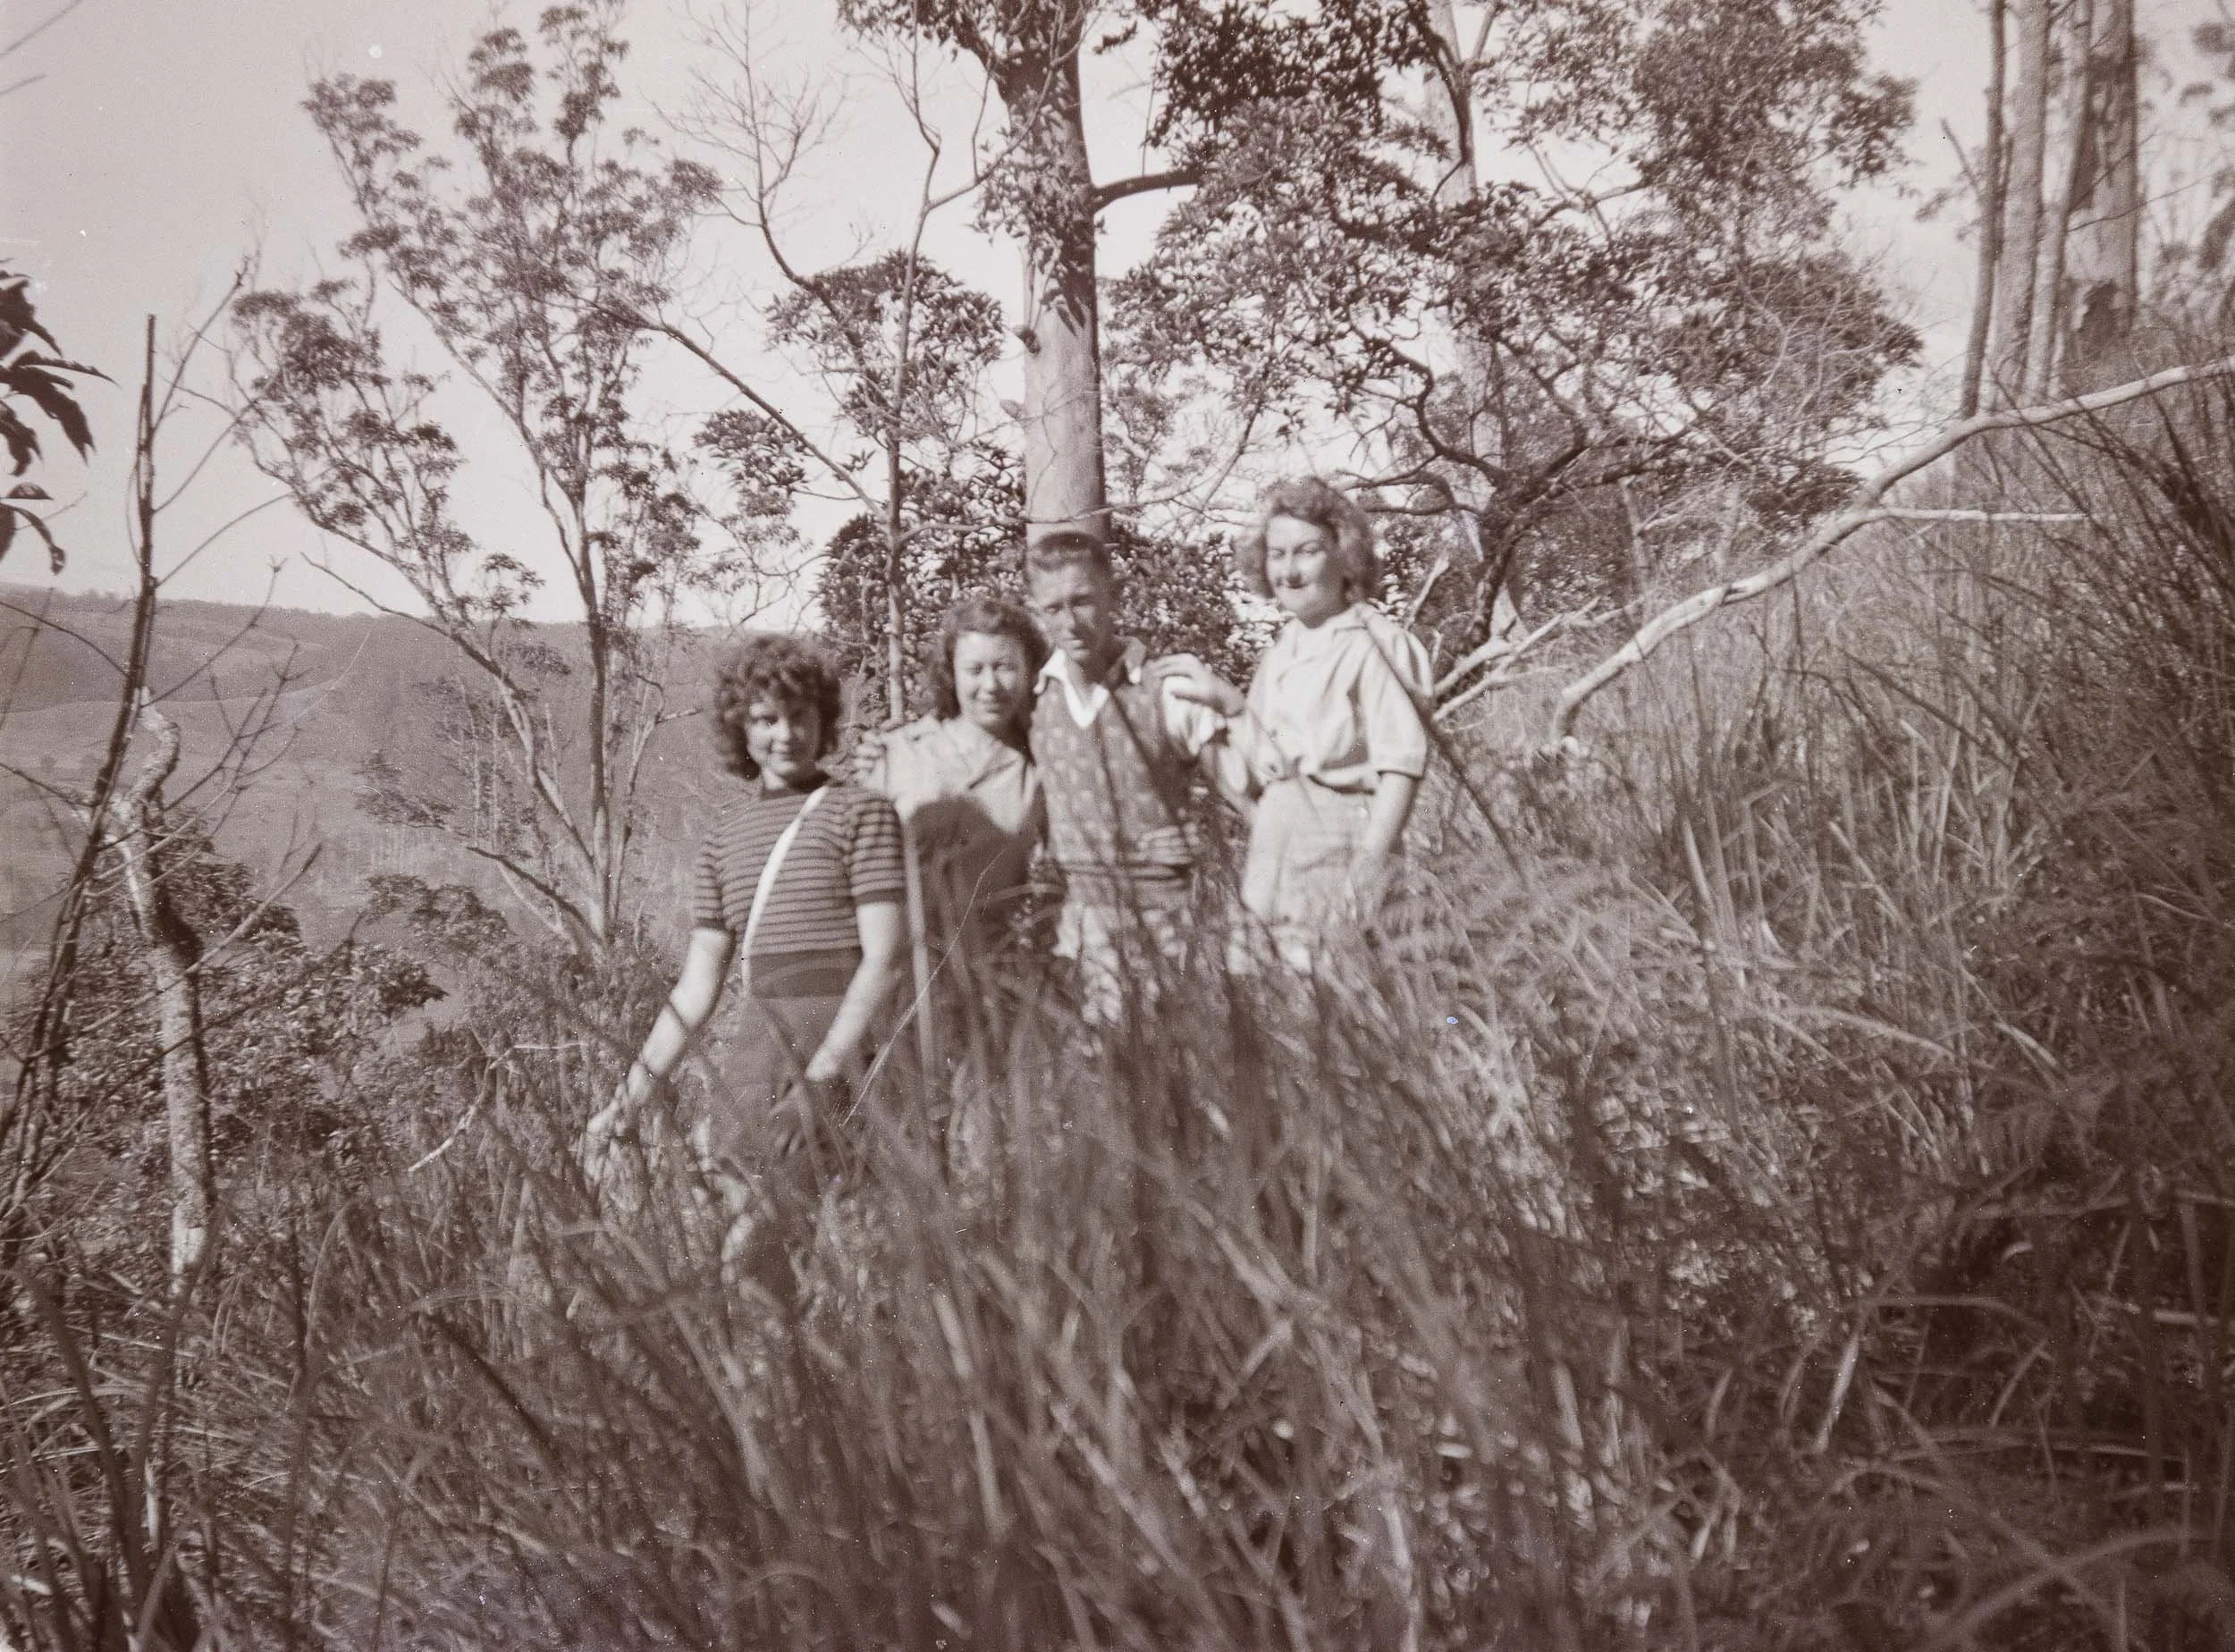
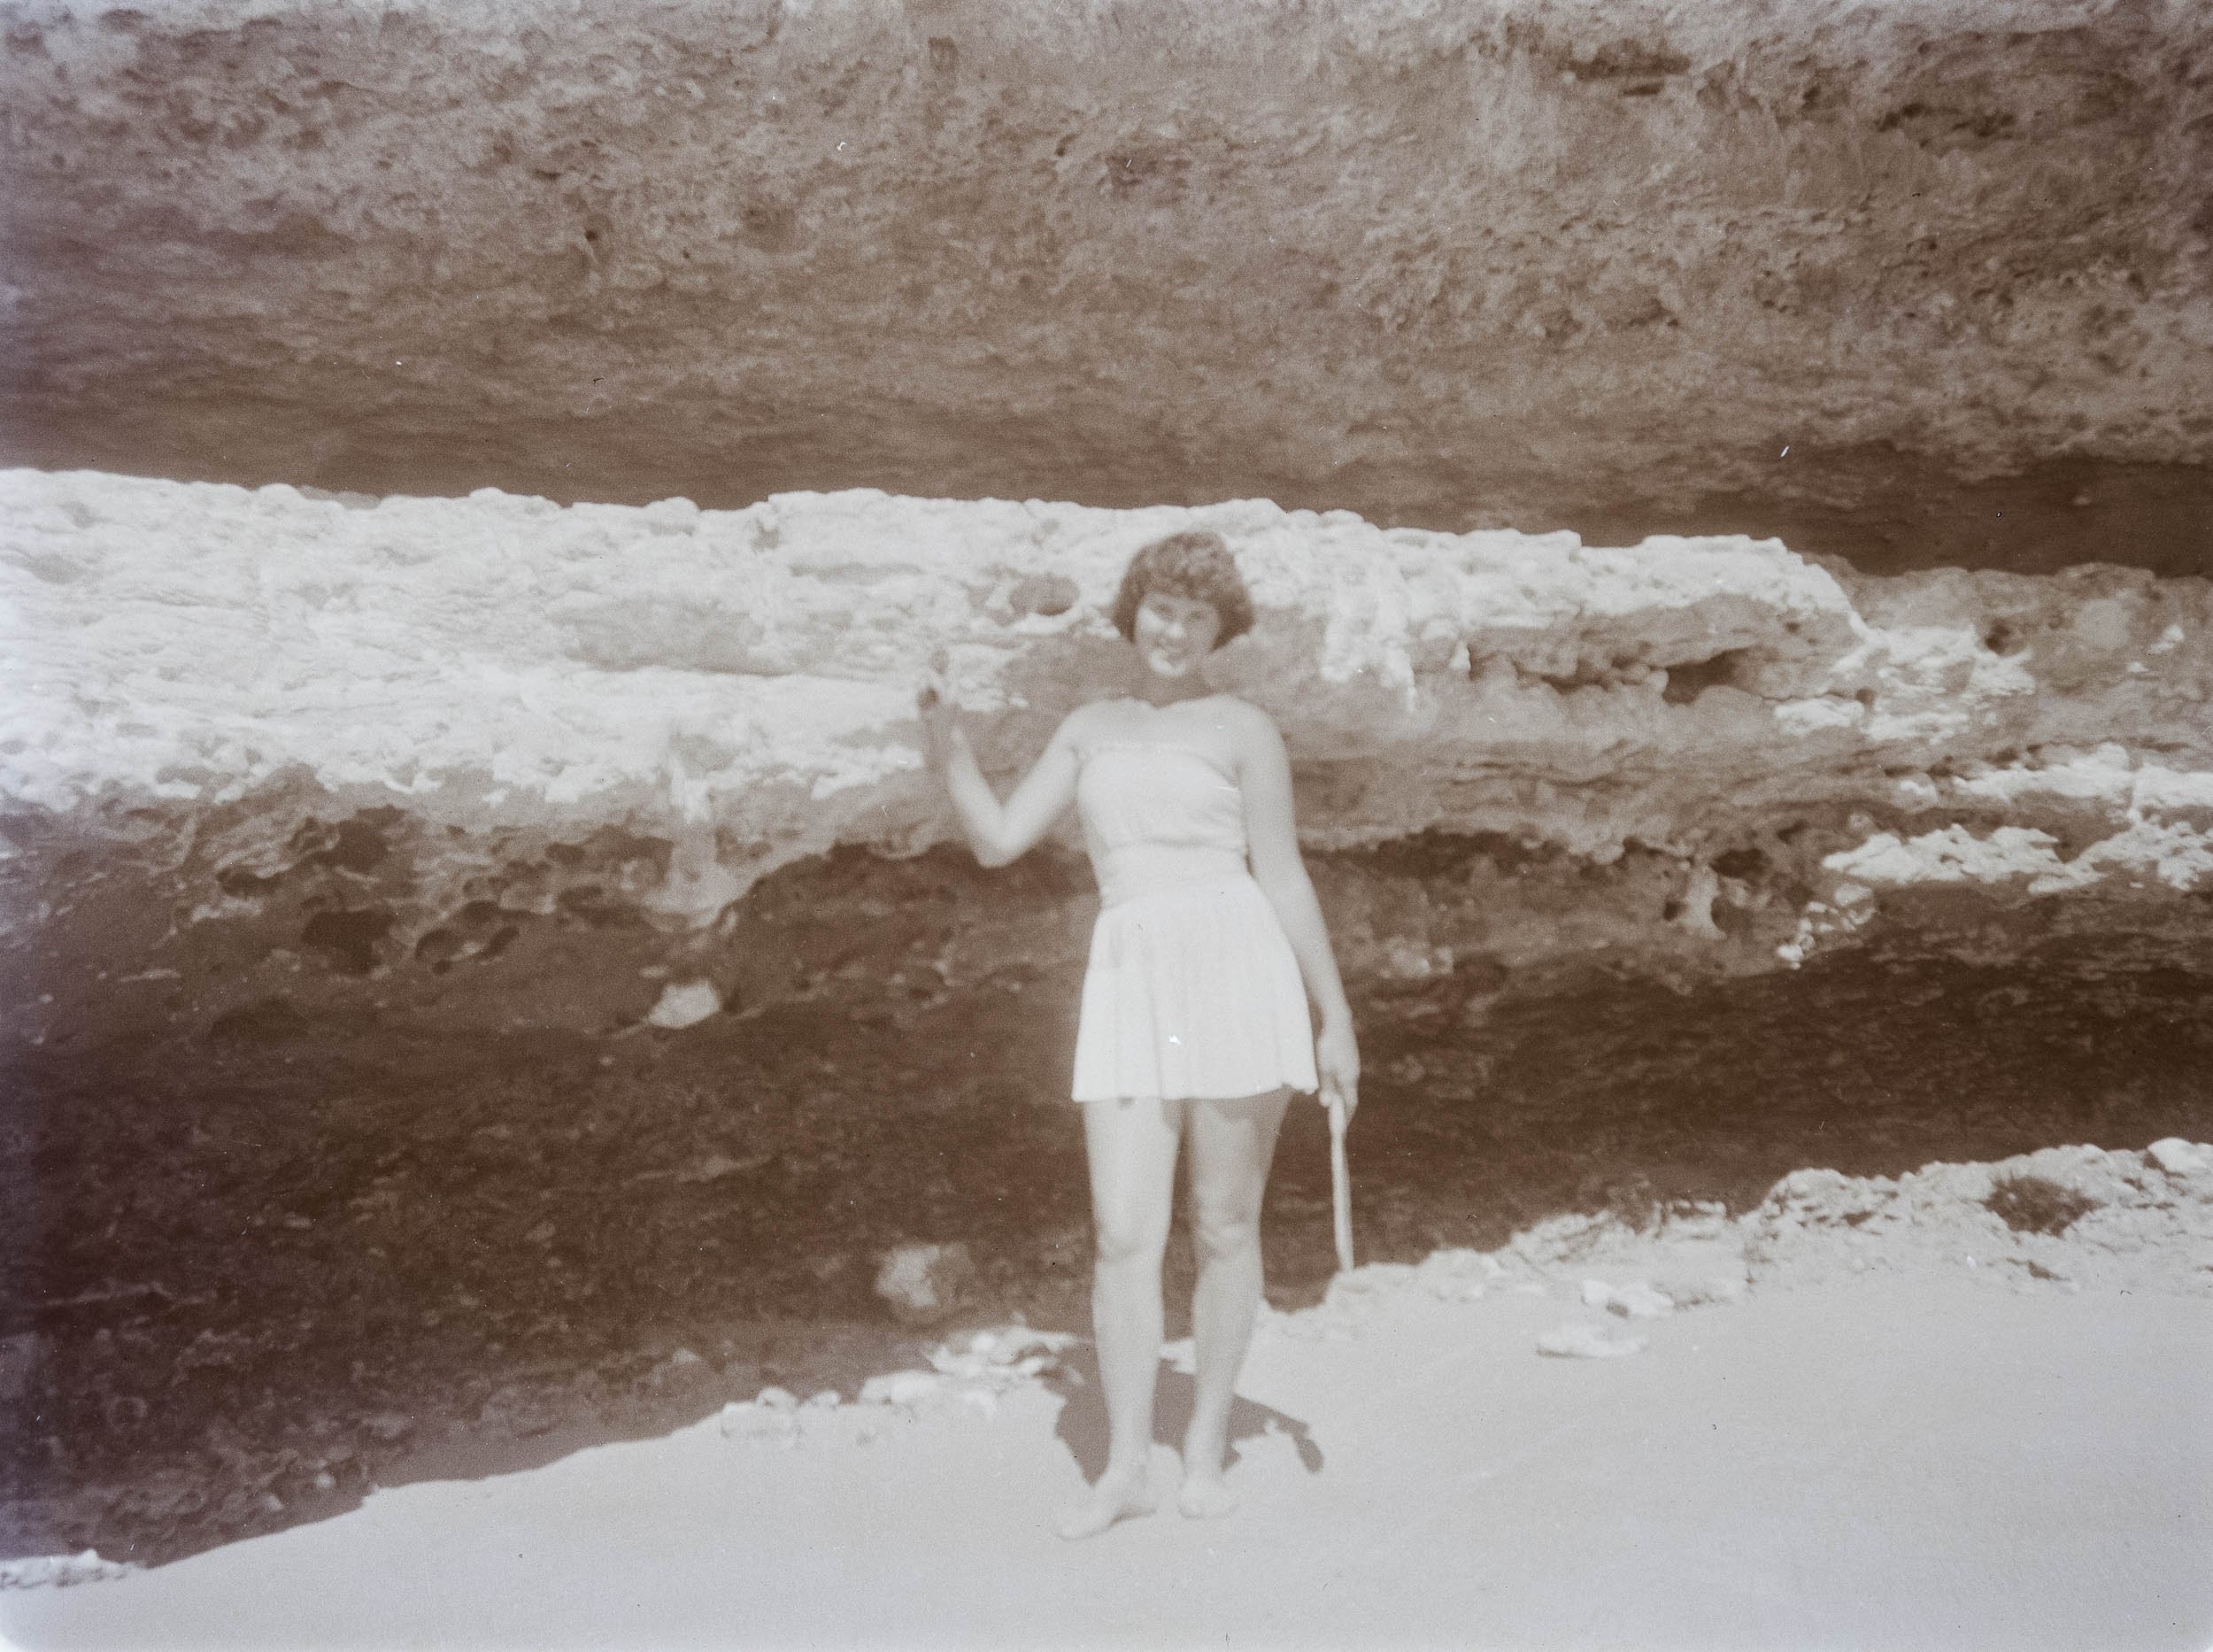
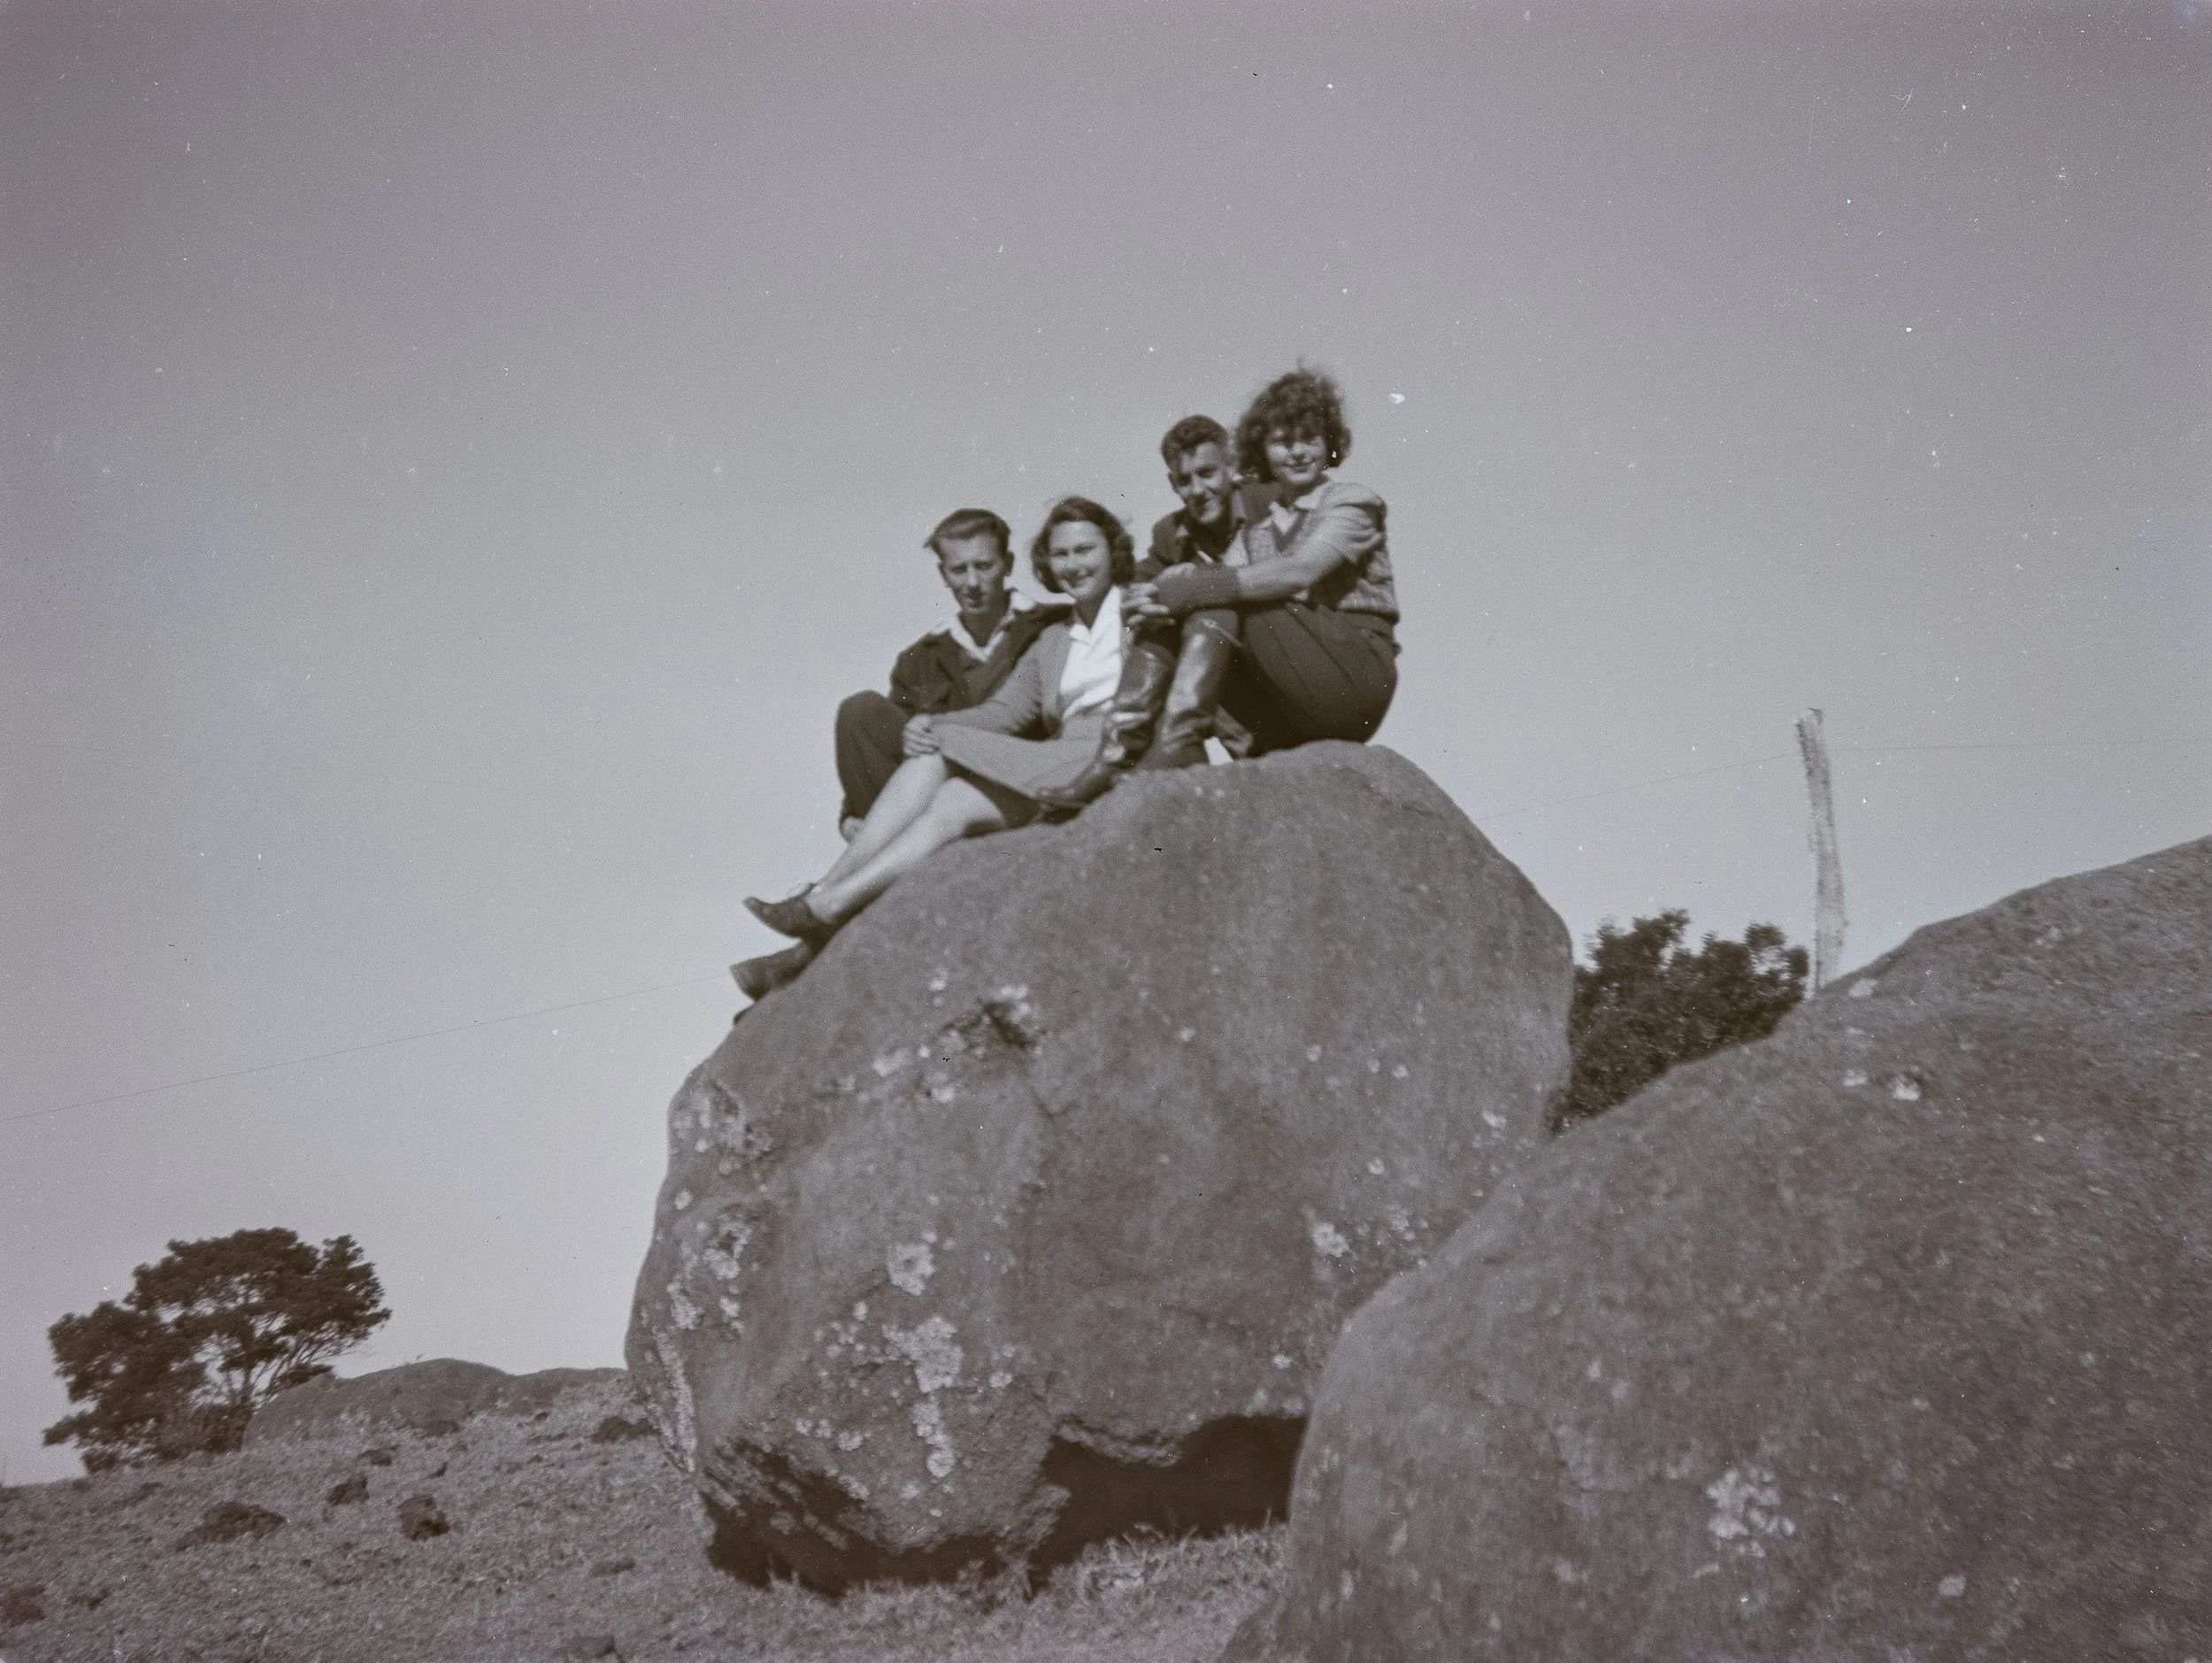
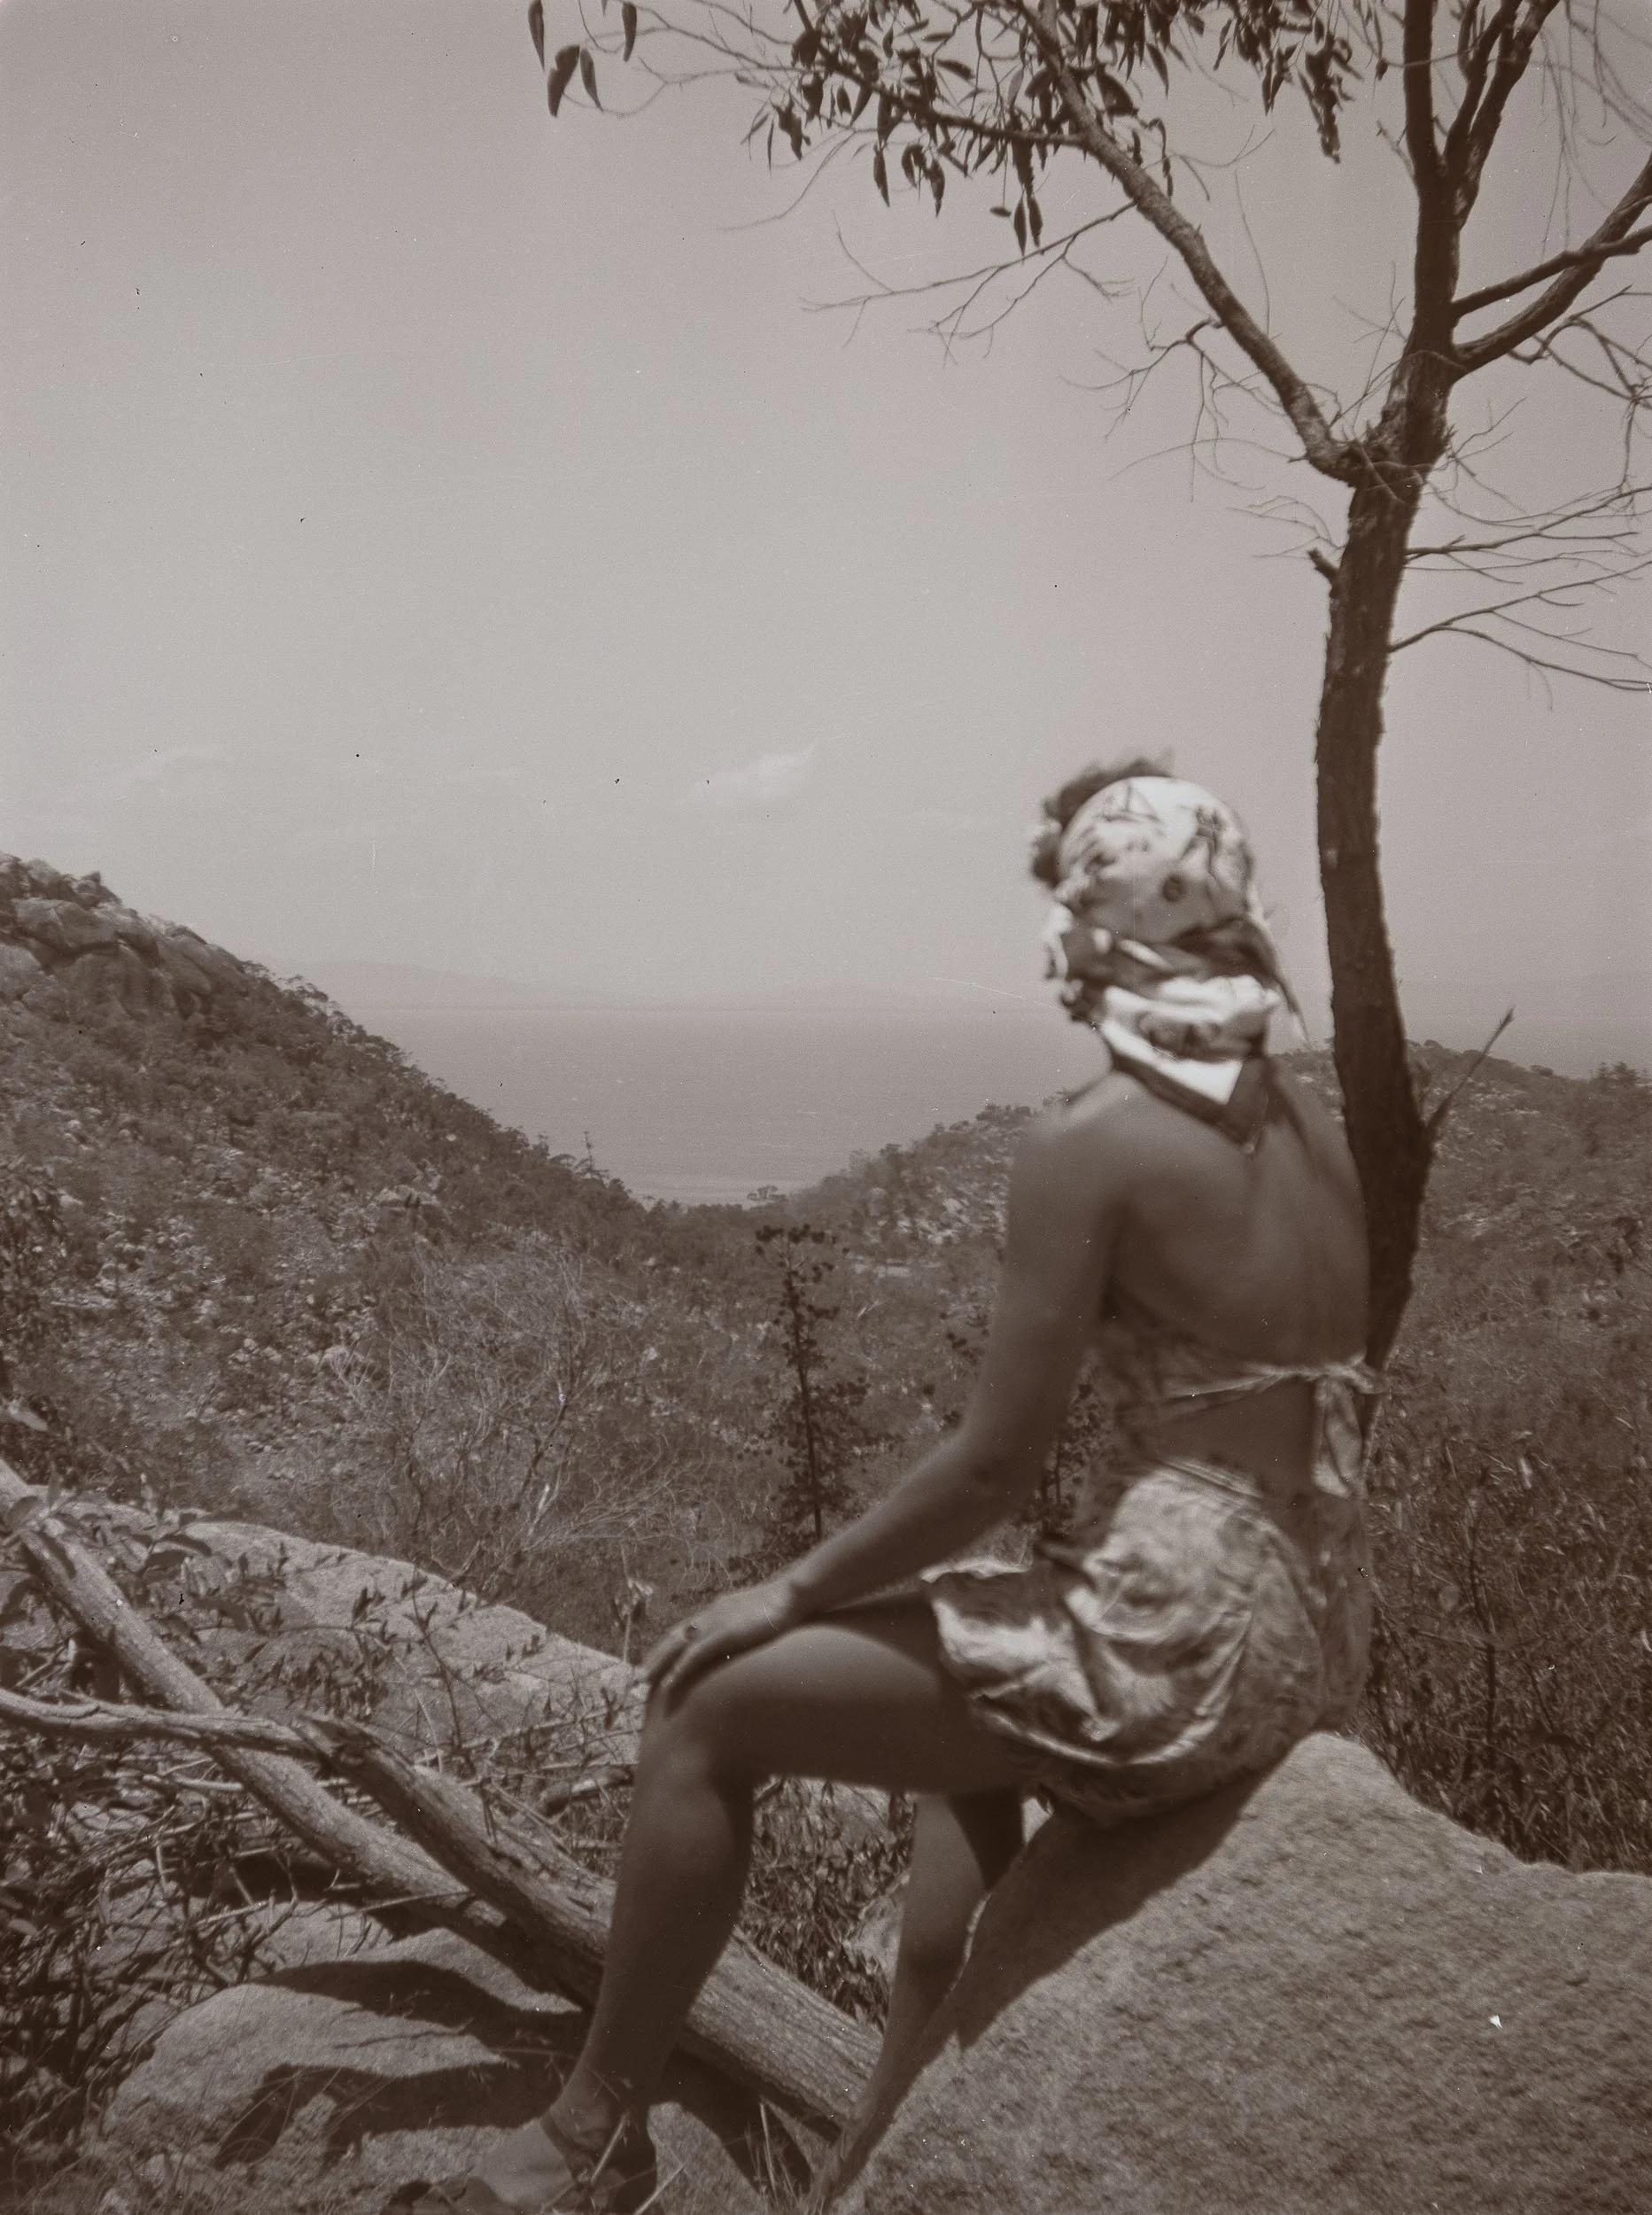
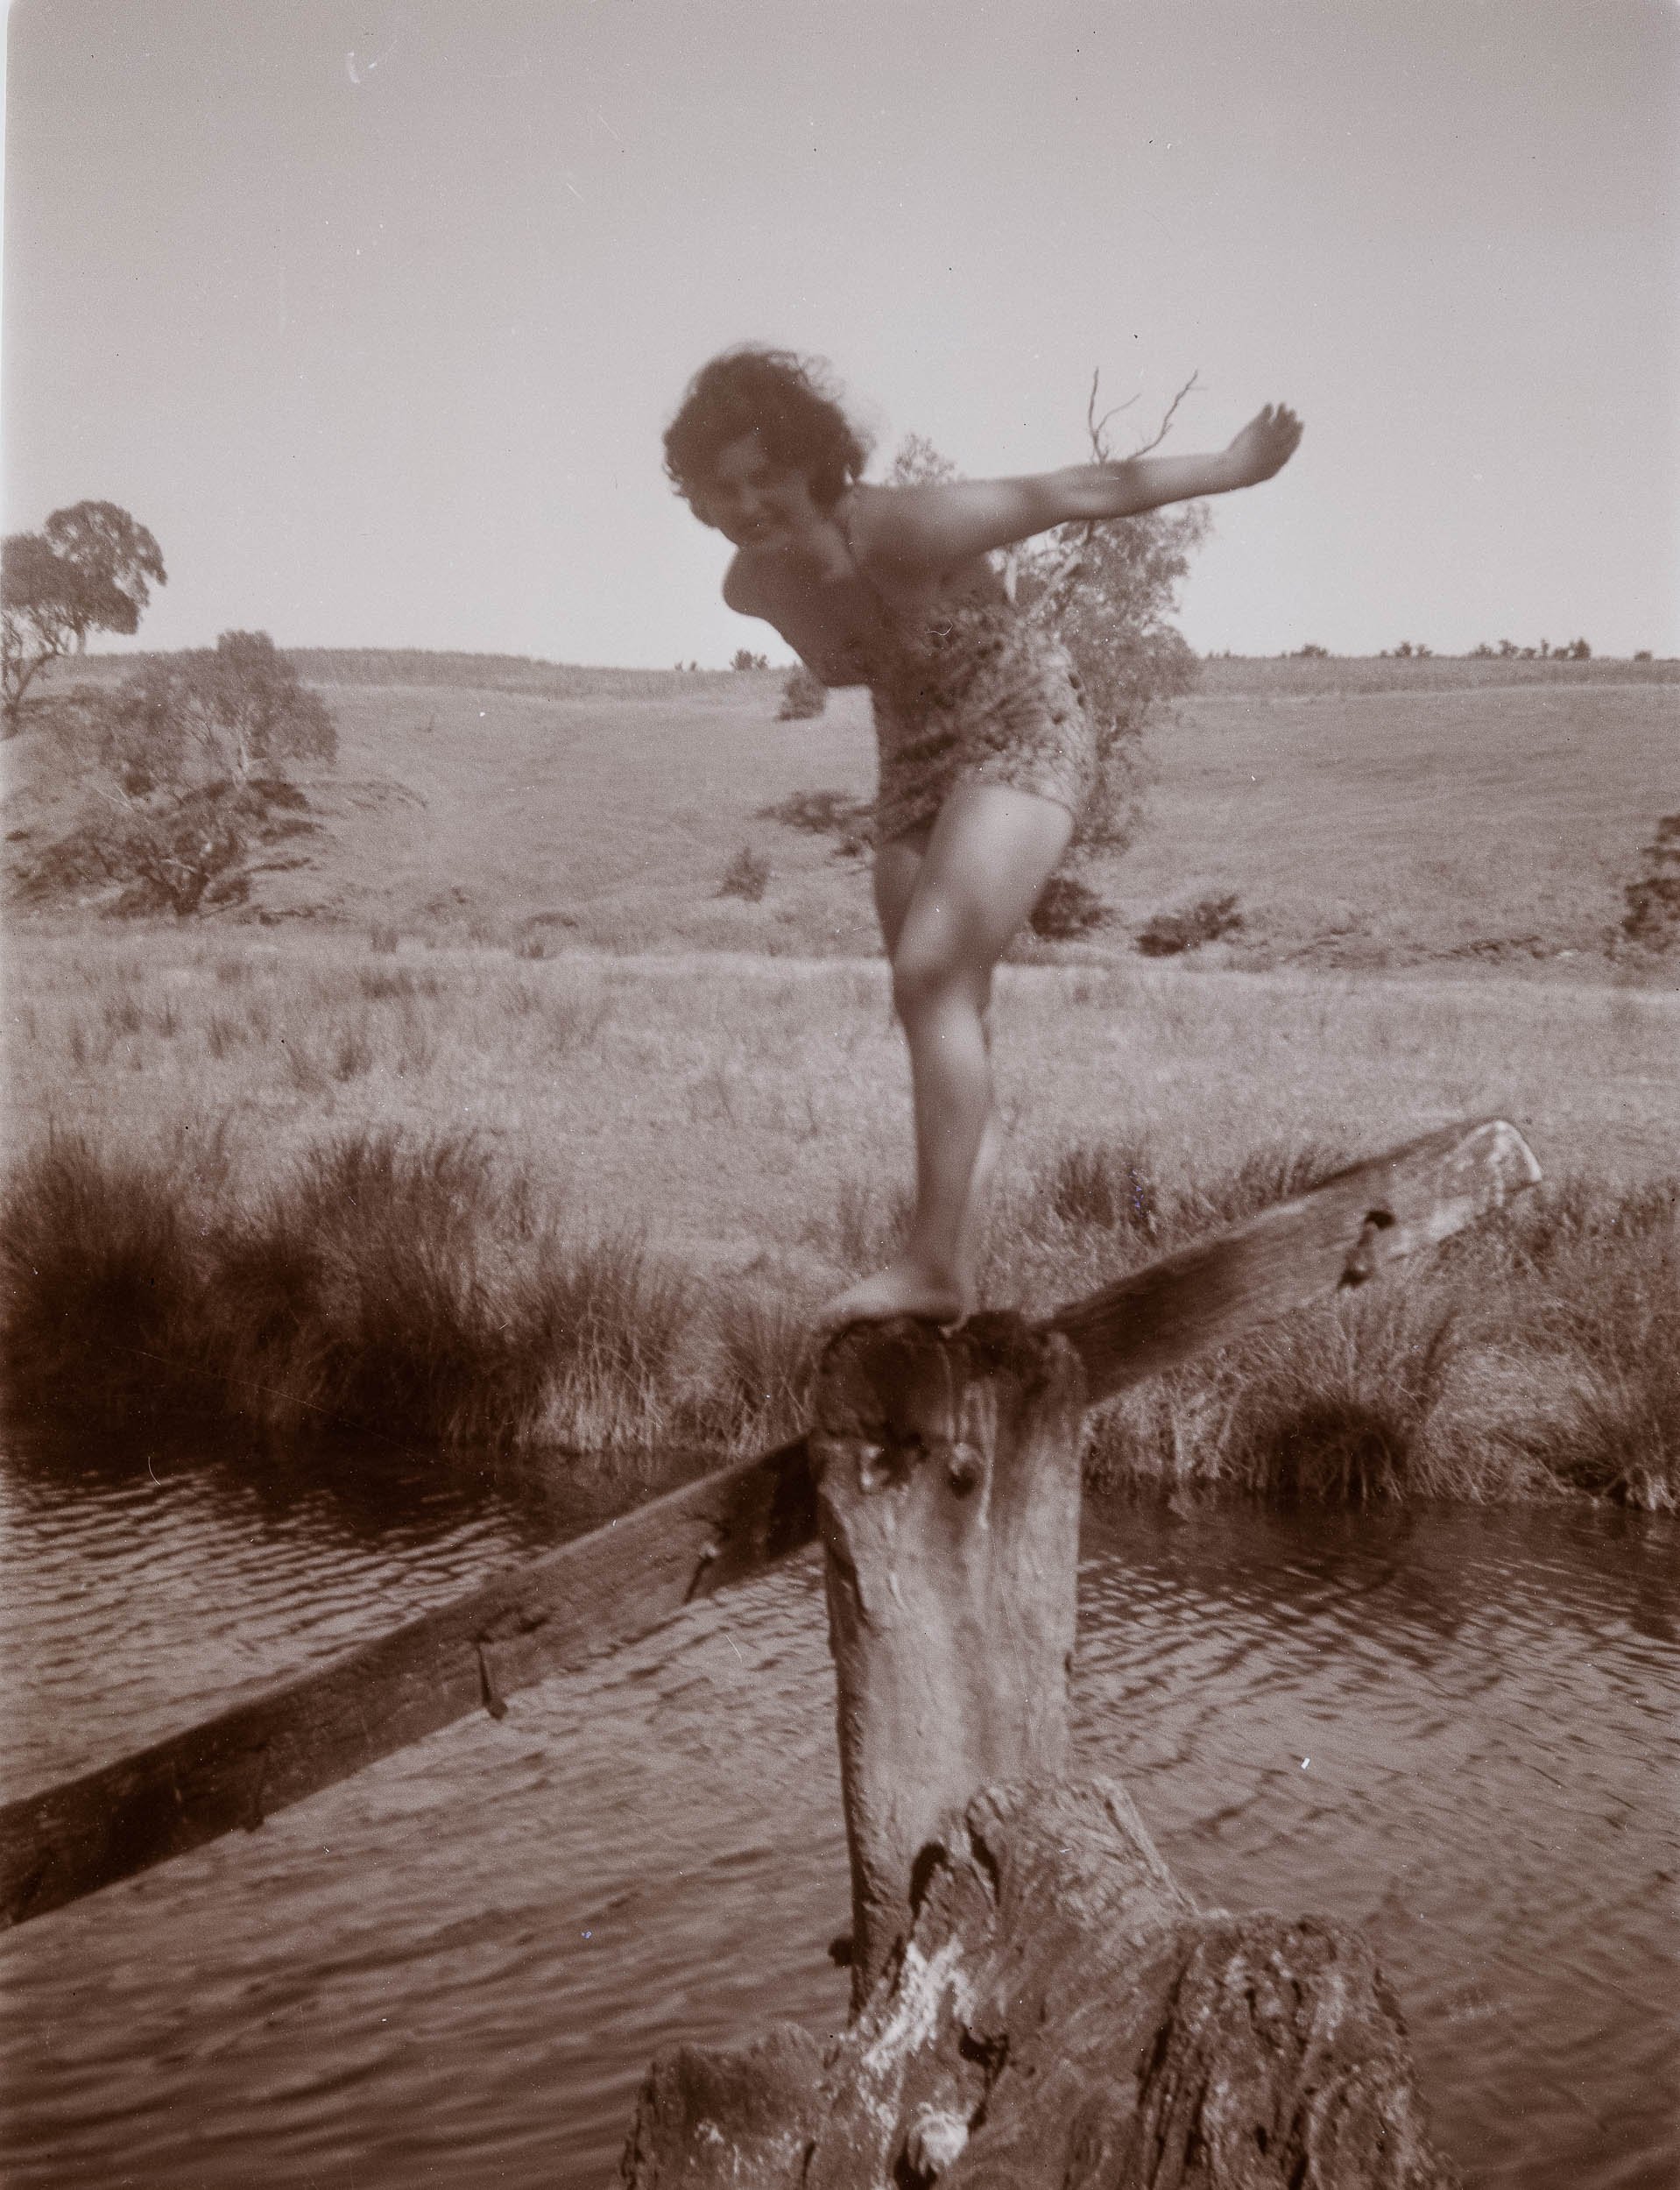
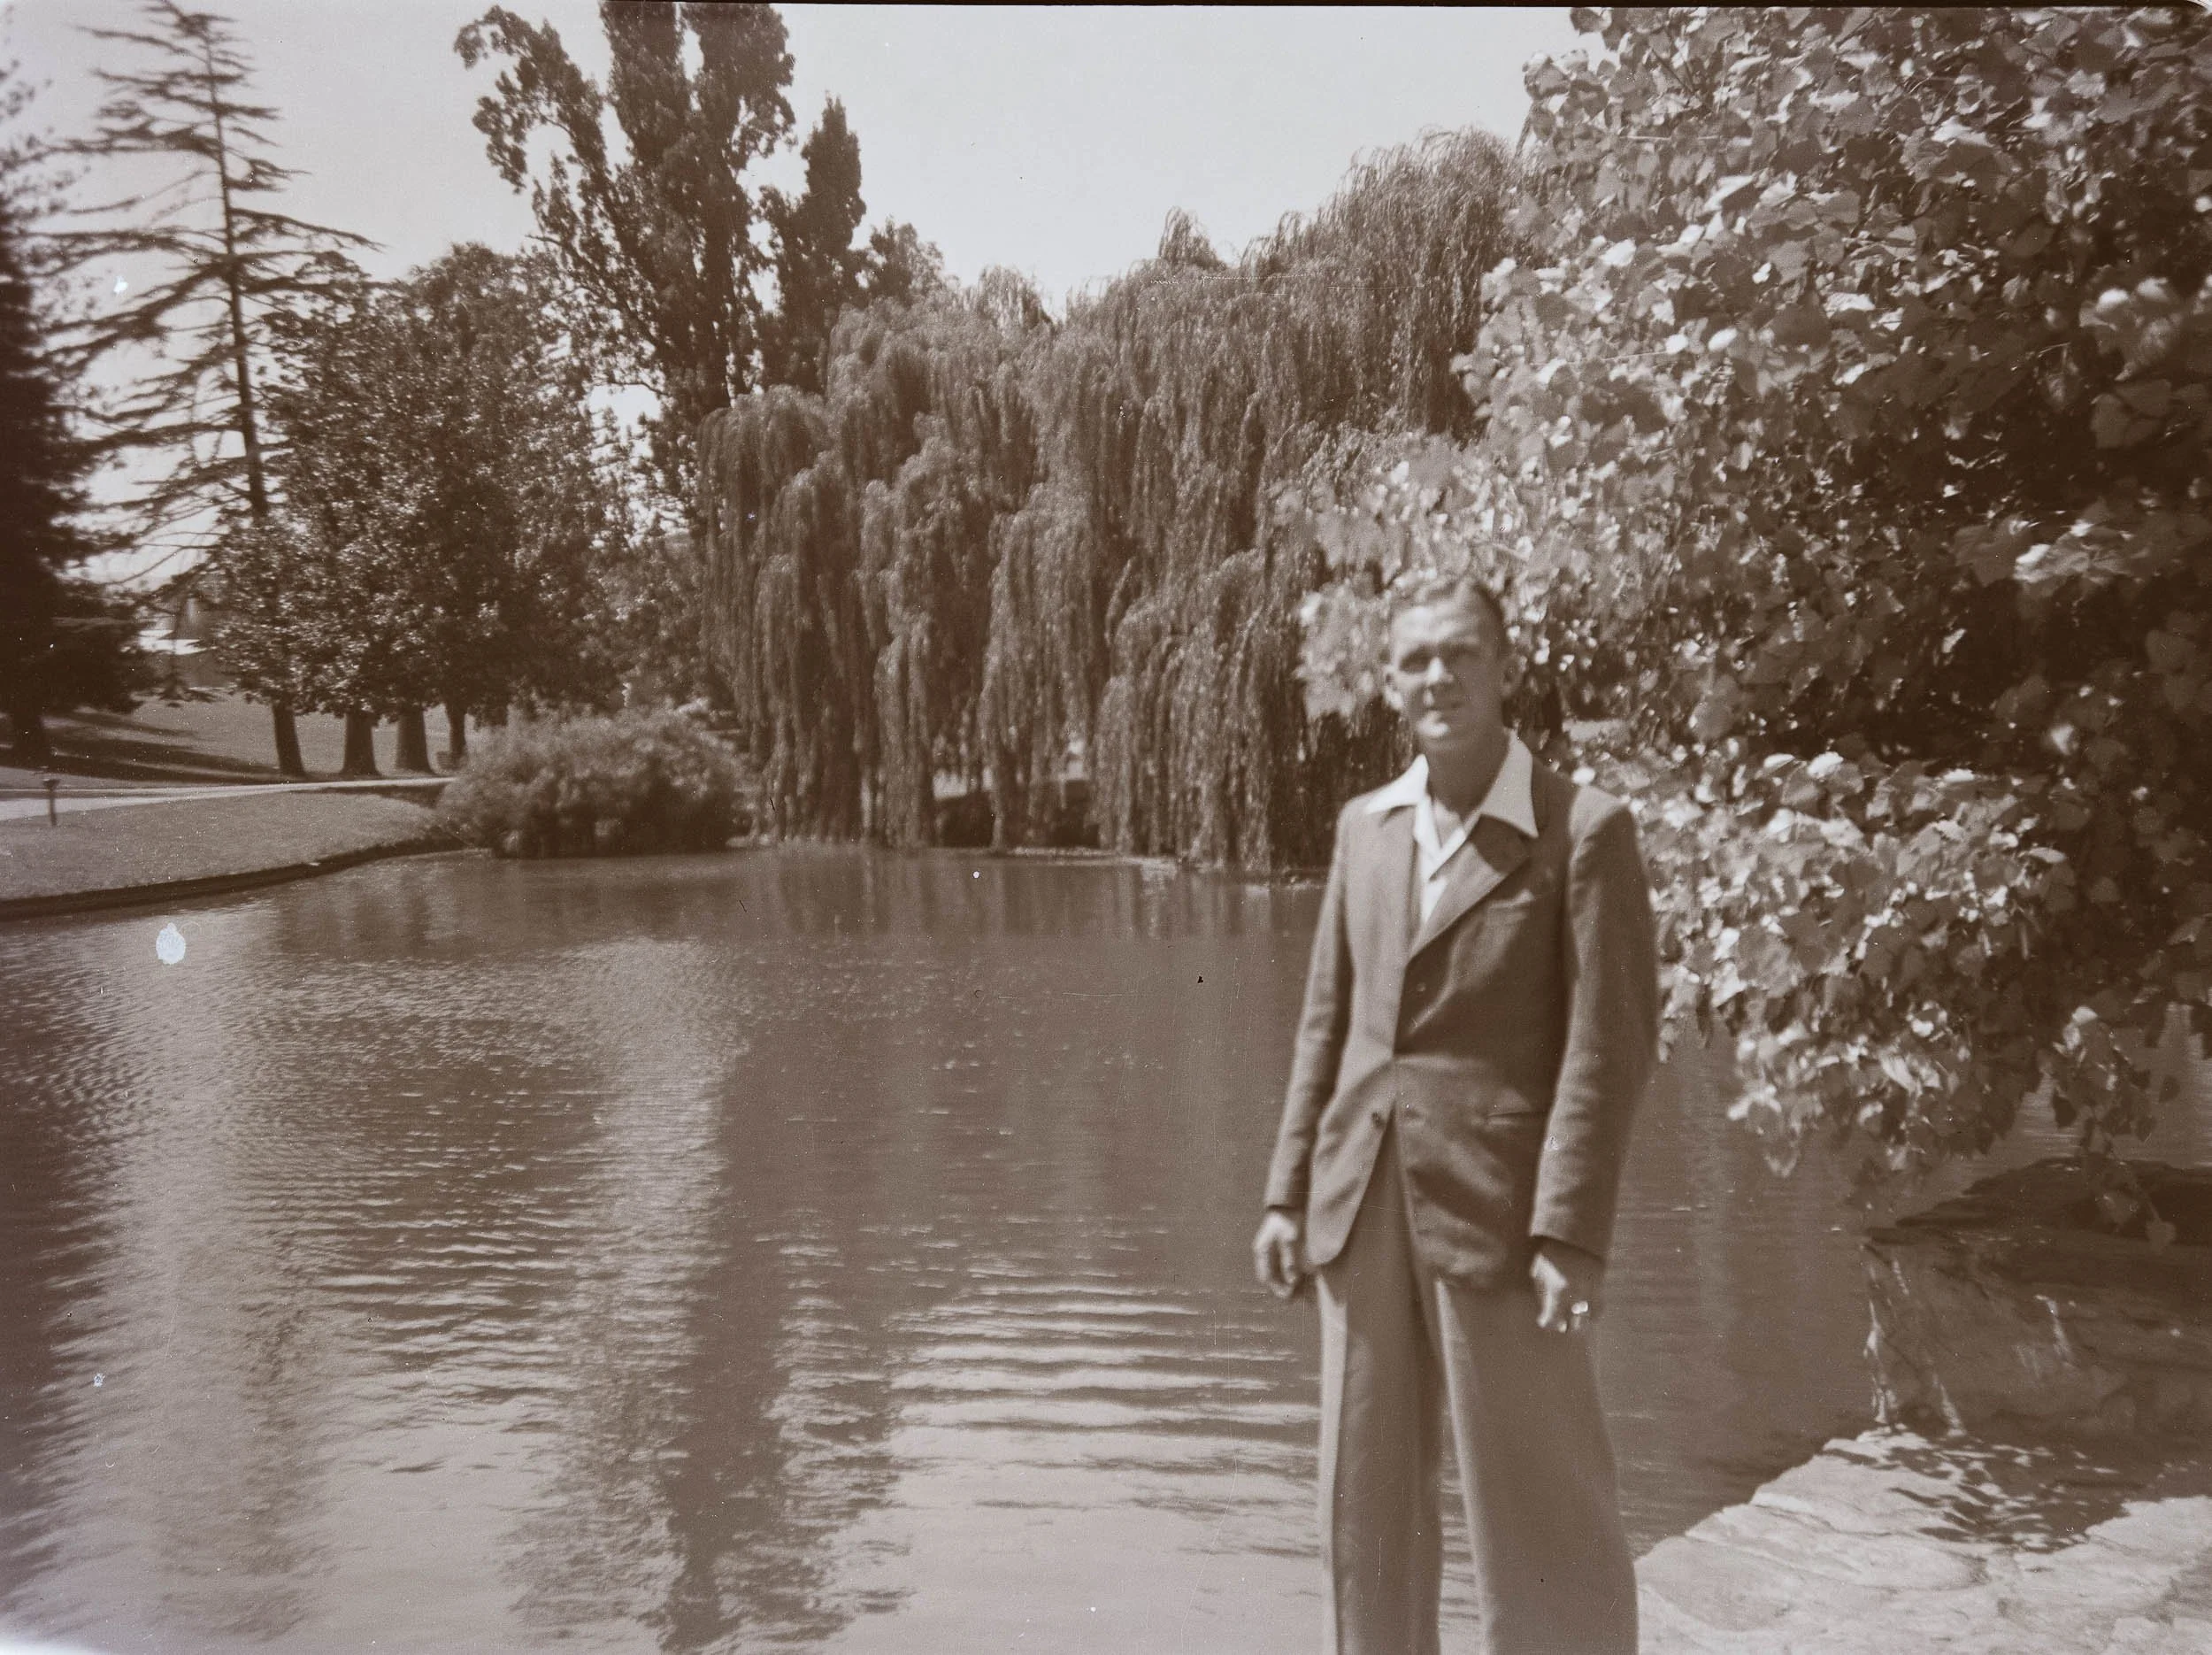
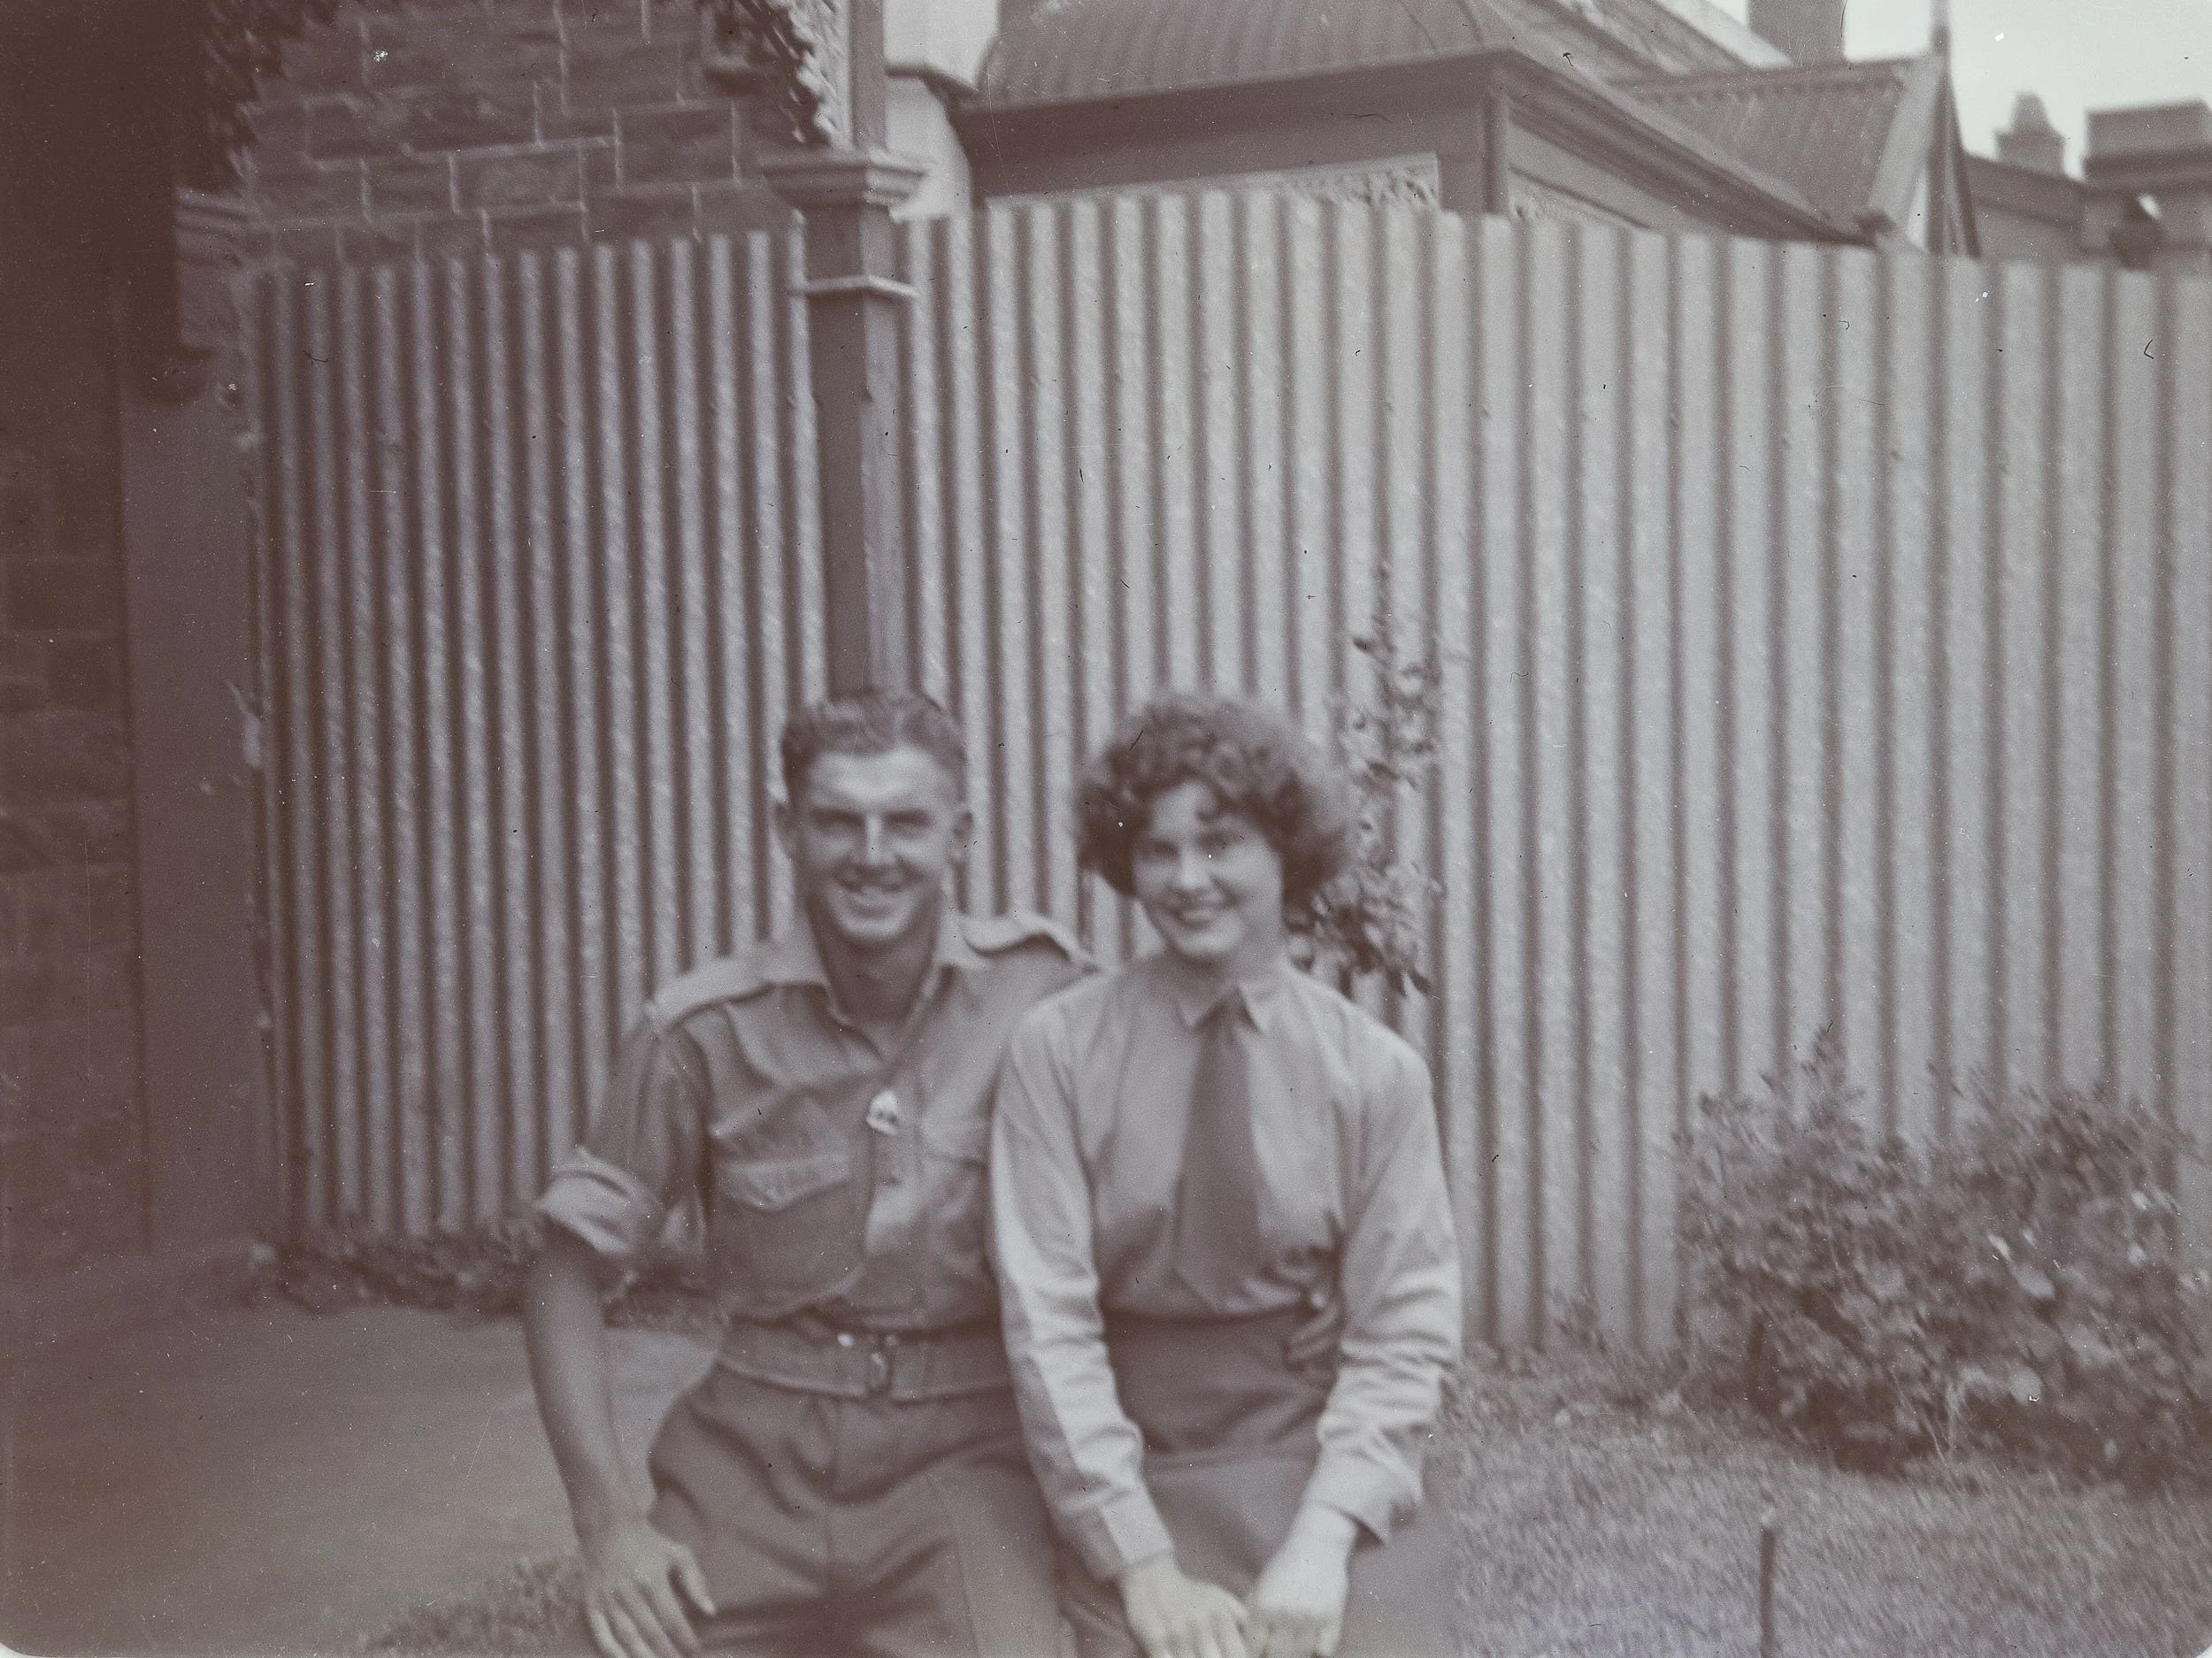
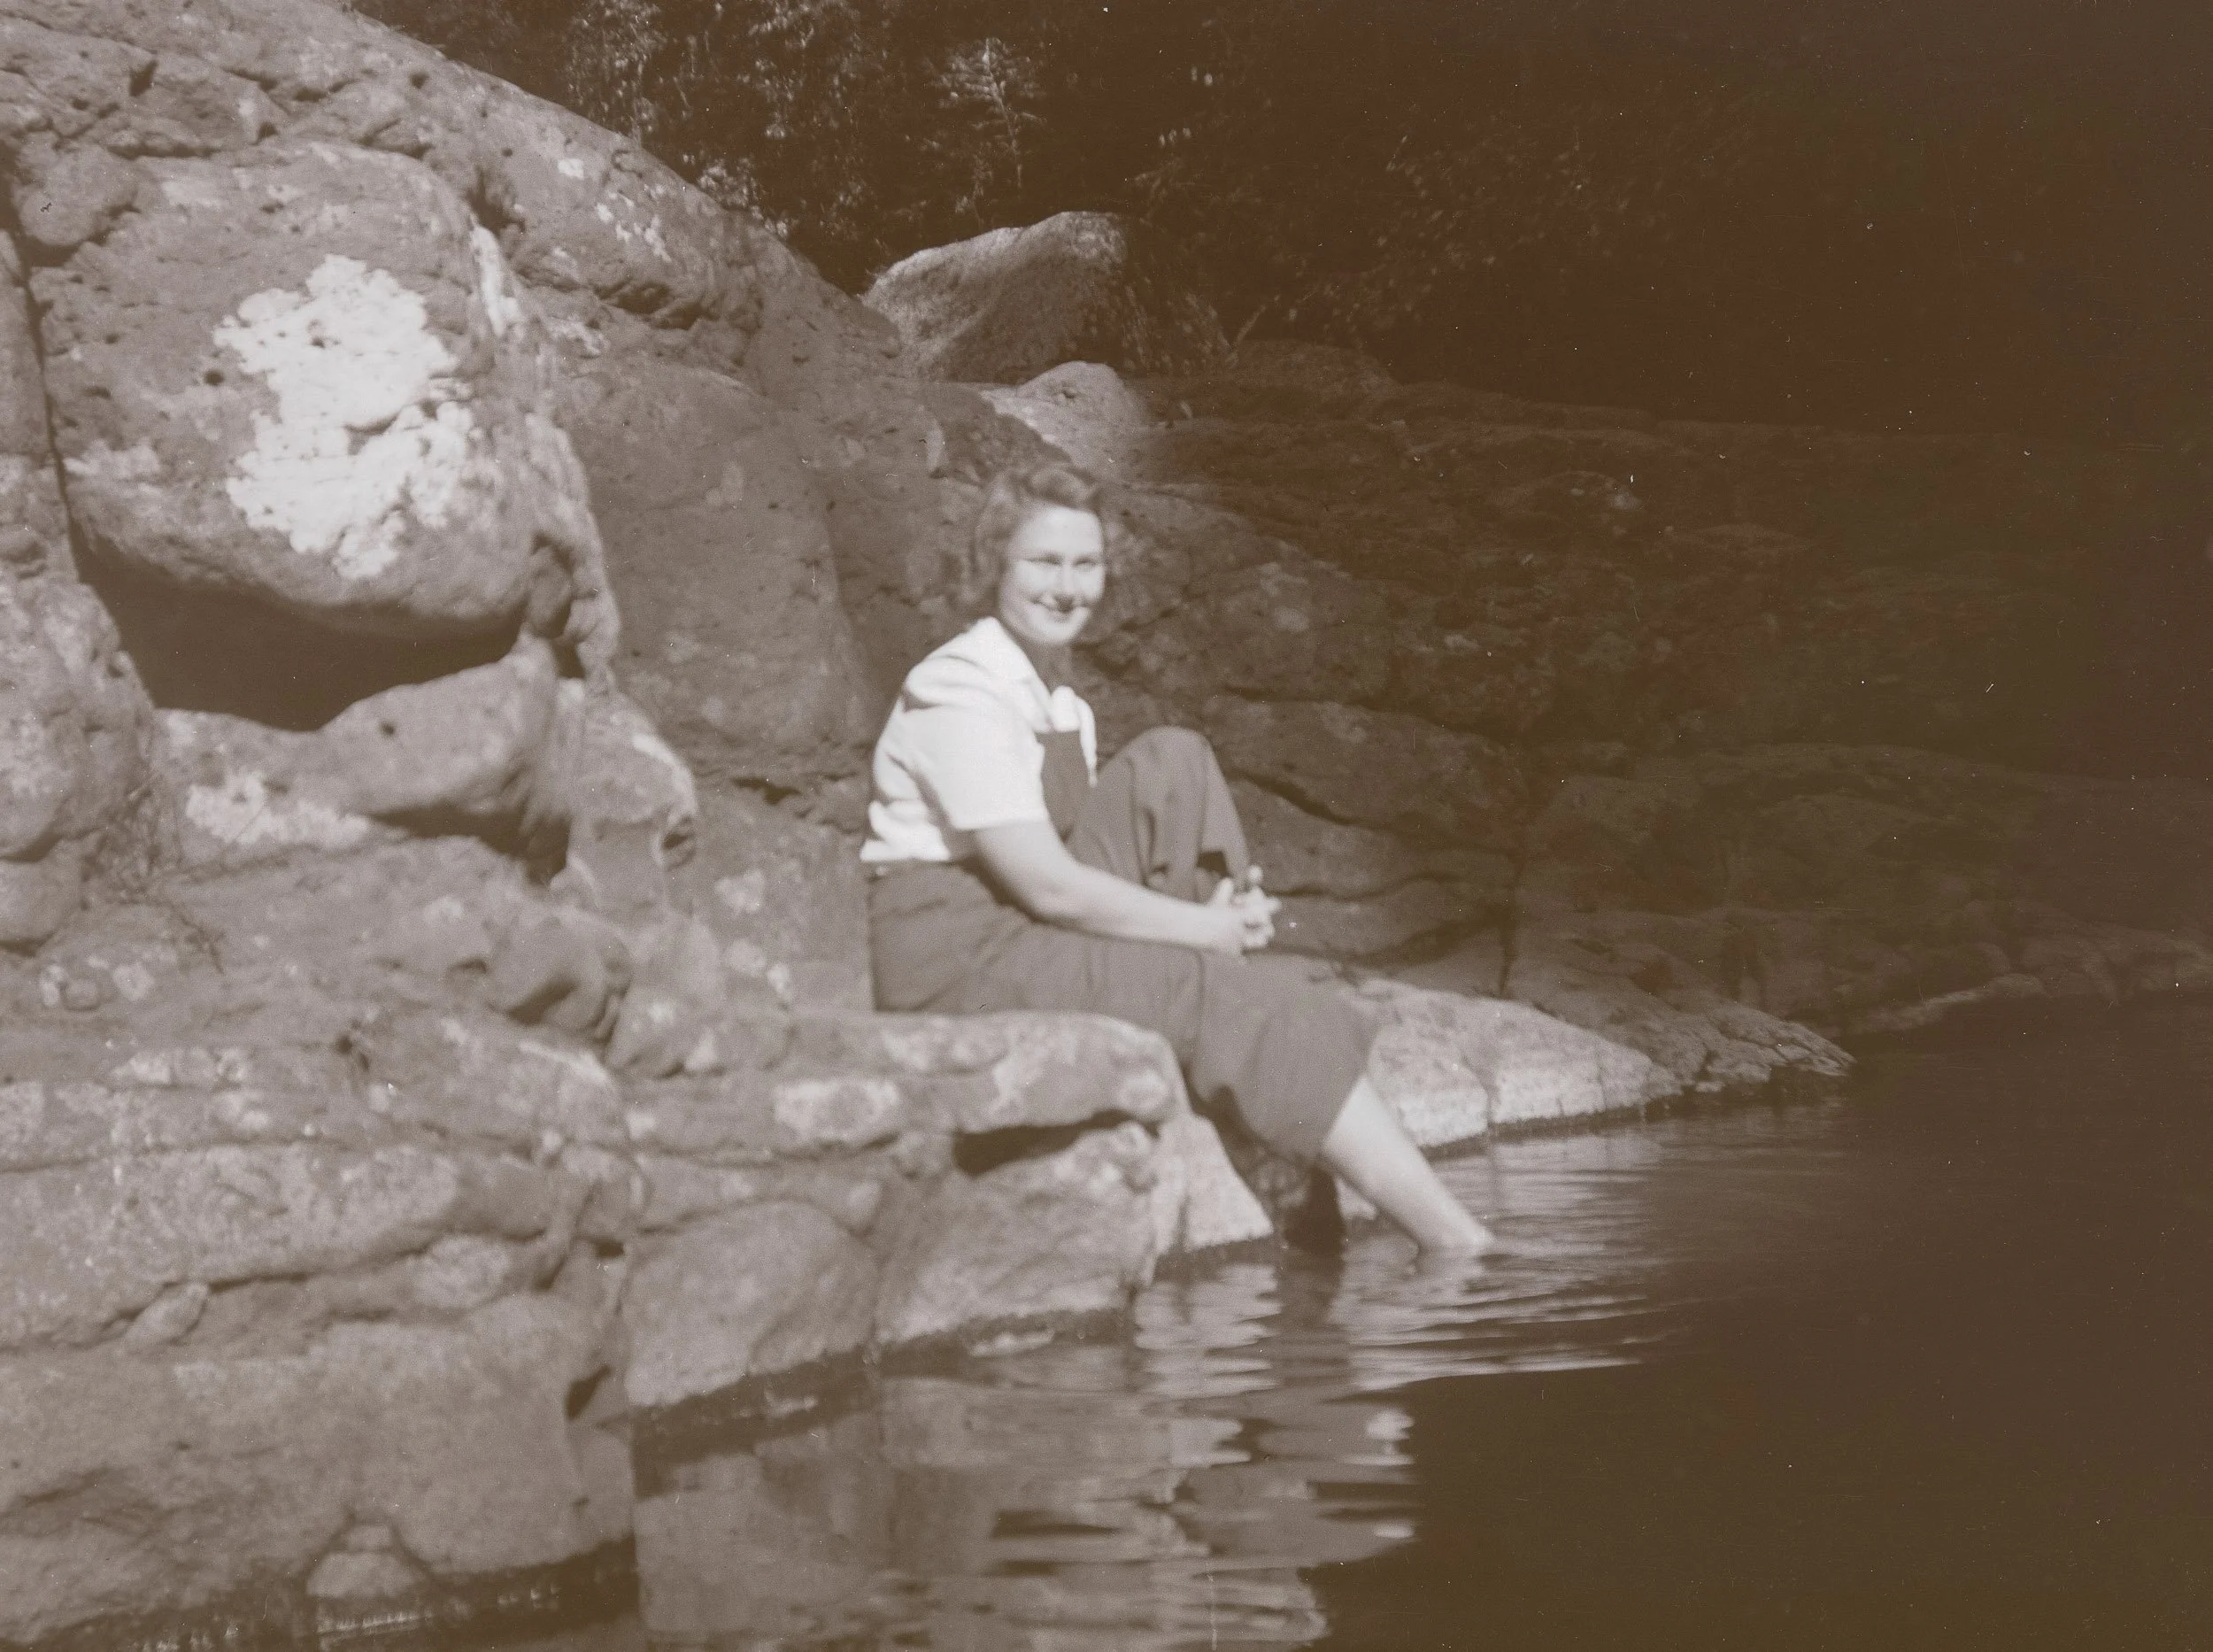
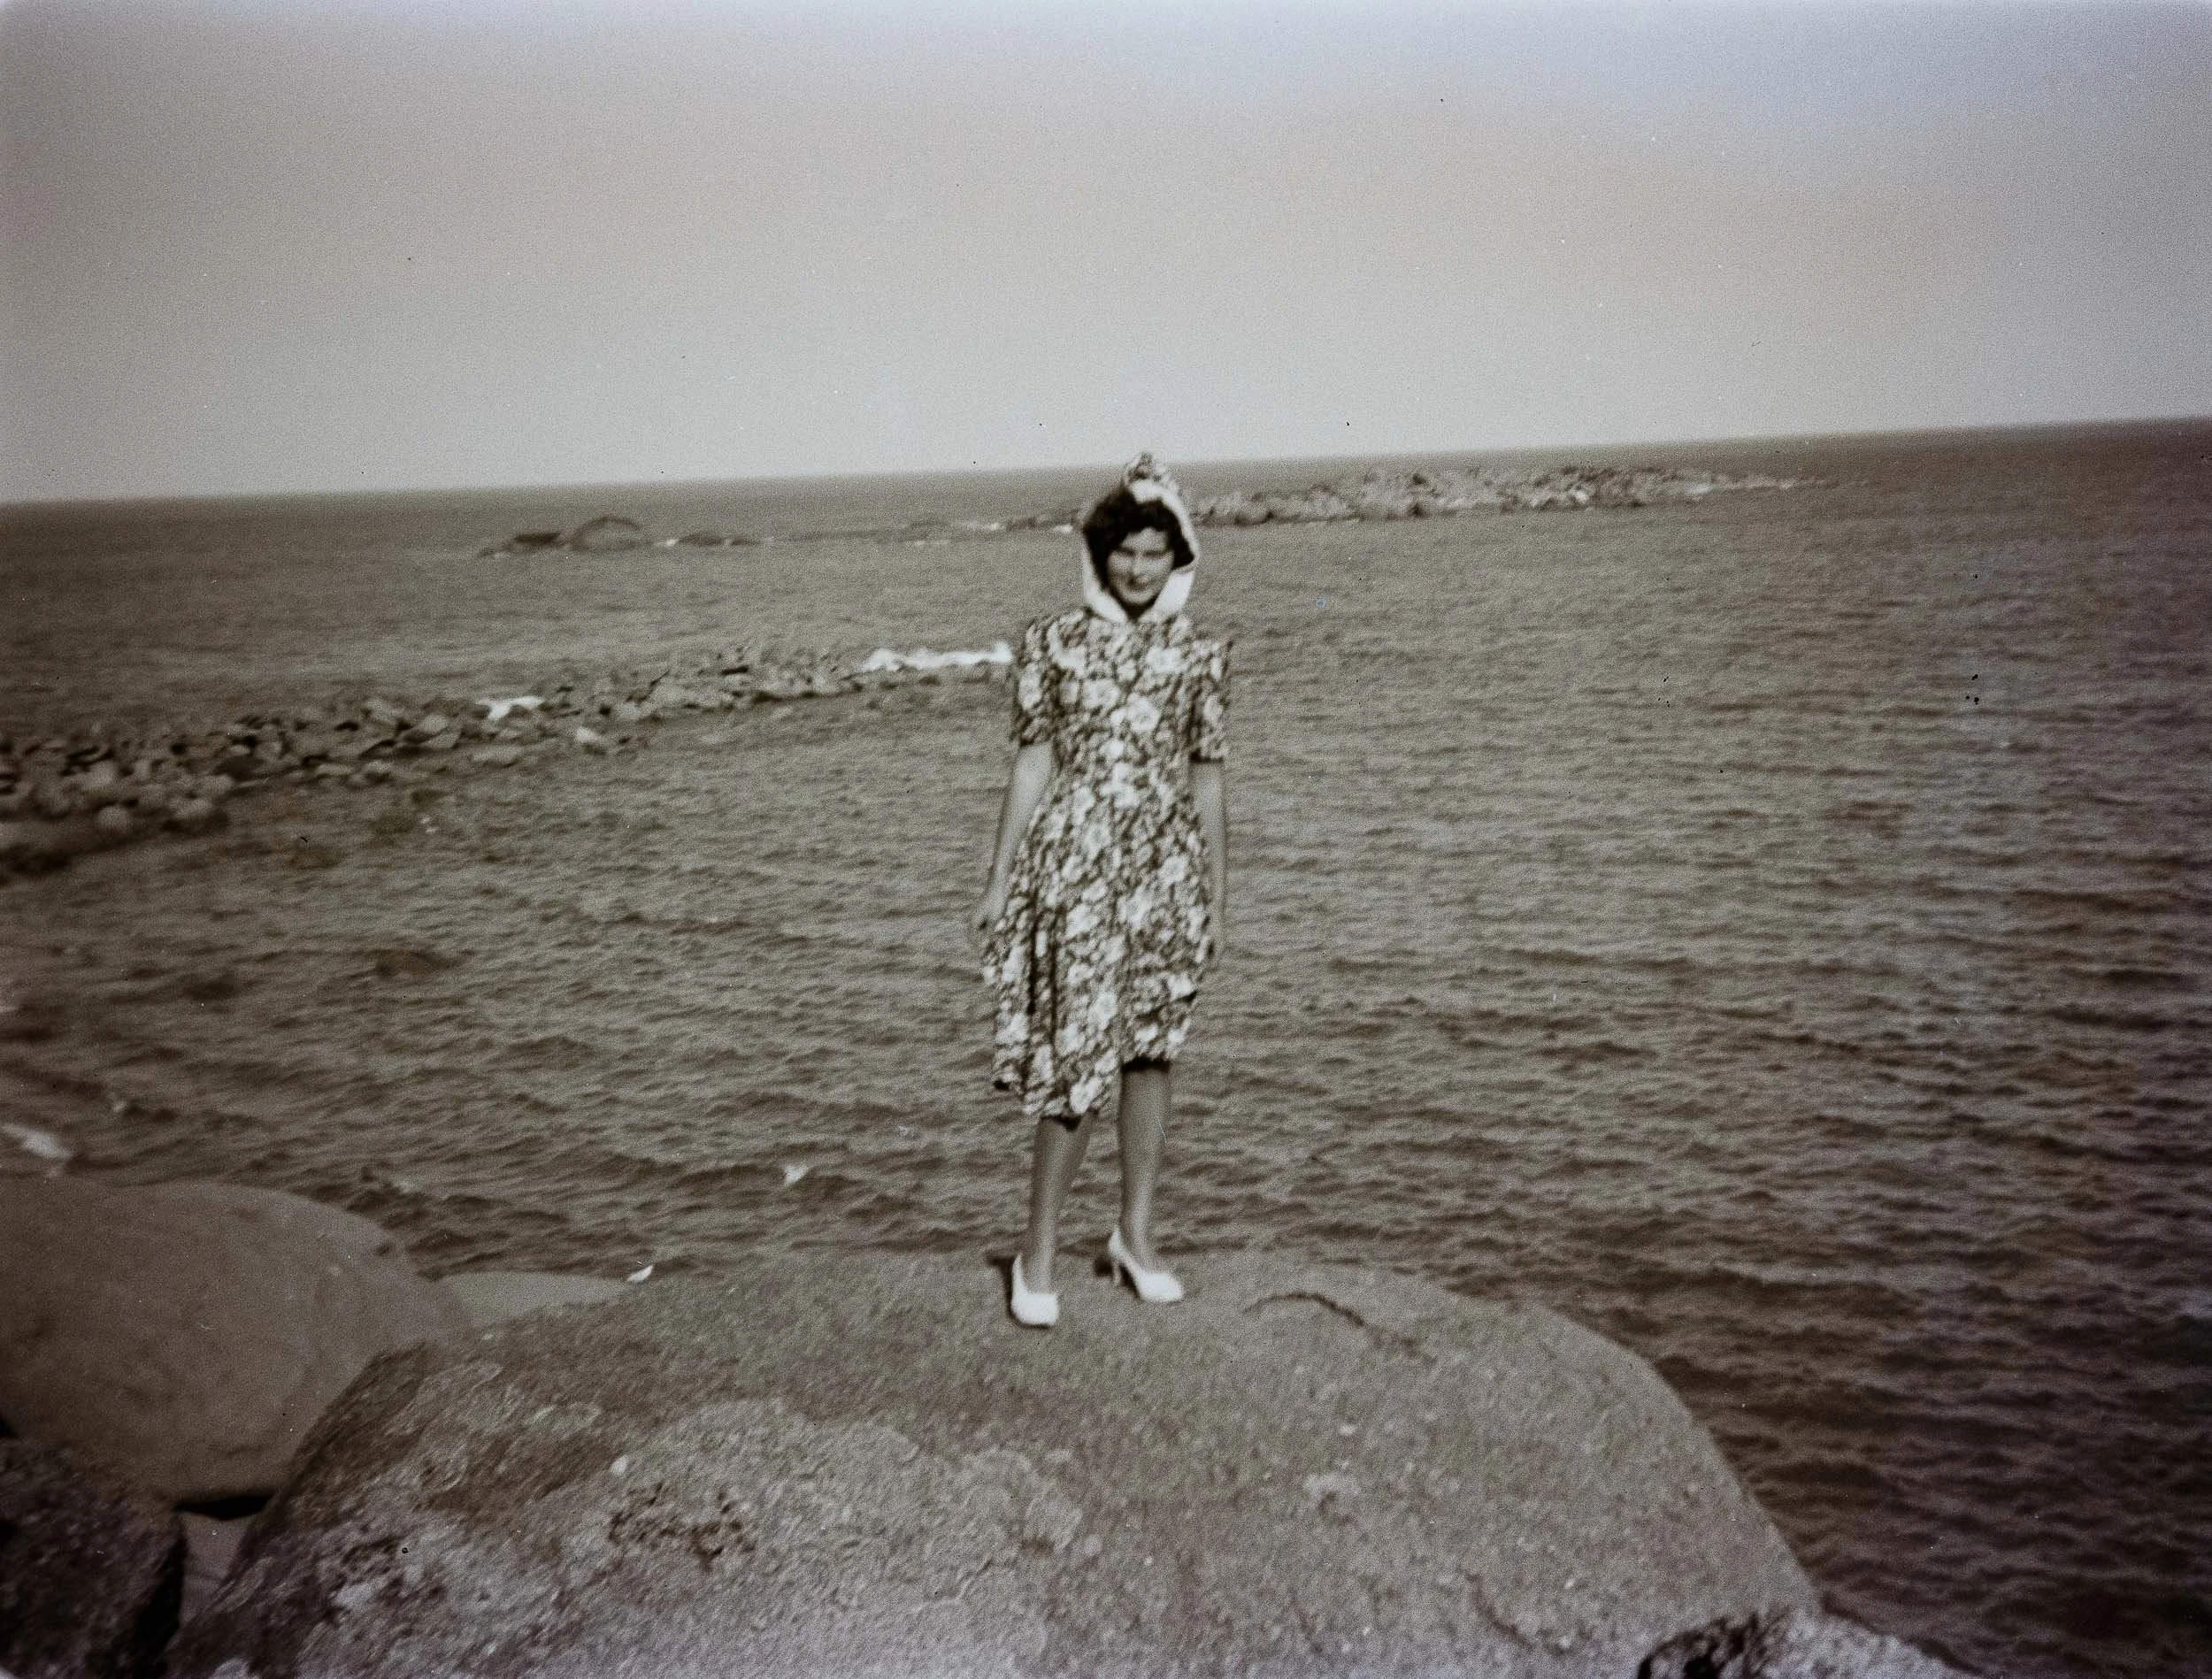
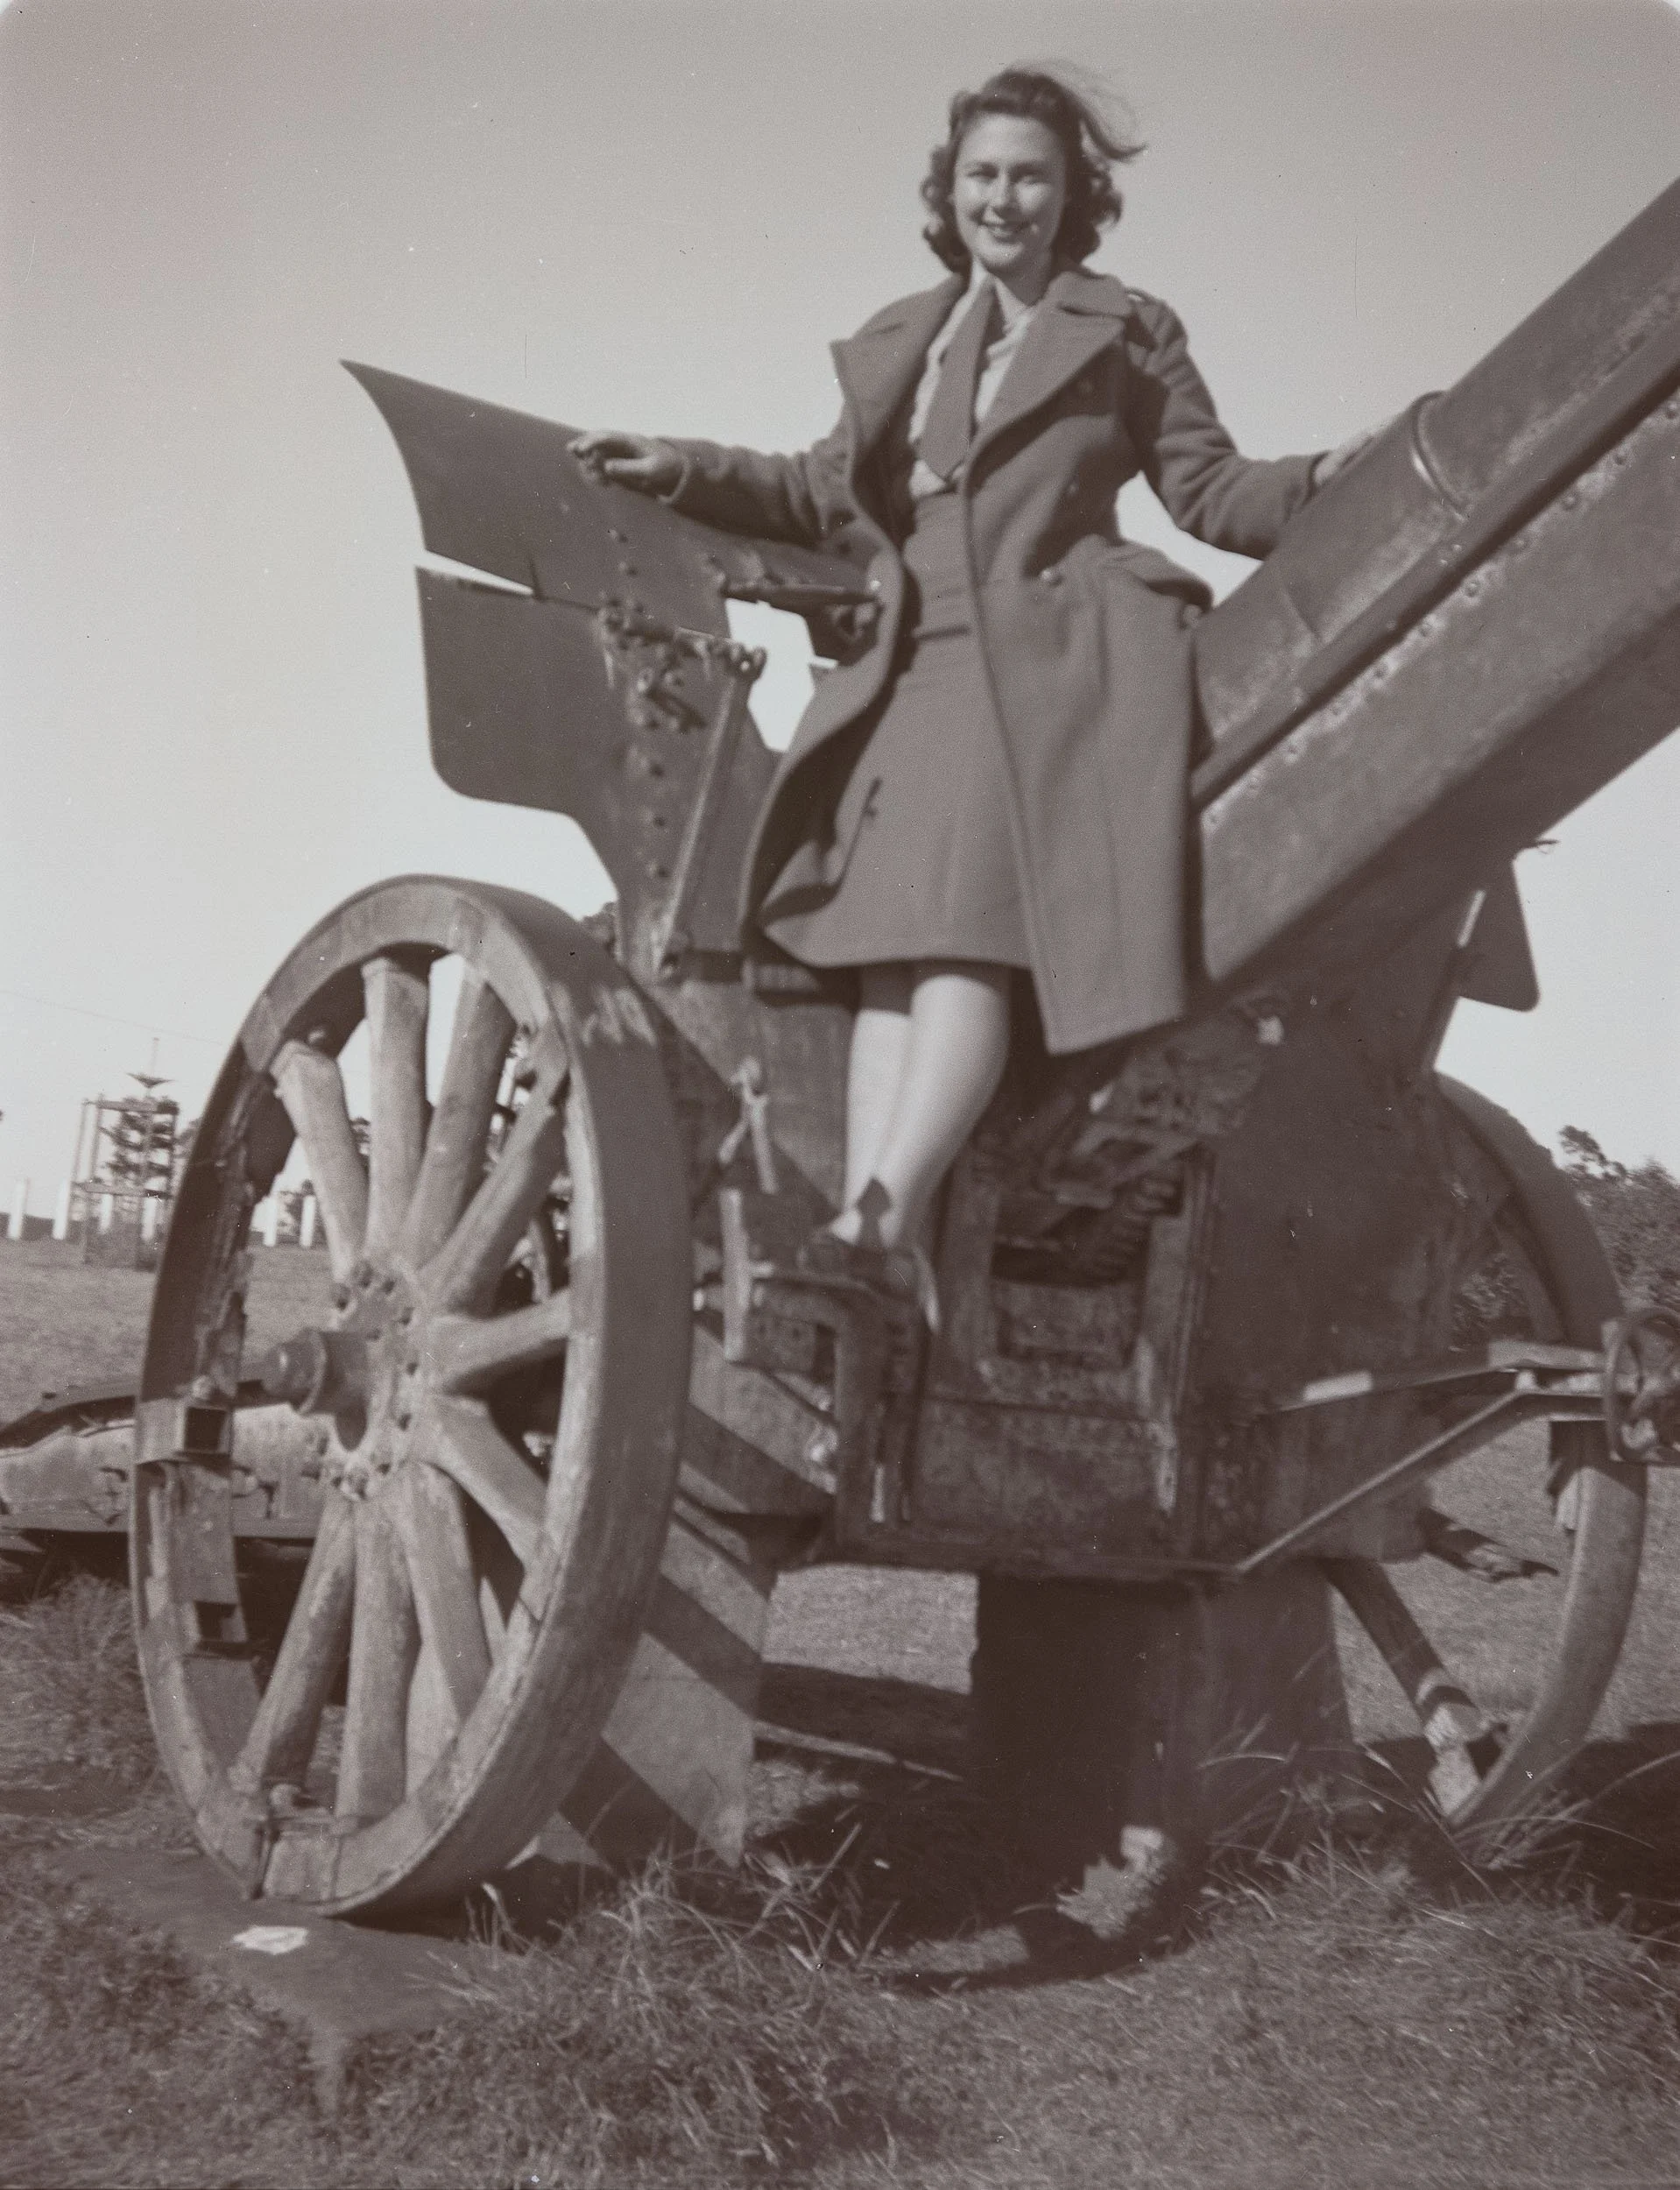
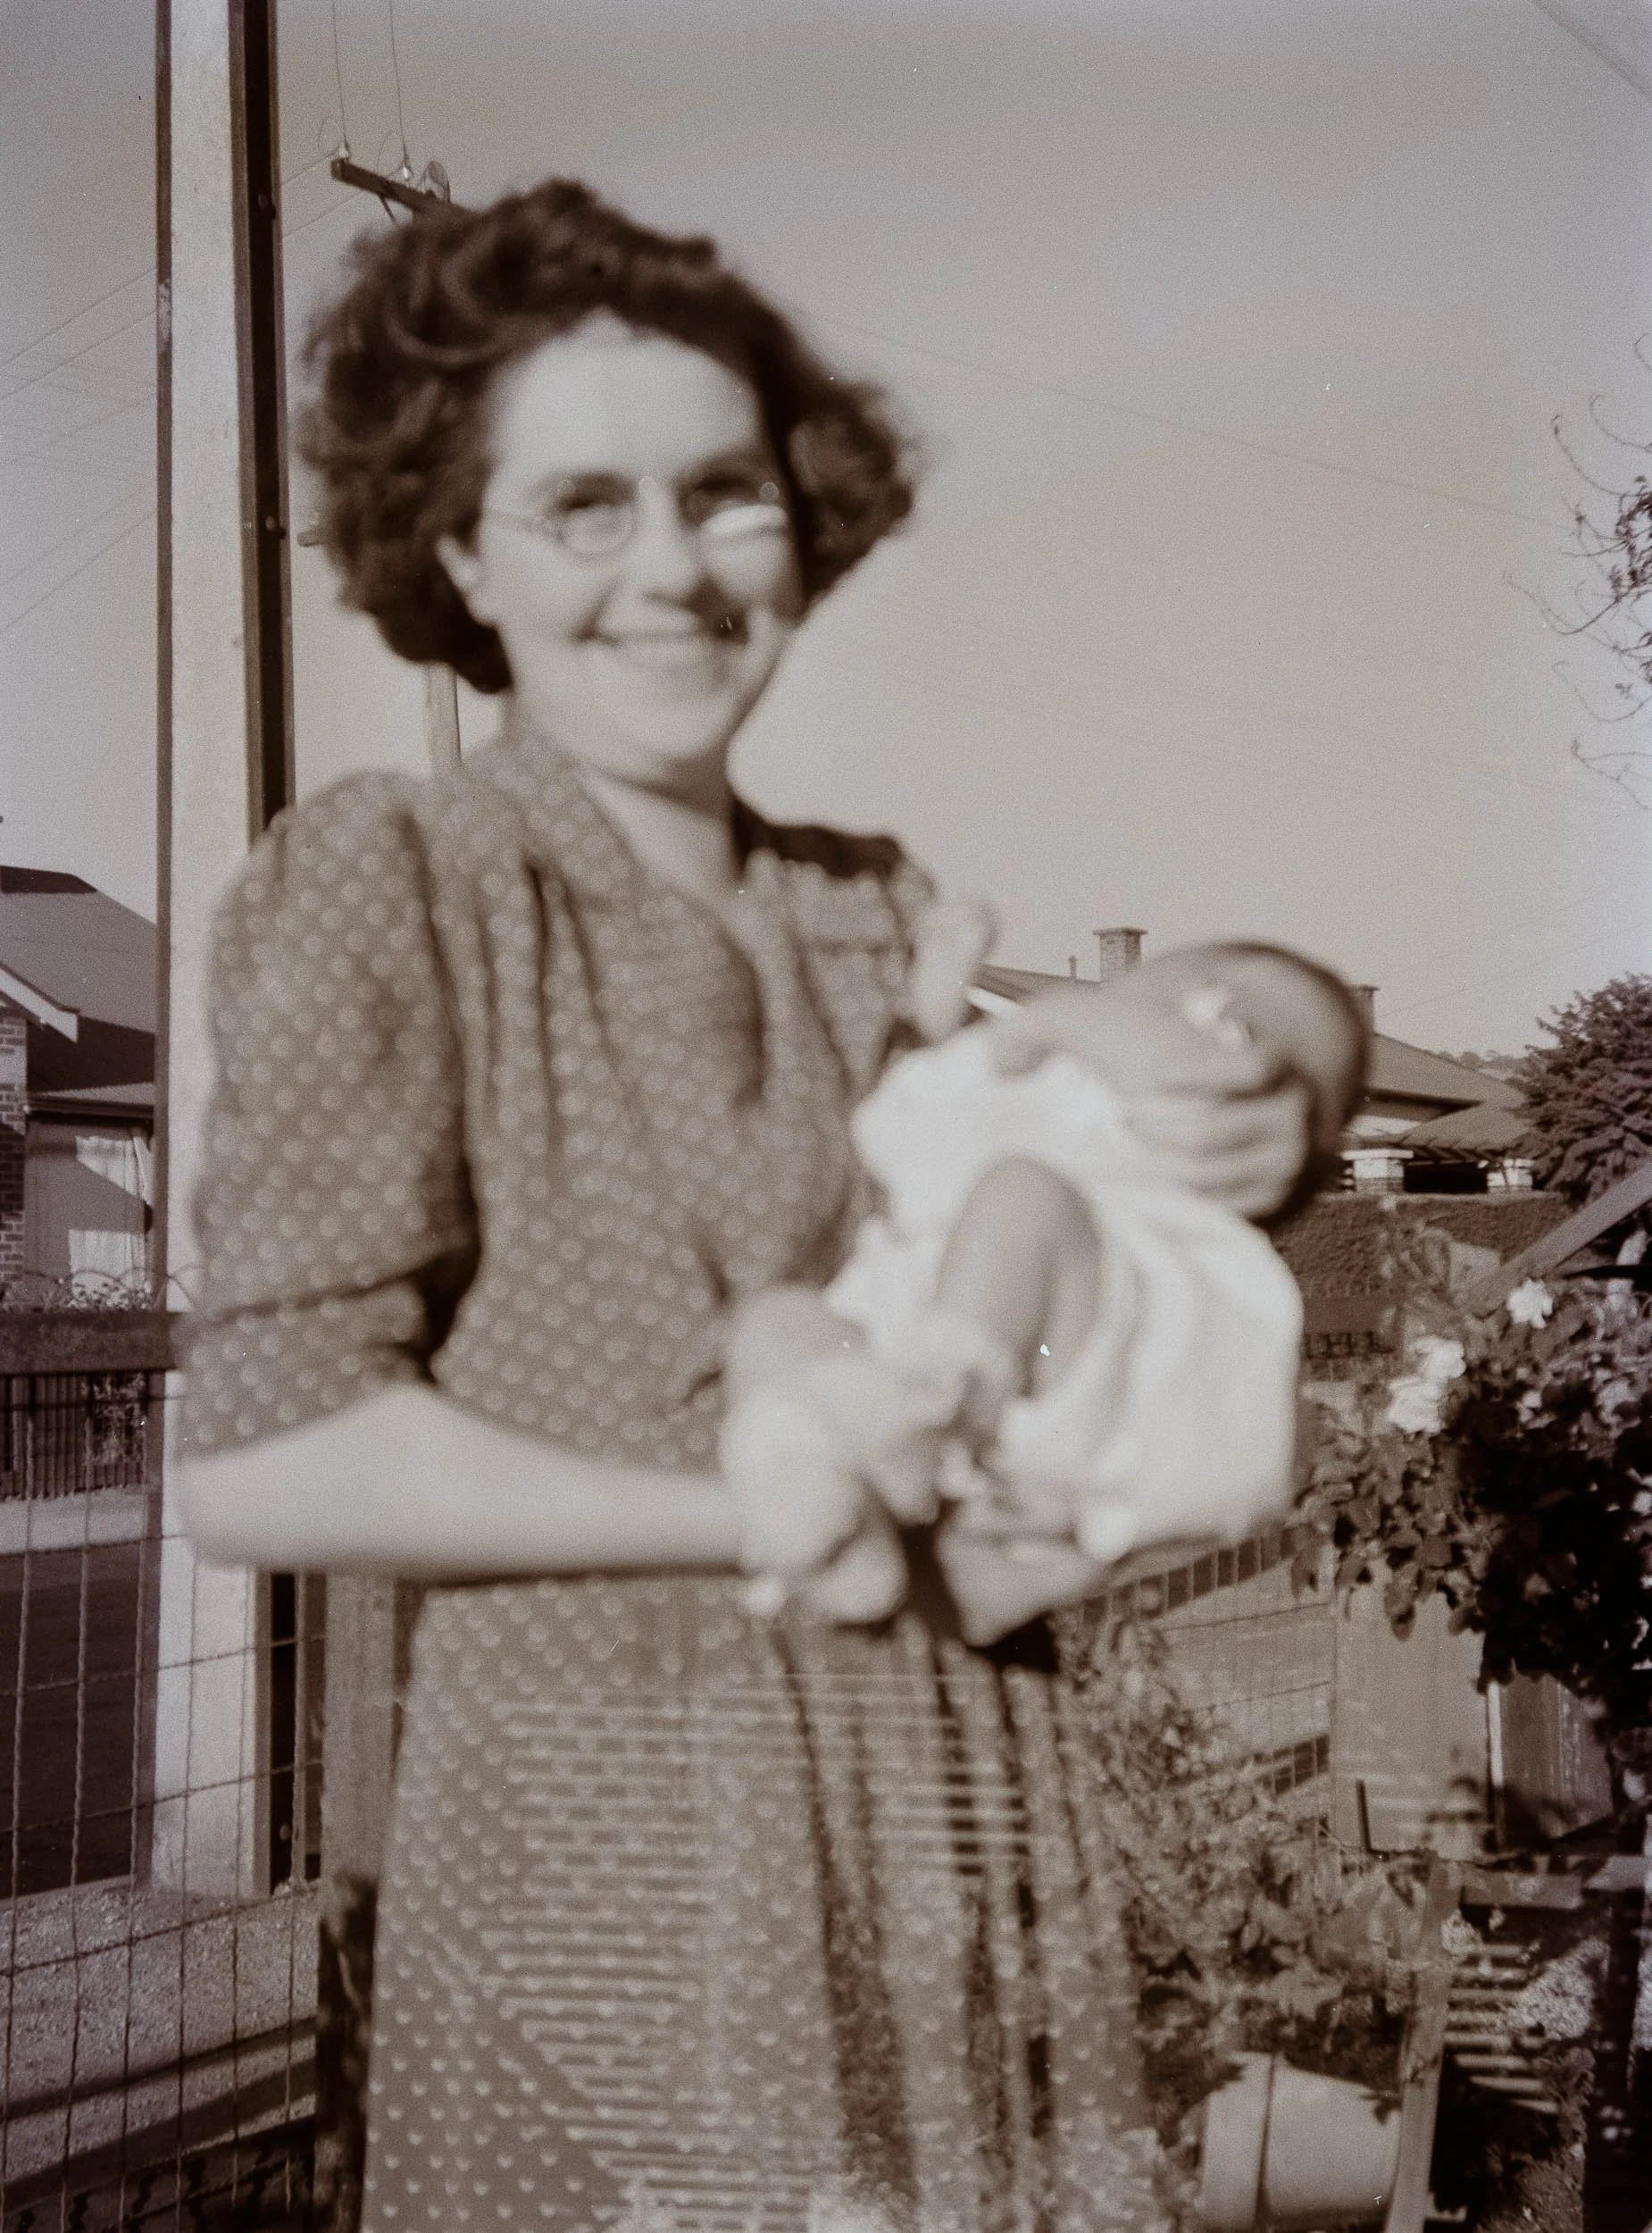
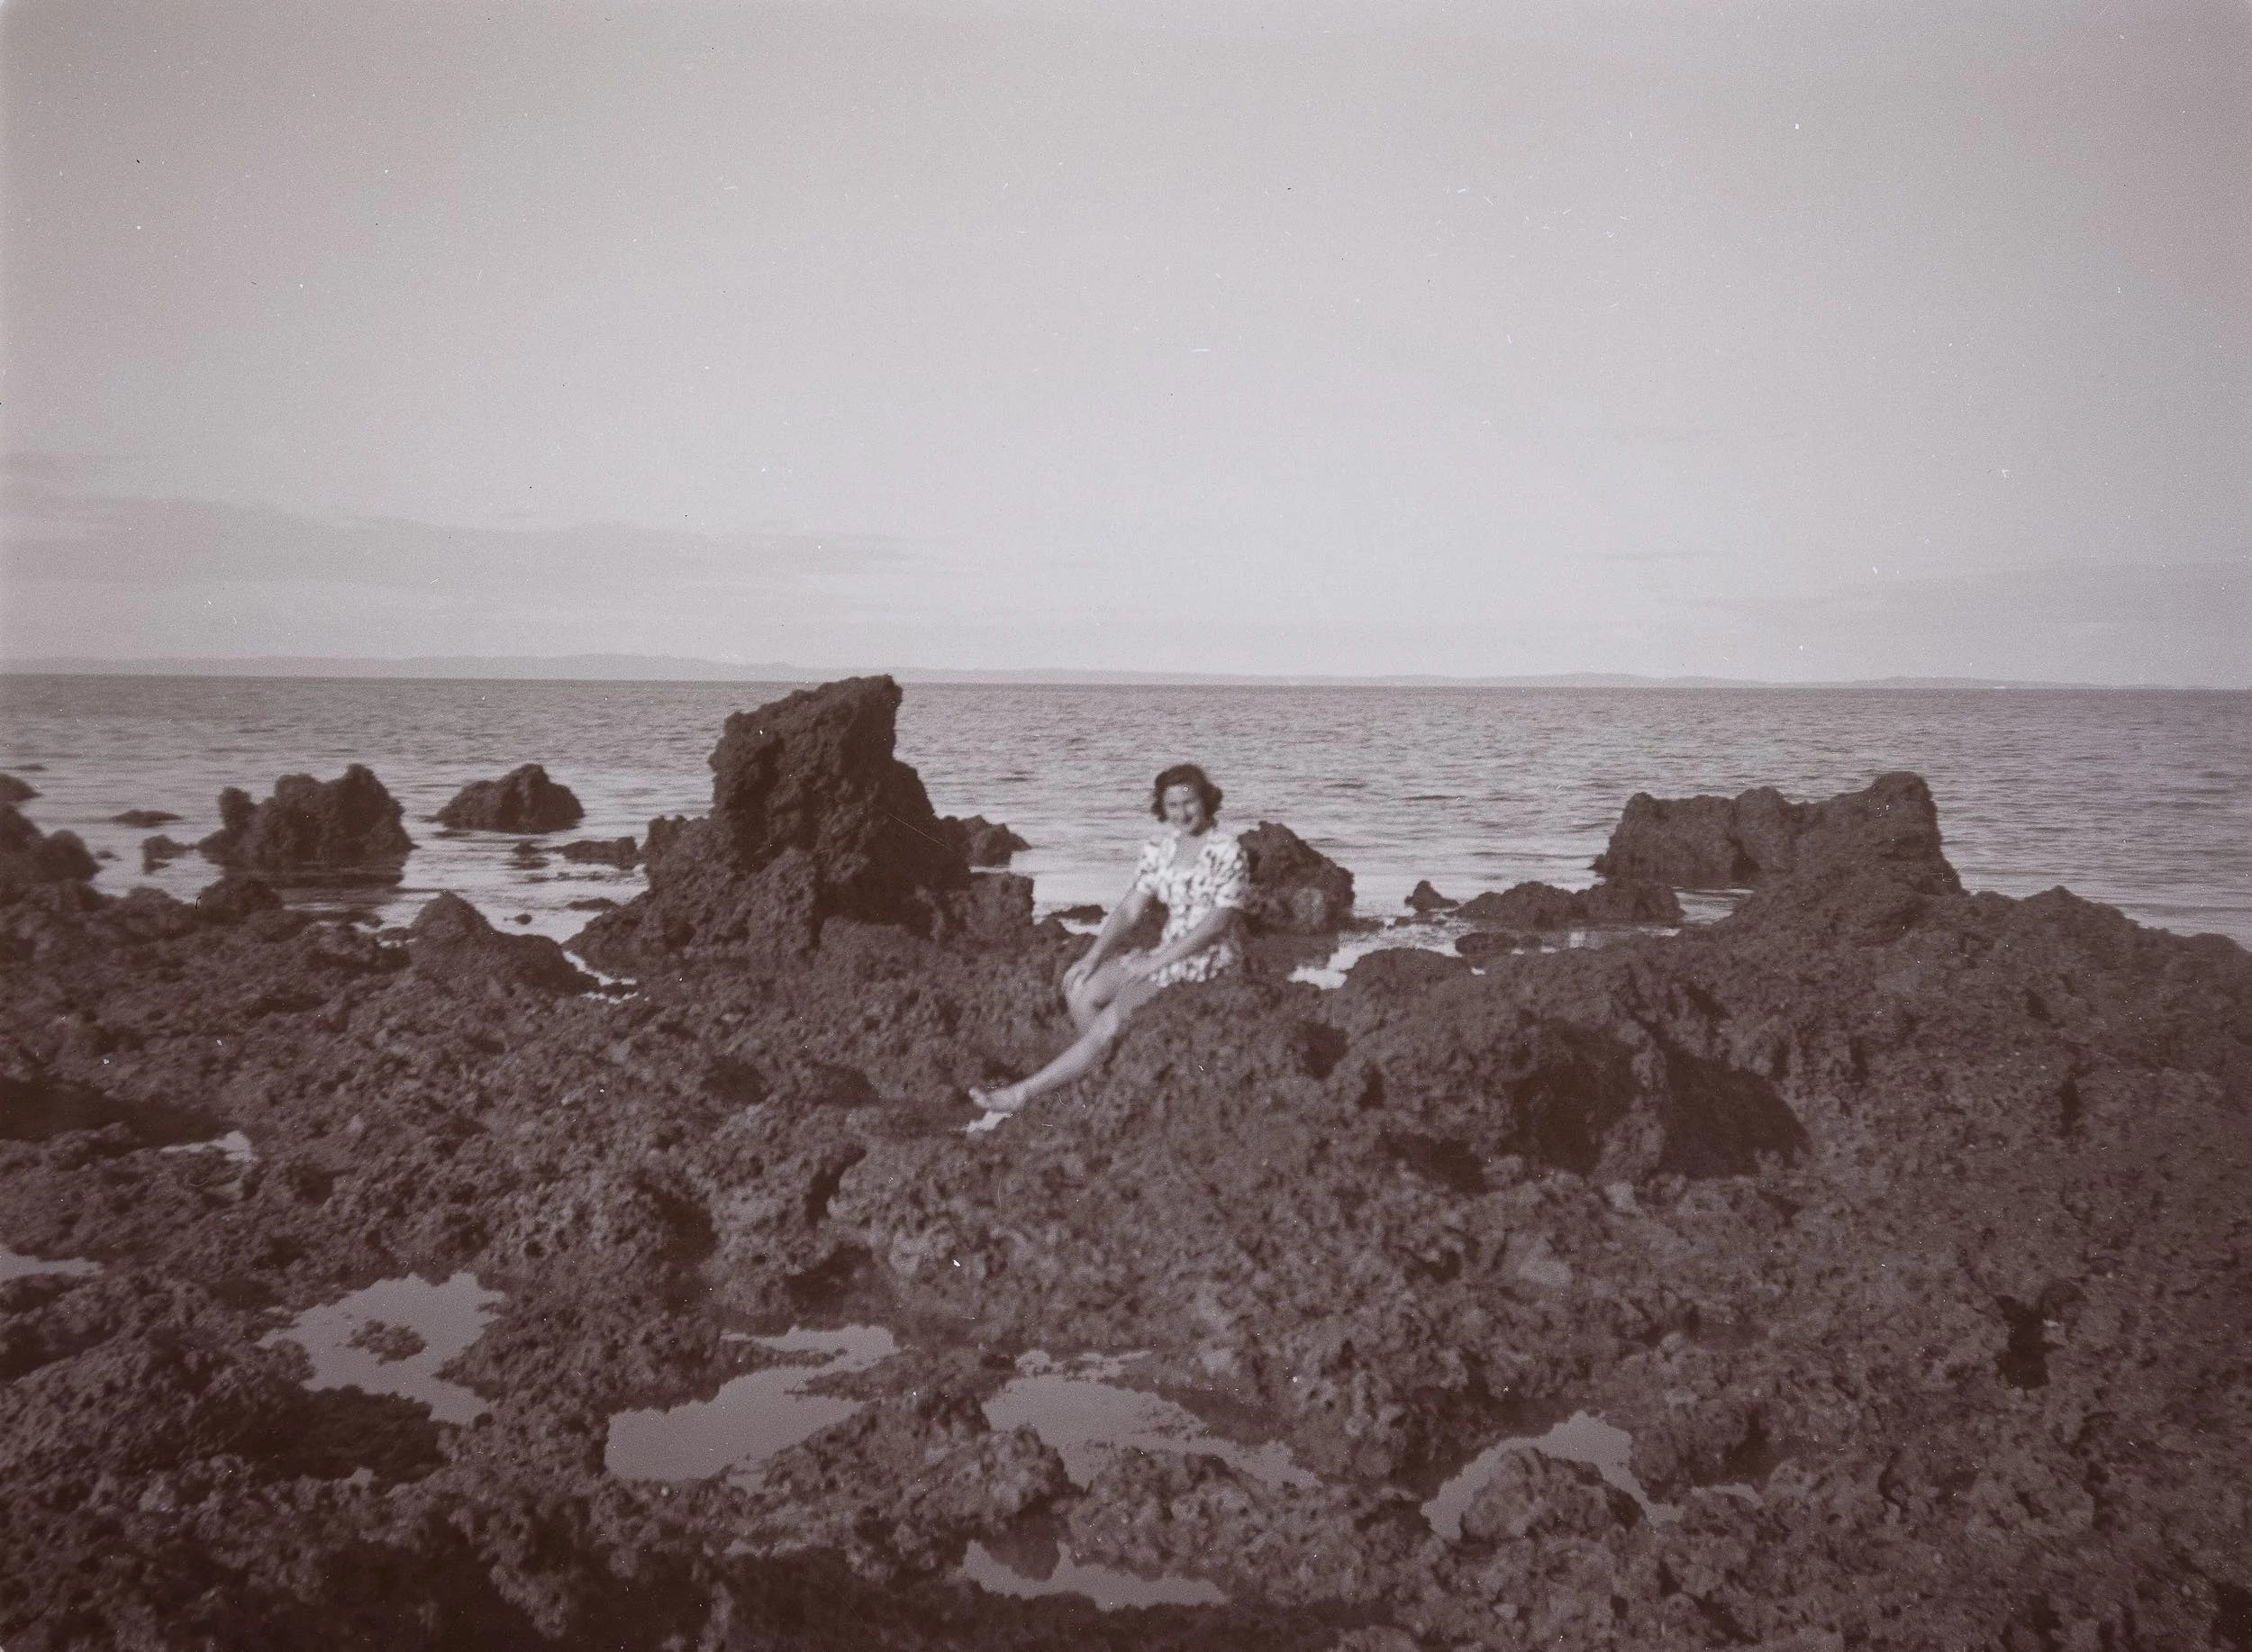
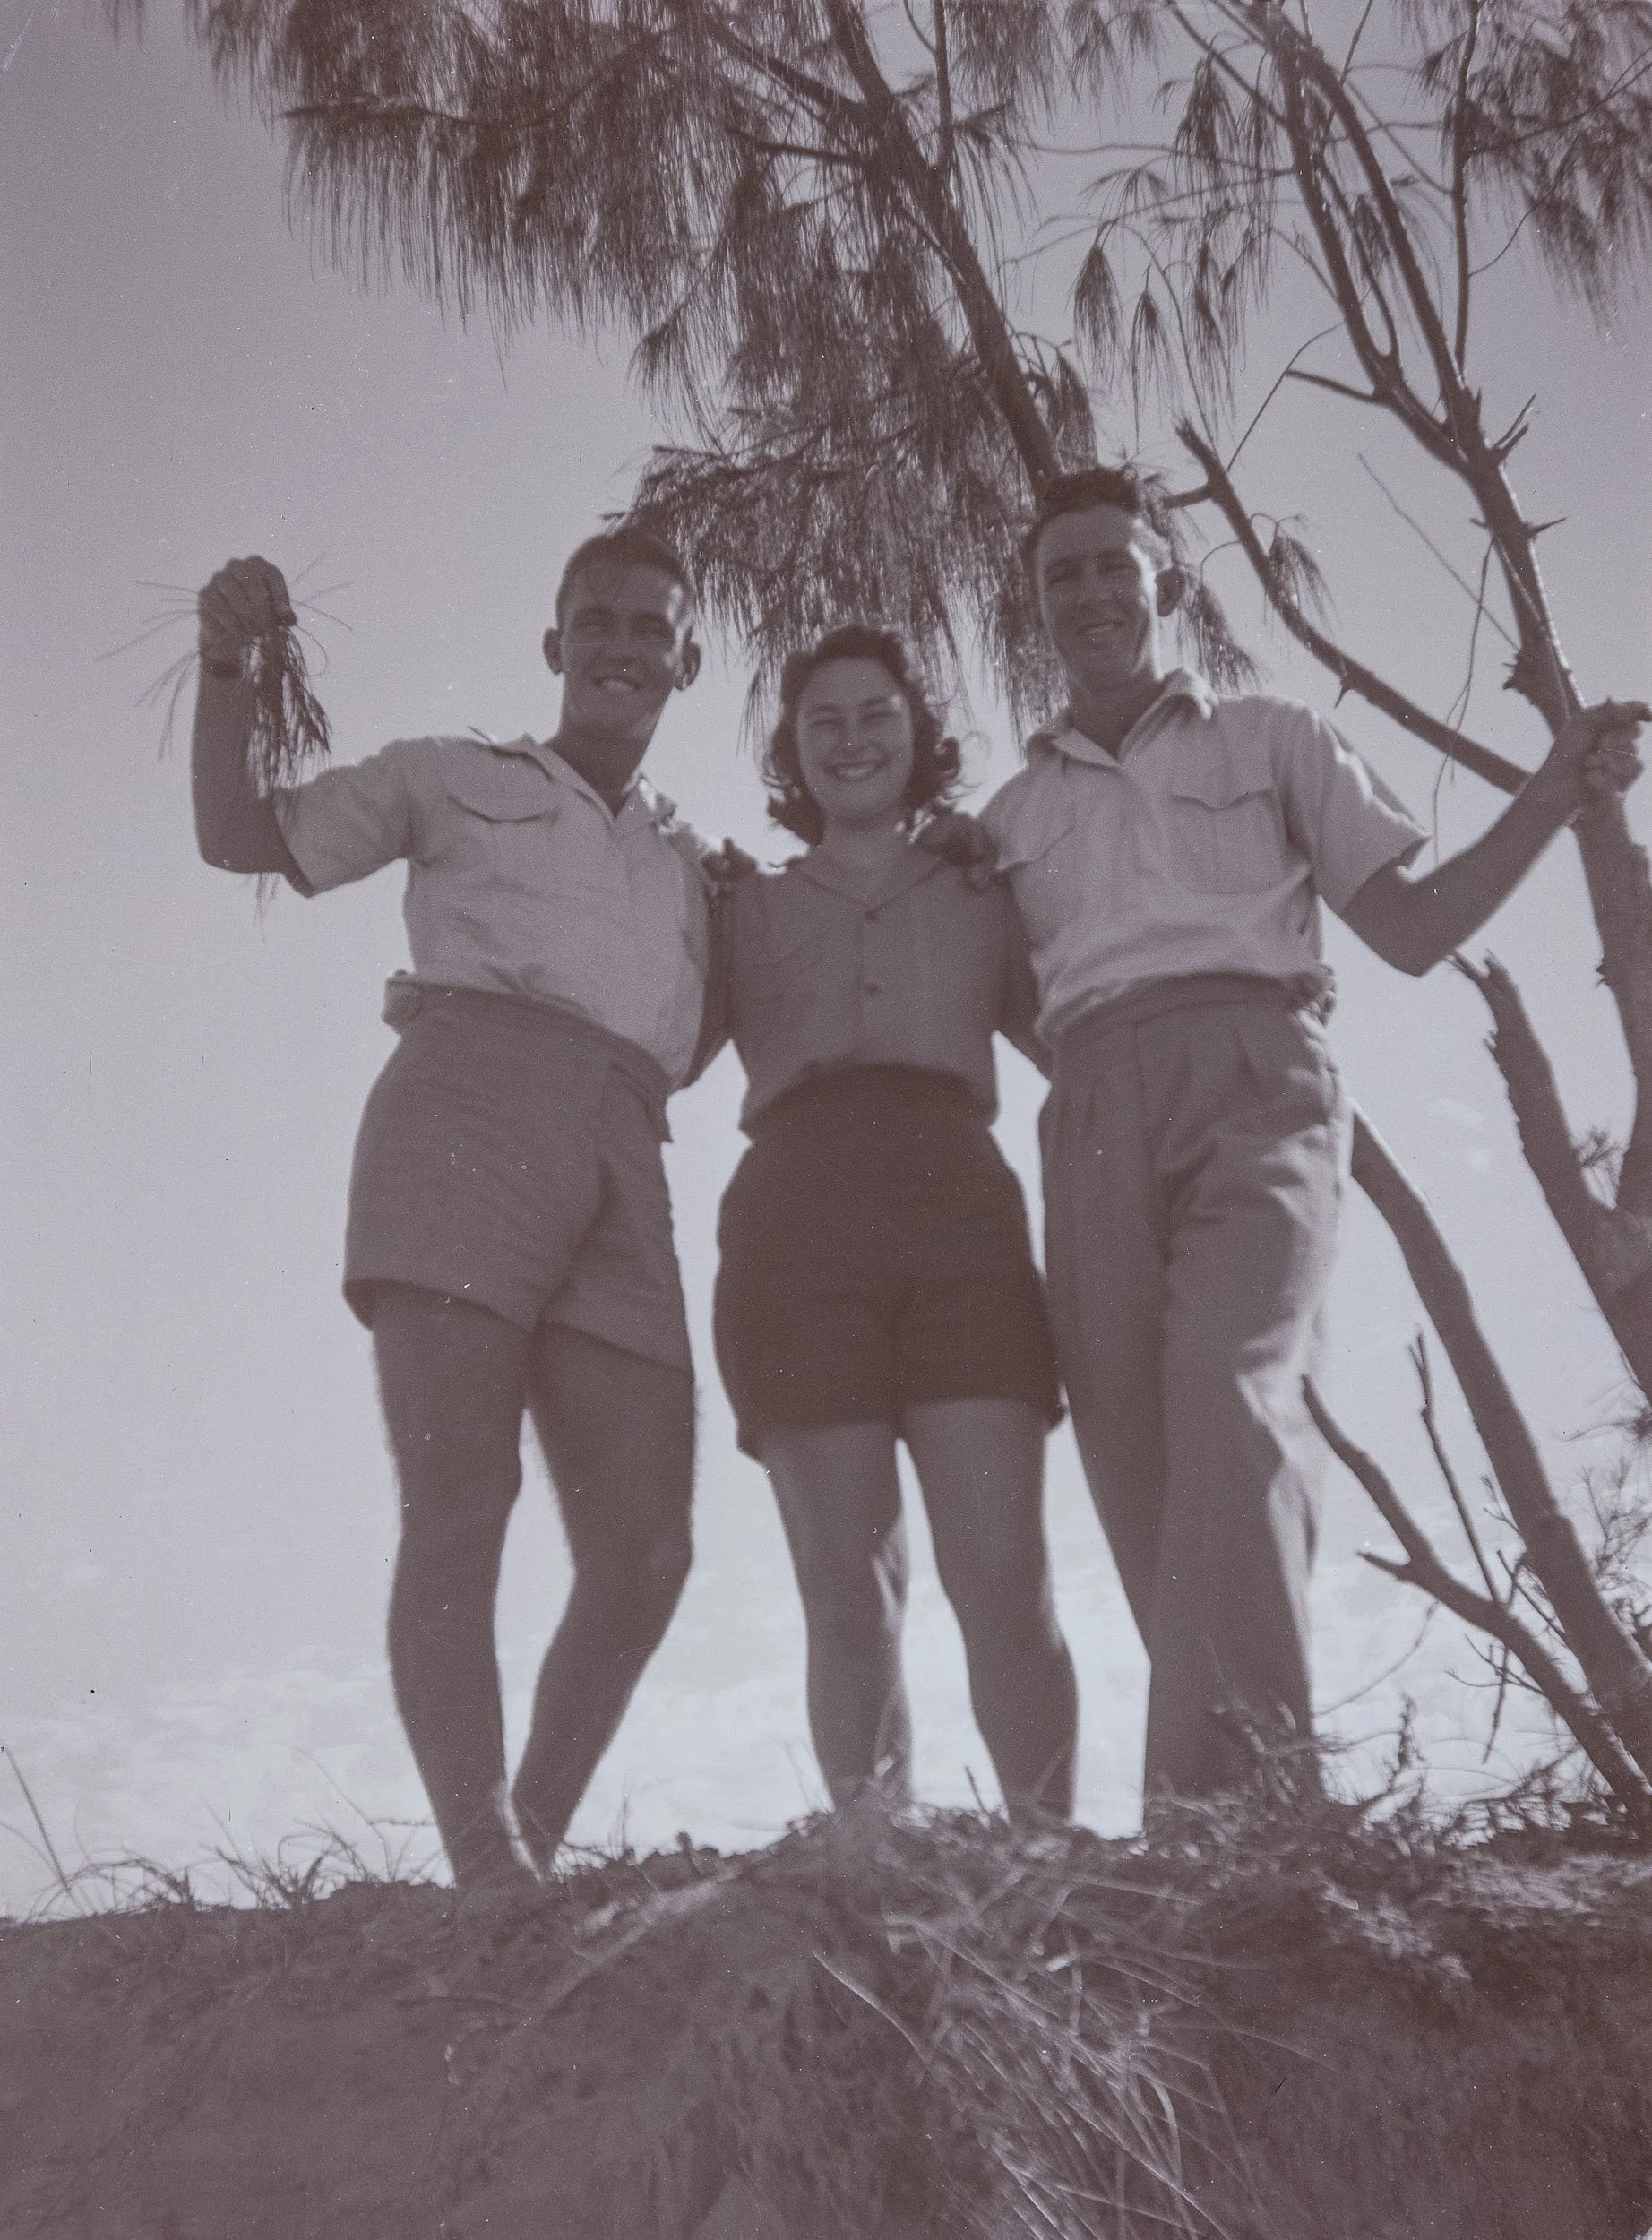
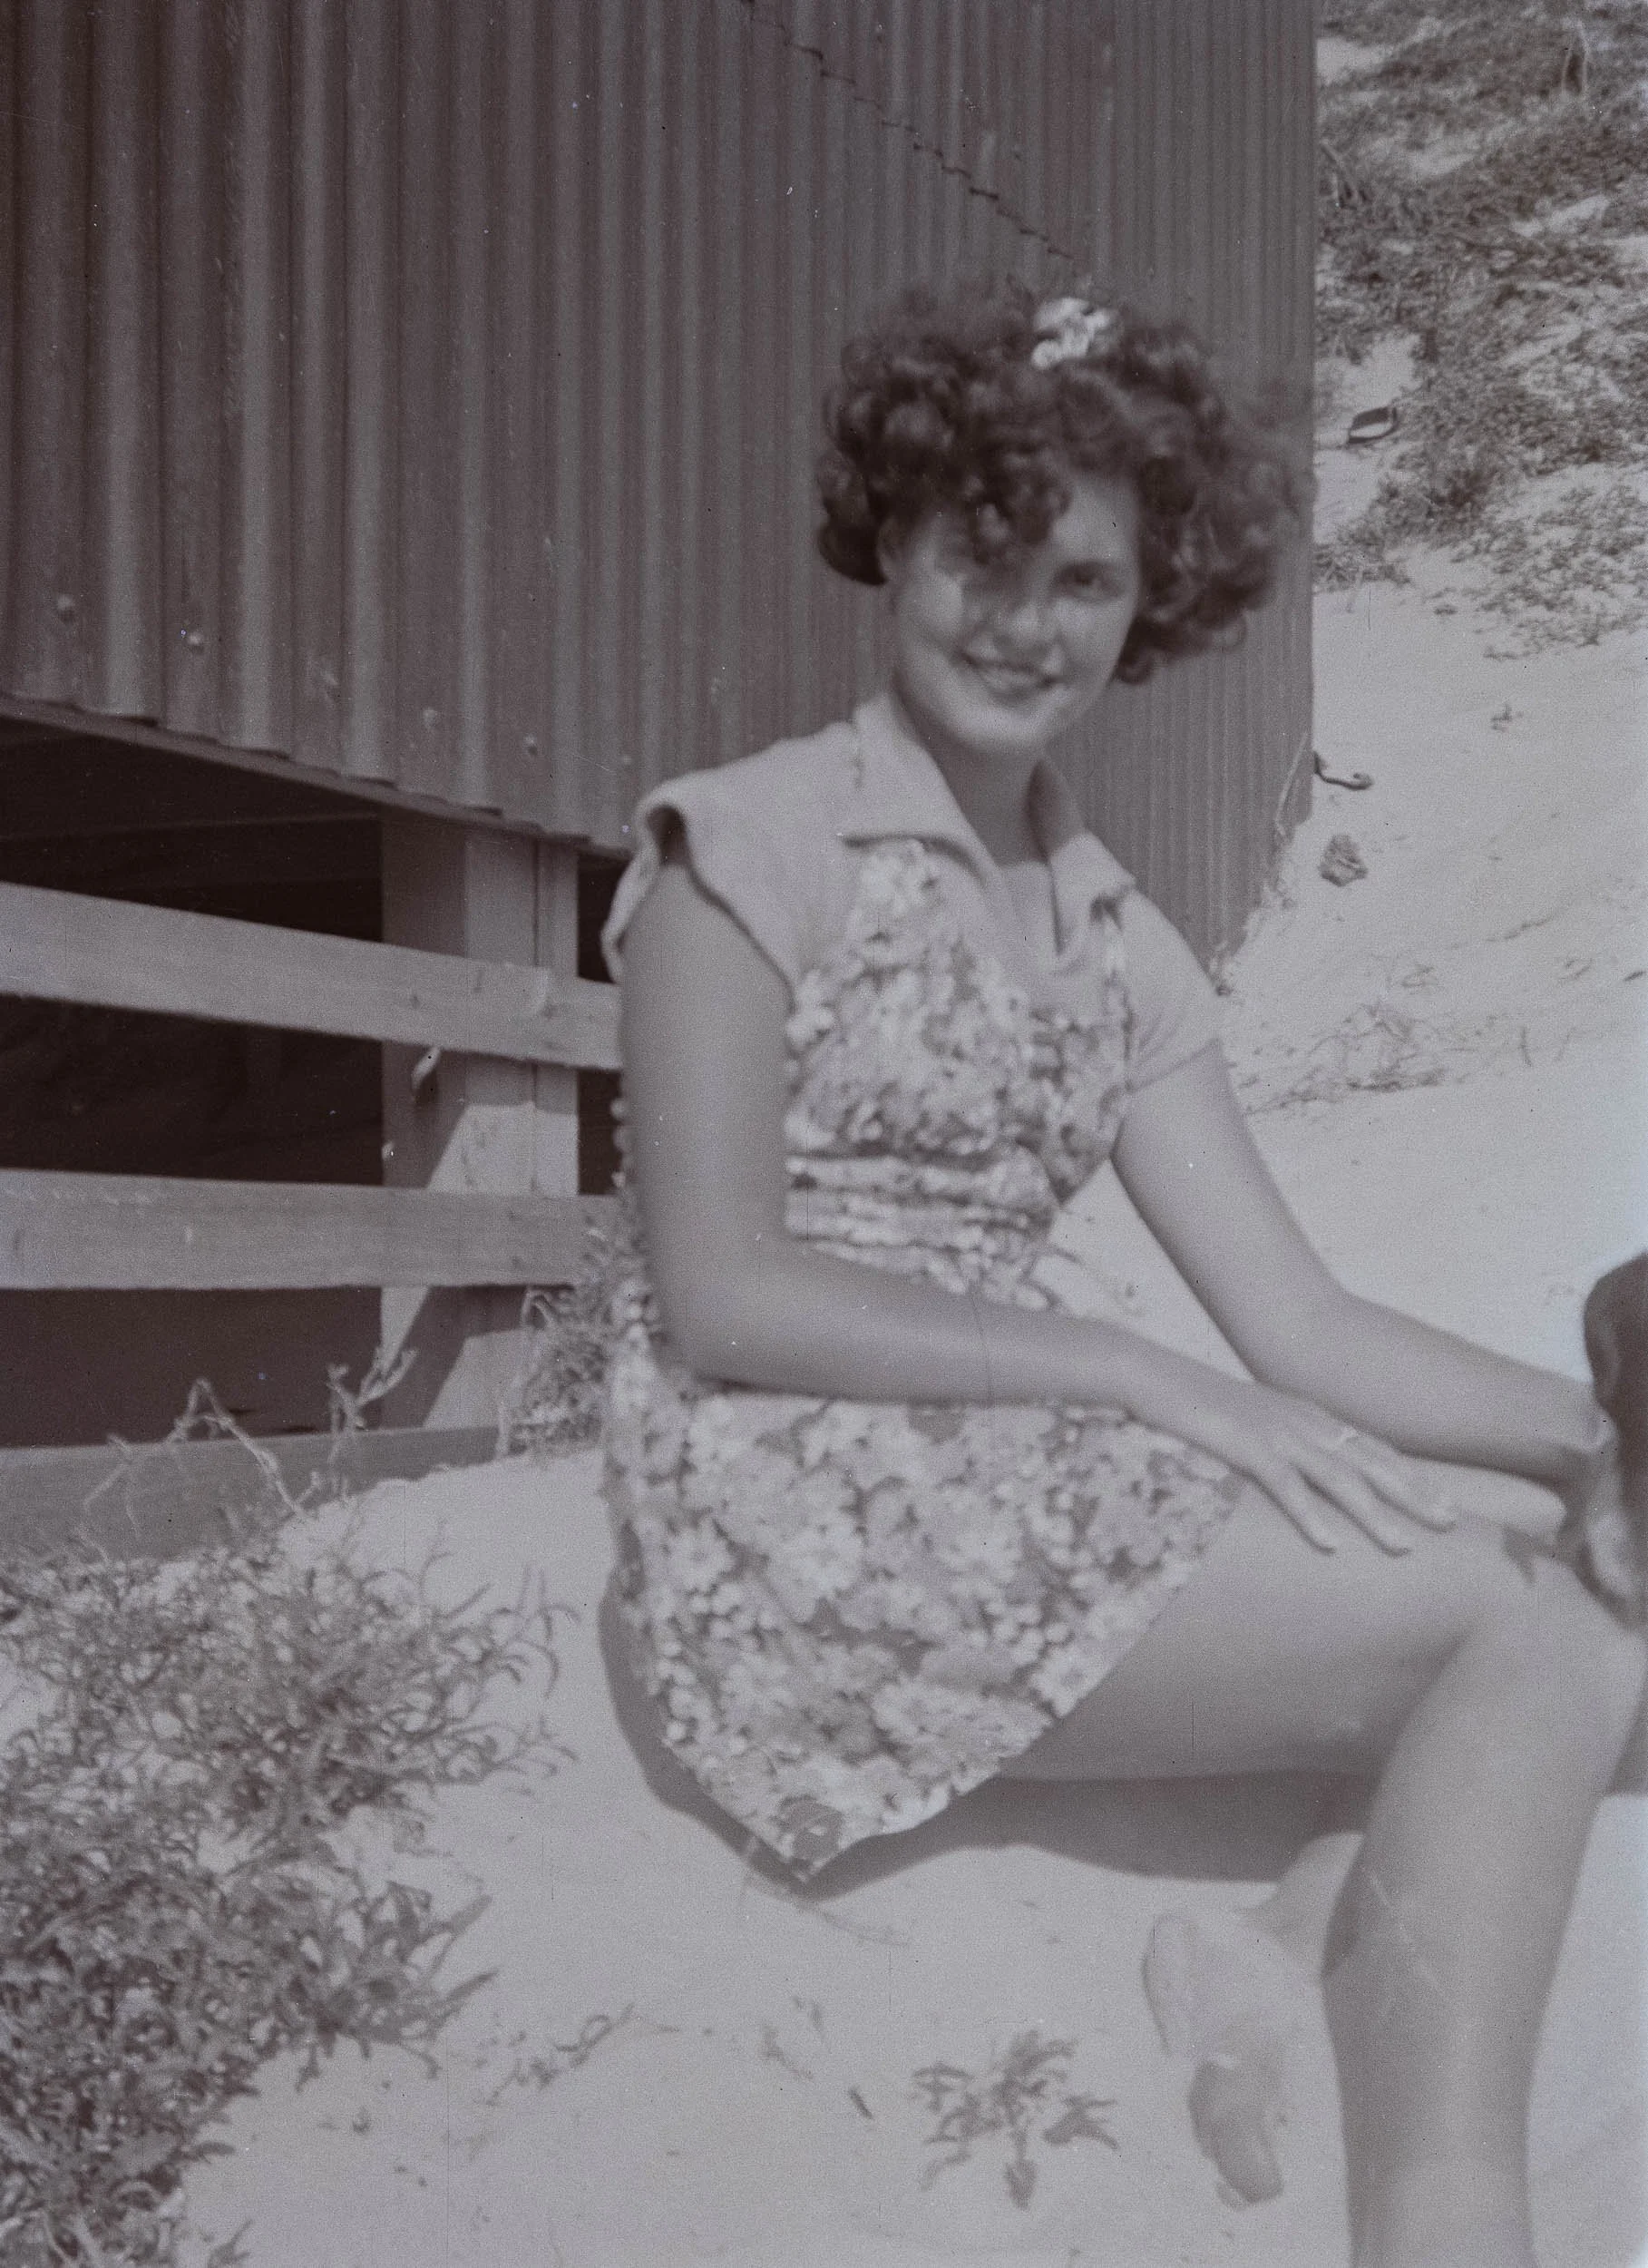
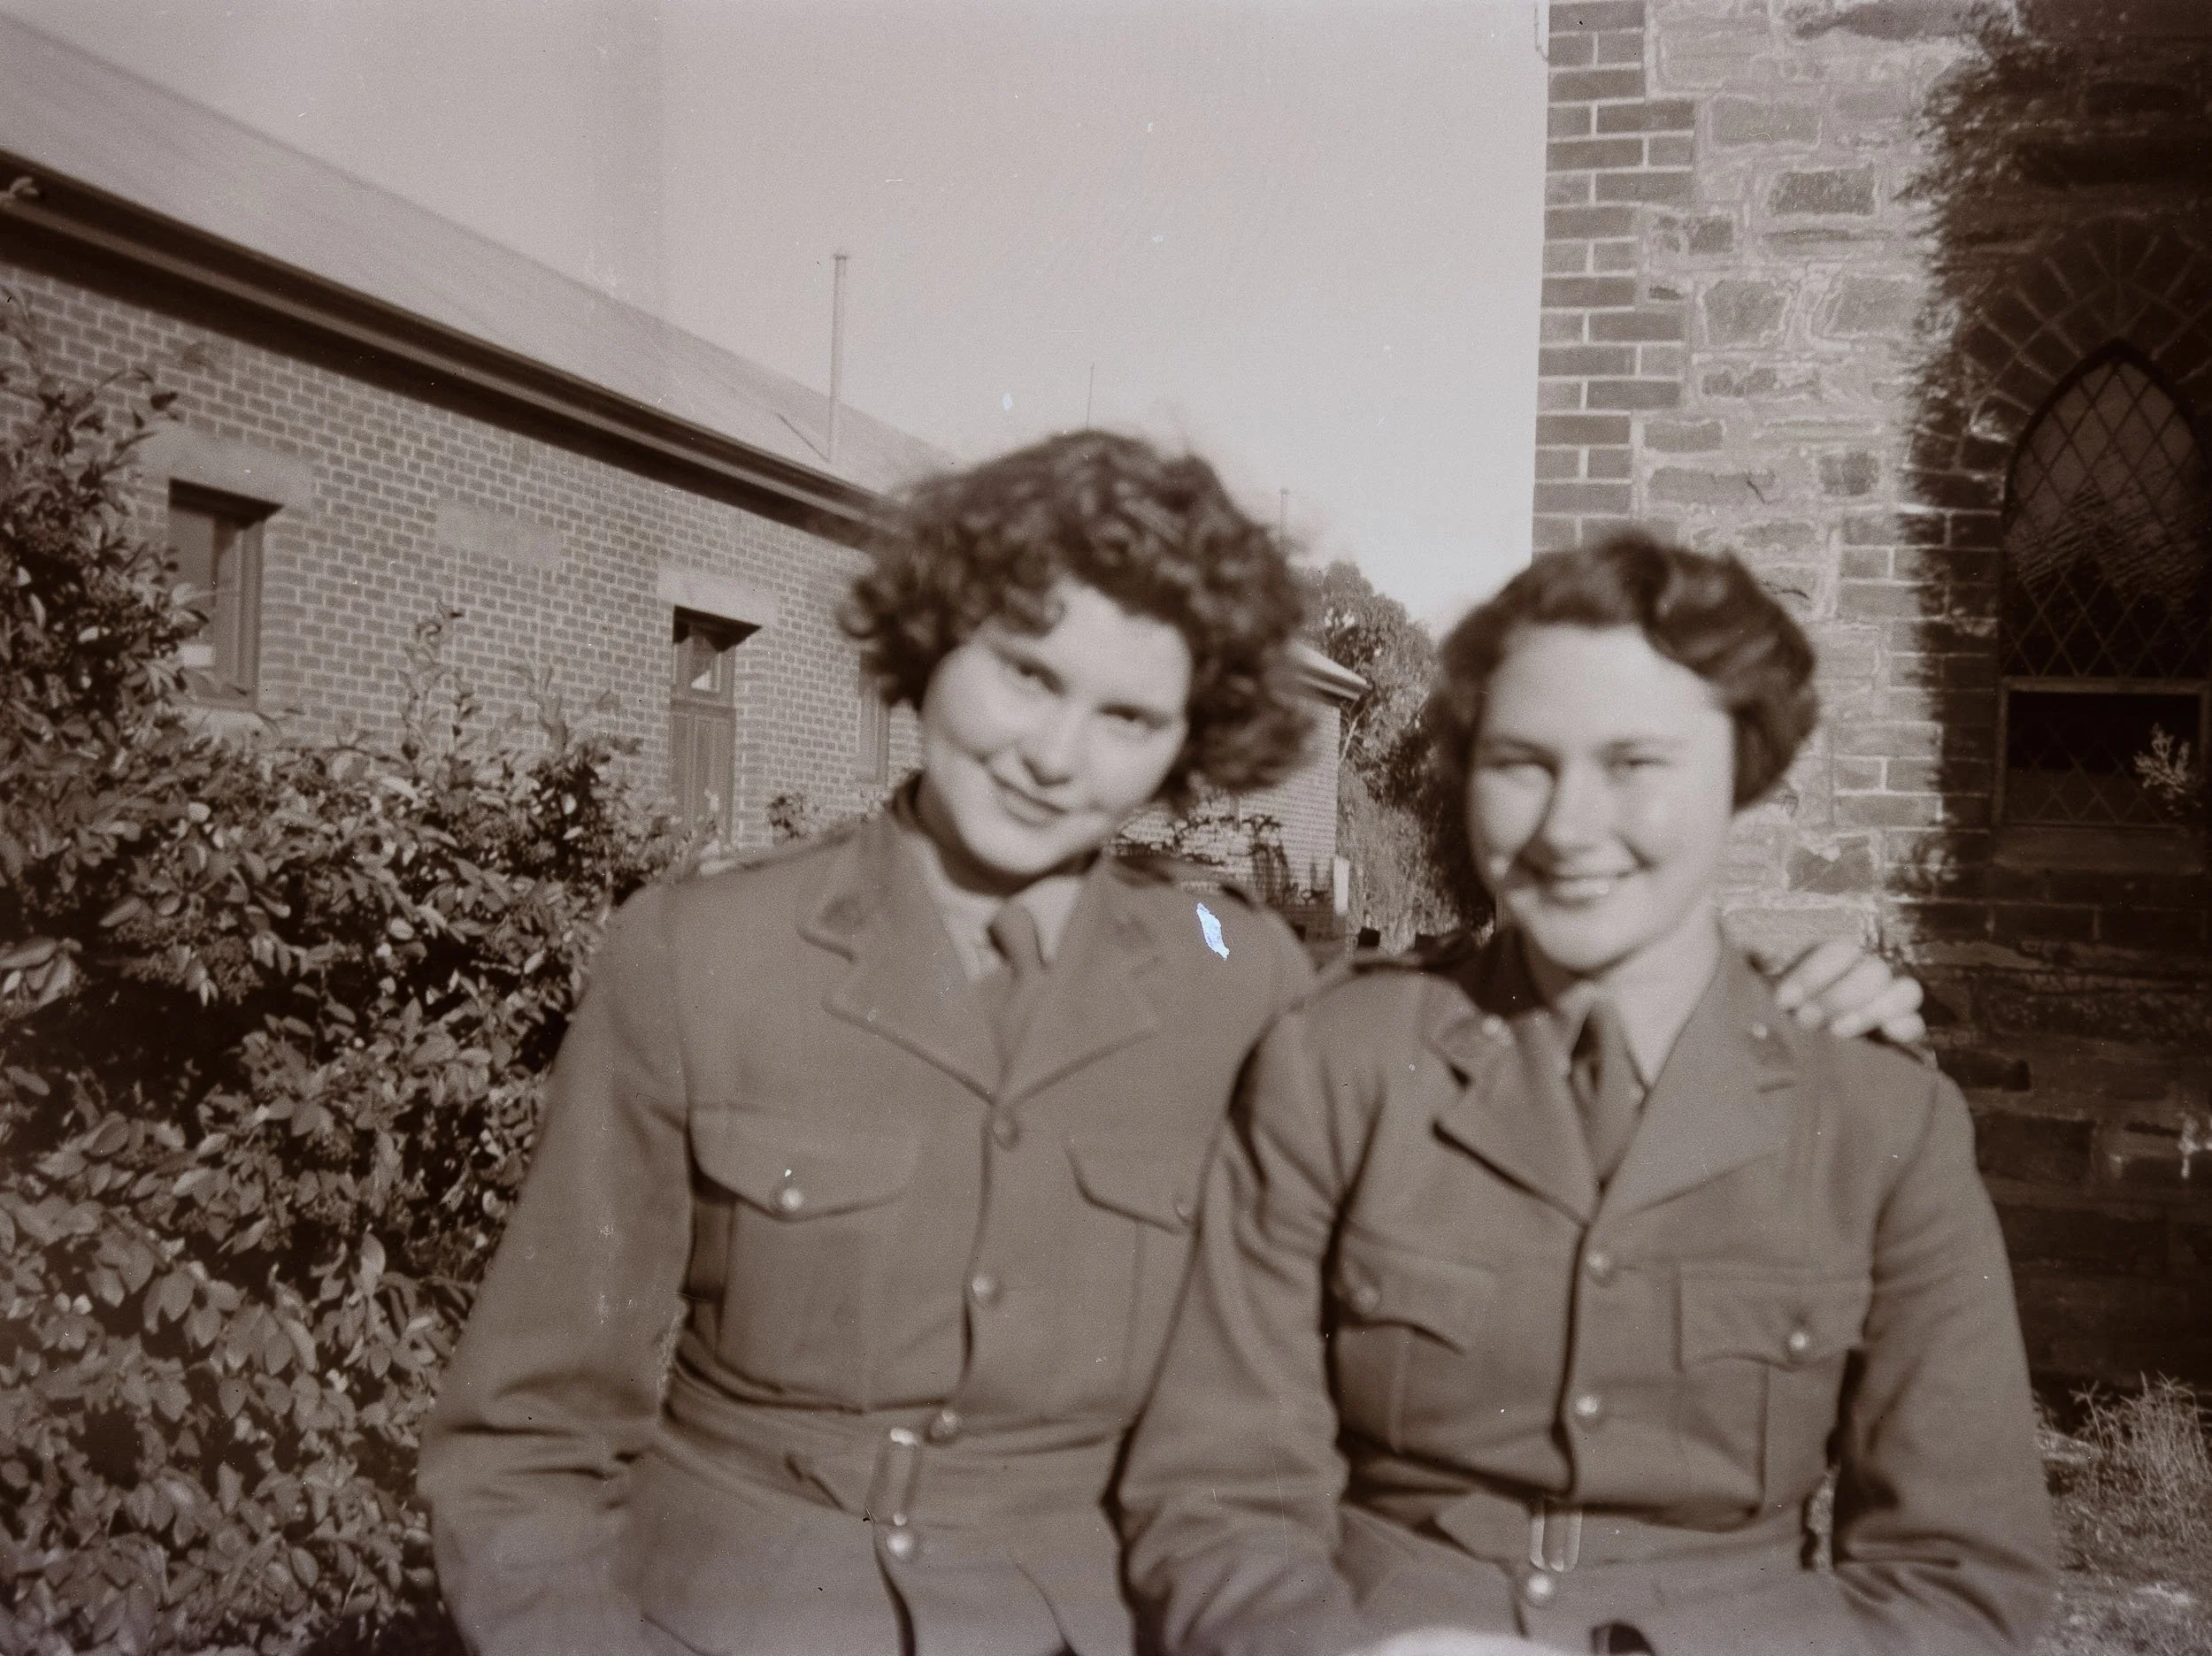
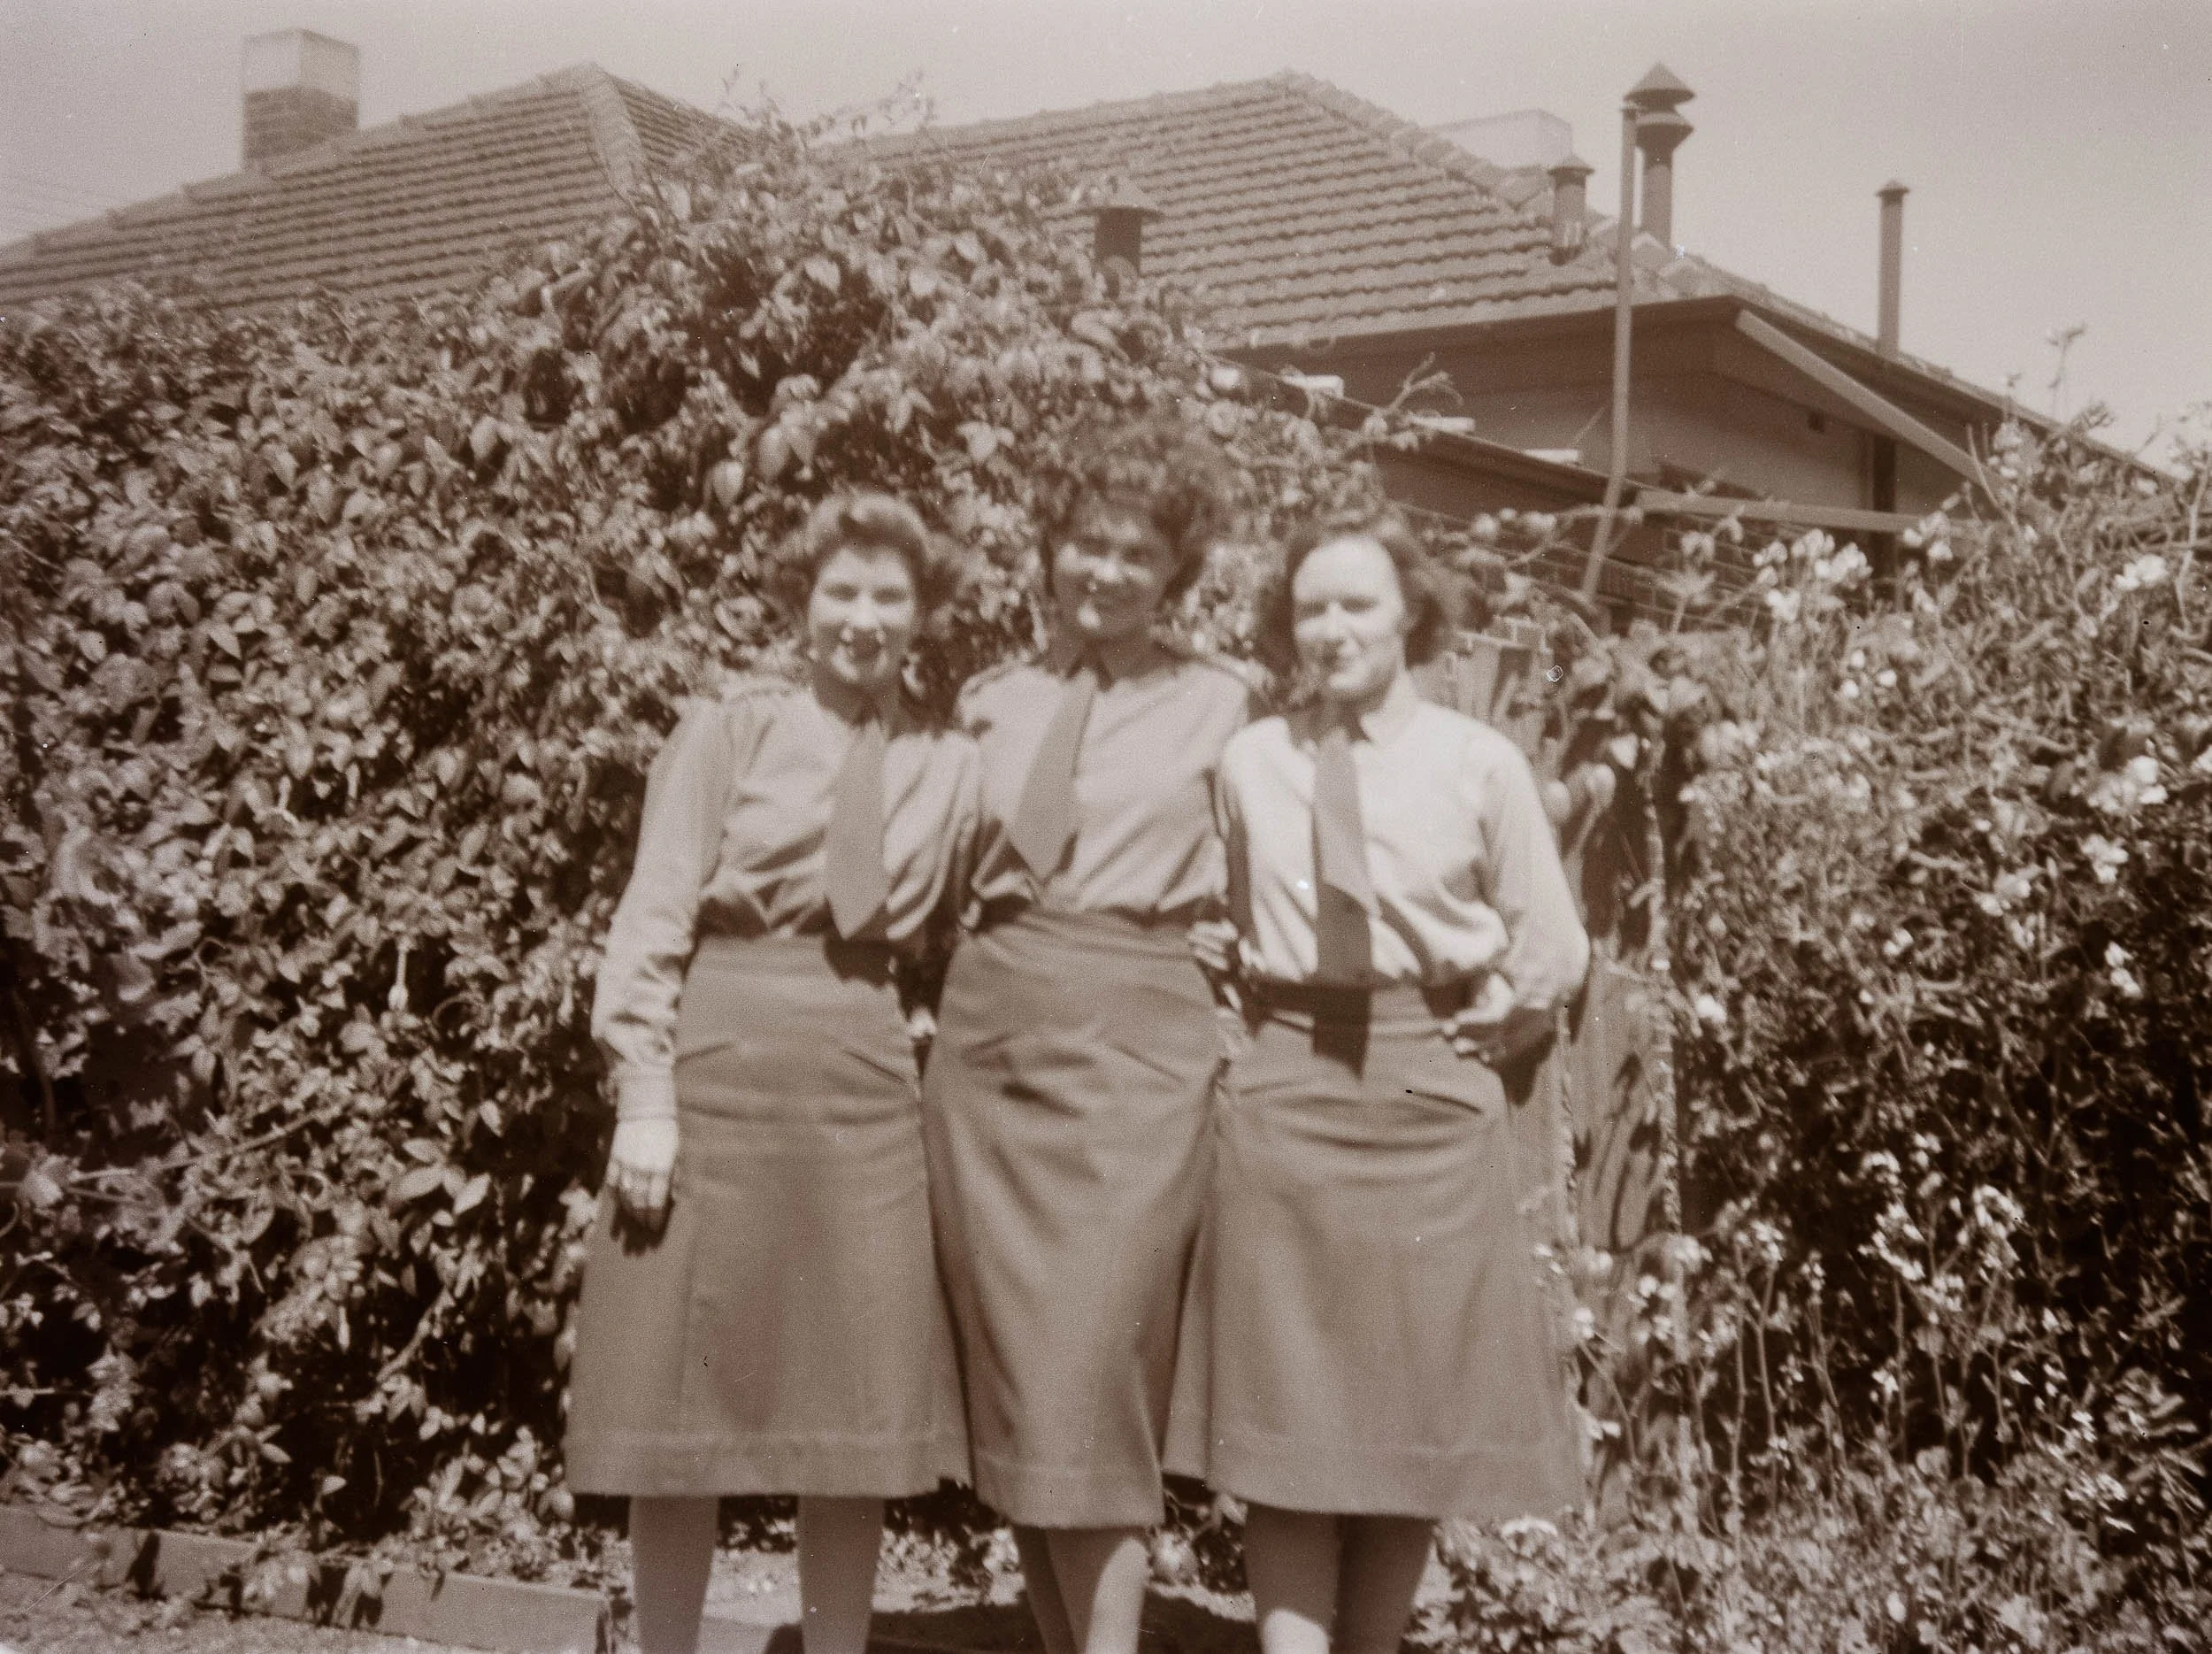
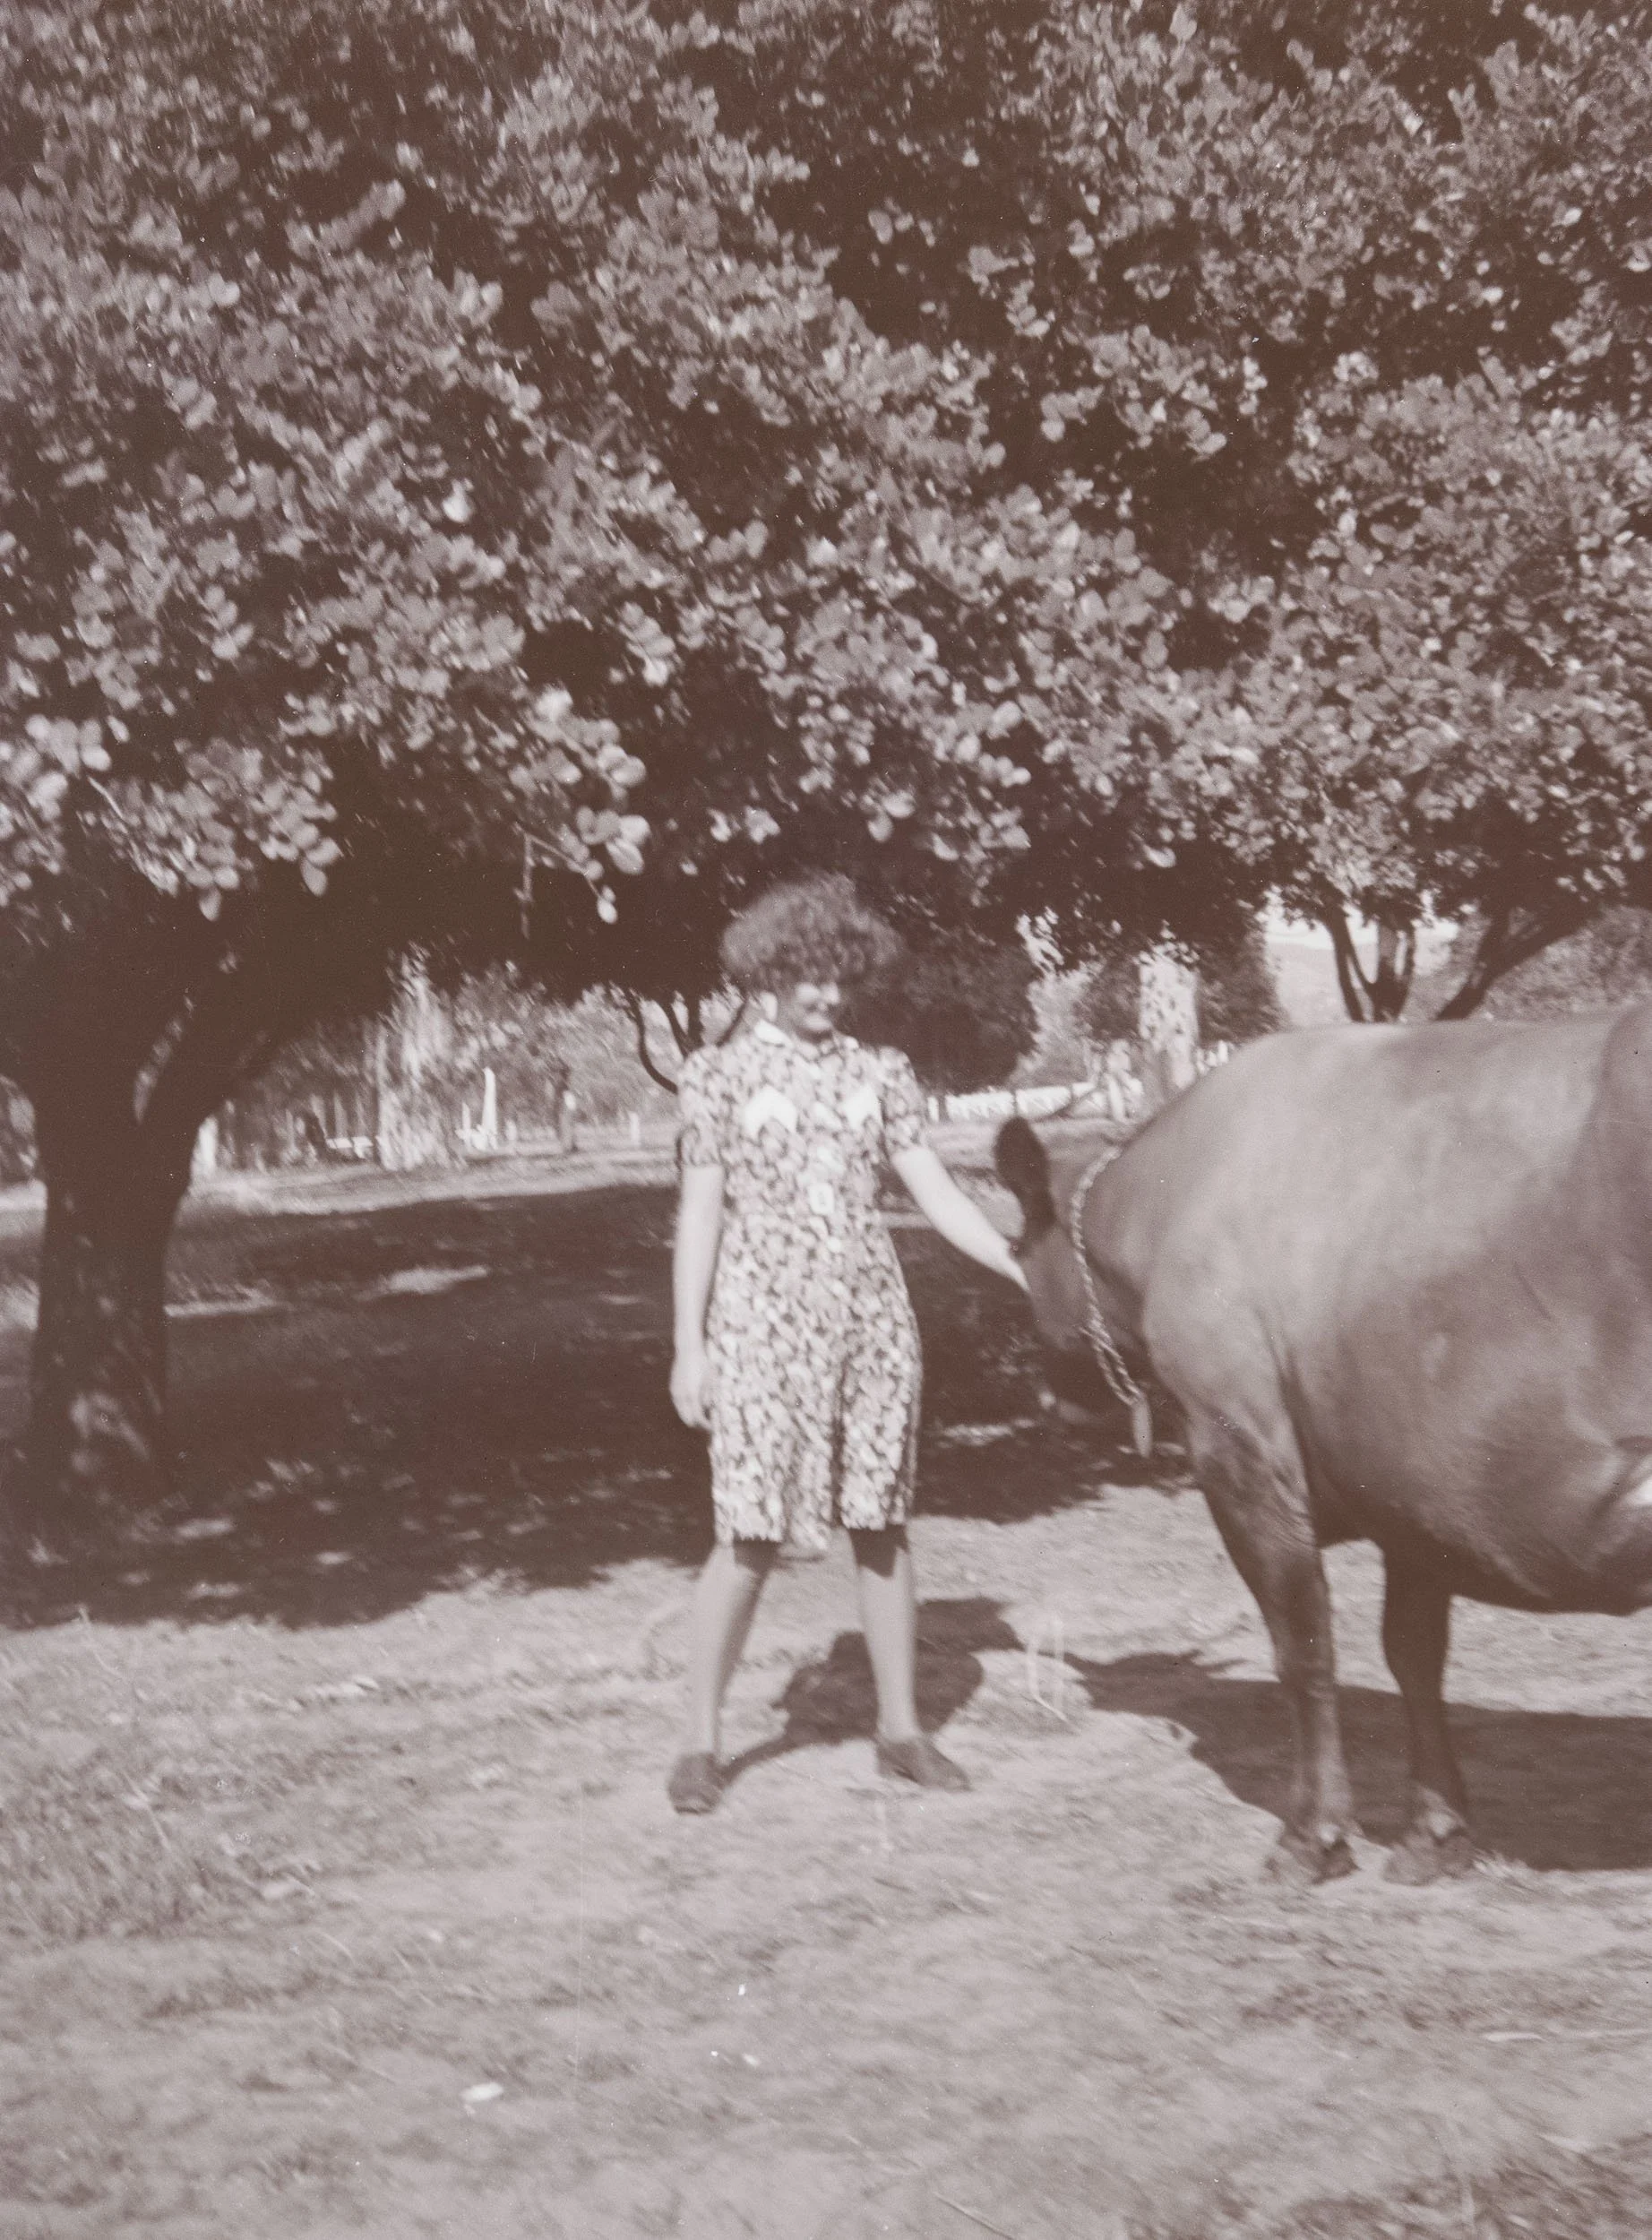
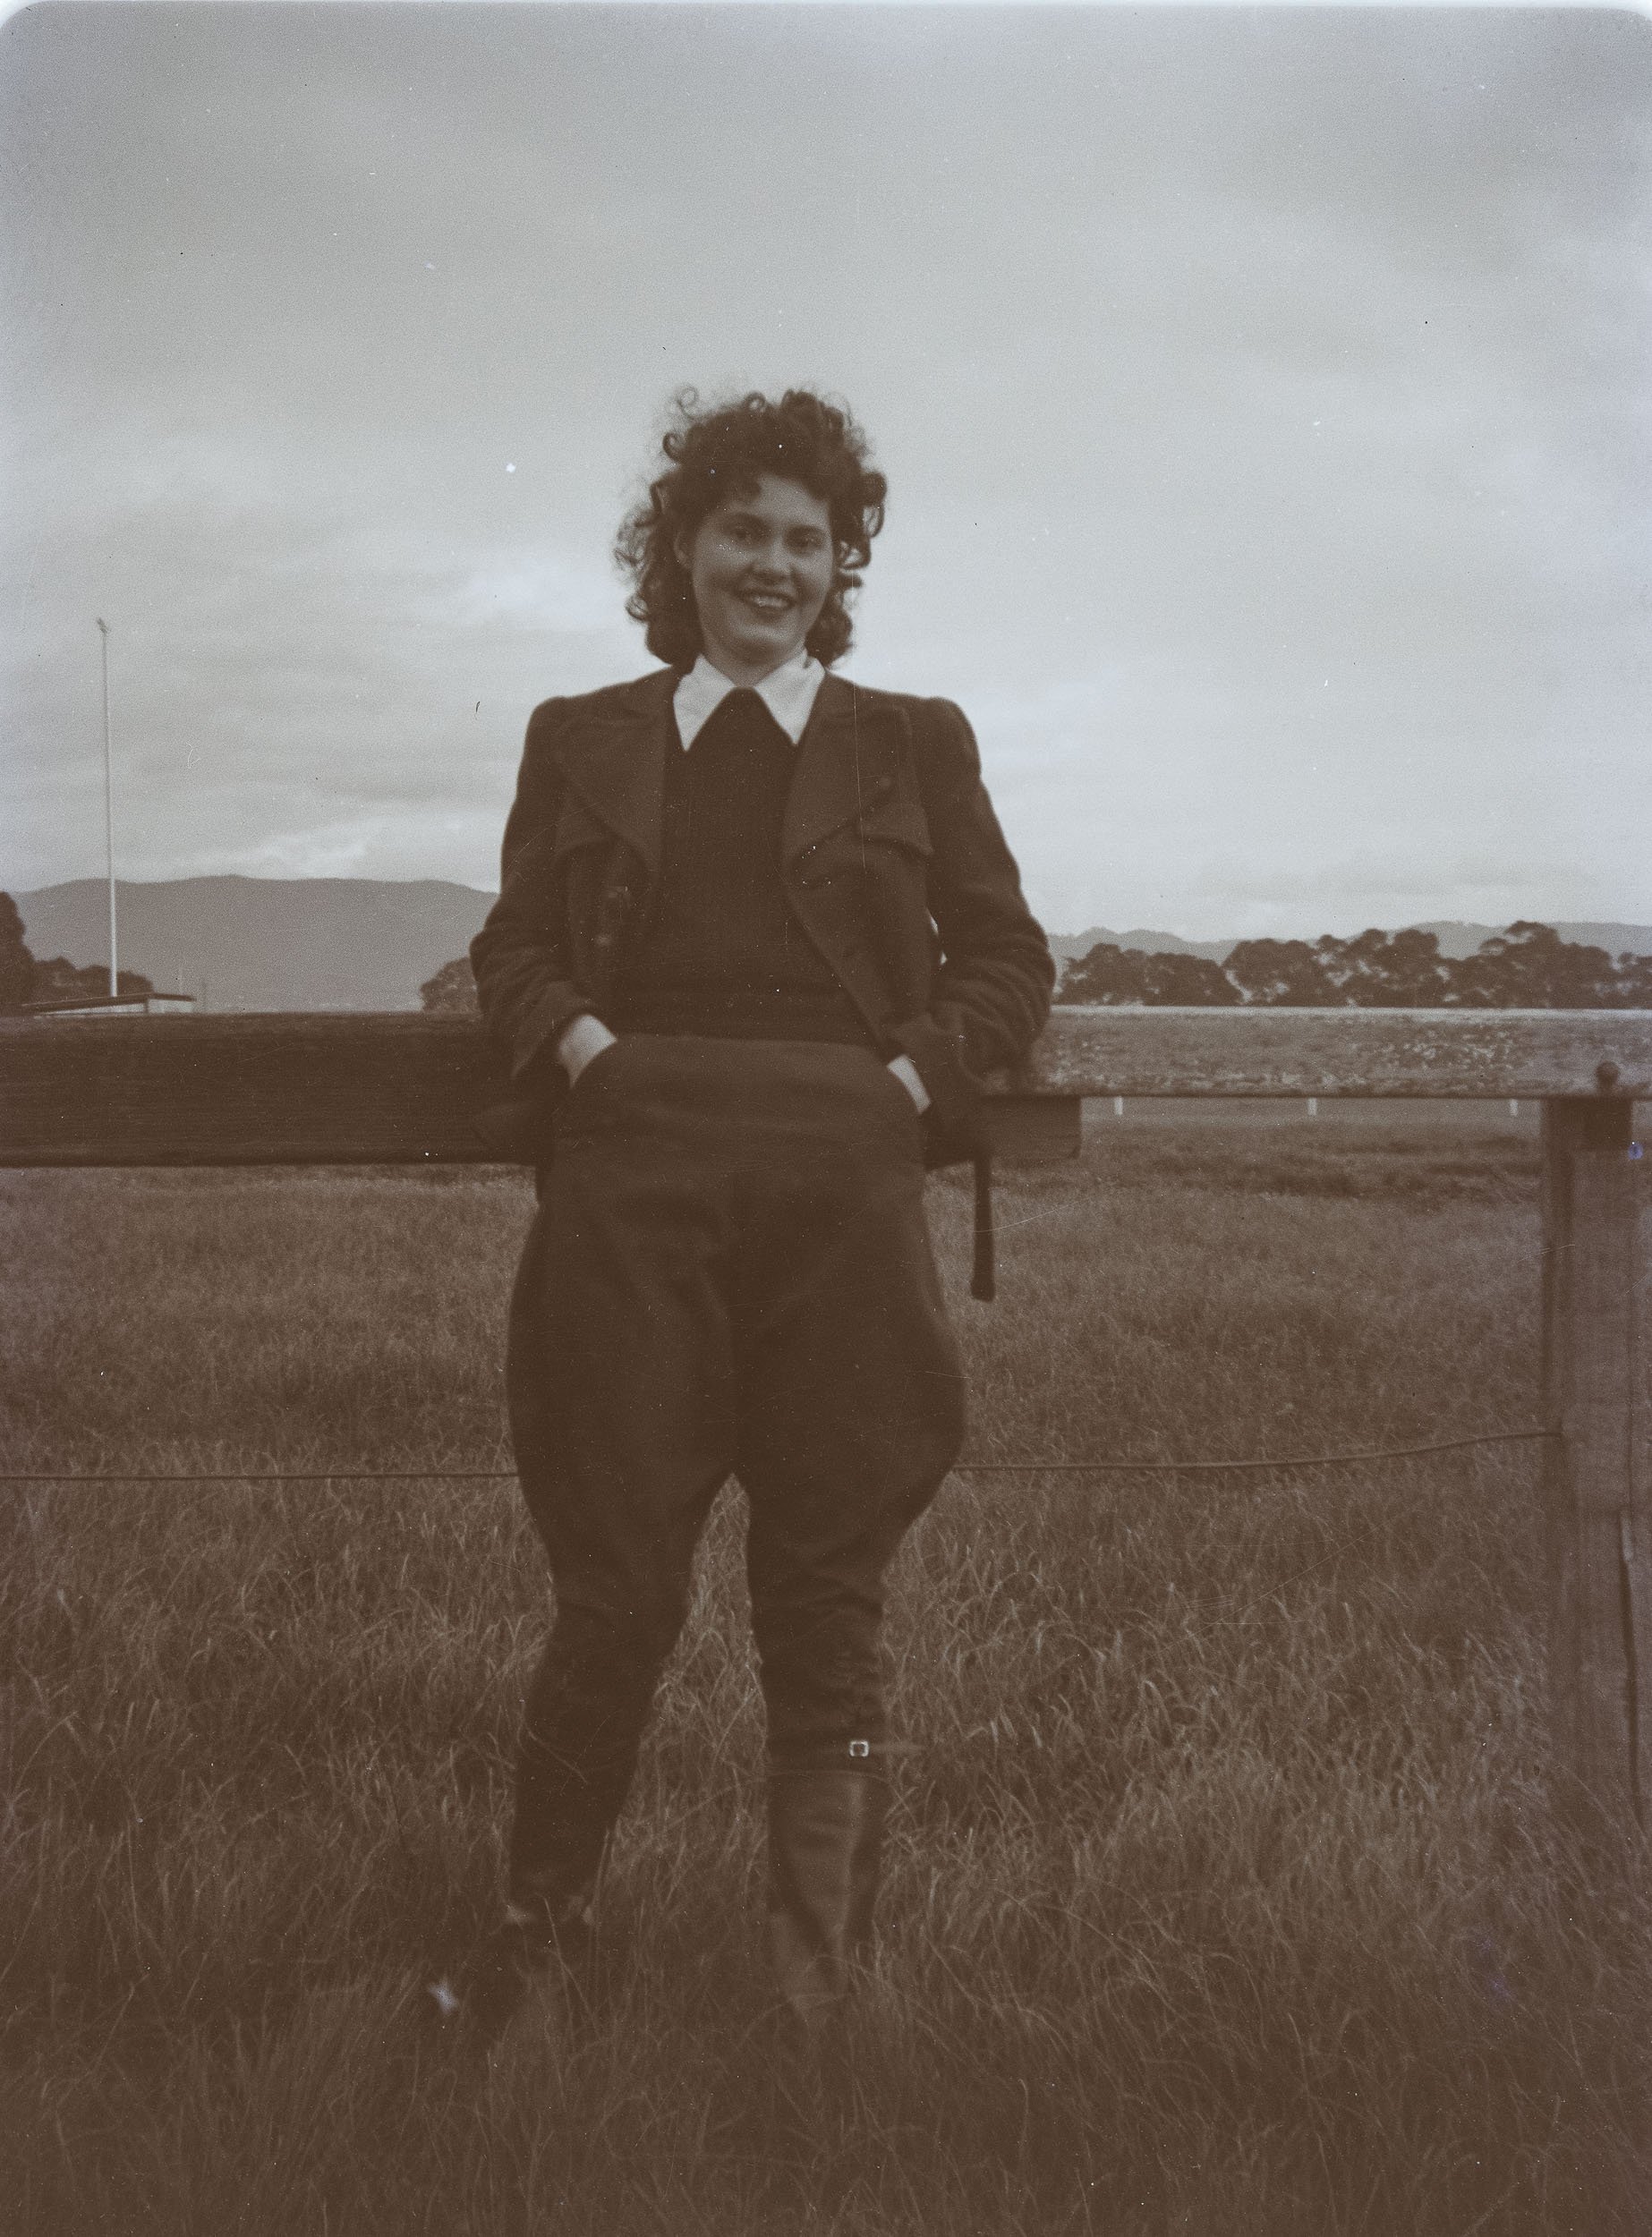
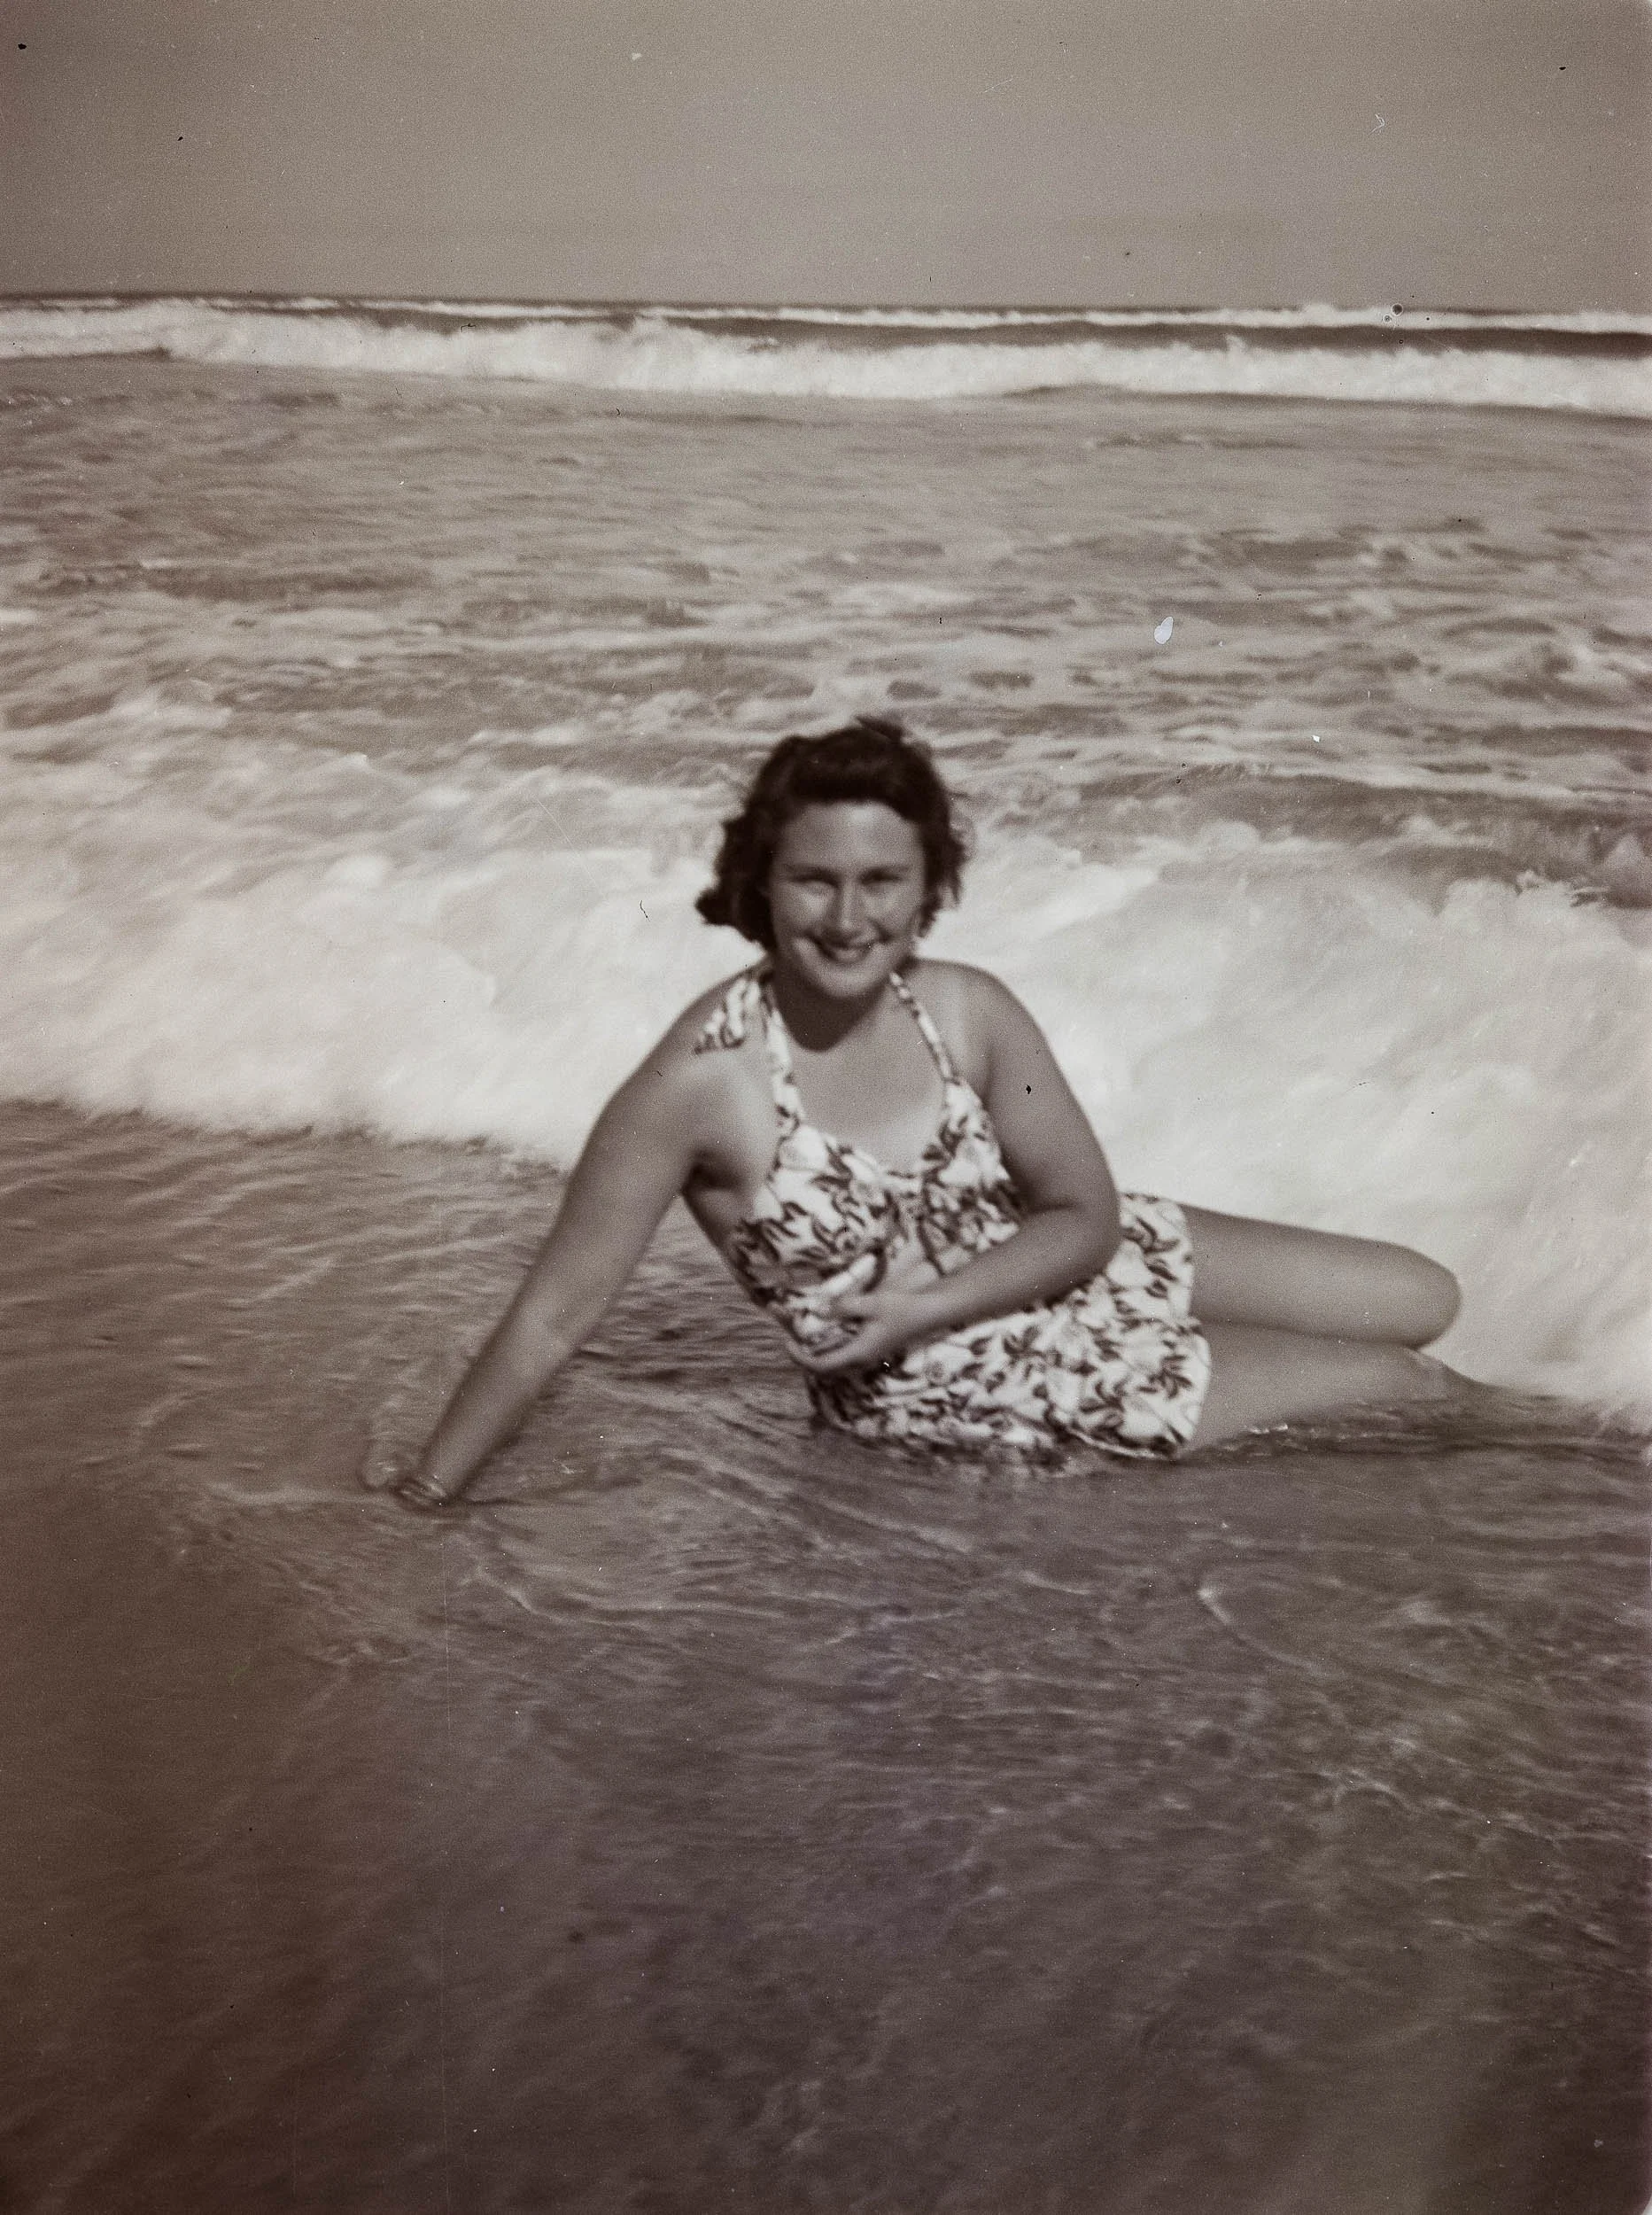
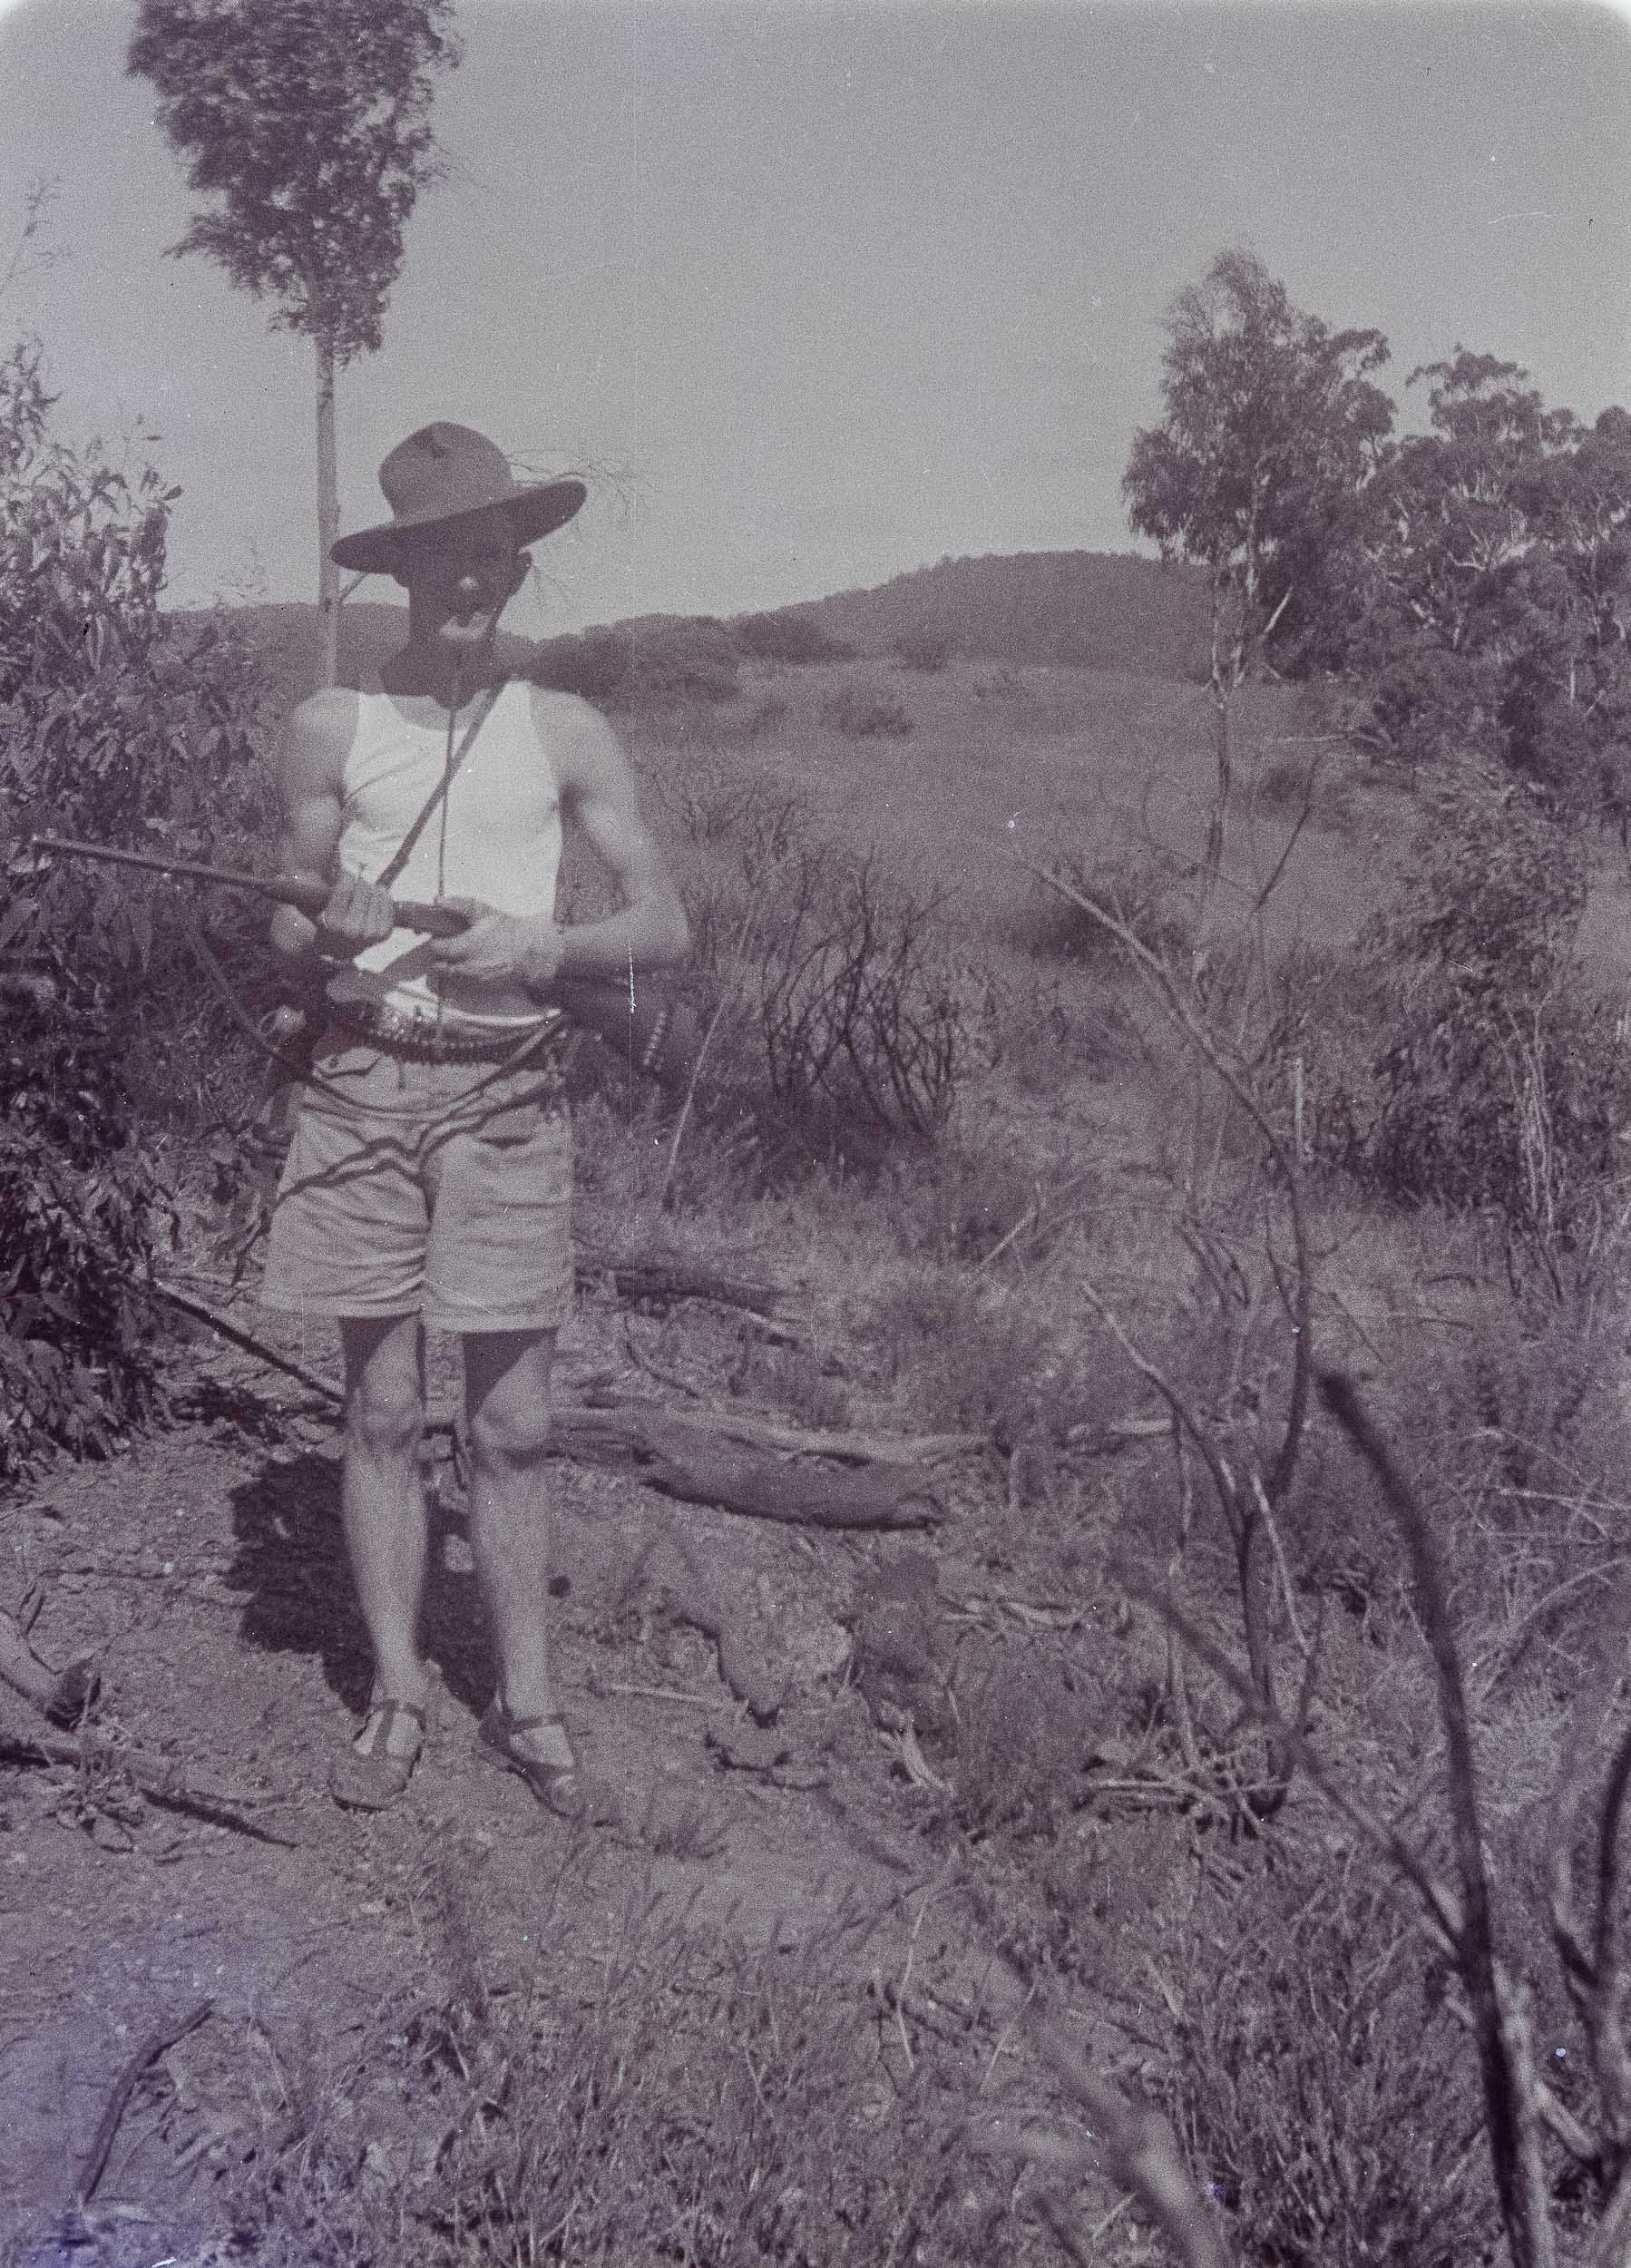
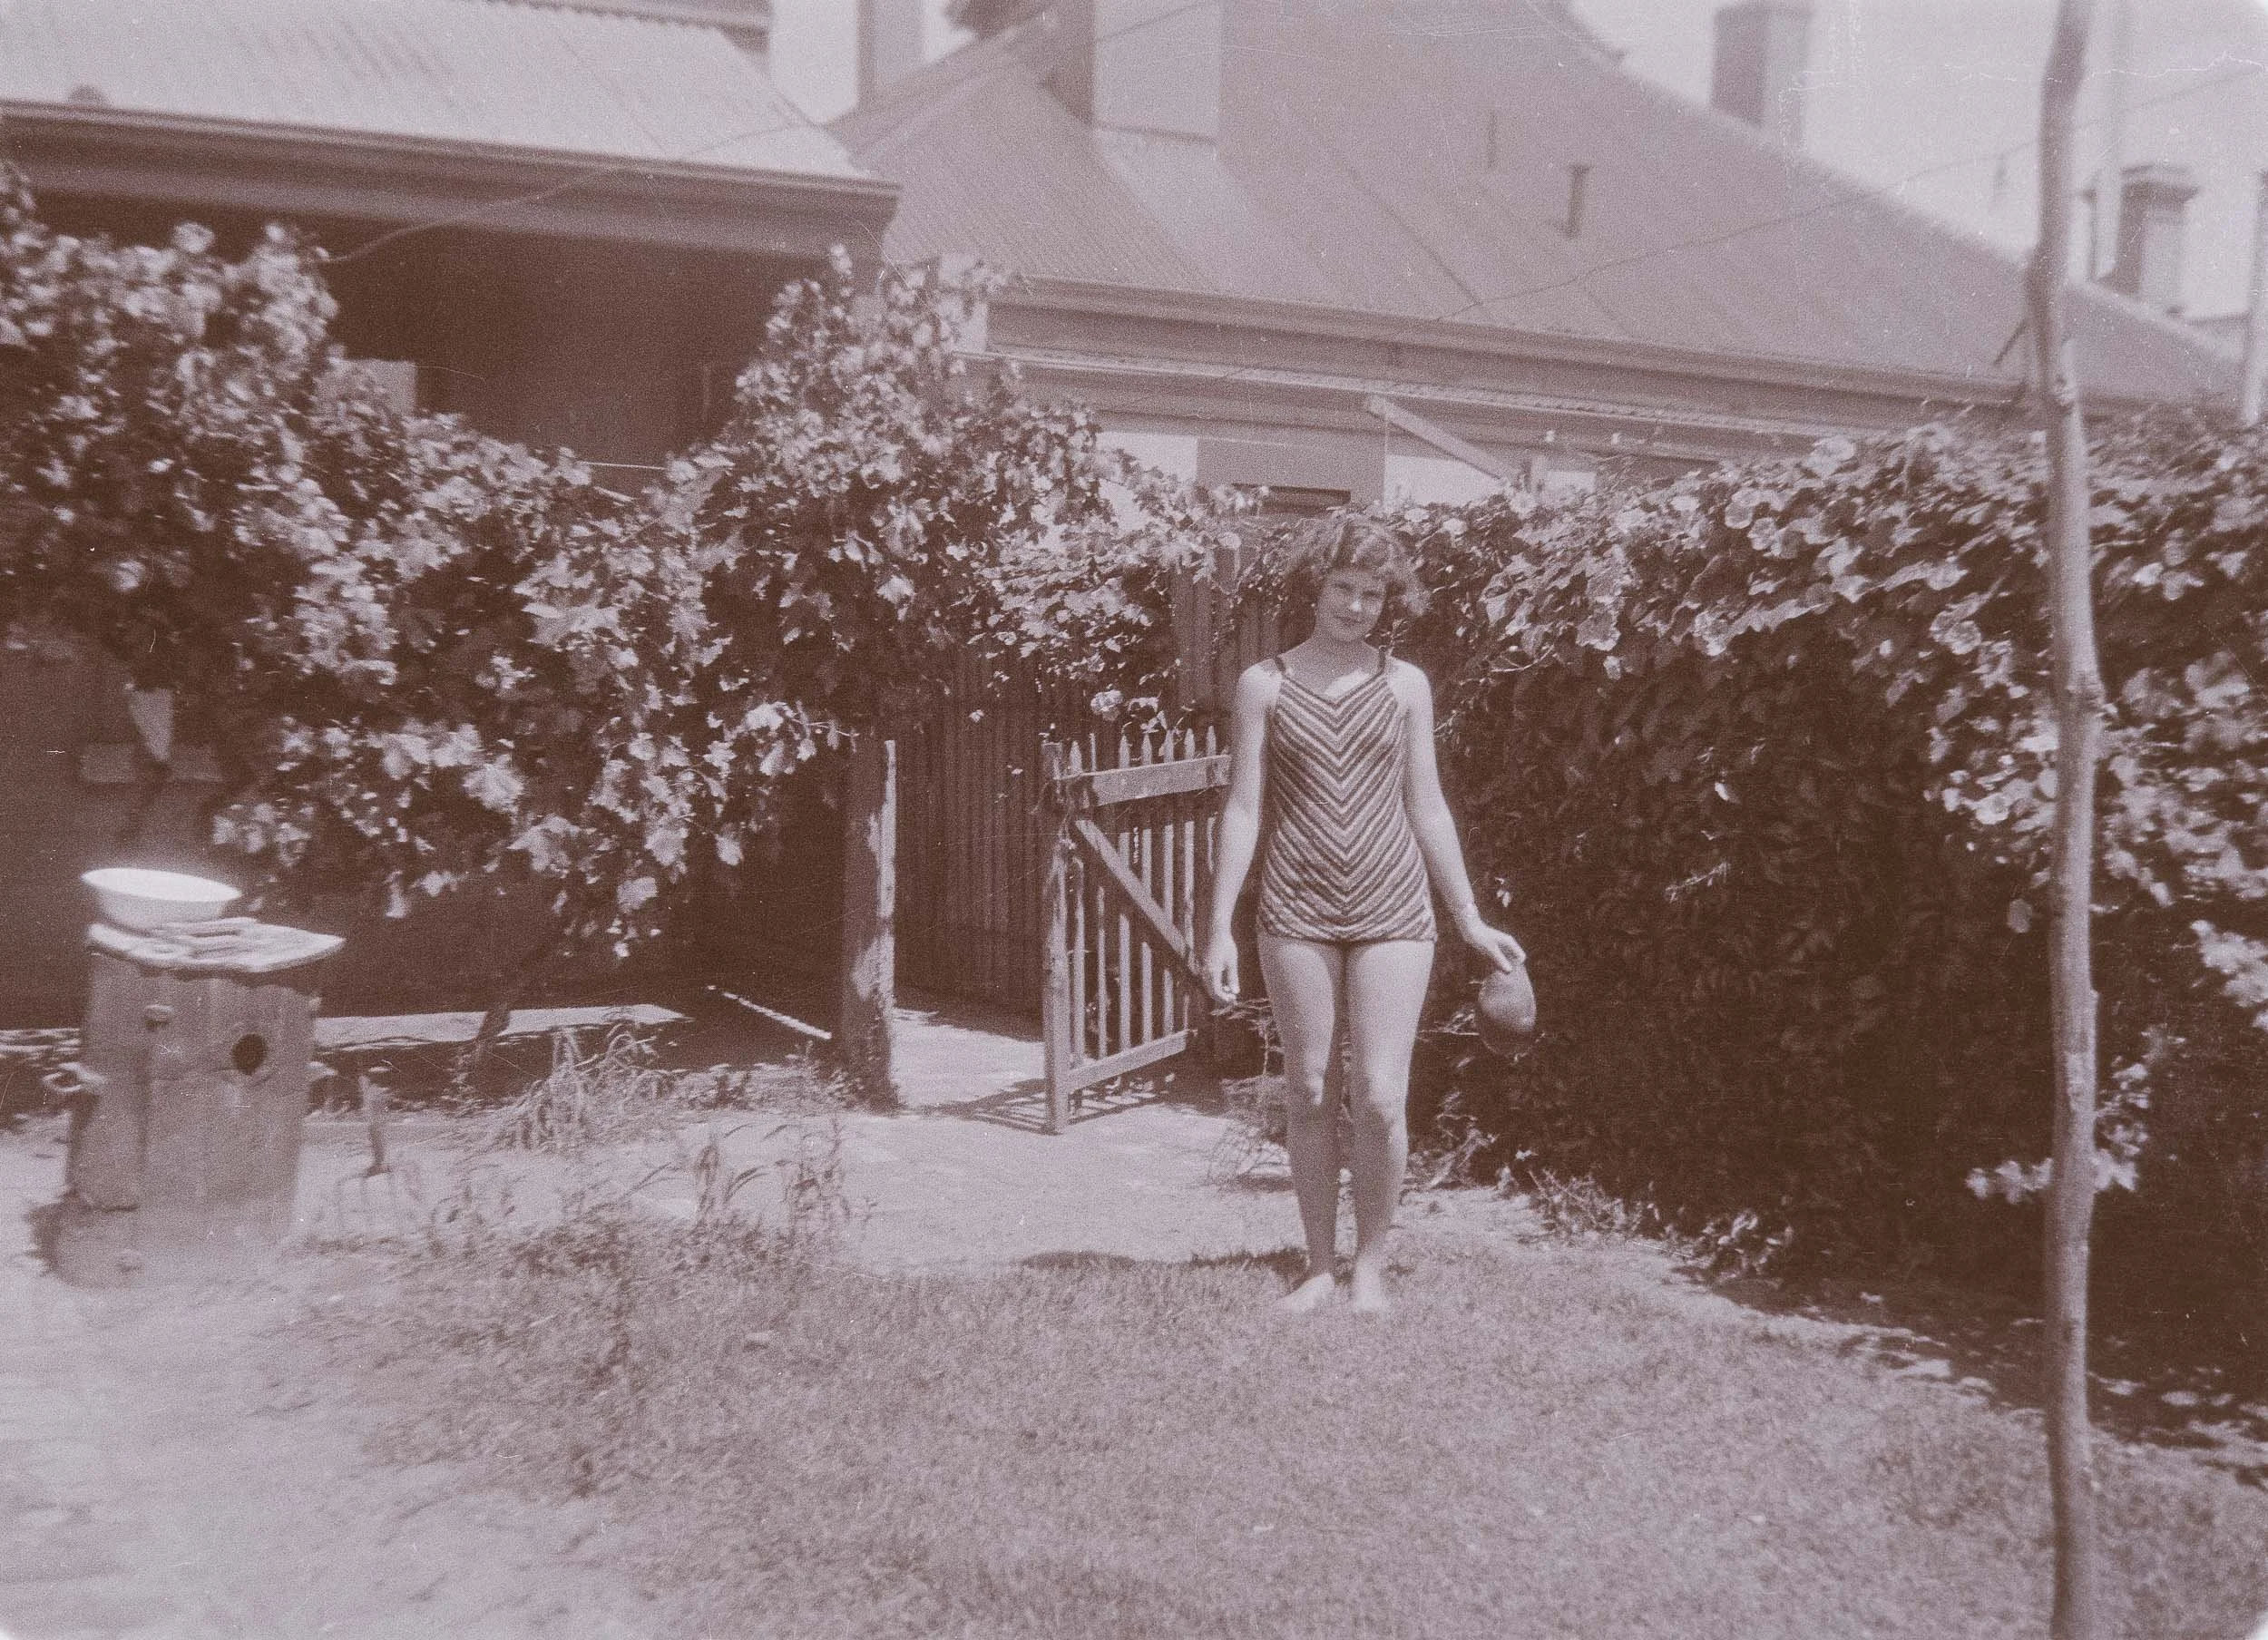
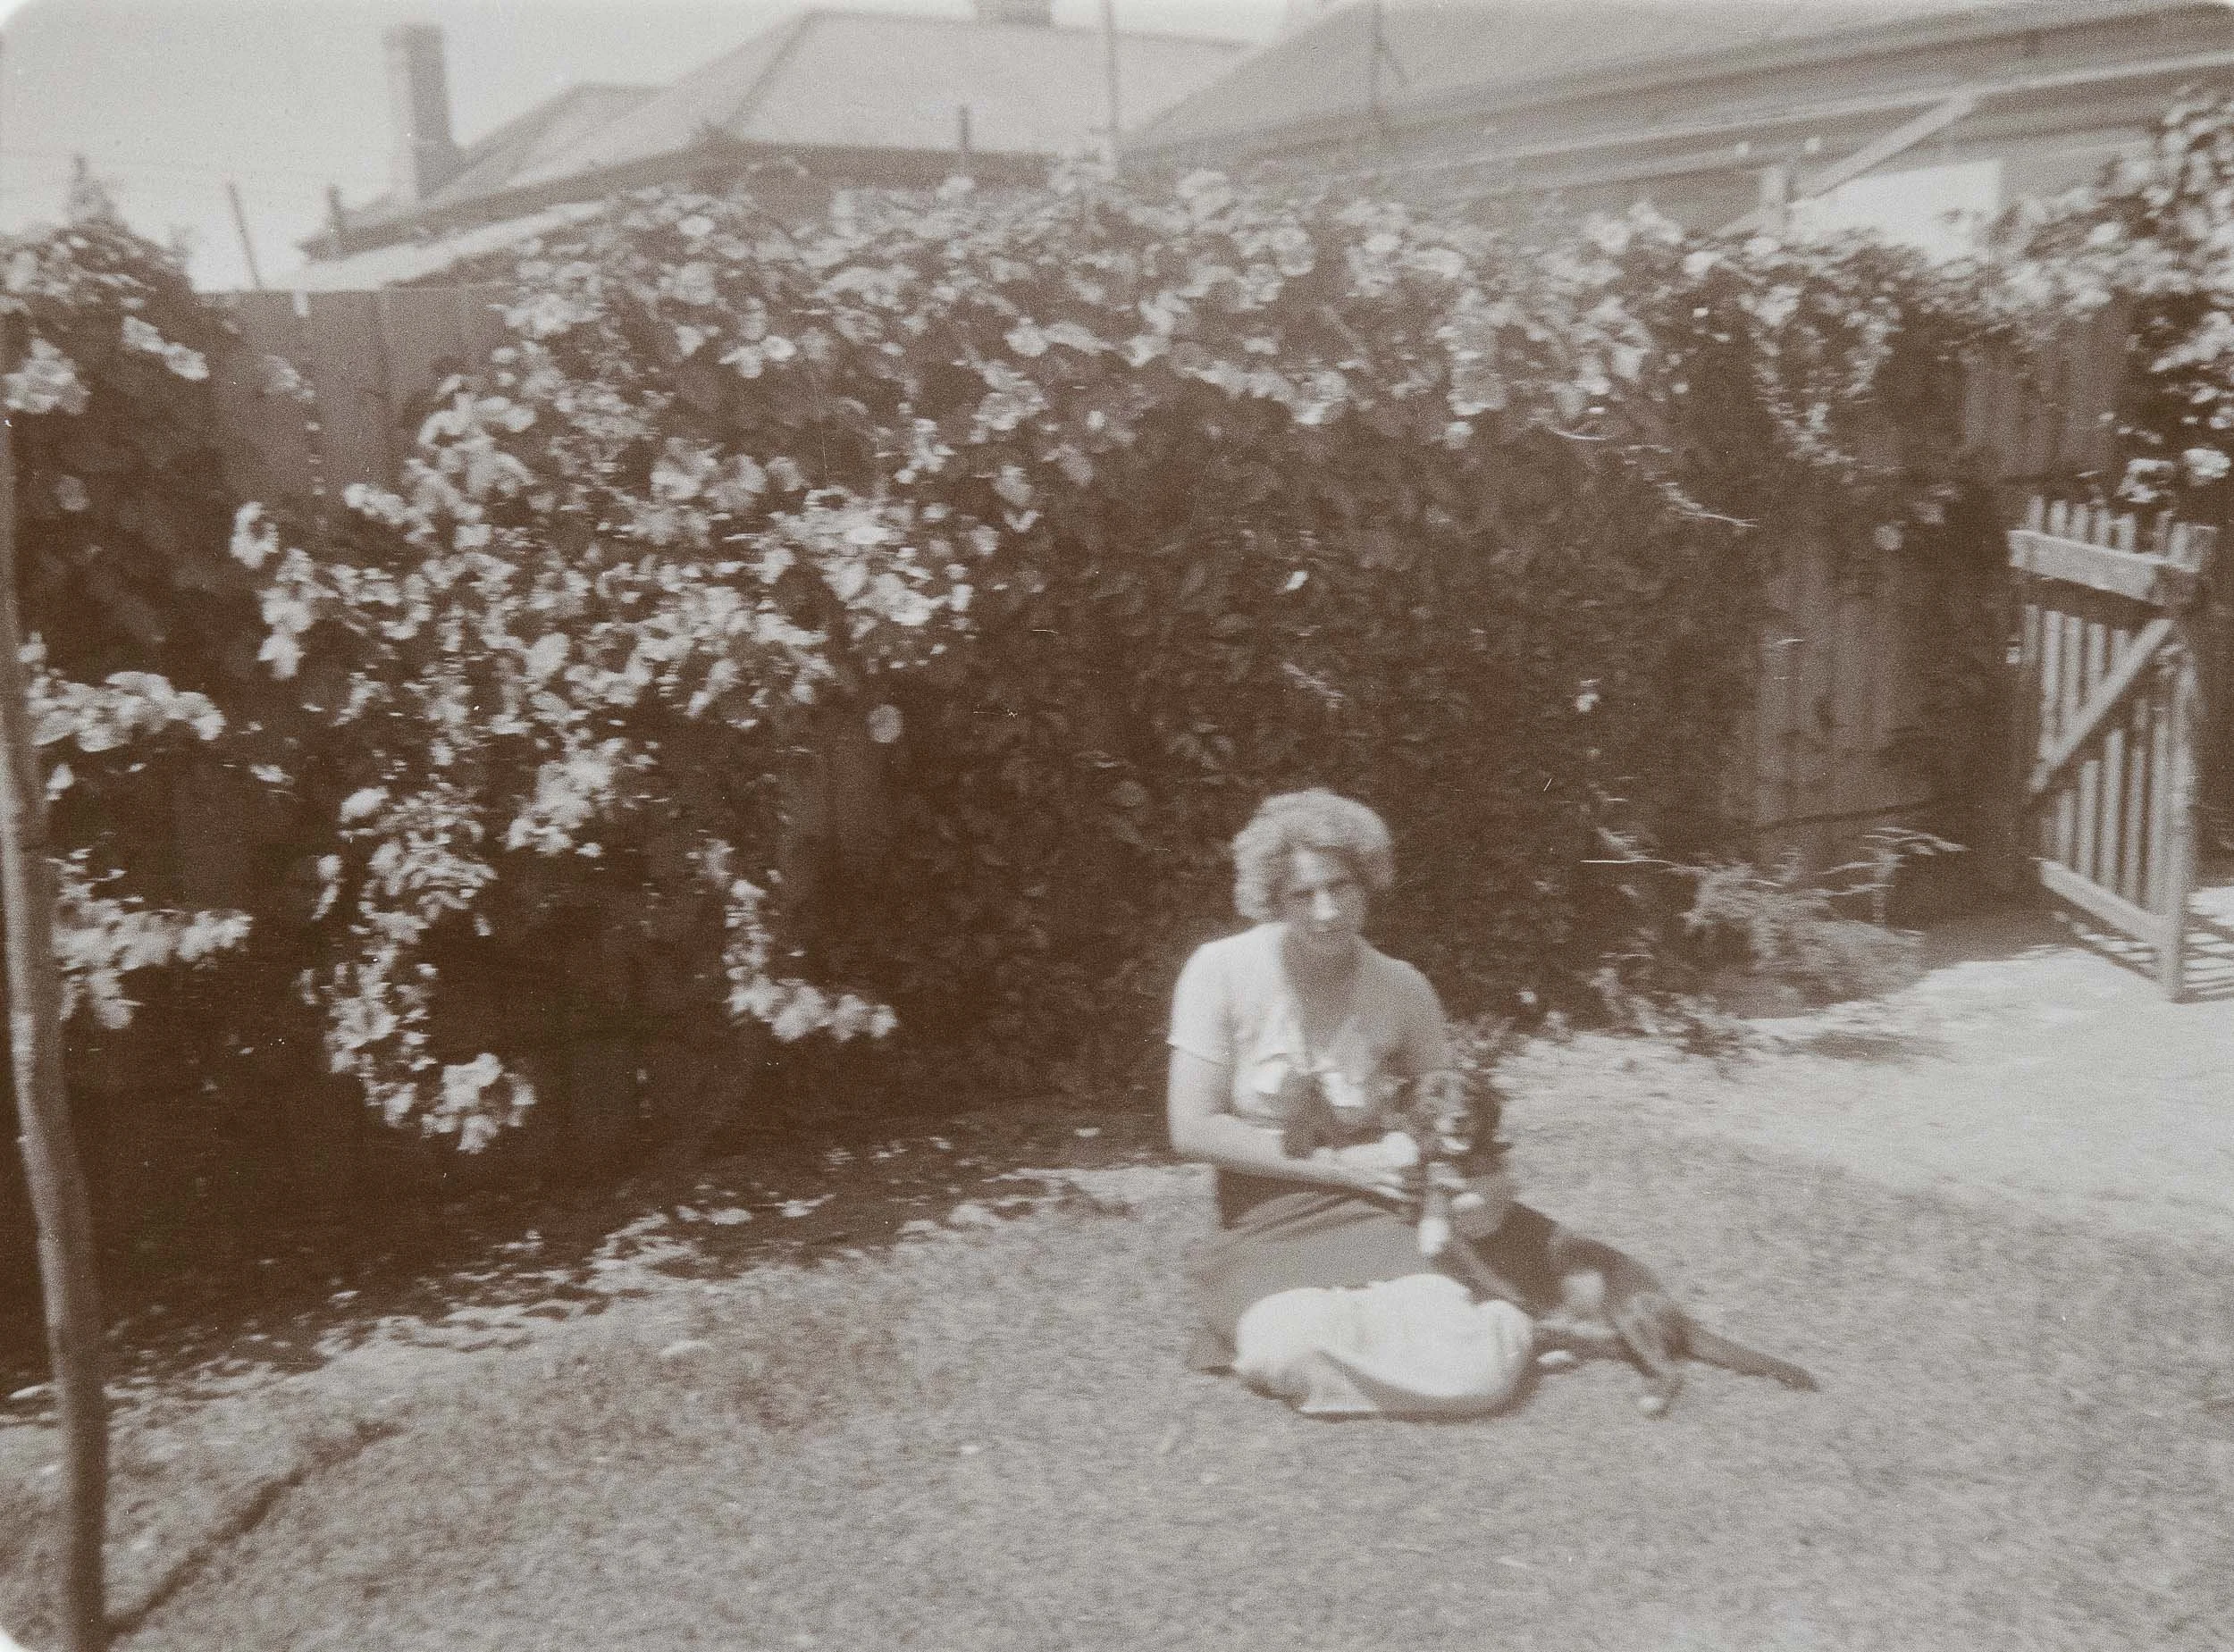
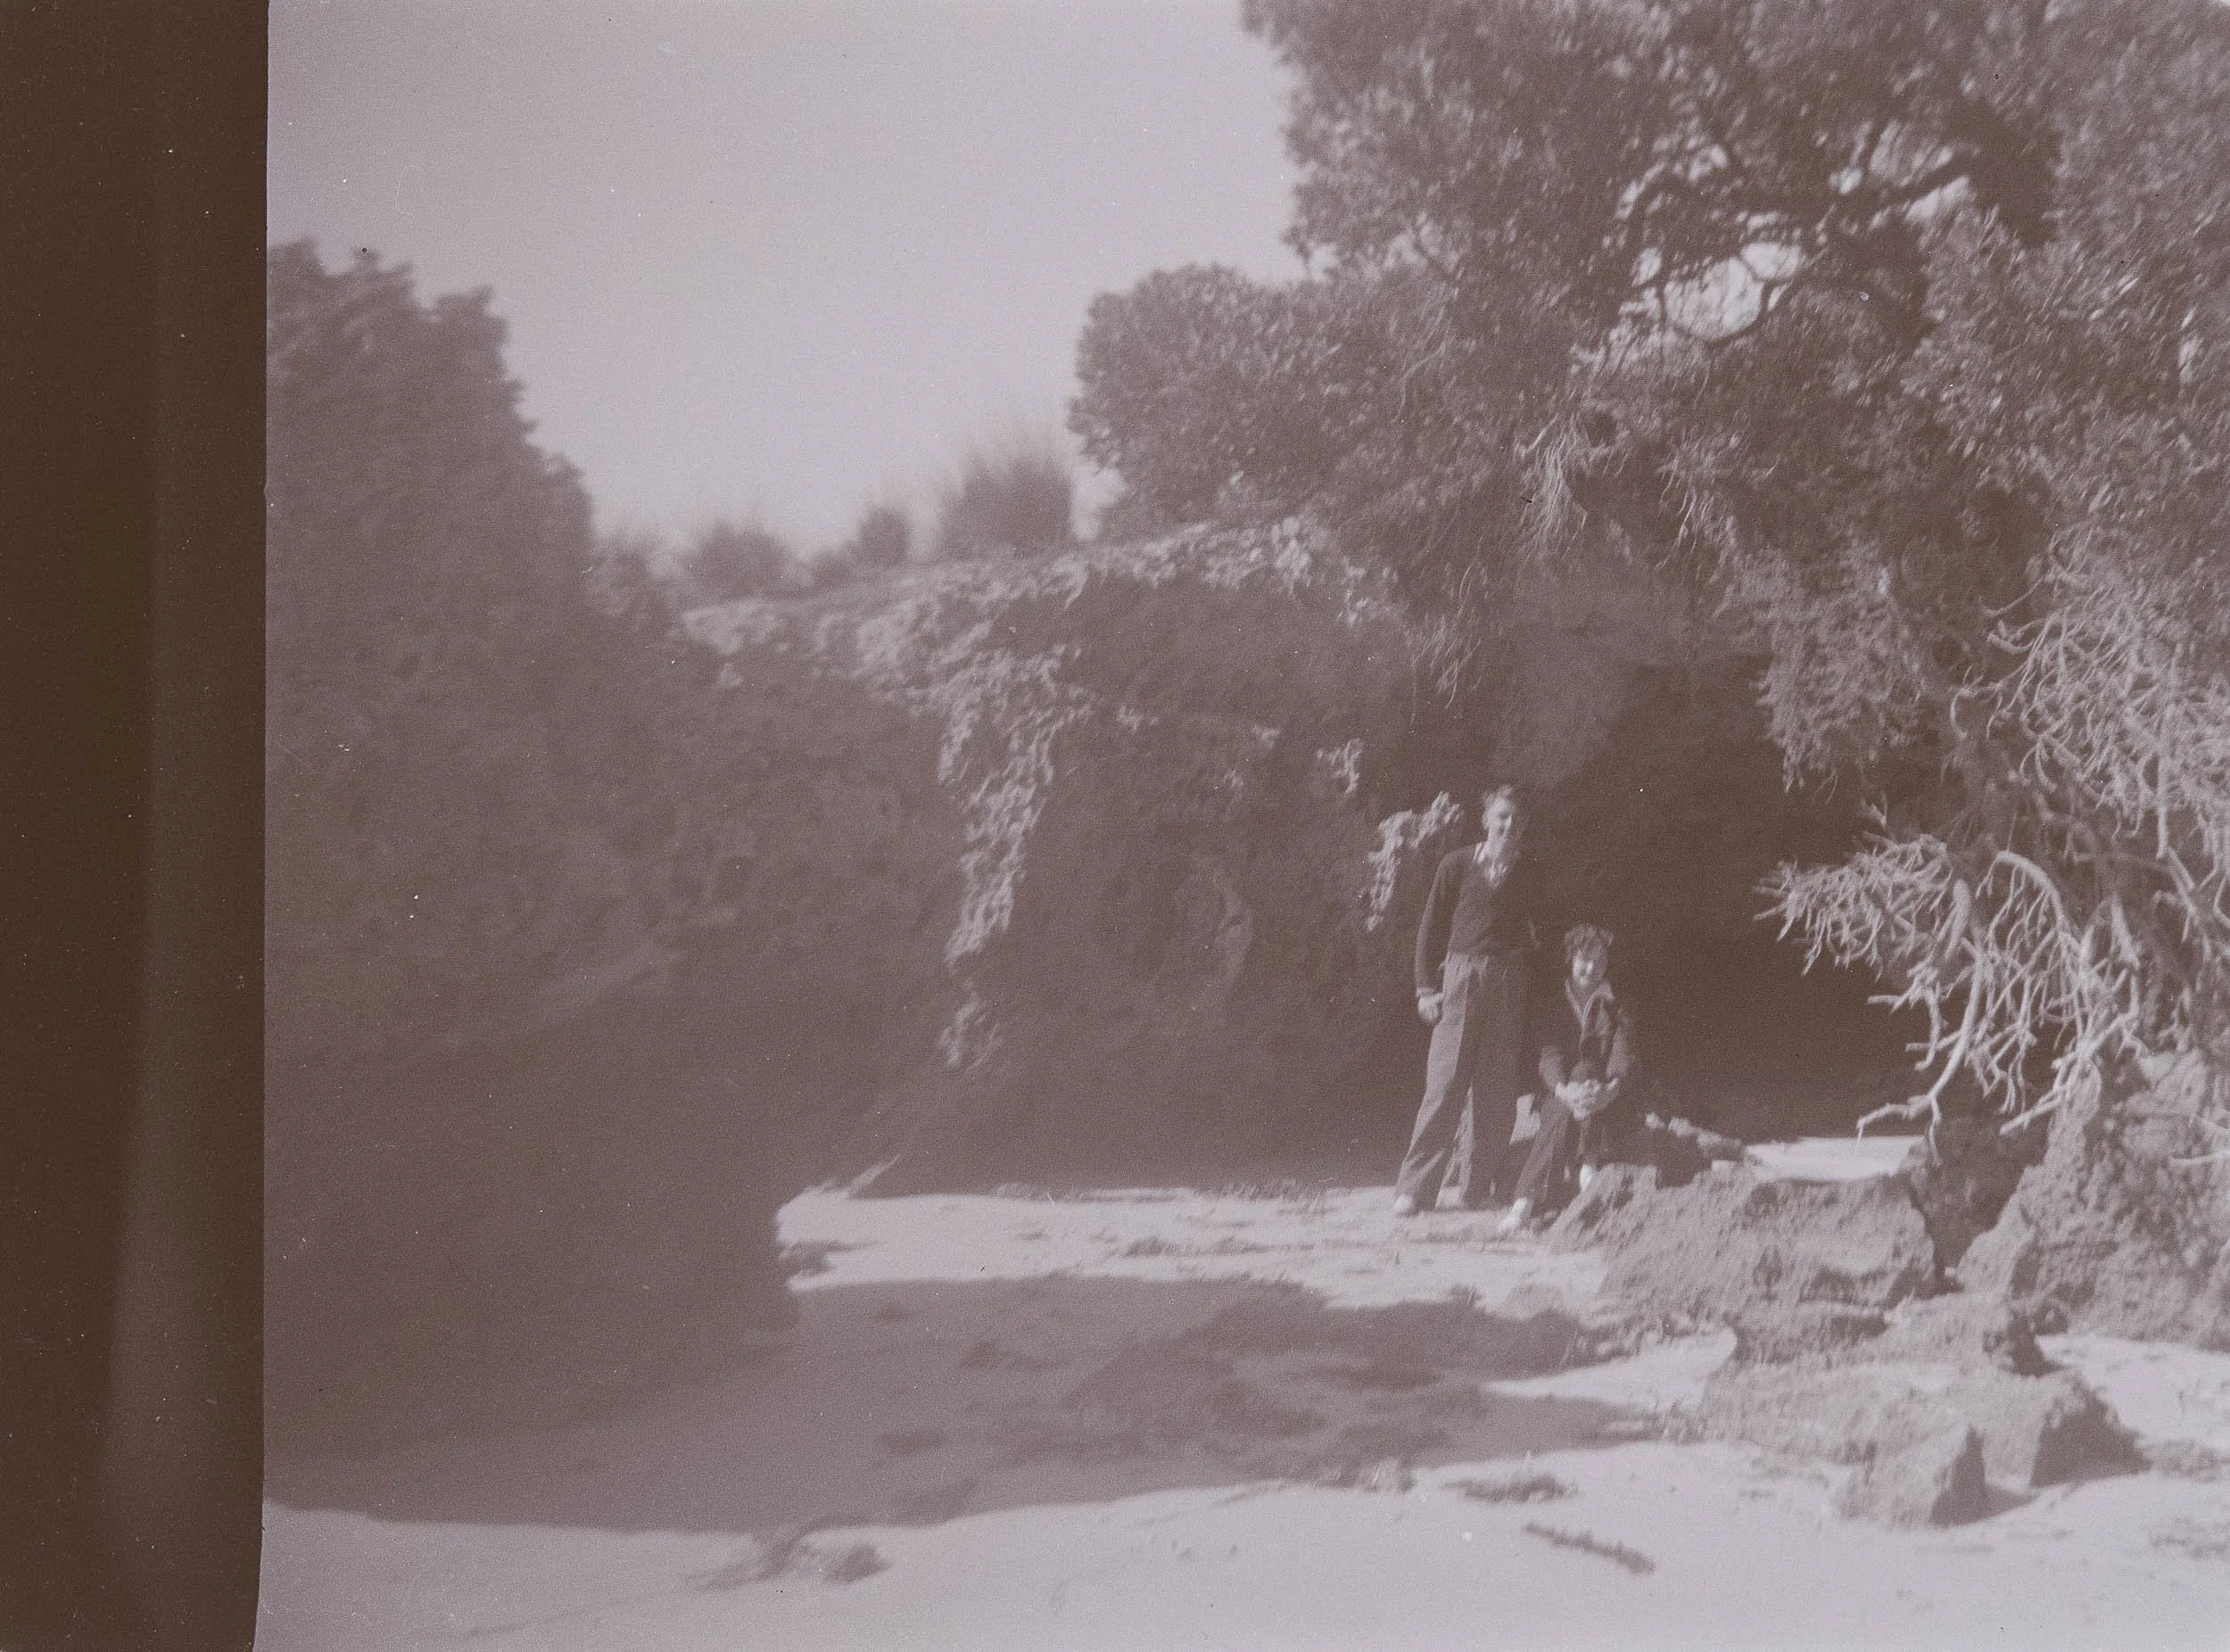
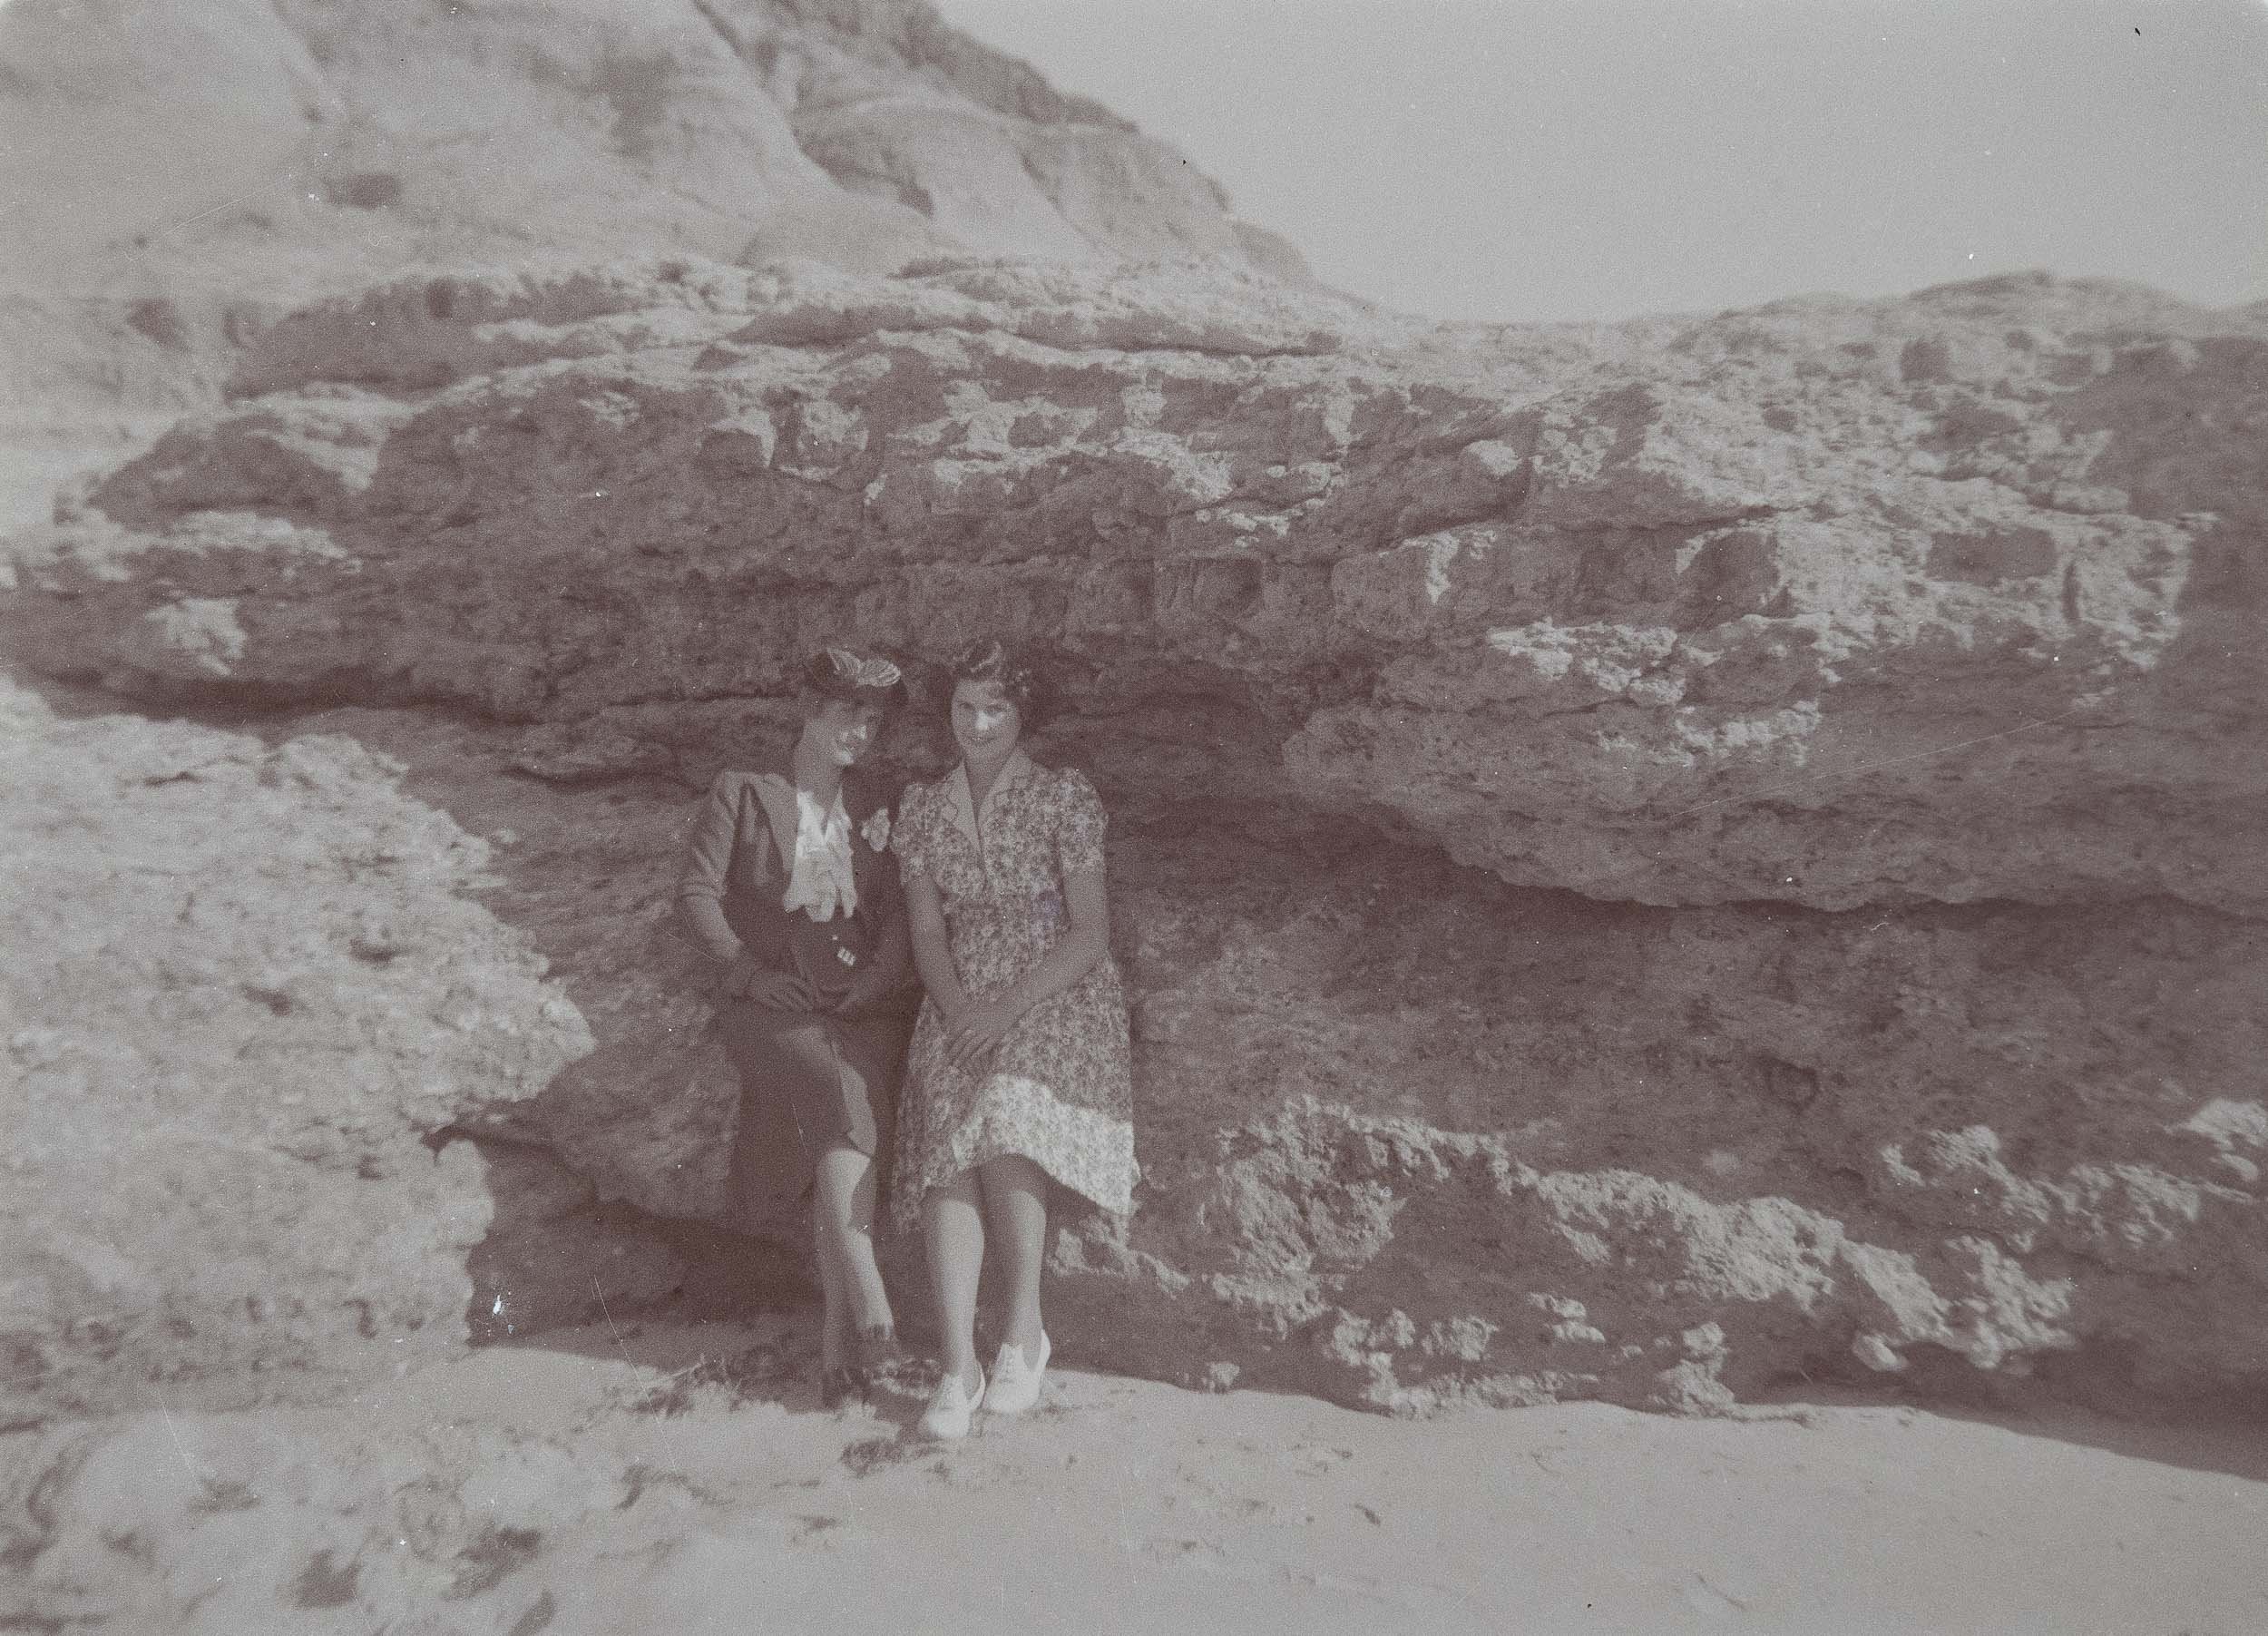
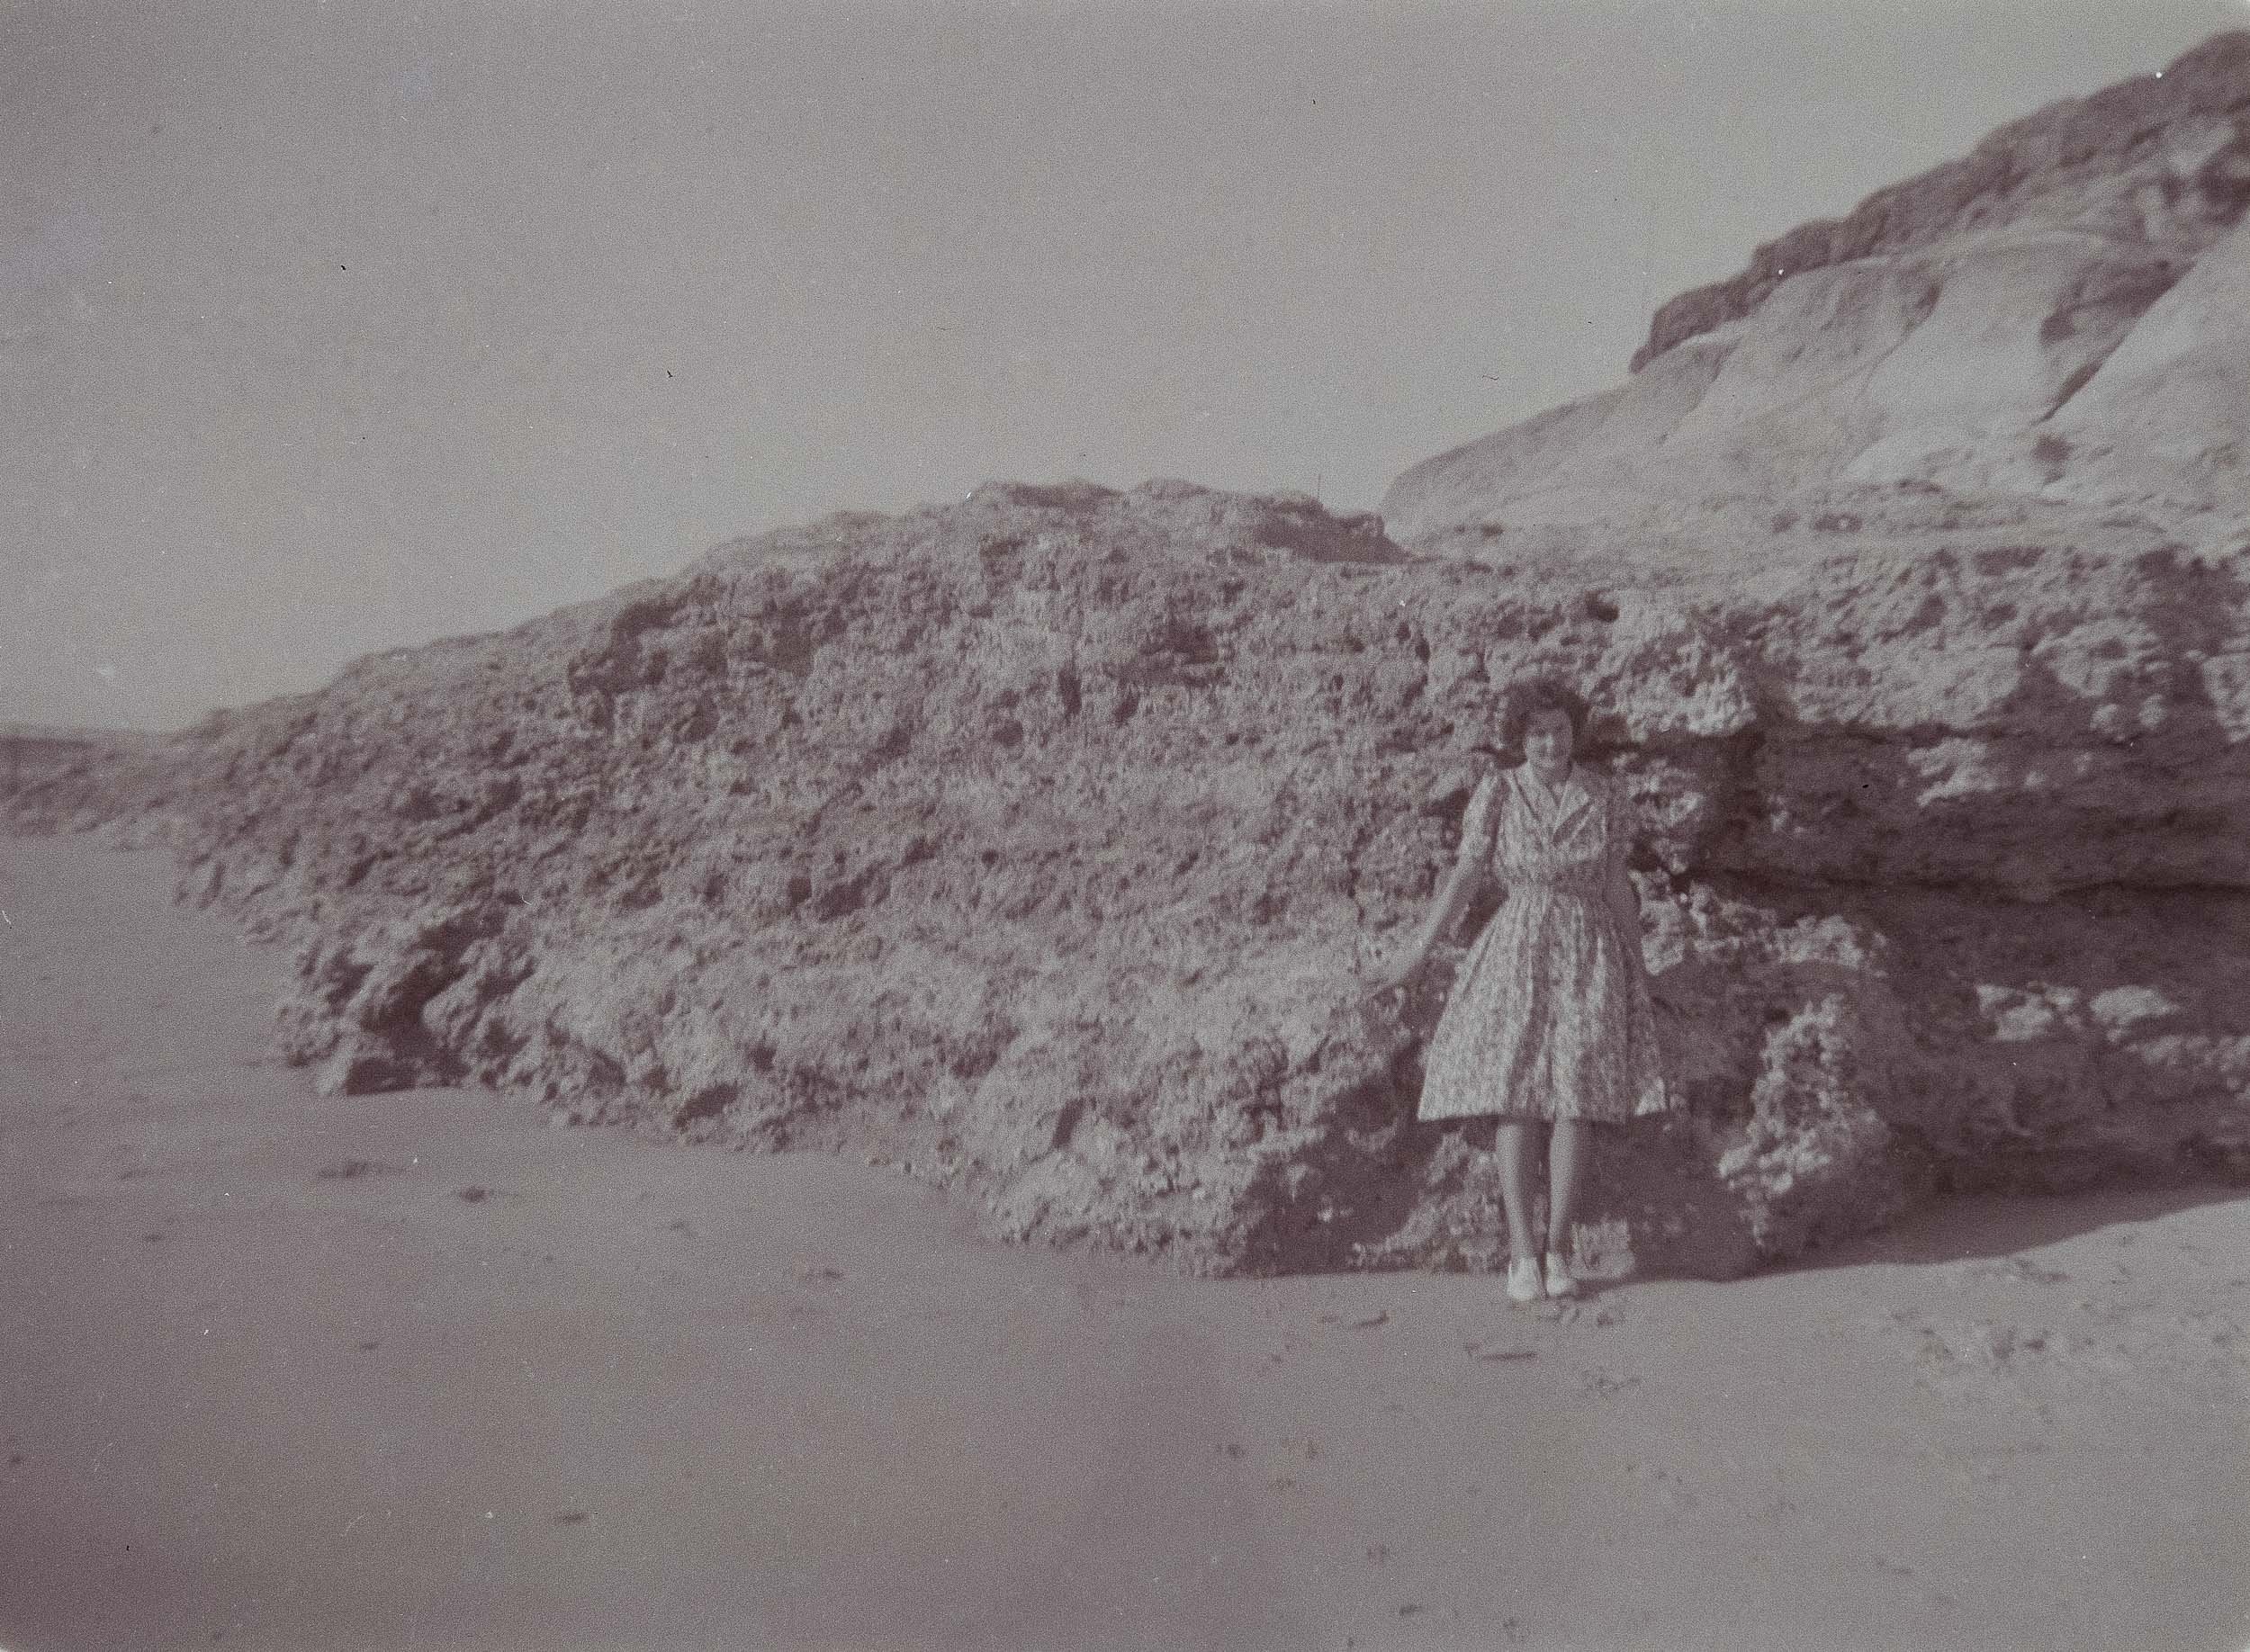
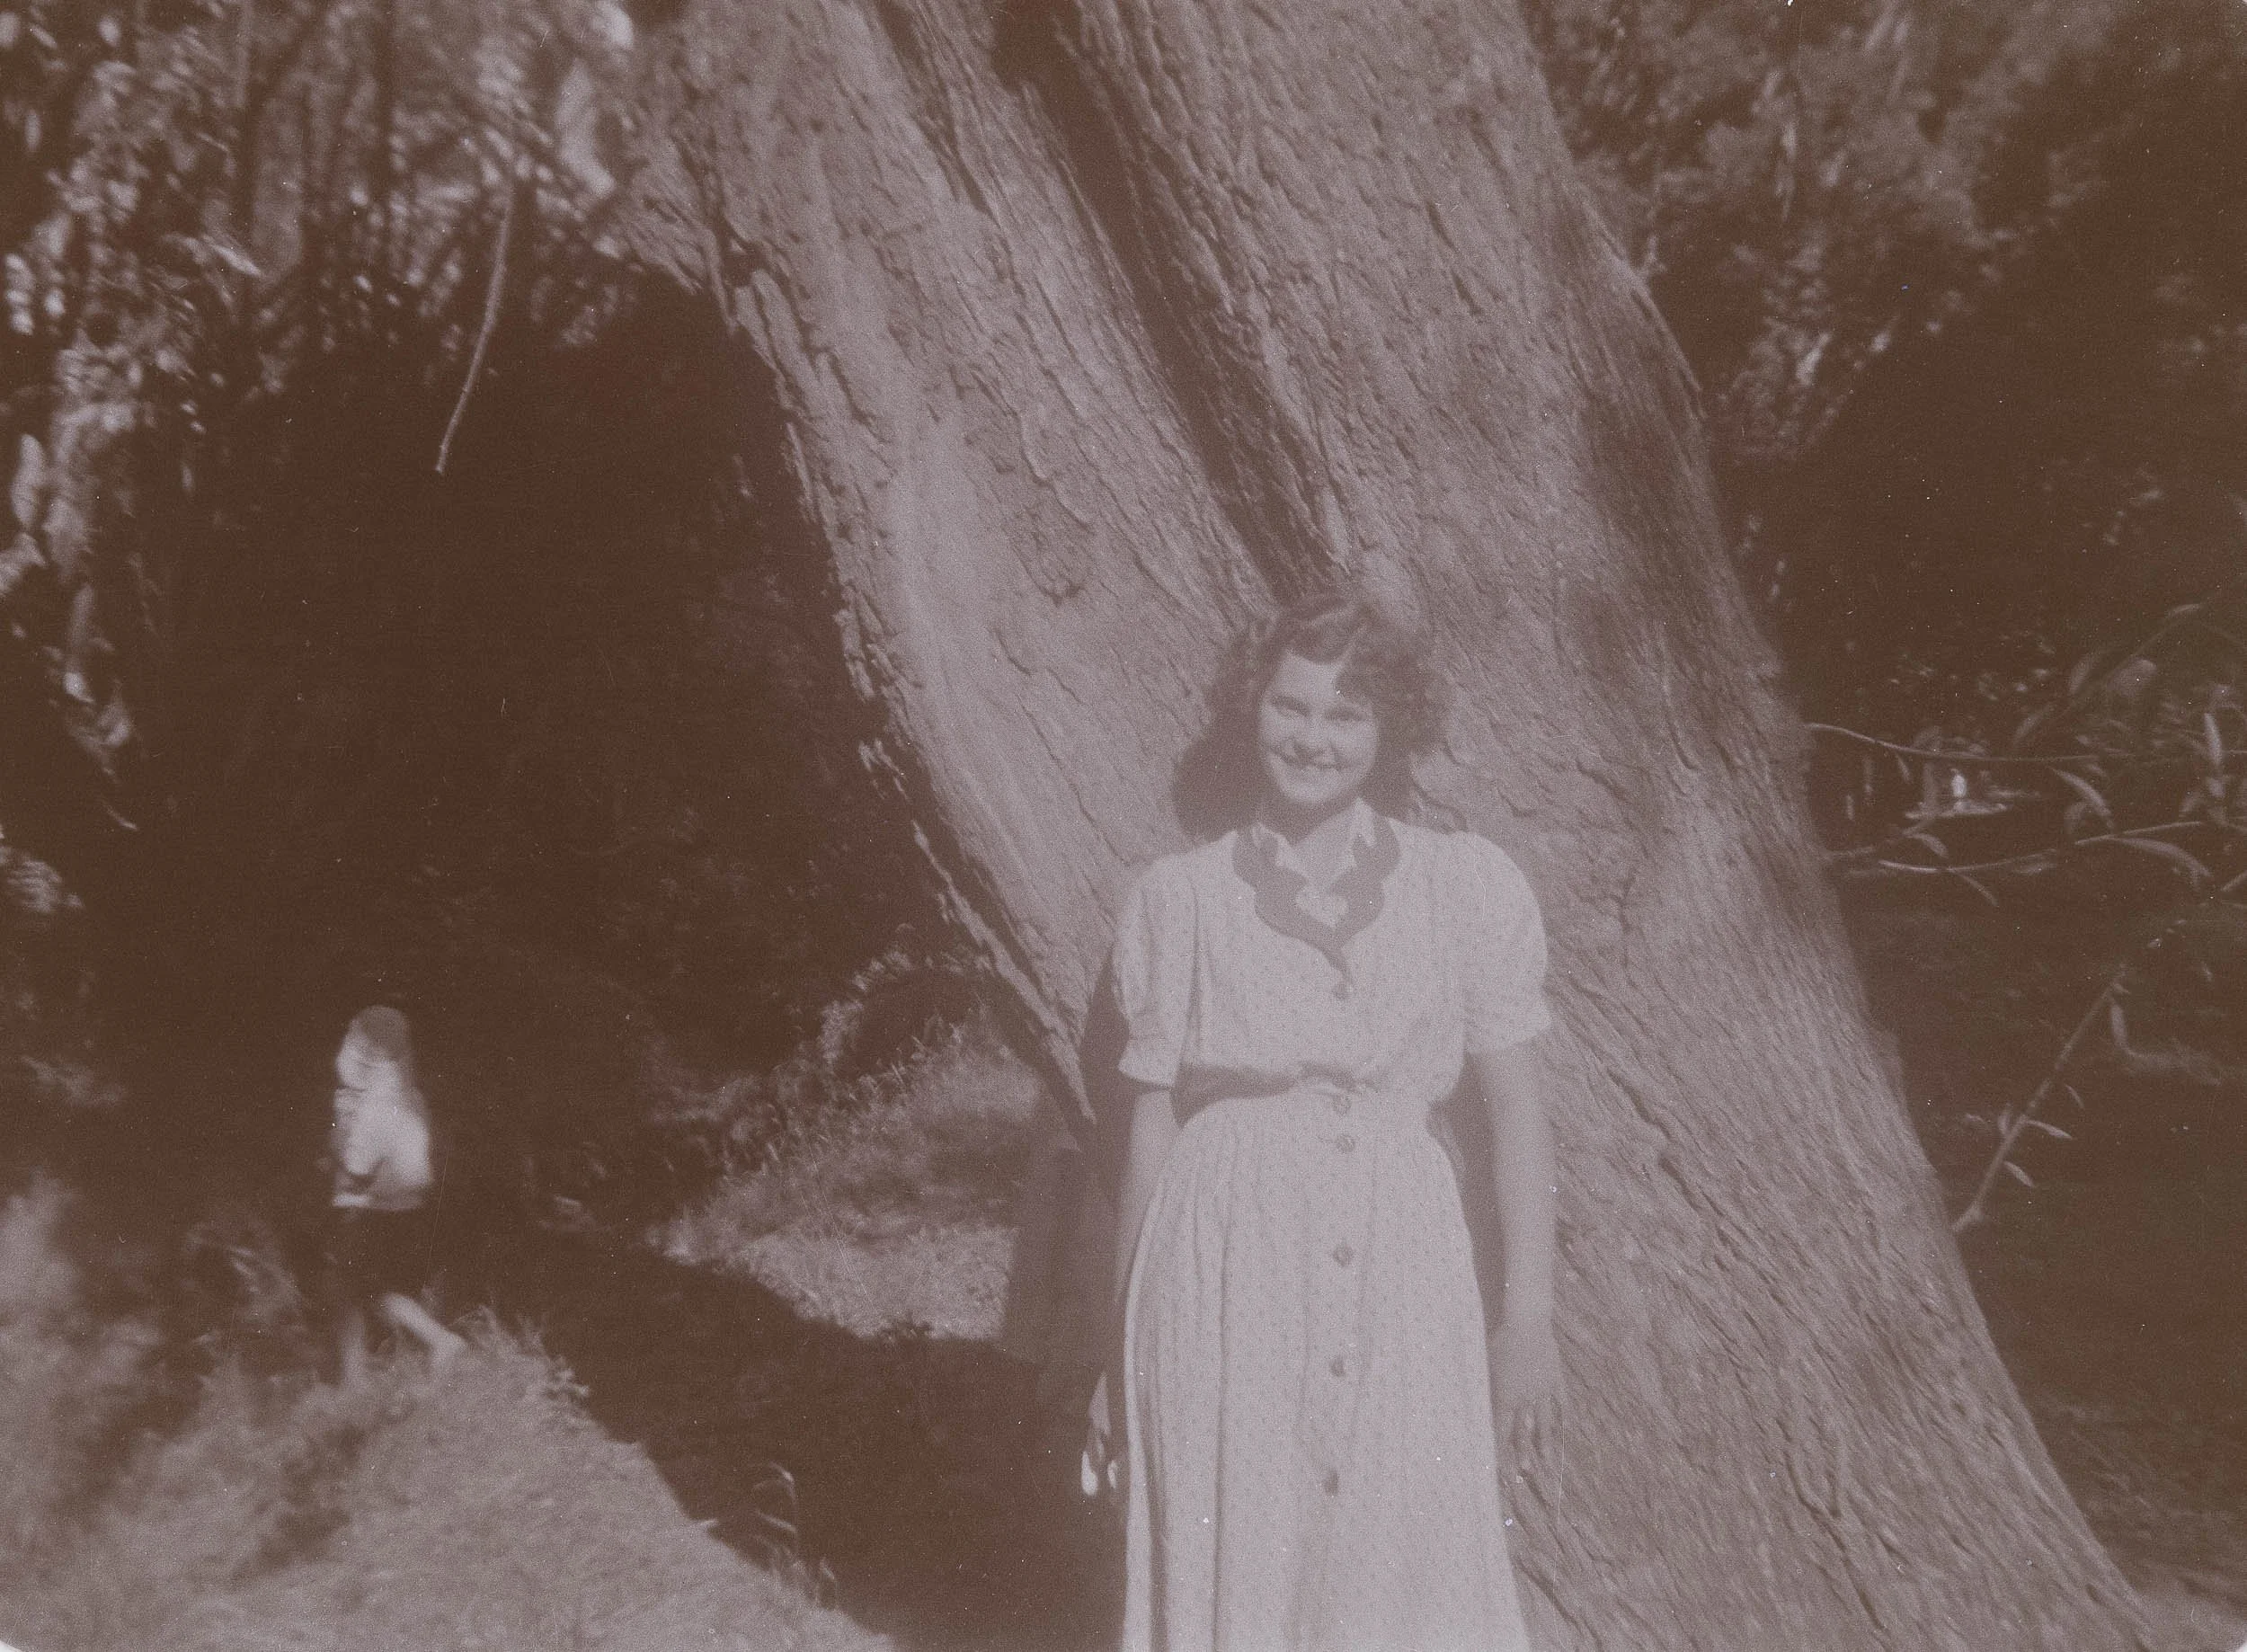
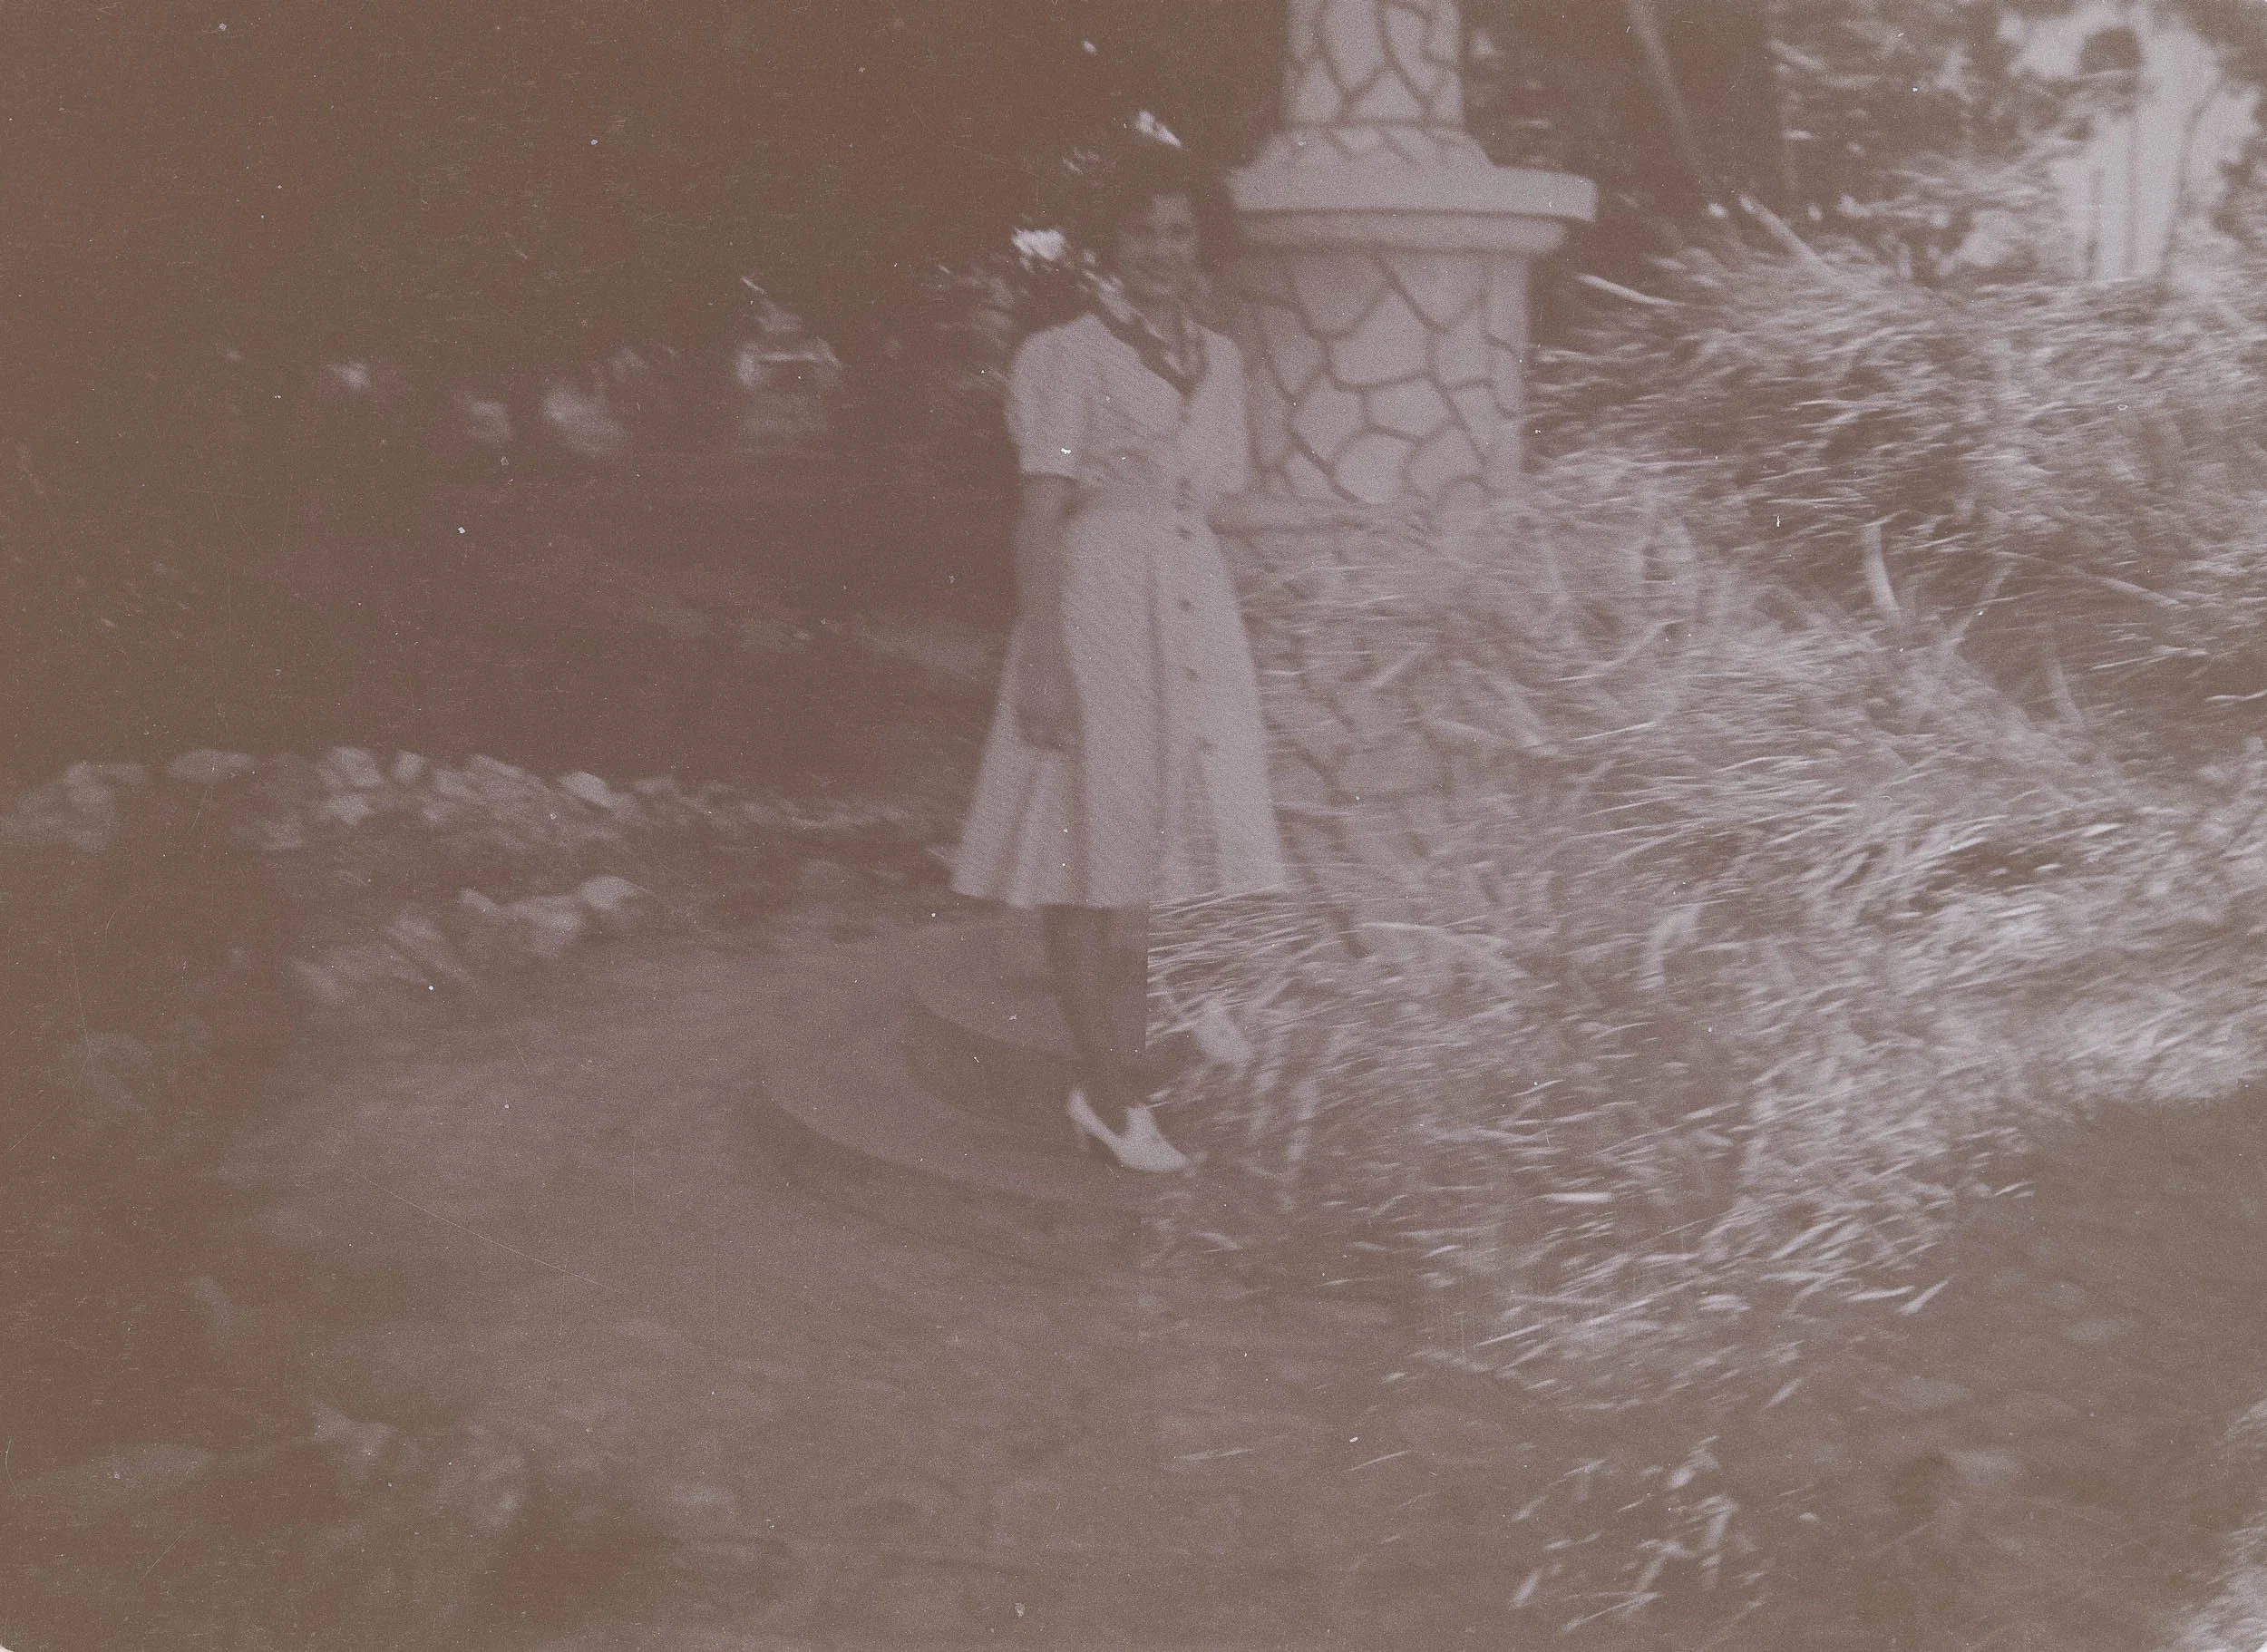
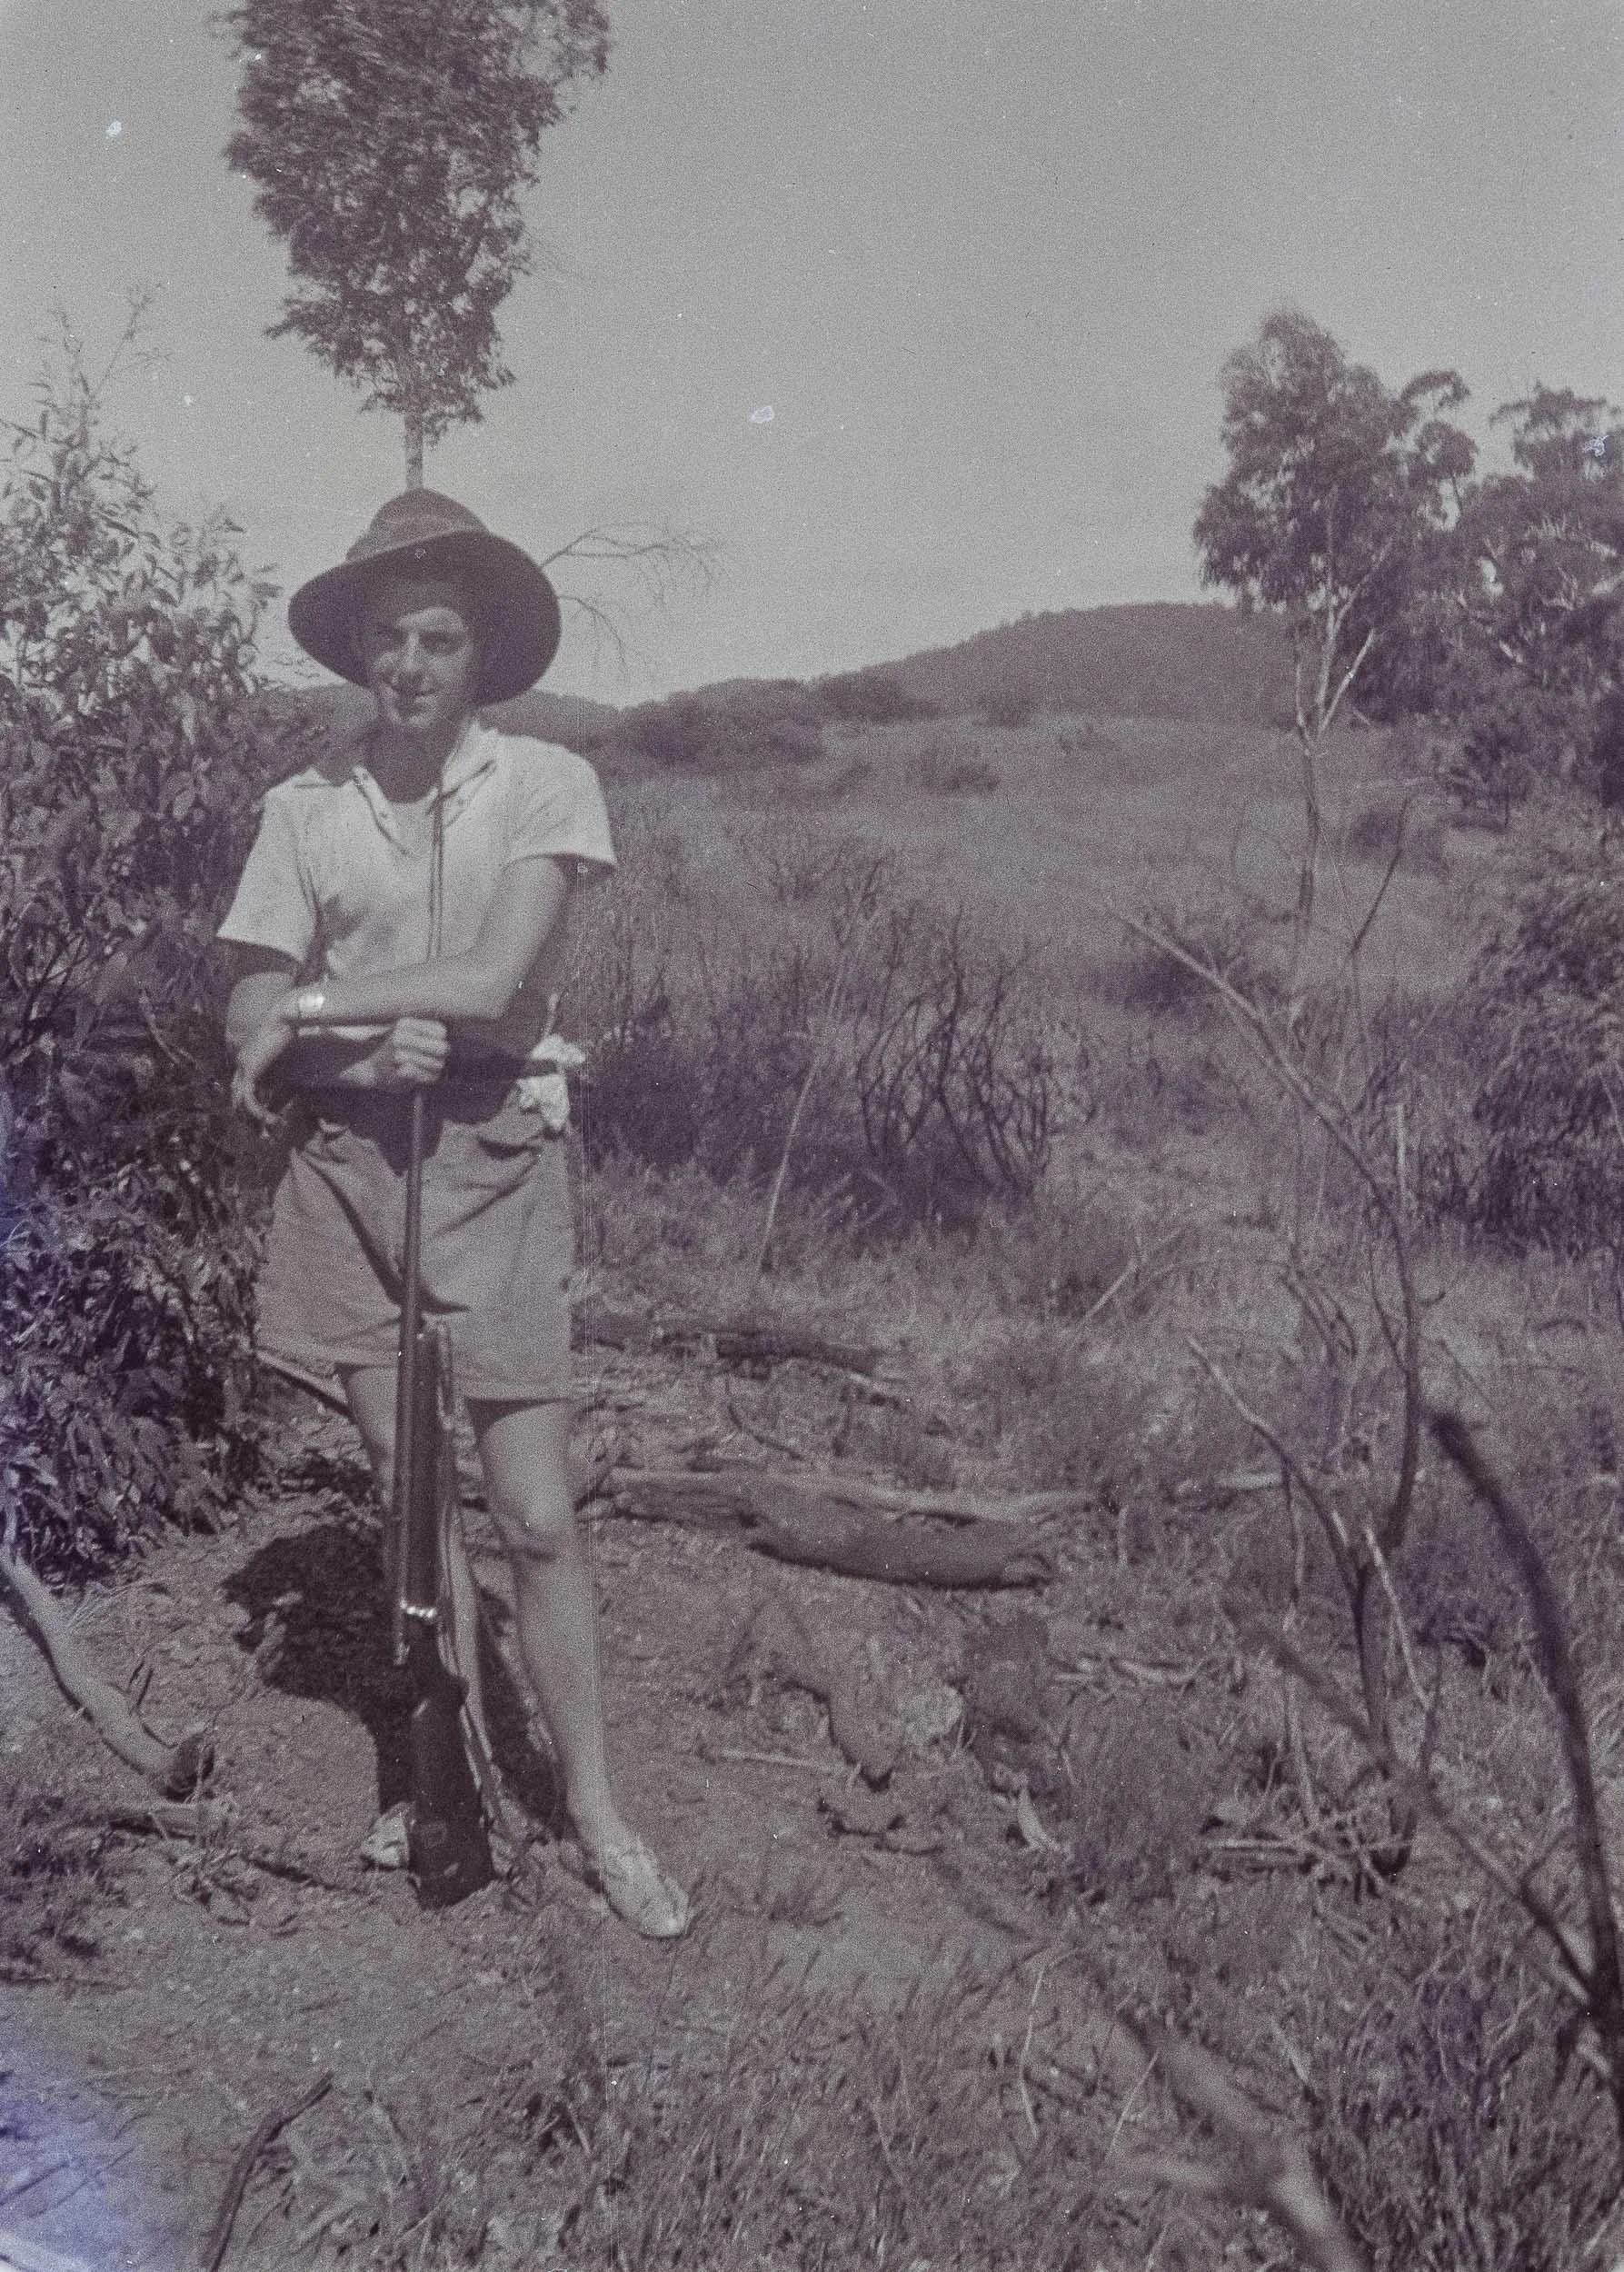
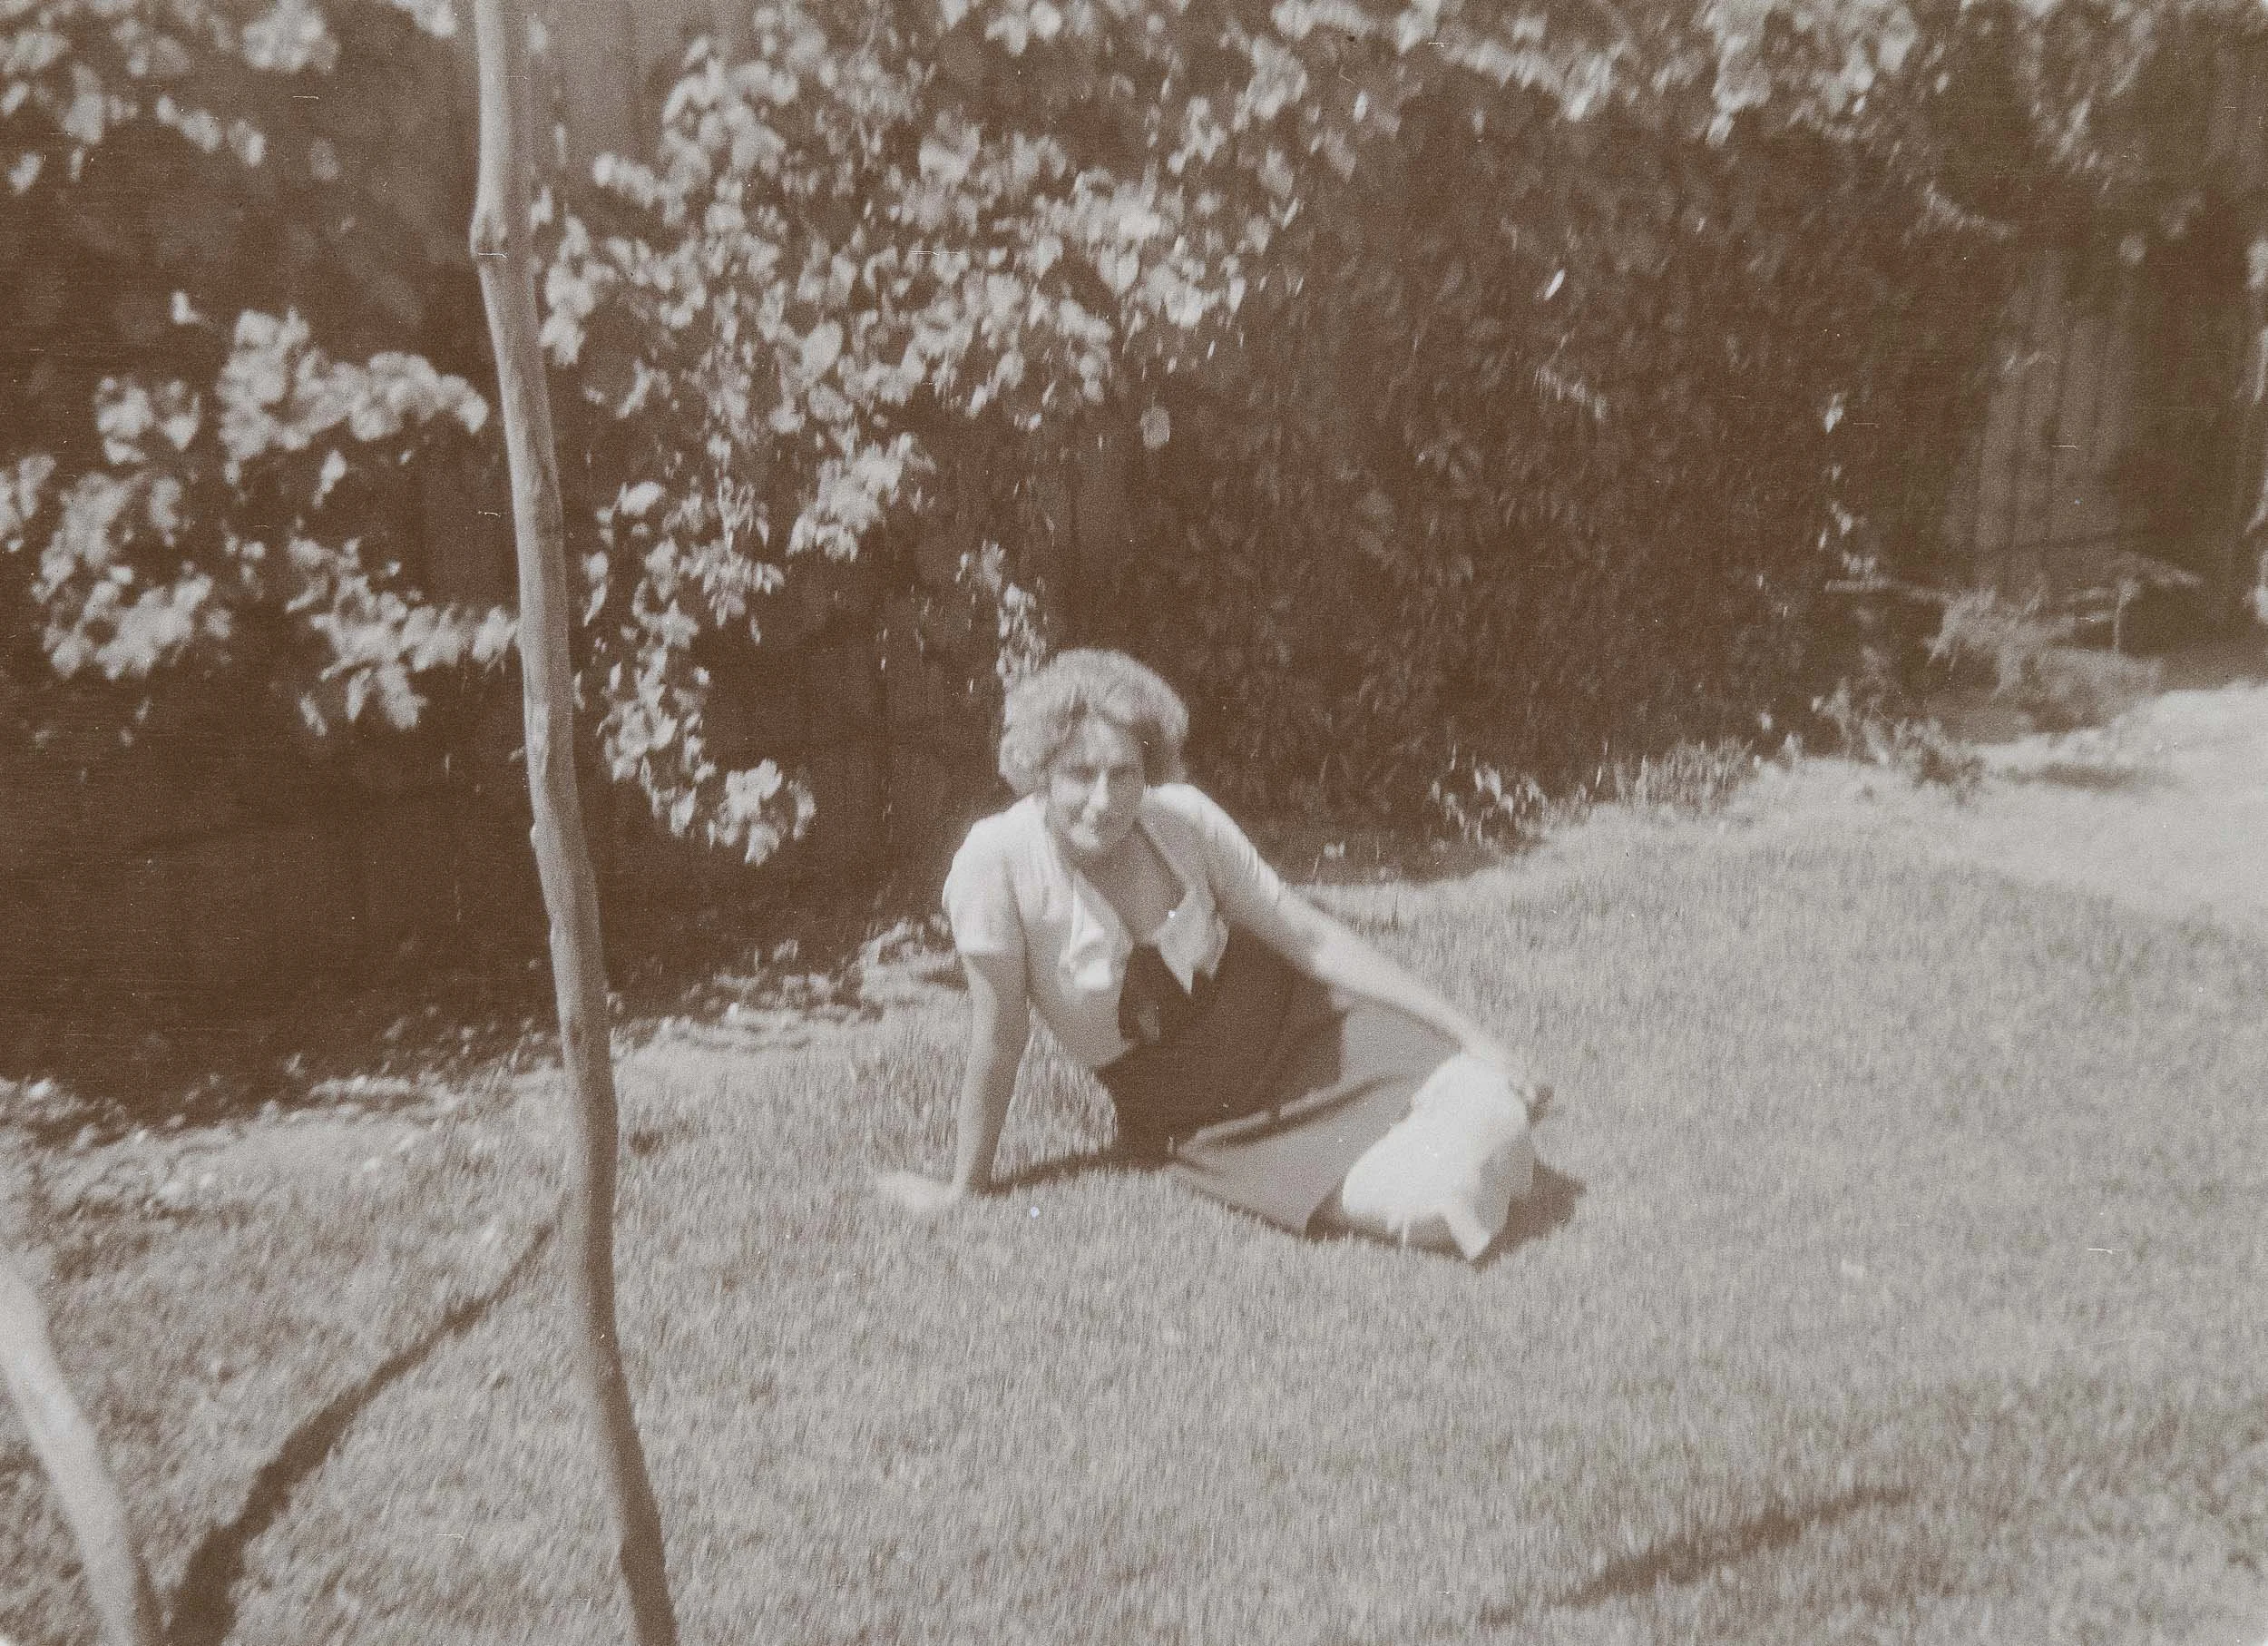
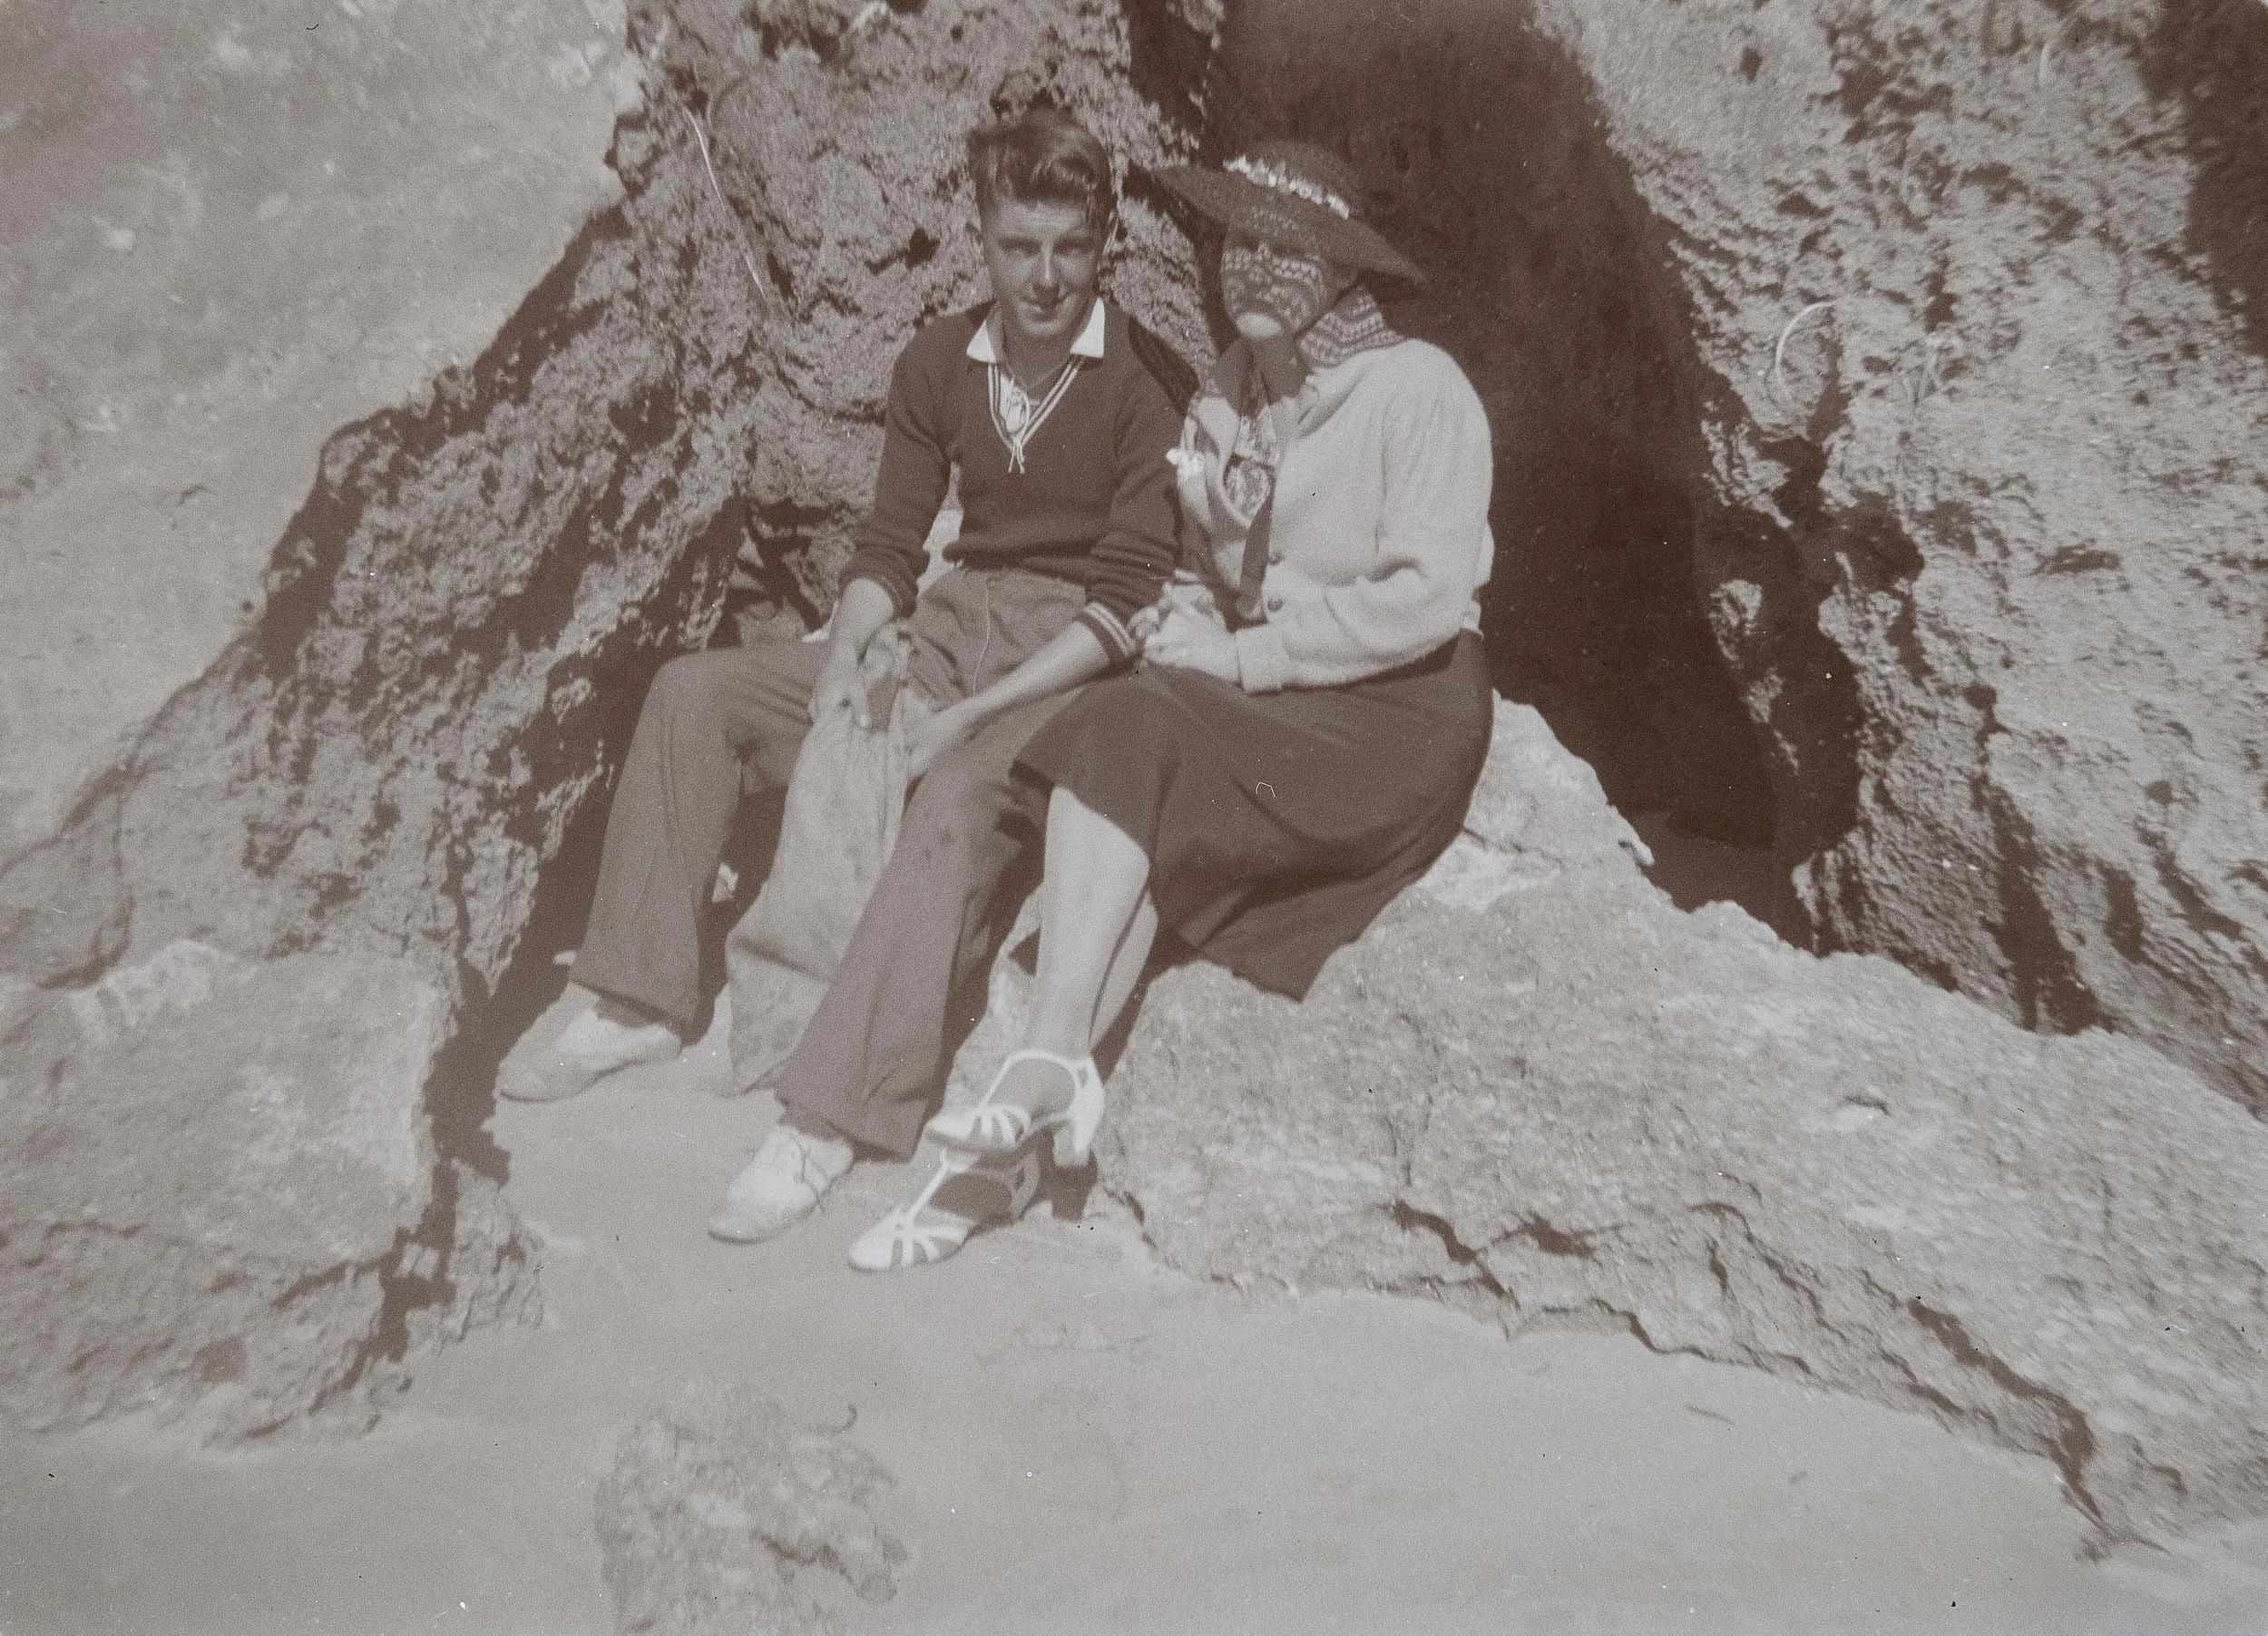
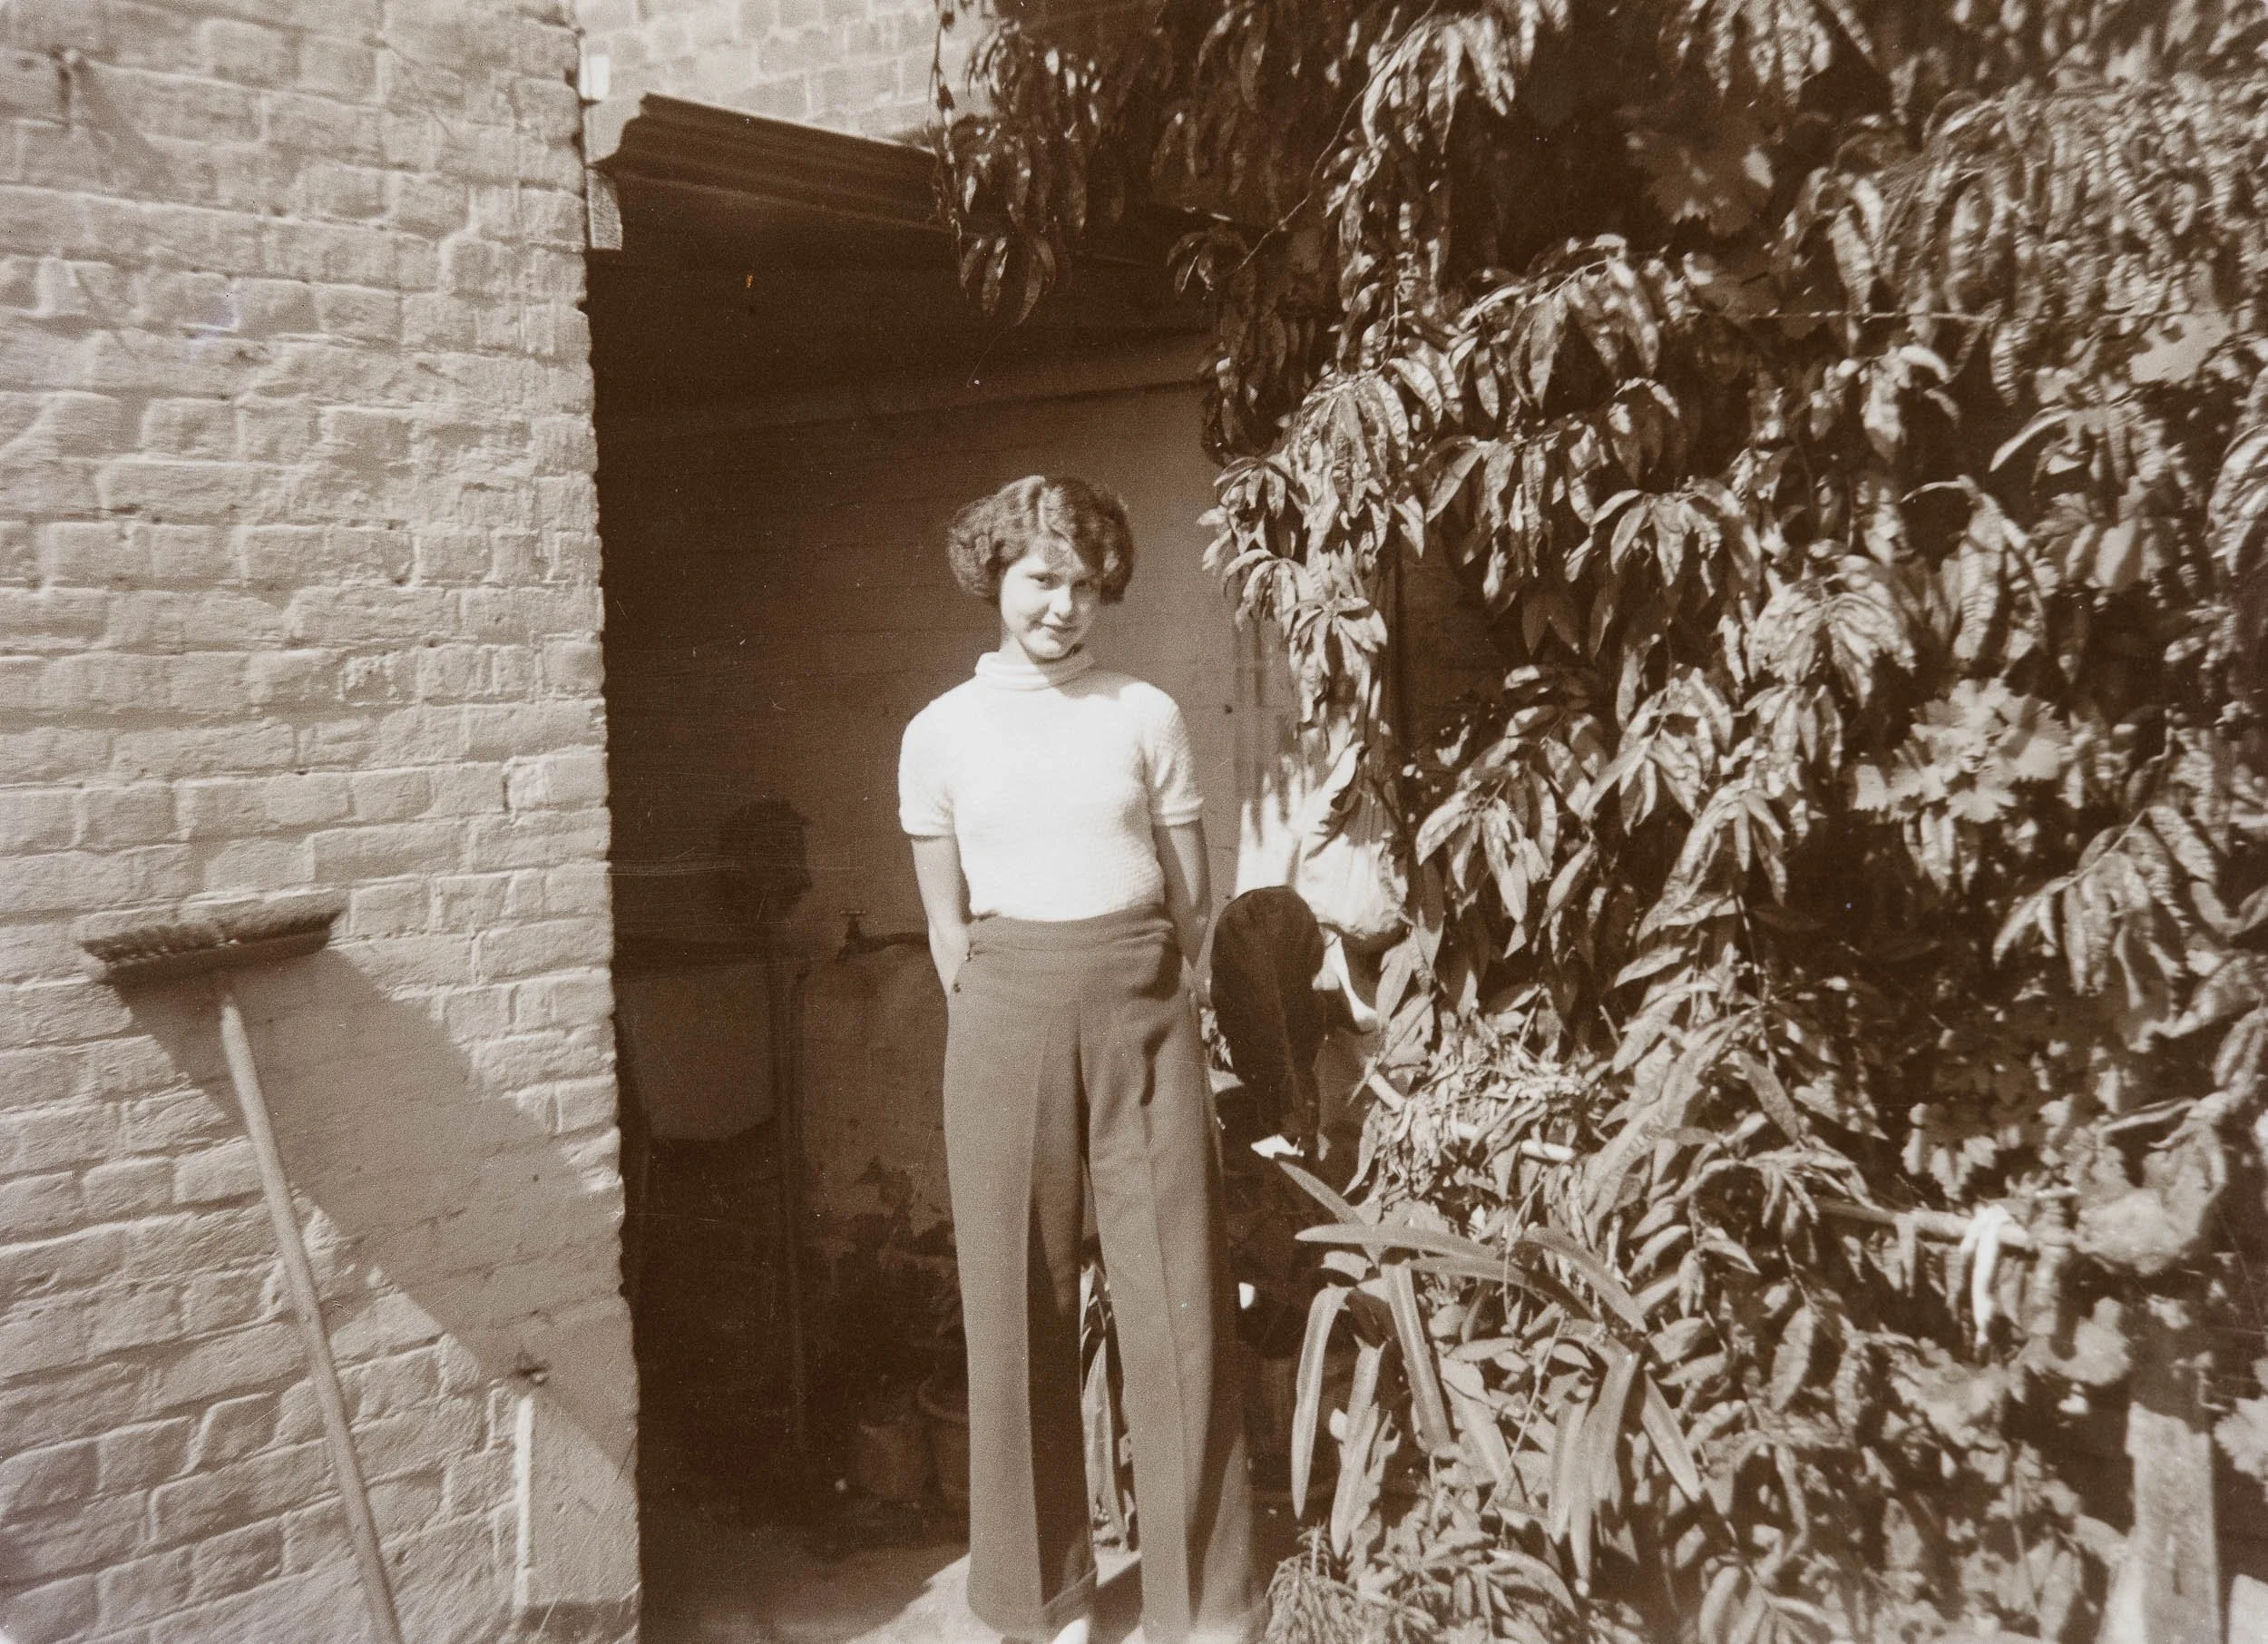
The young woman throughout these photographs is my wife’s grandmother, Lenna. To the family, she was Grandma, a wonderful soul who is still deeply missed.
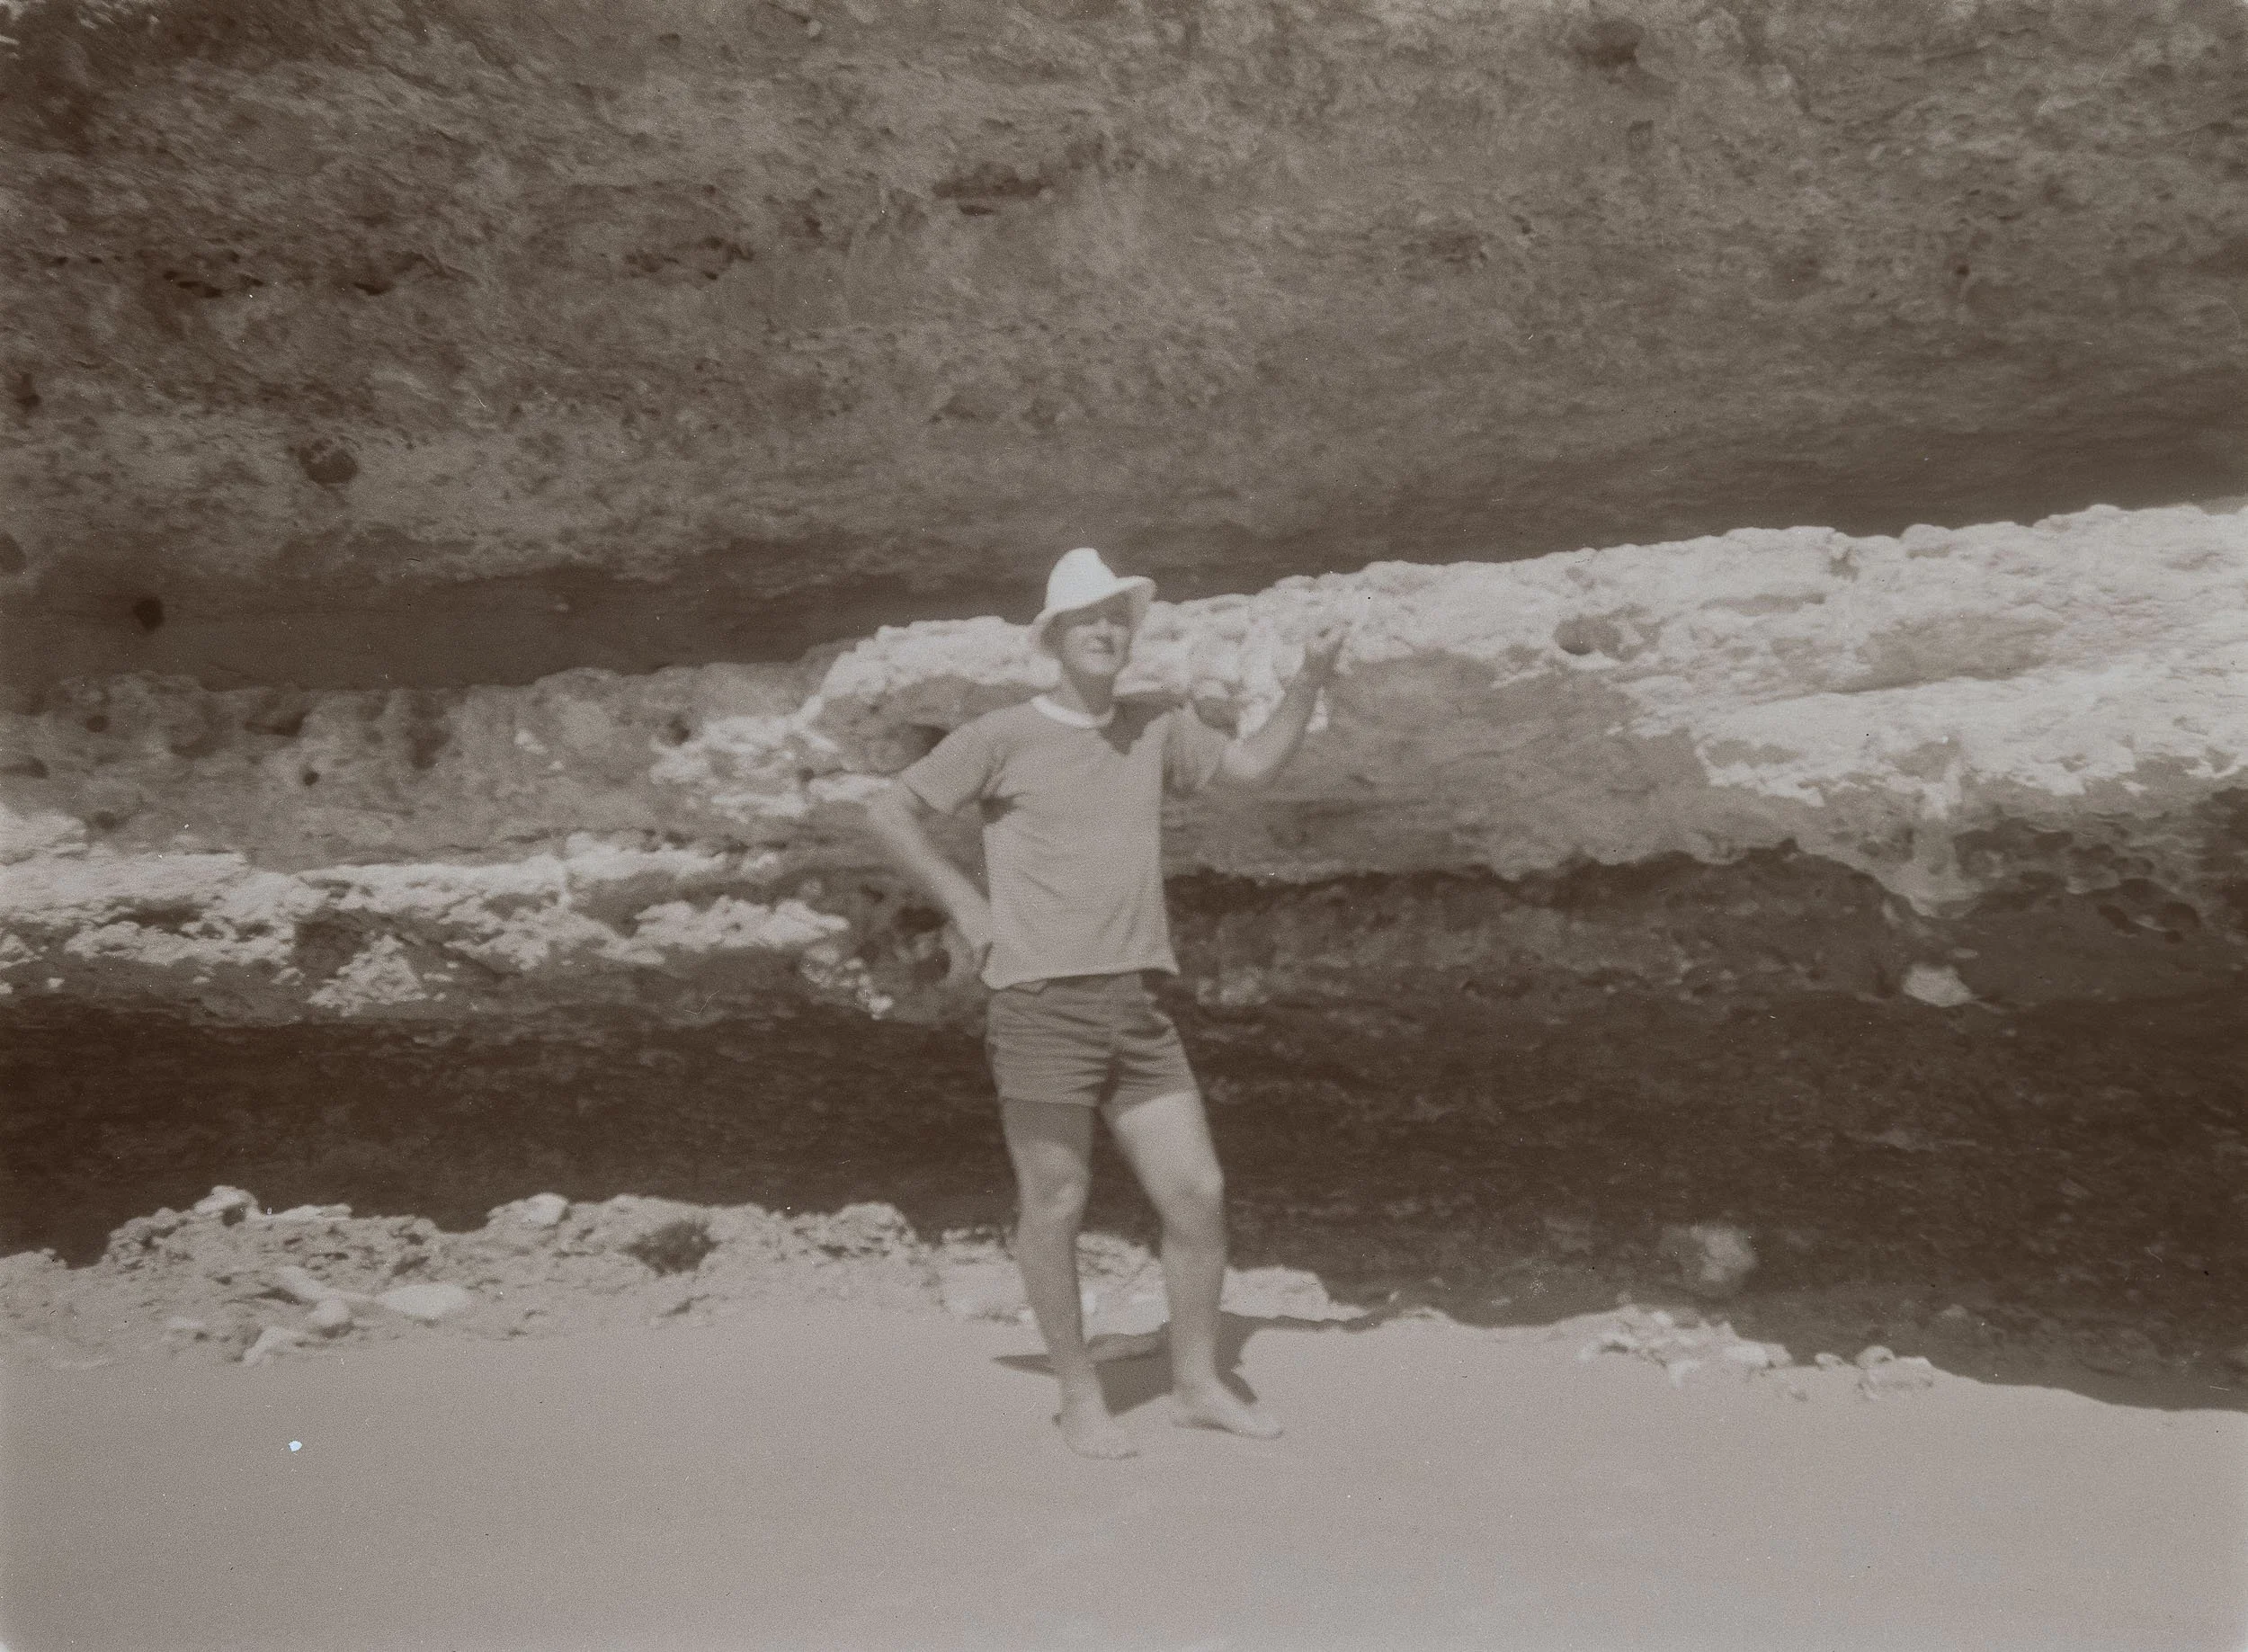
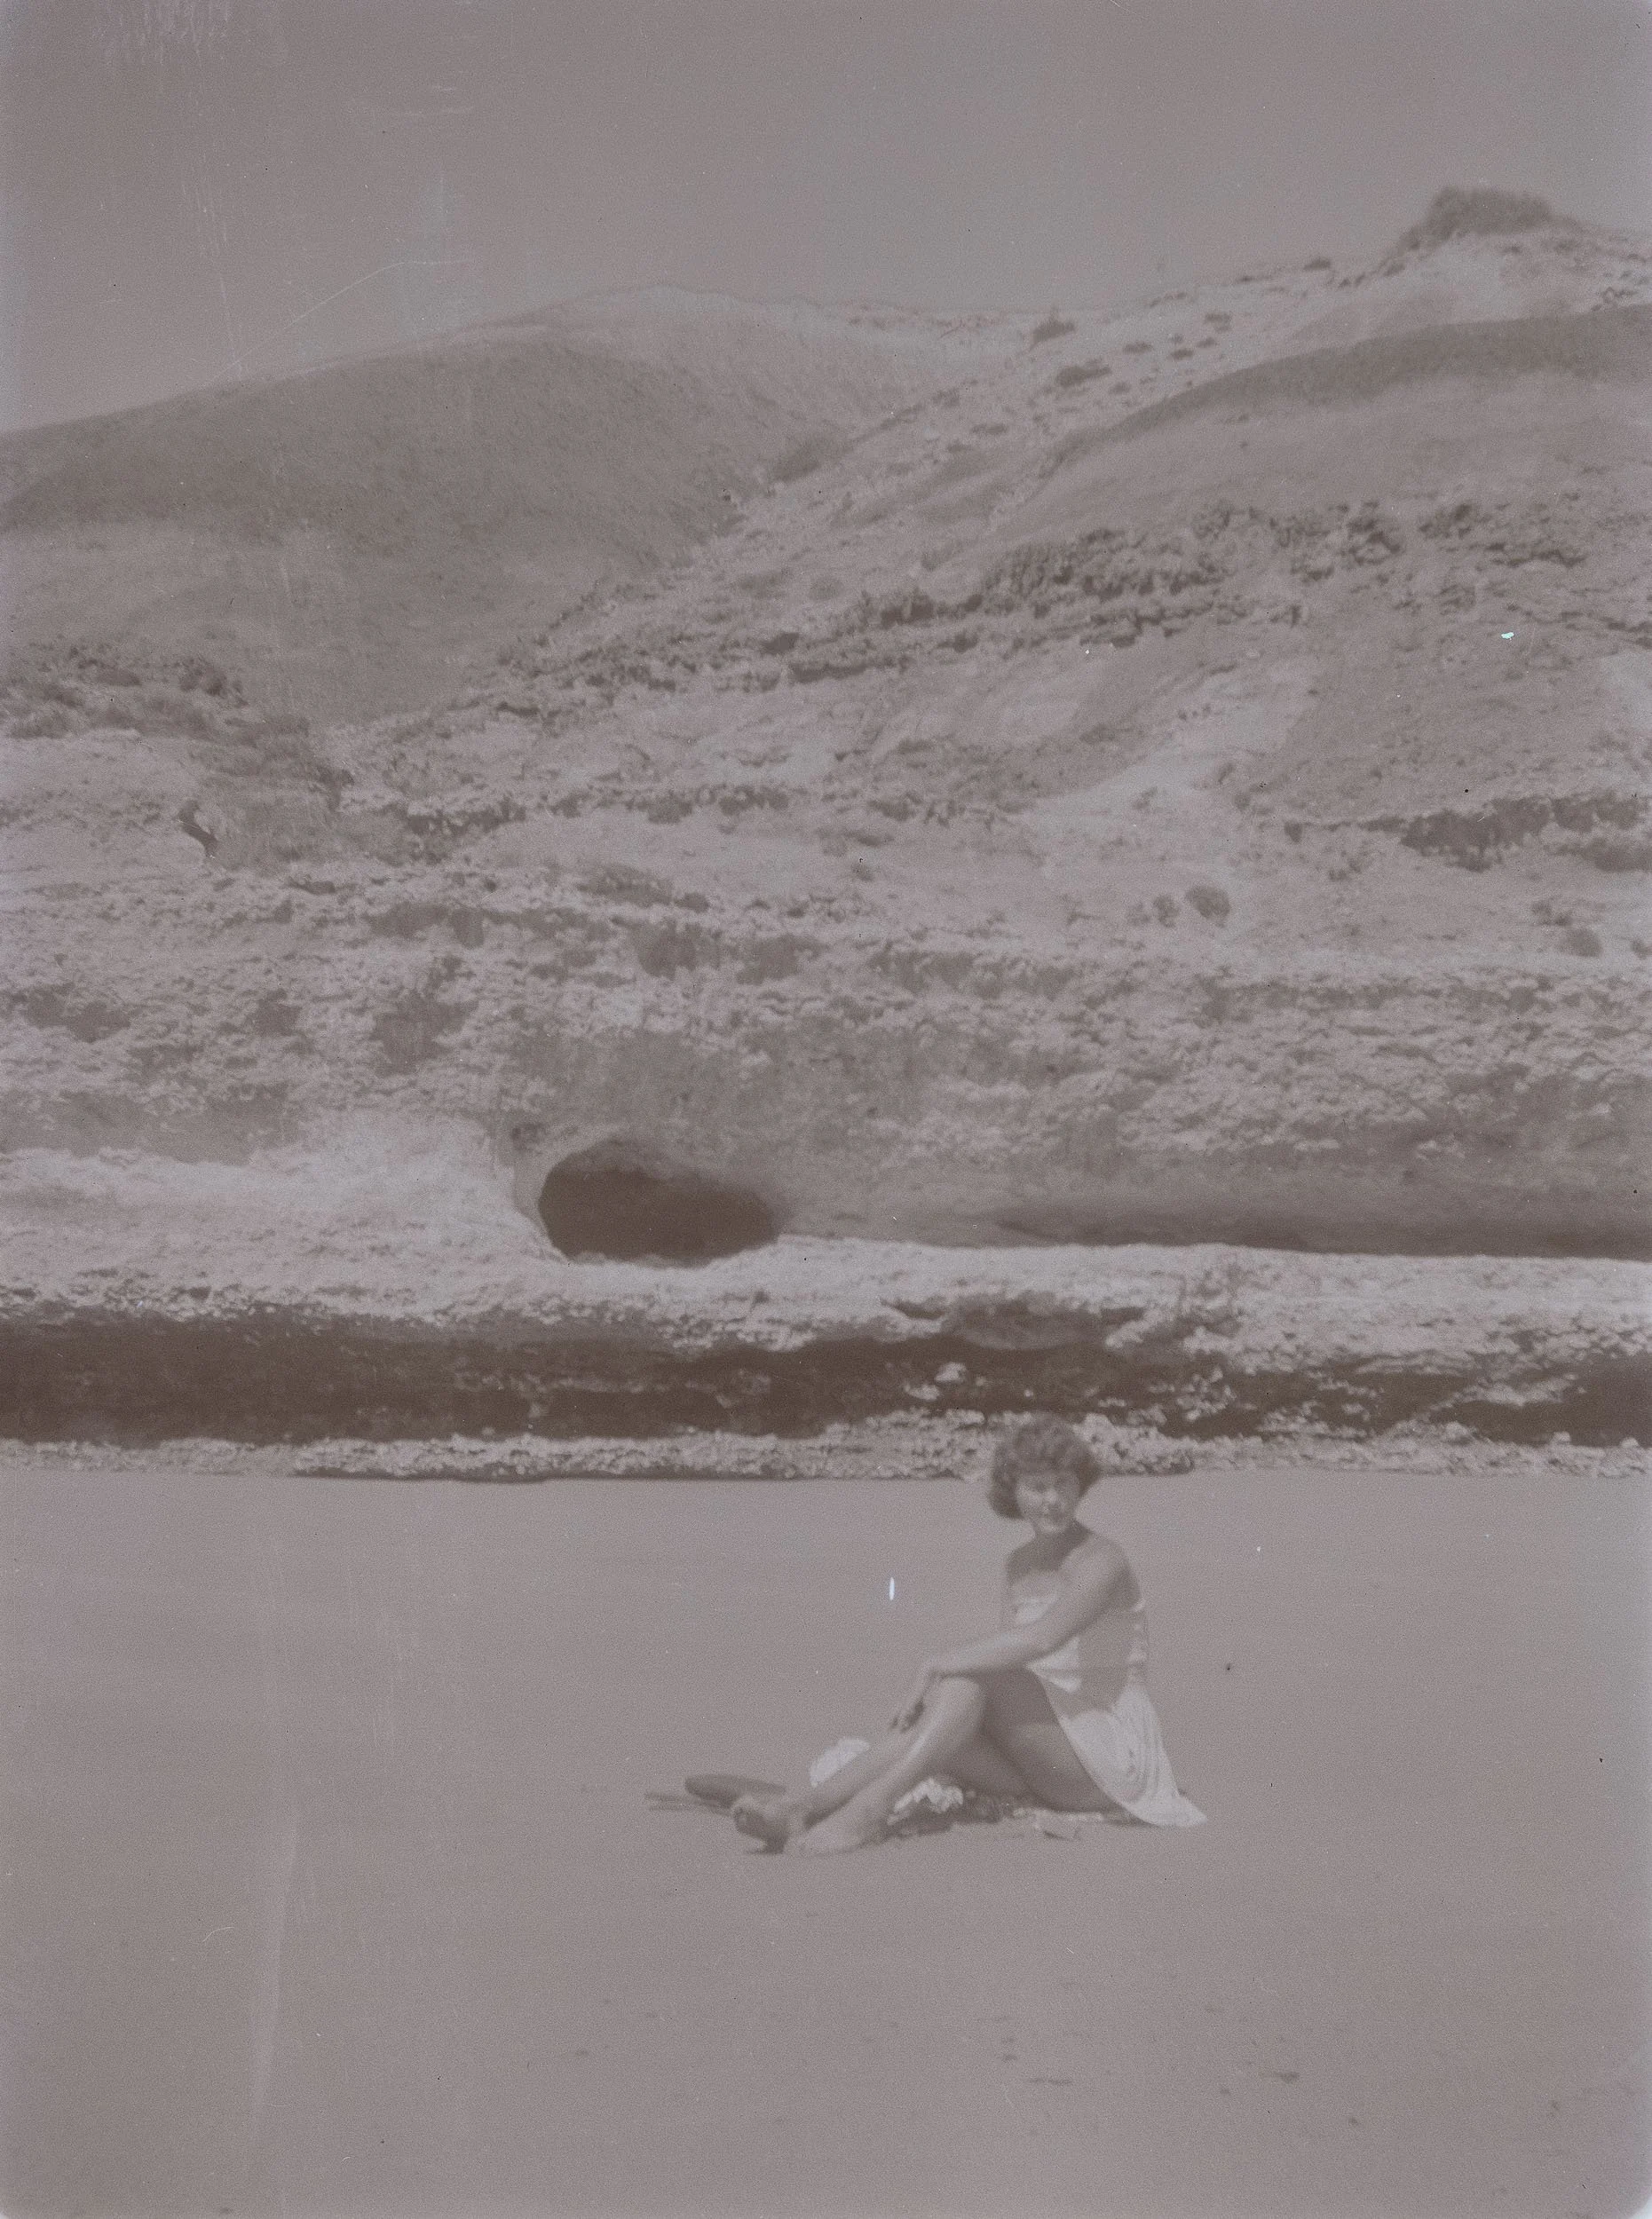
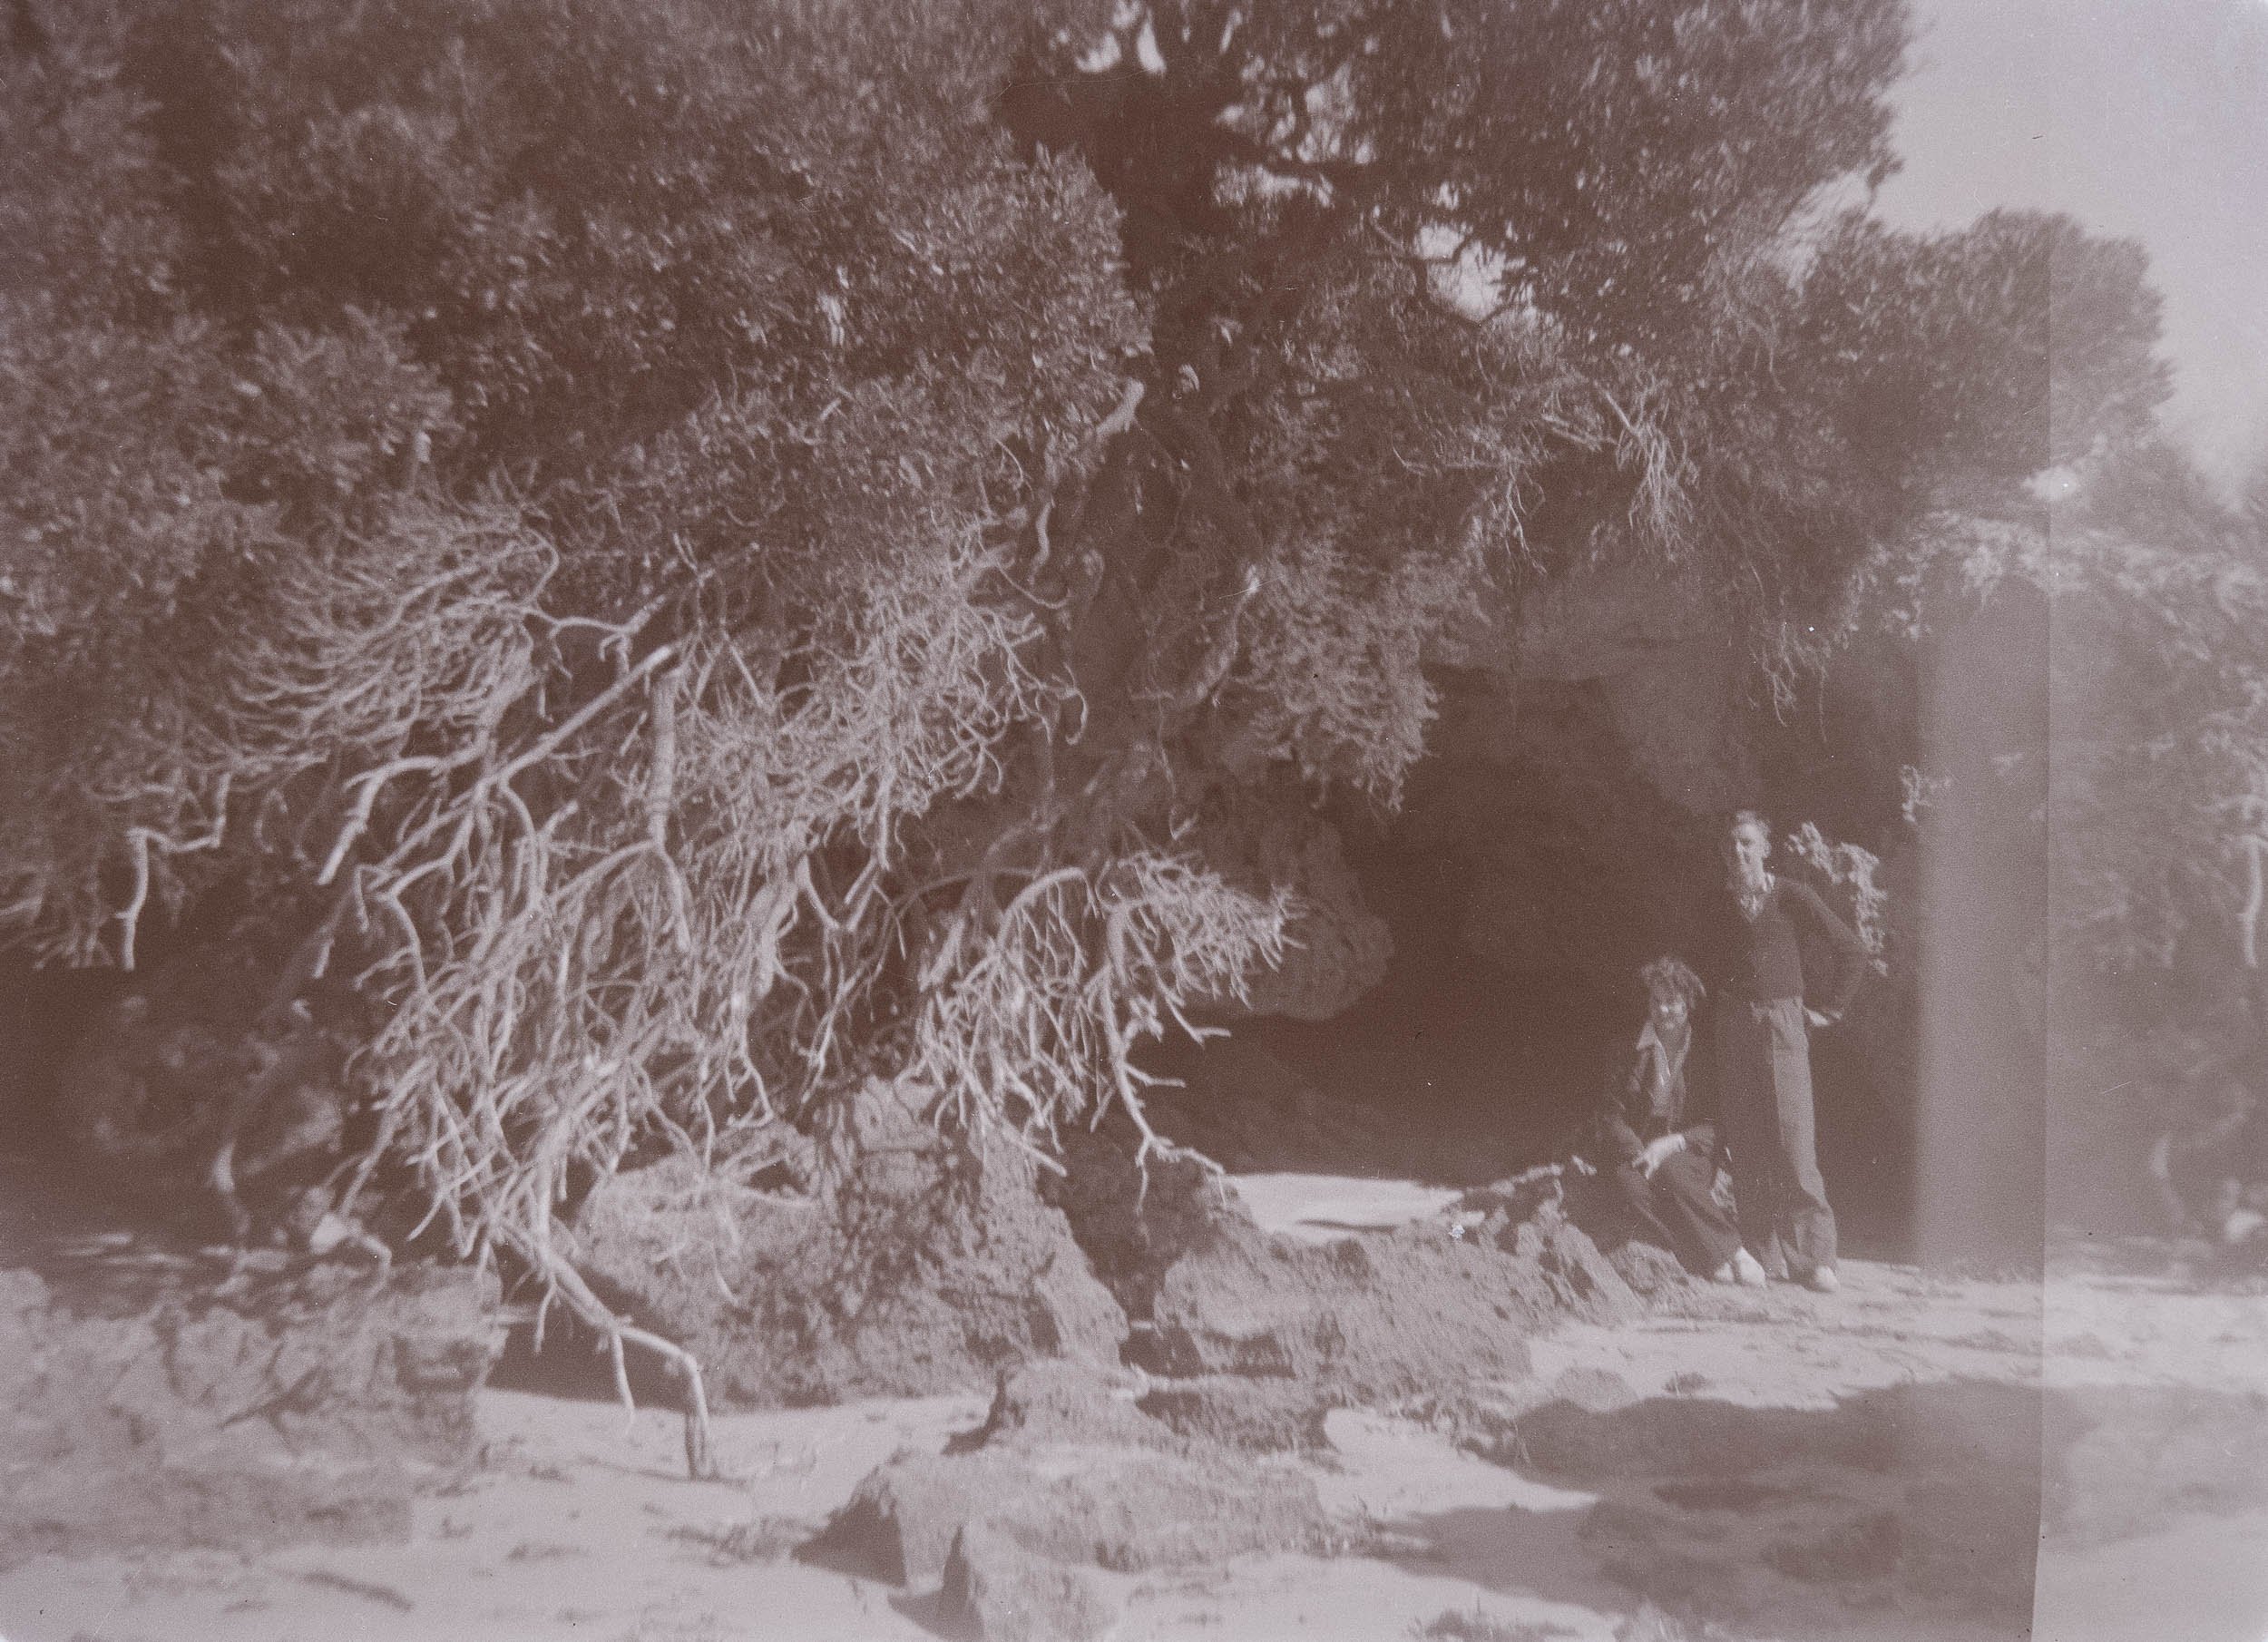
She always loved the outdoors, spending time at the ocean and especially the sand between her toes. These images show a small part of her life.
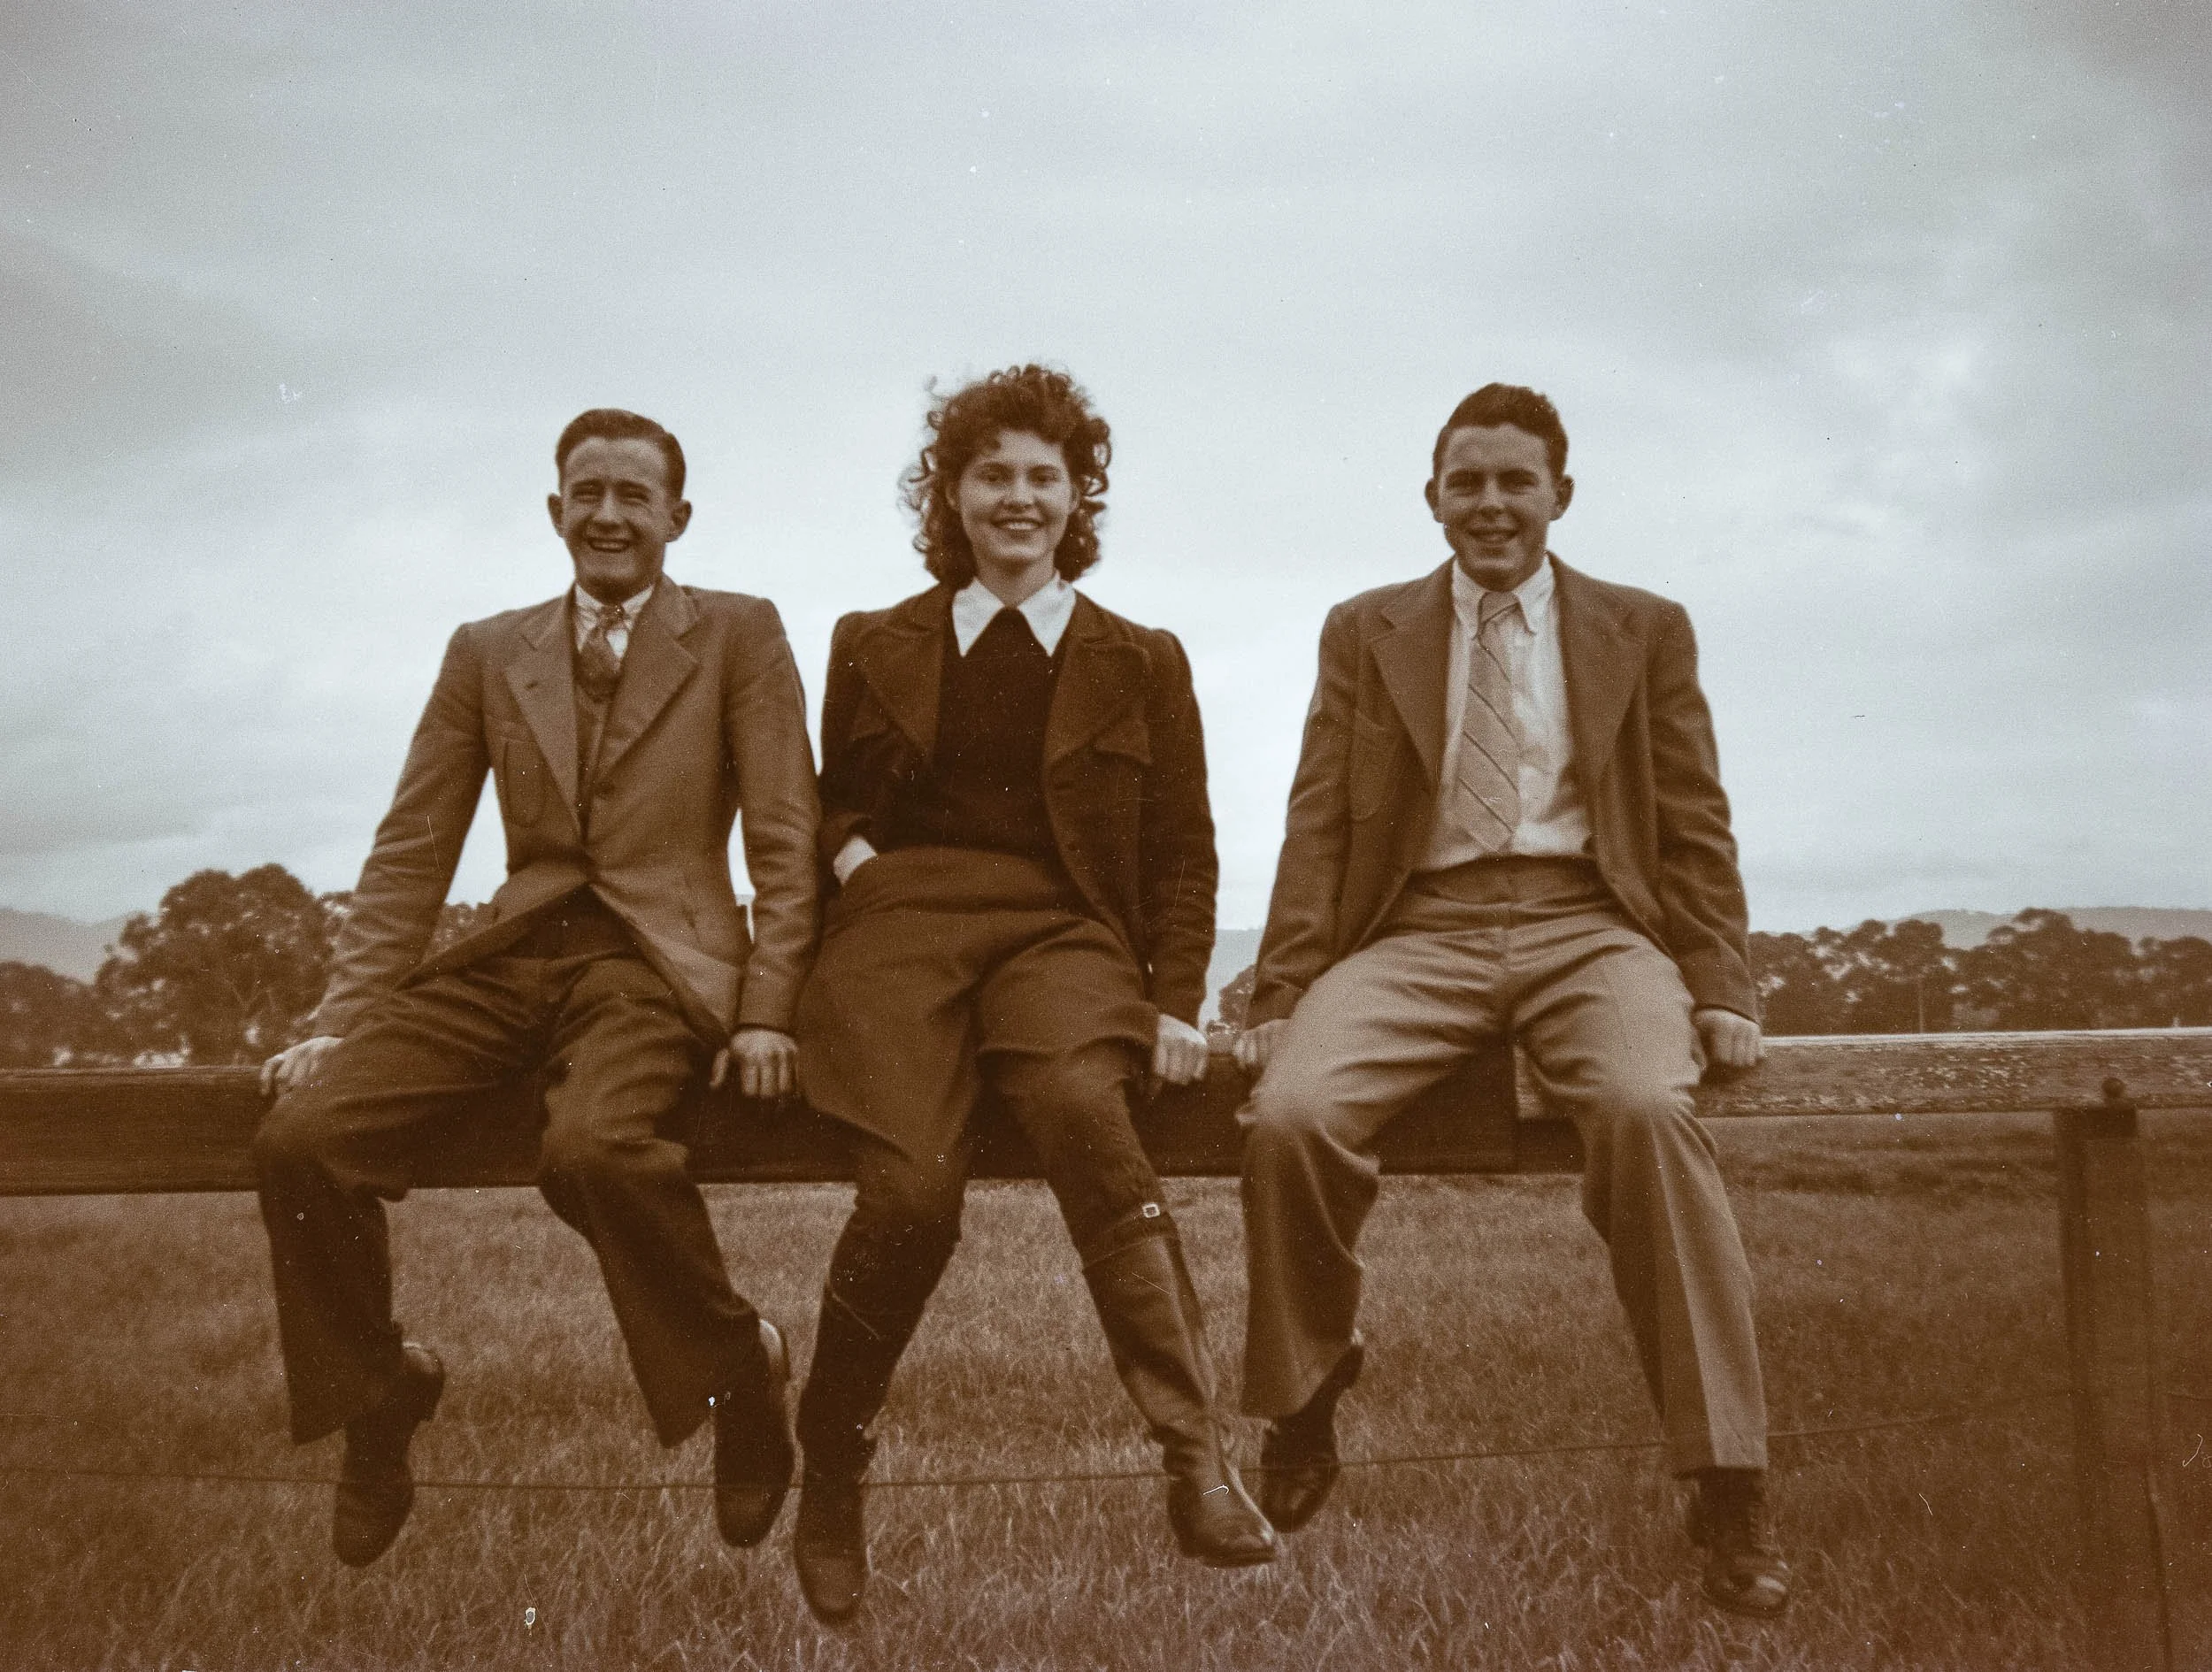
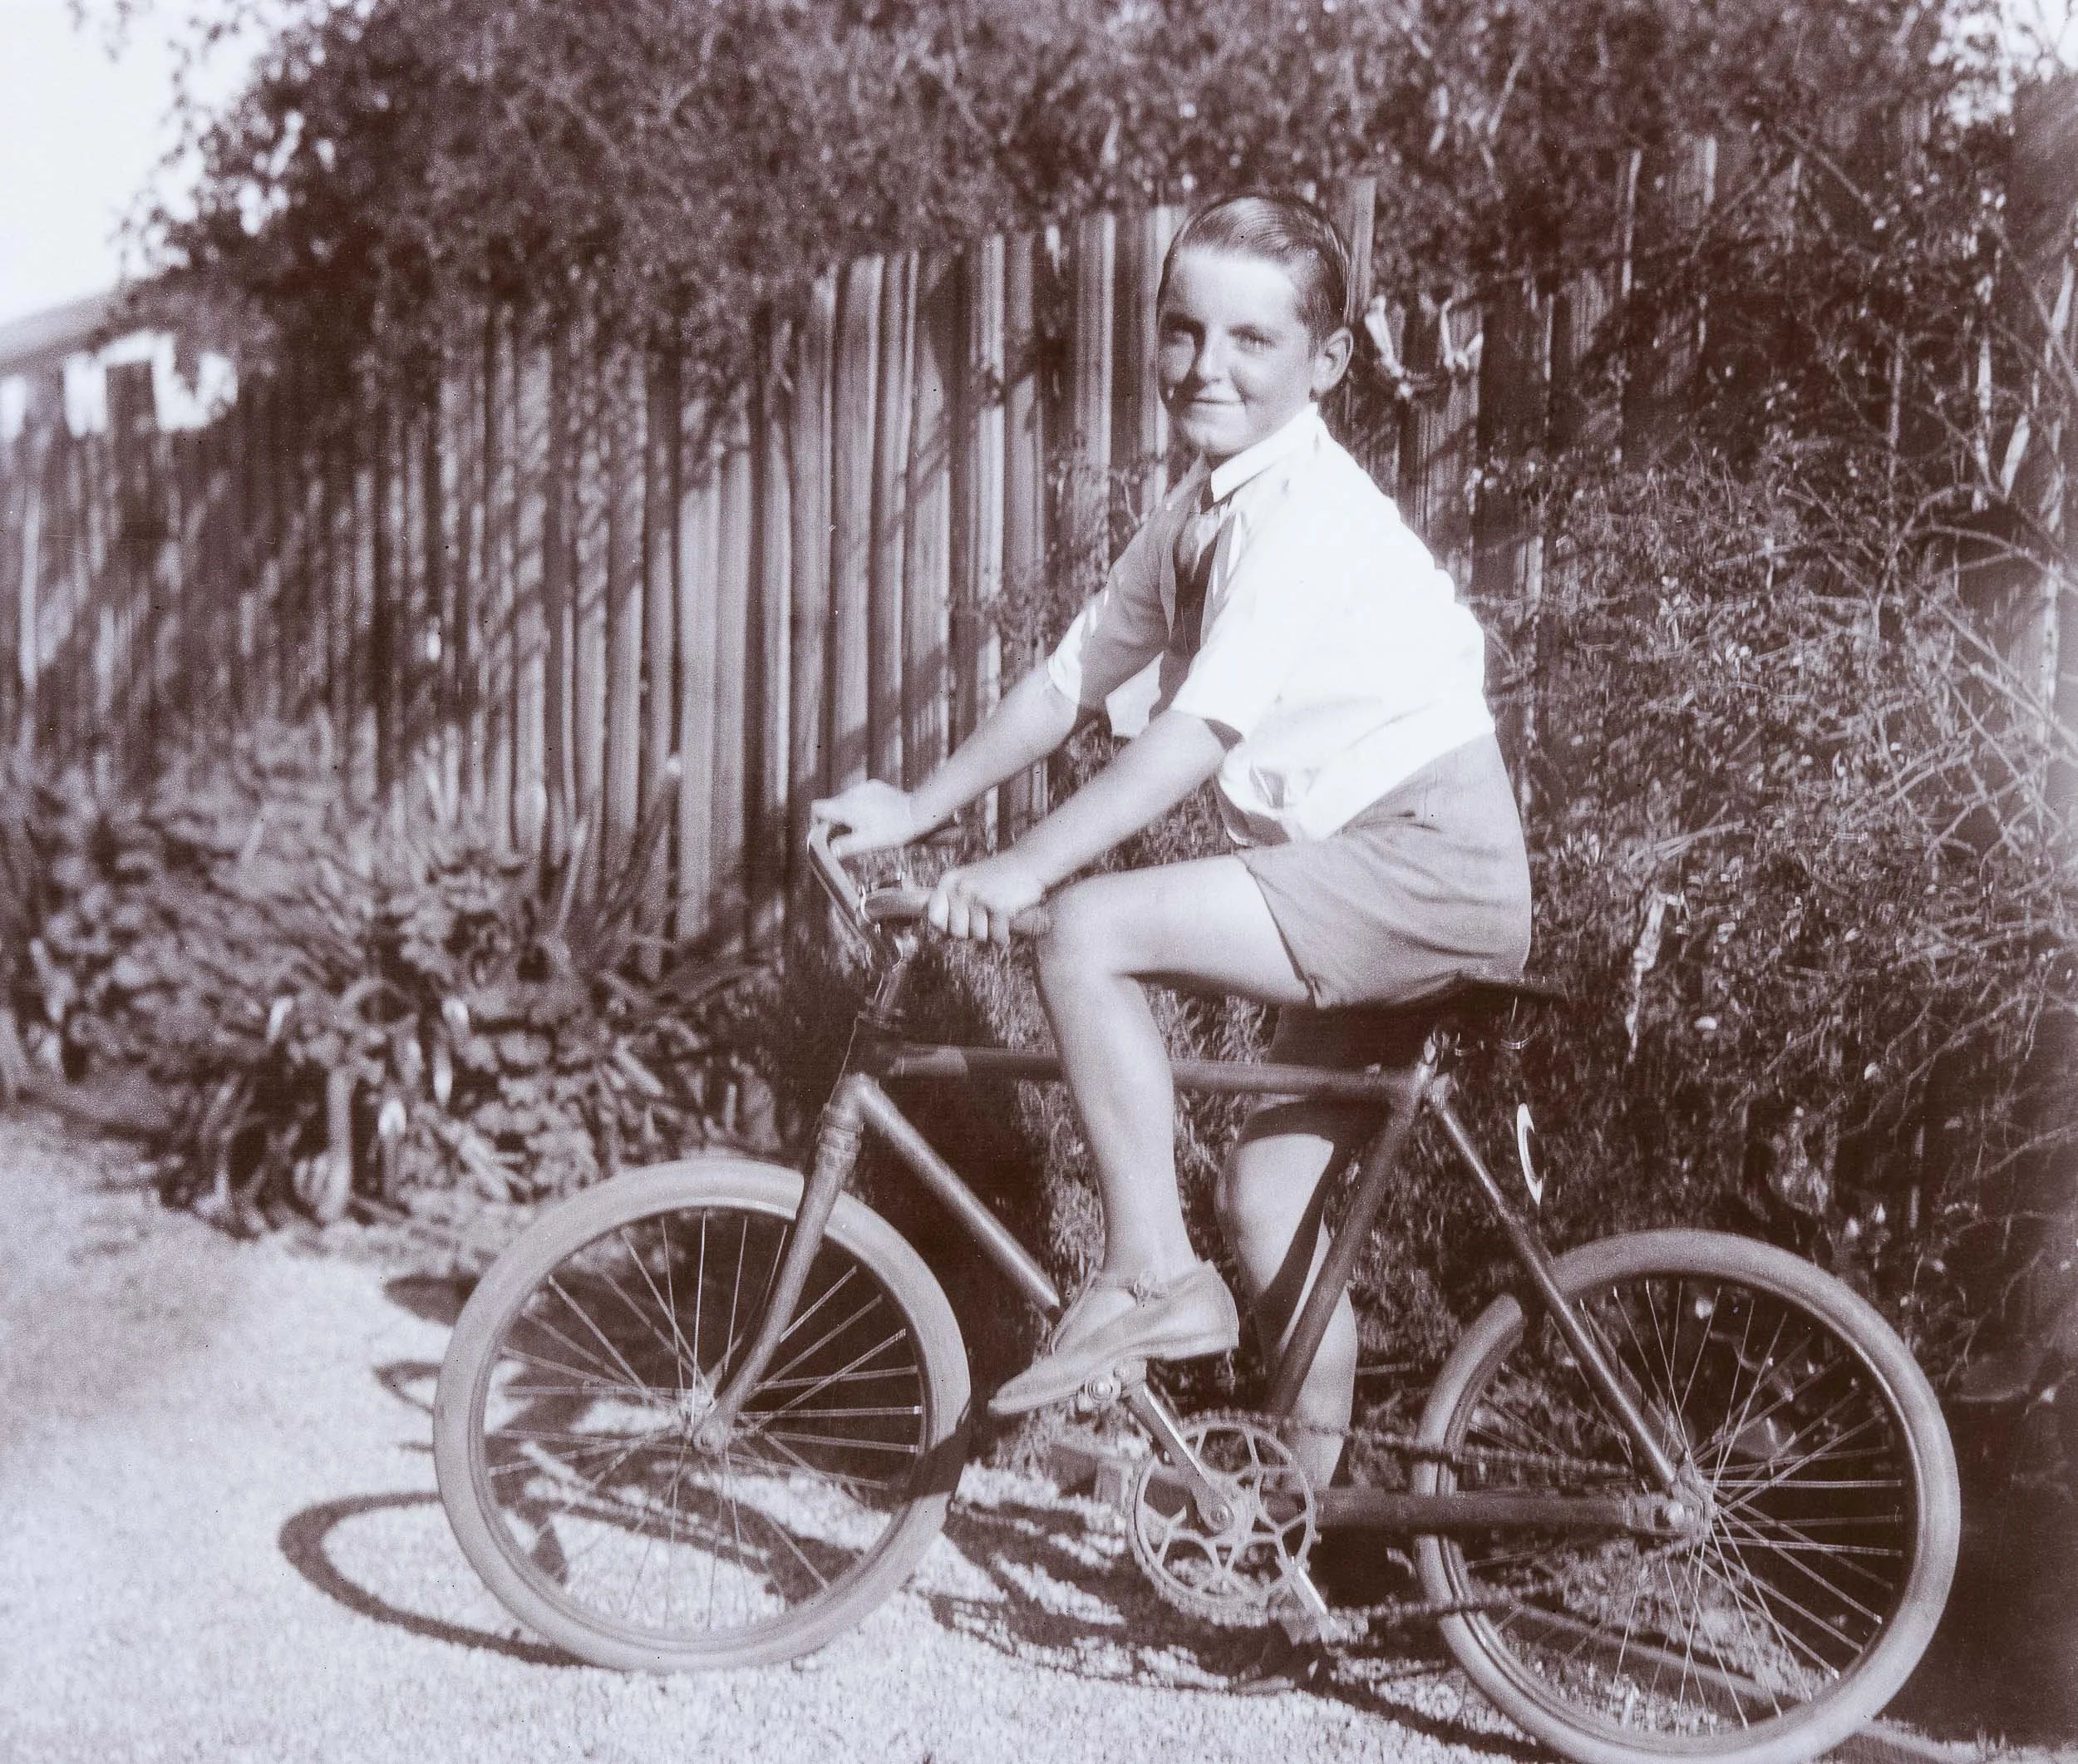
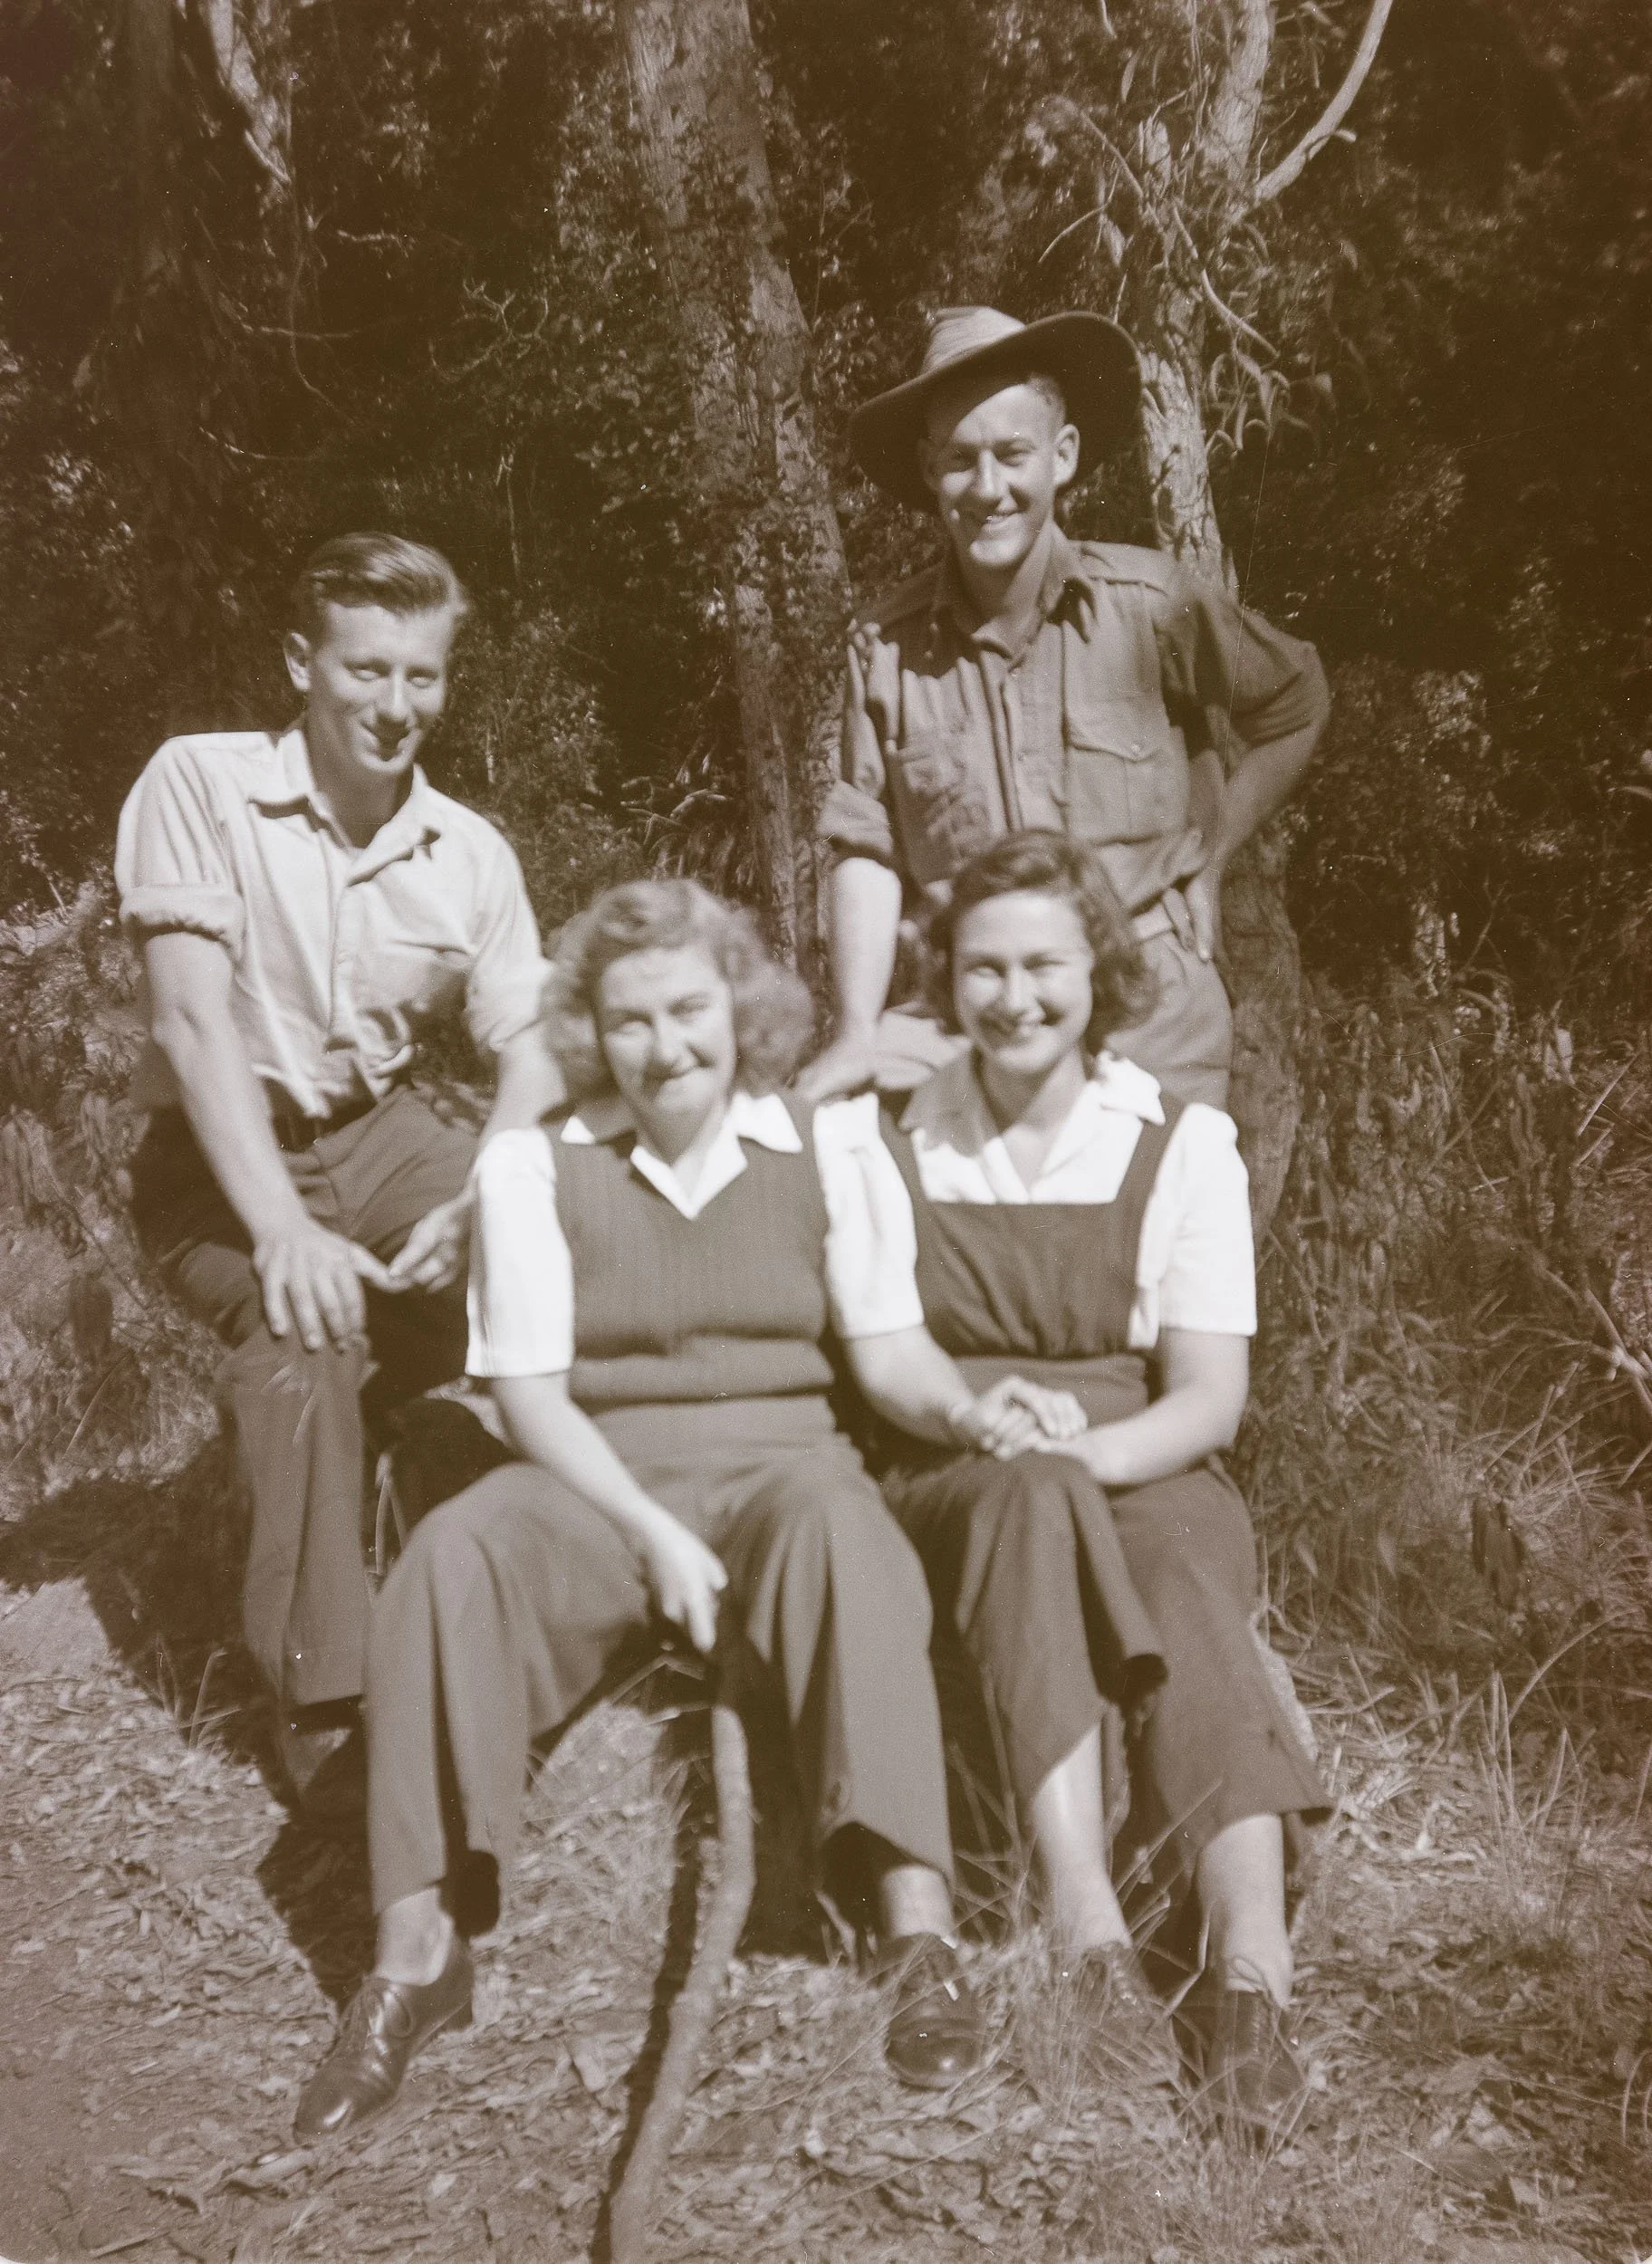
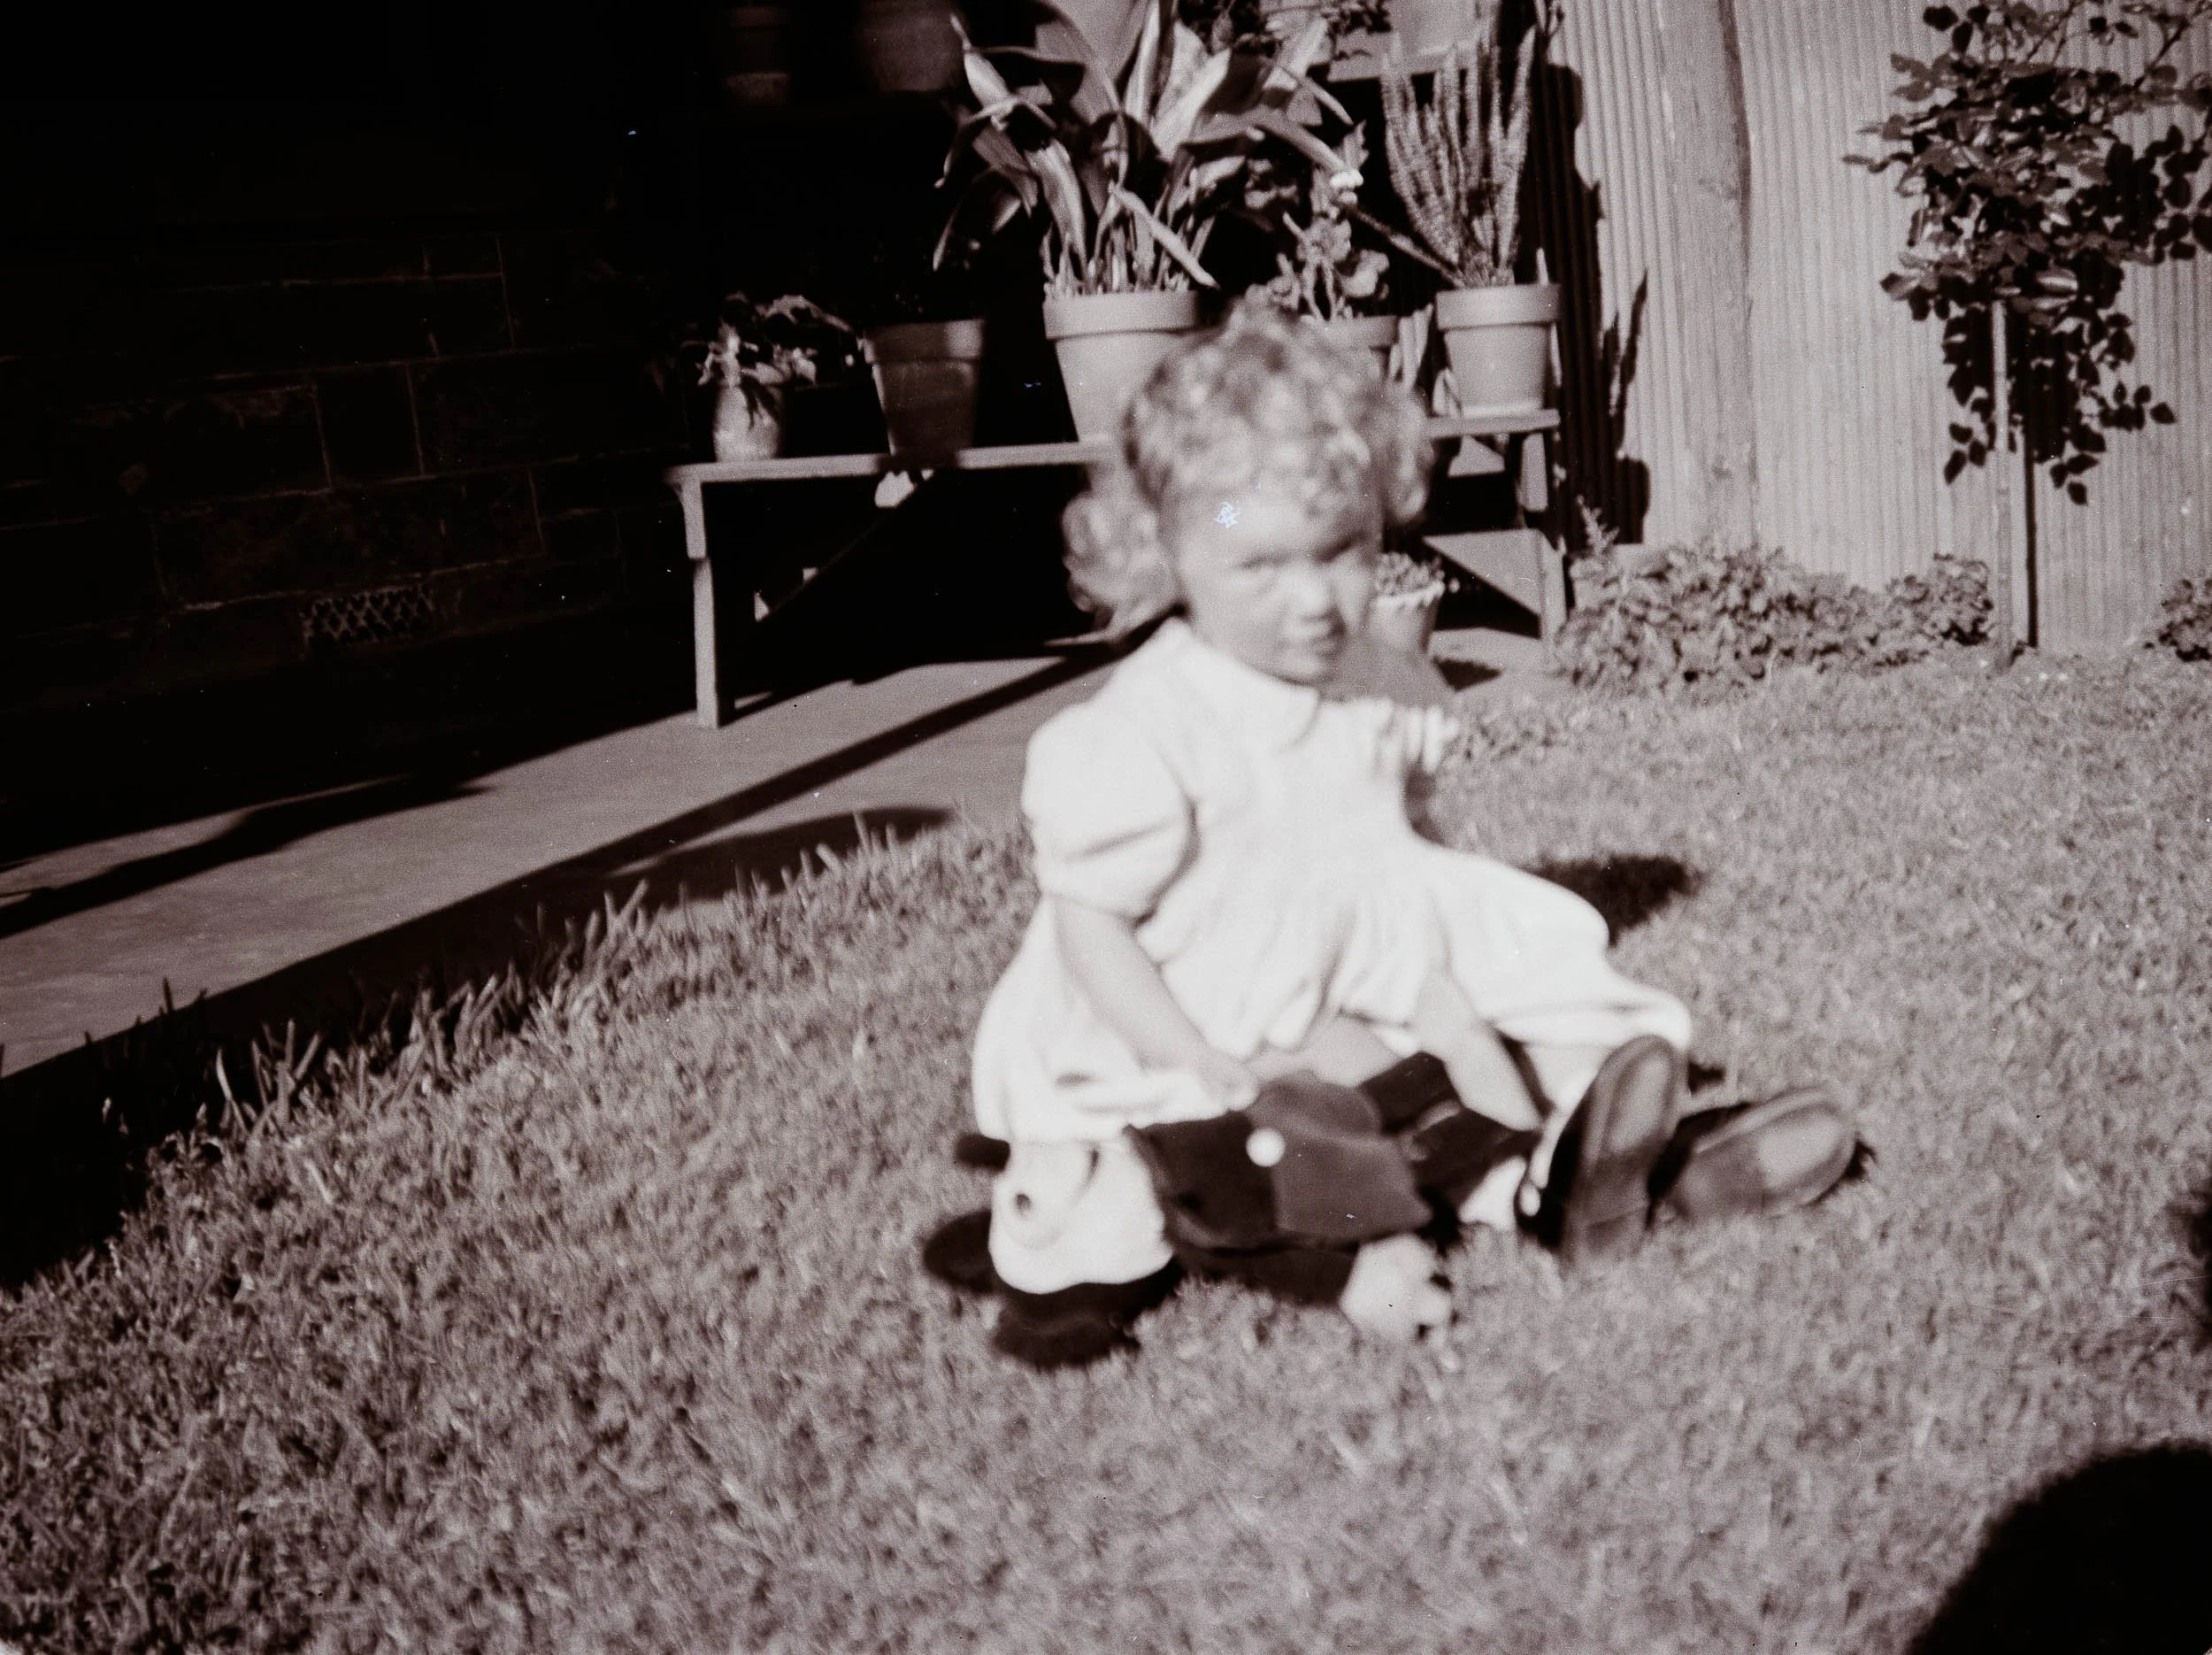
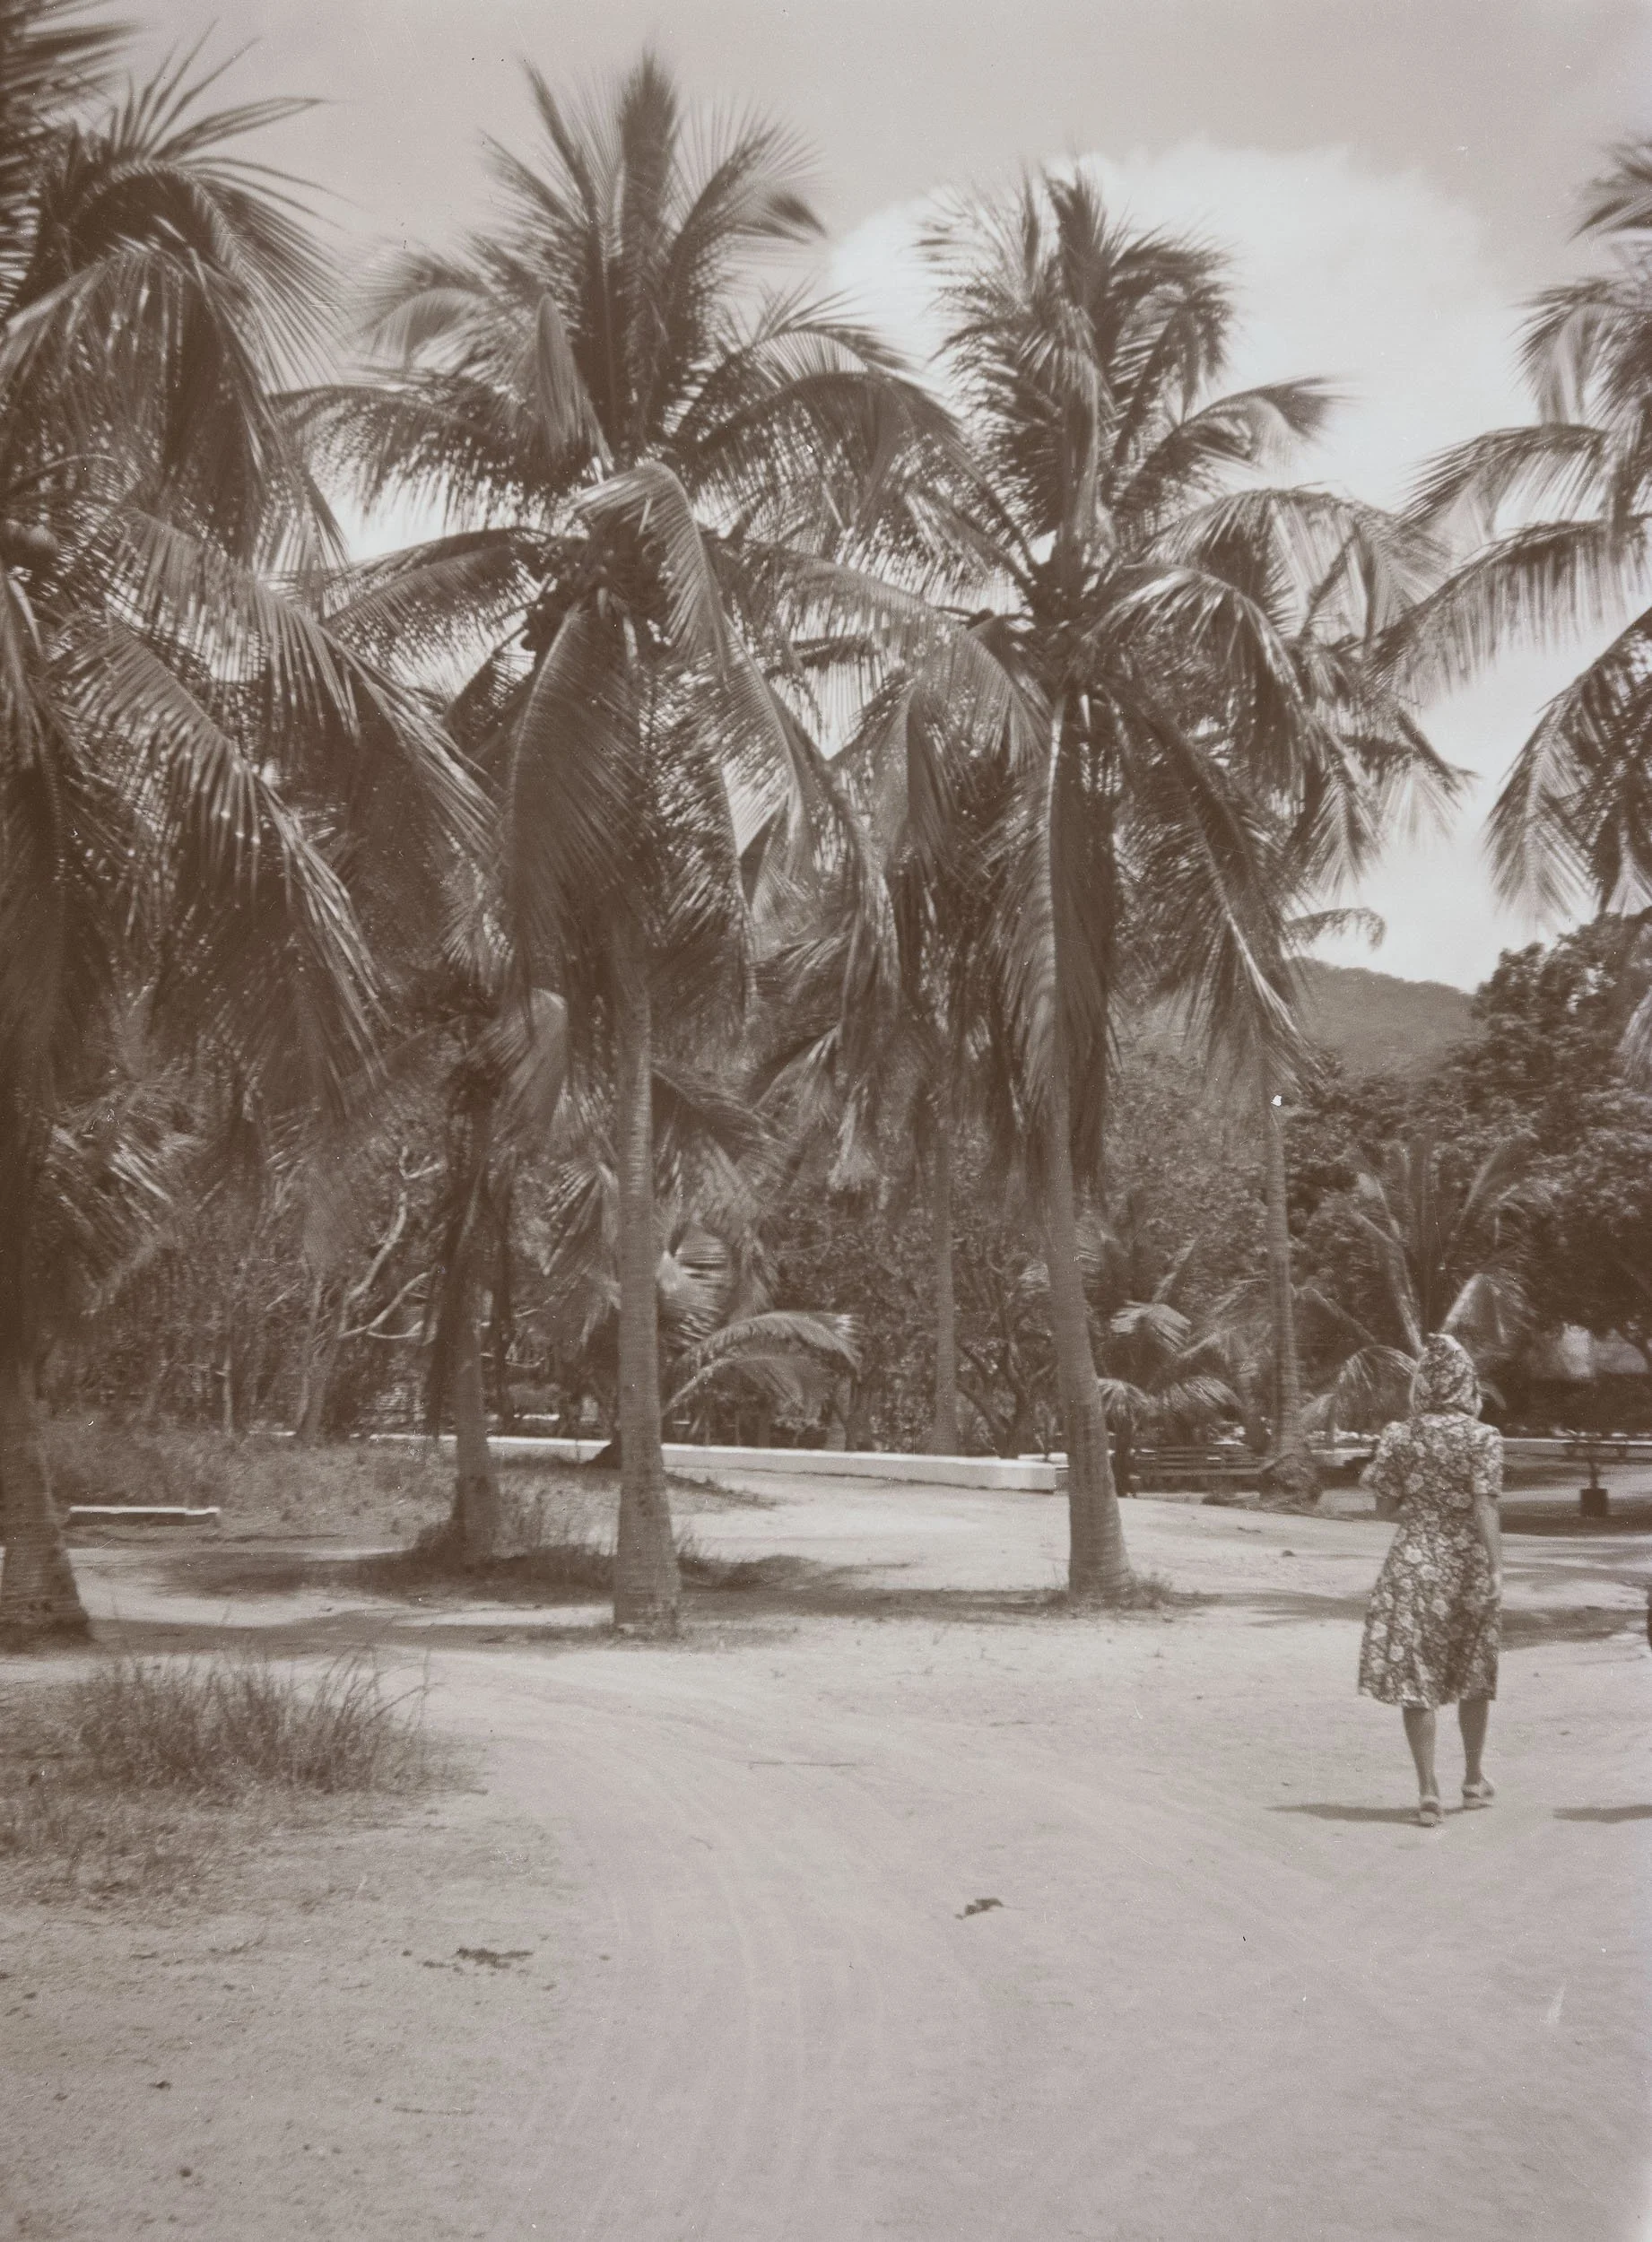
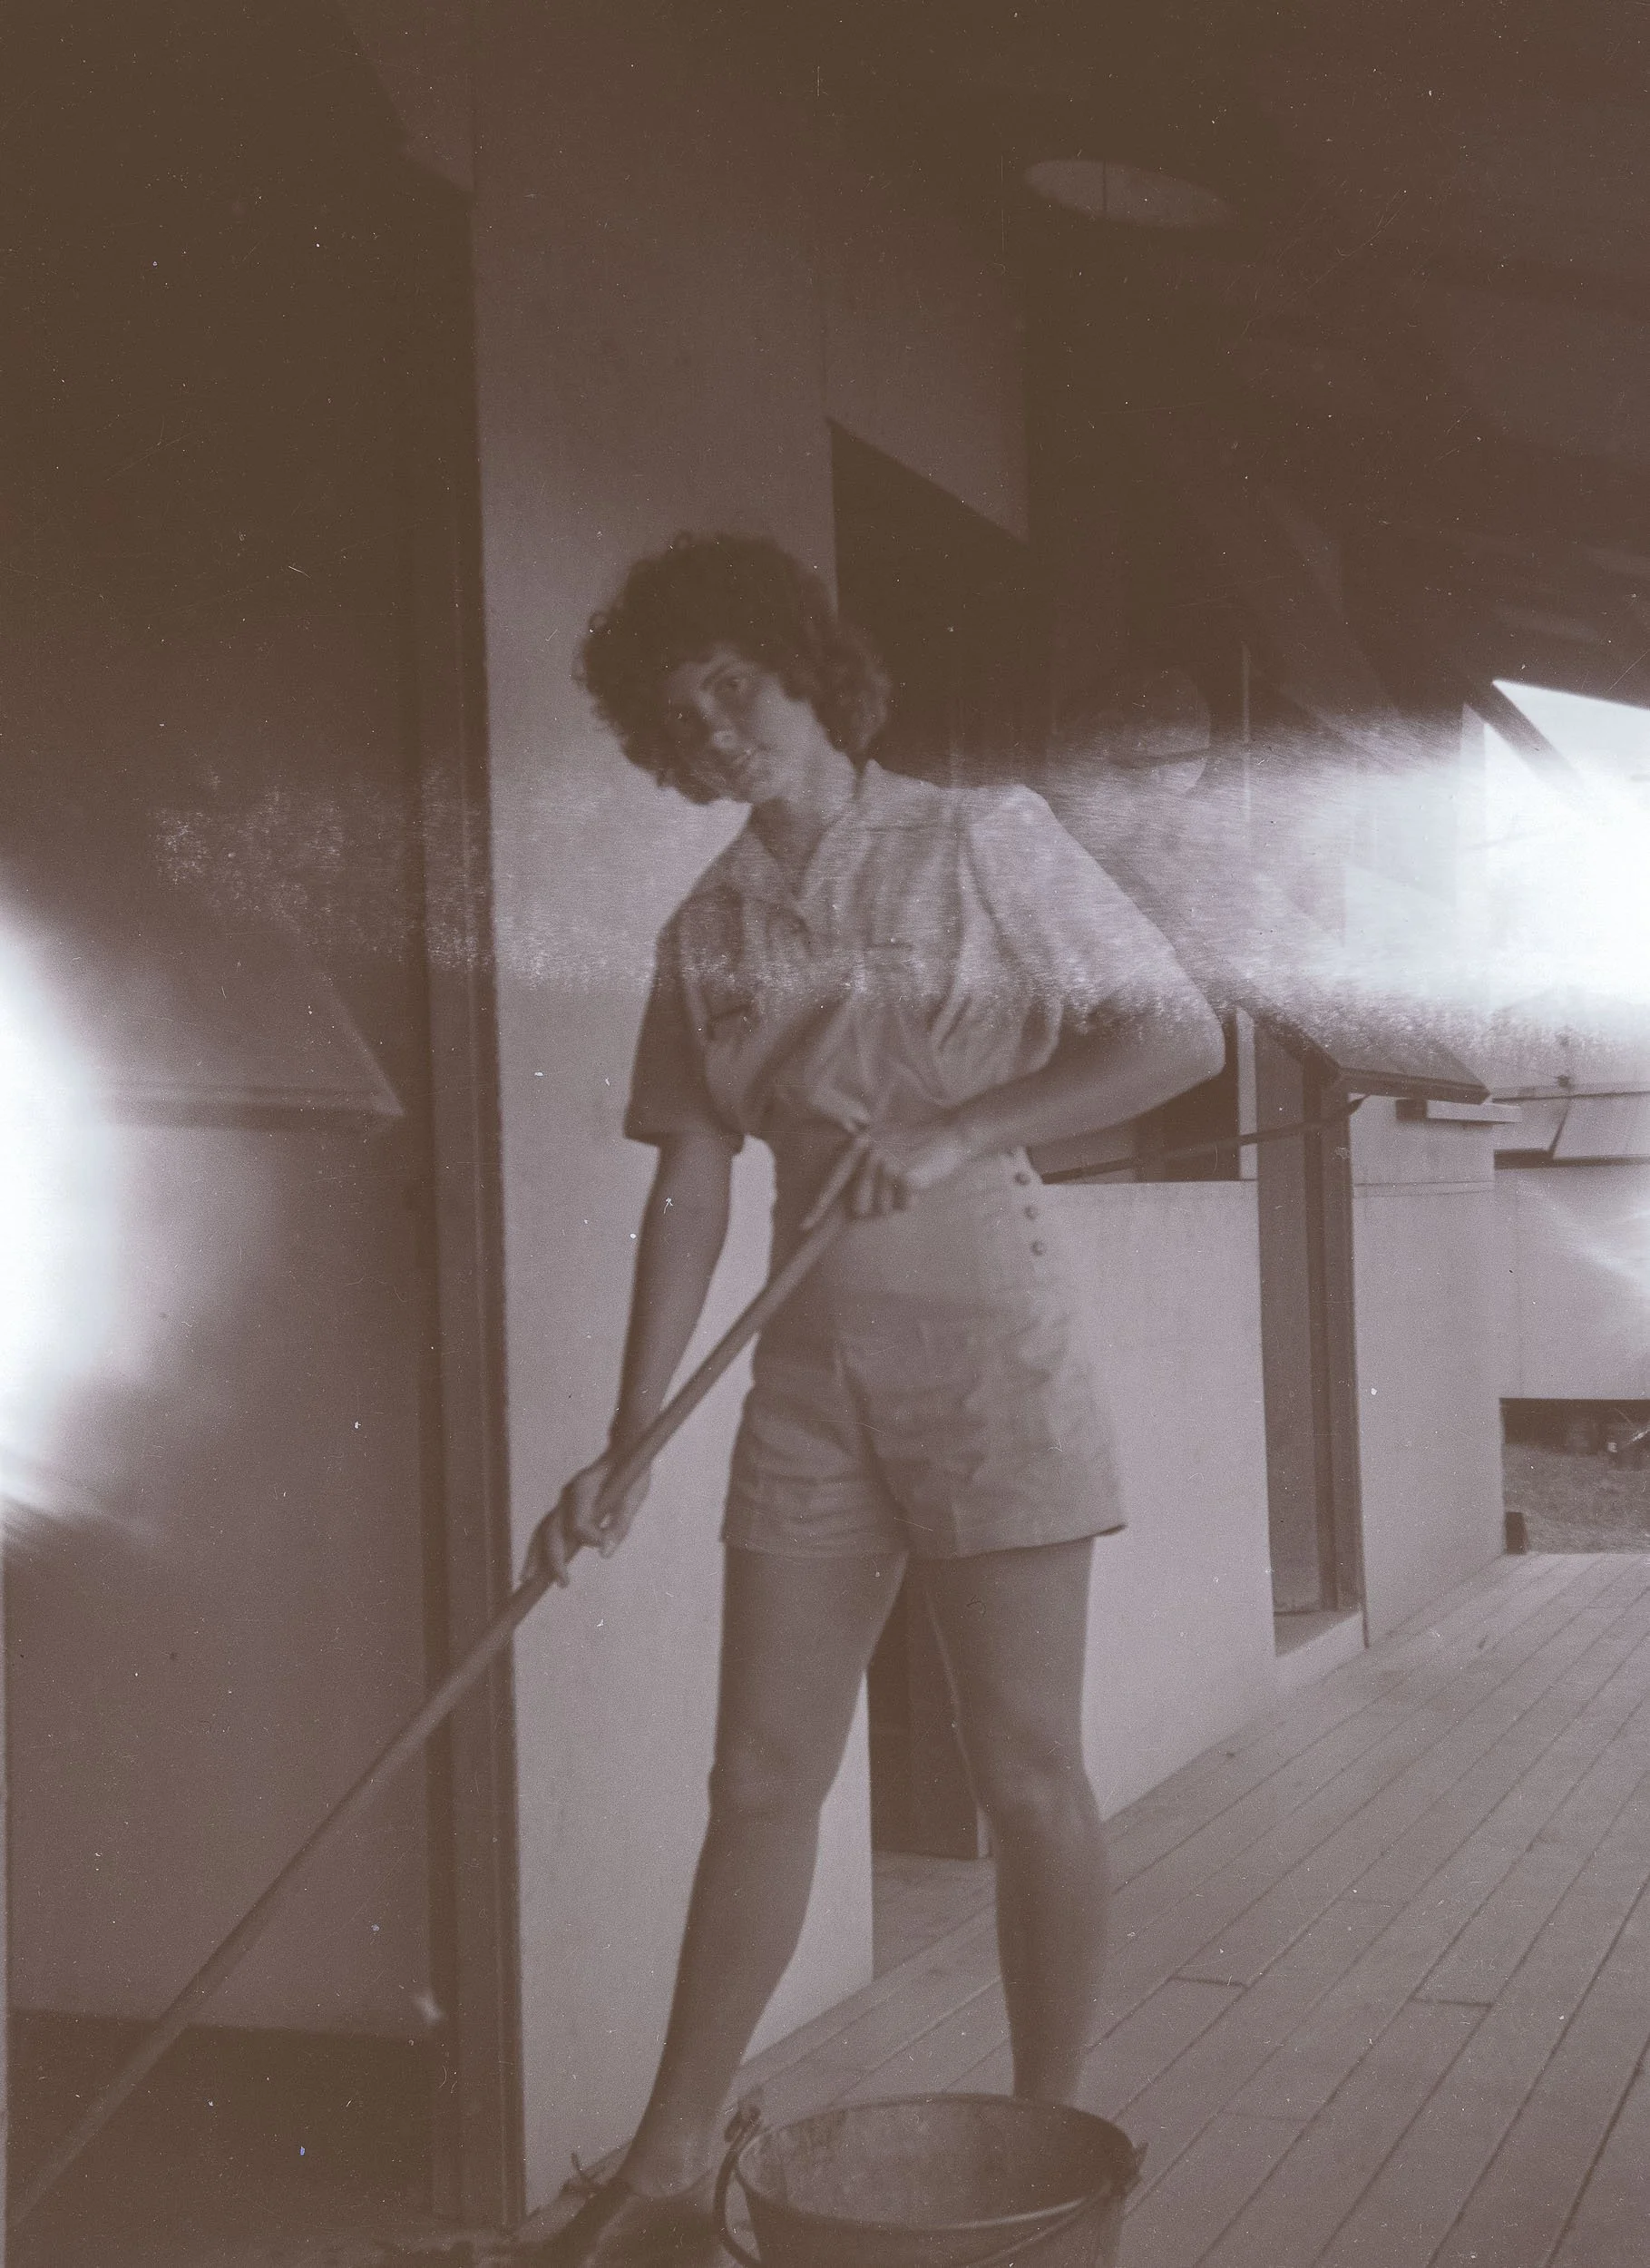
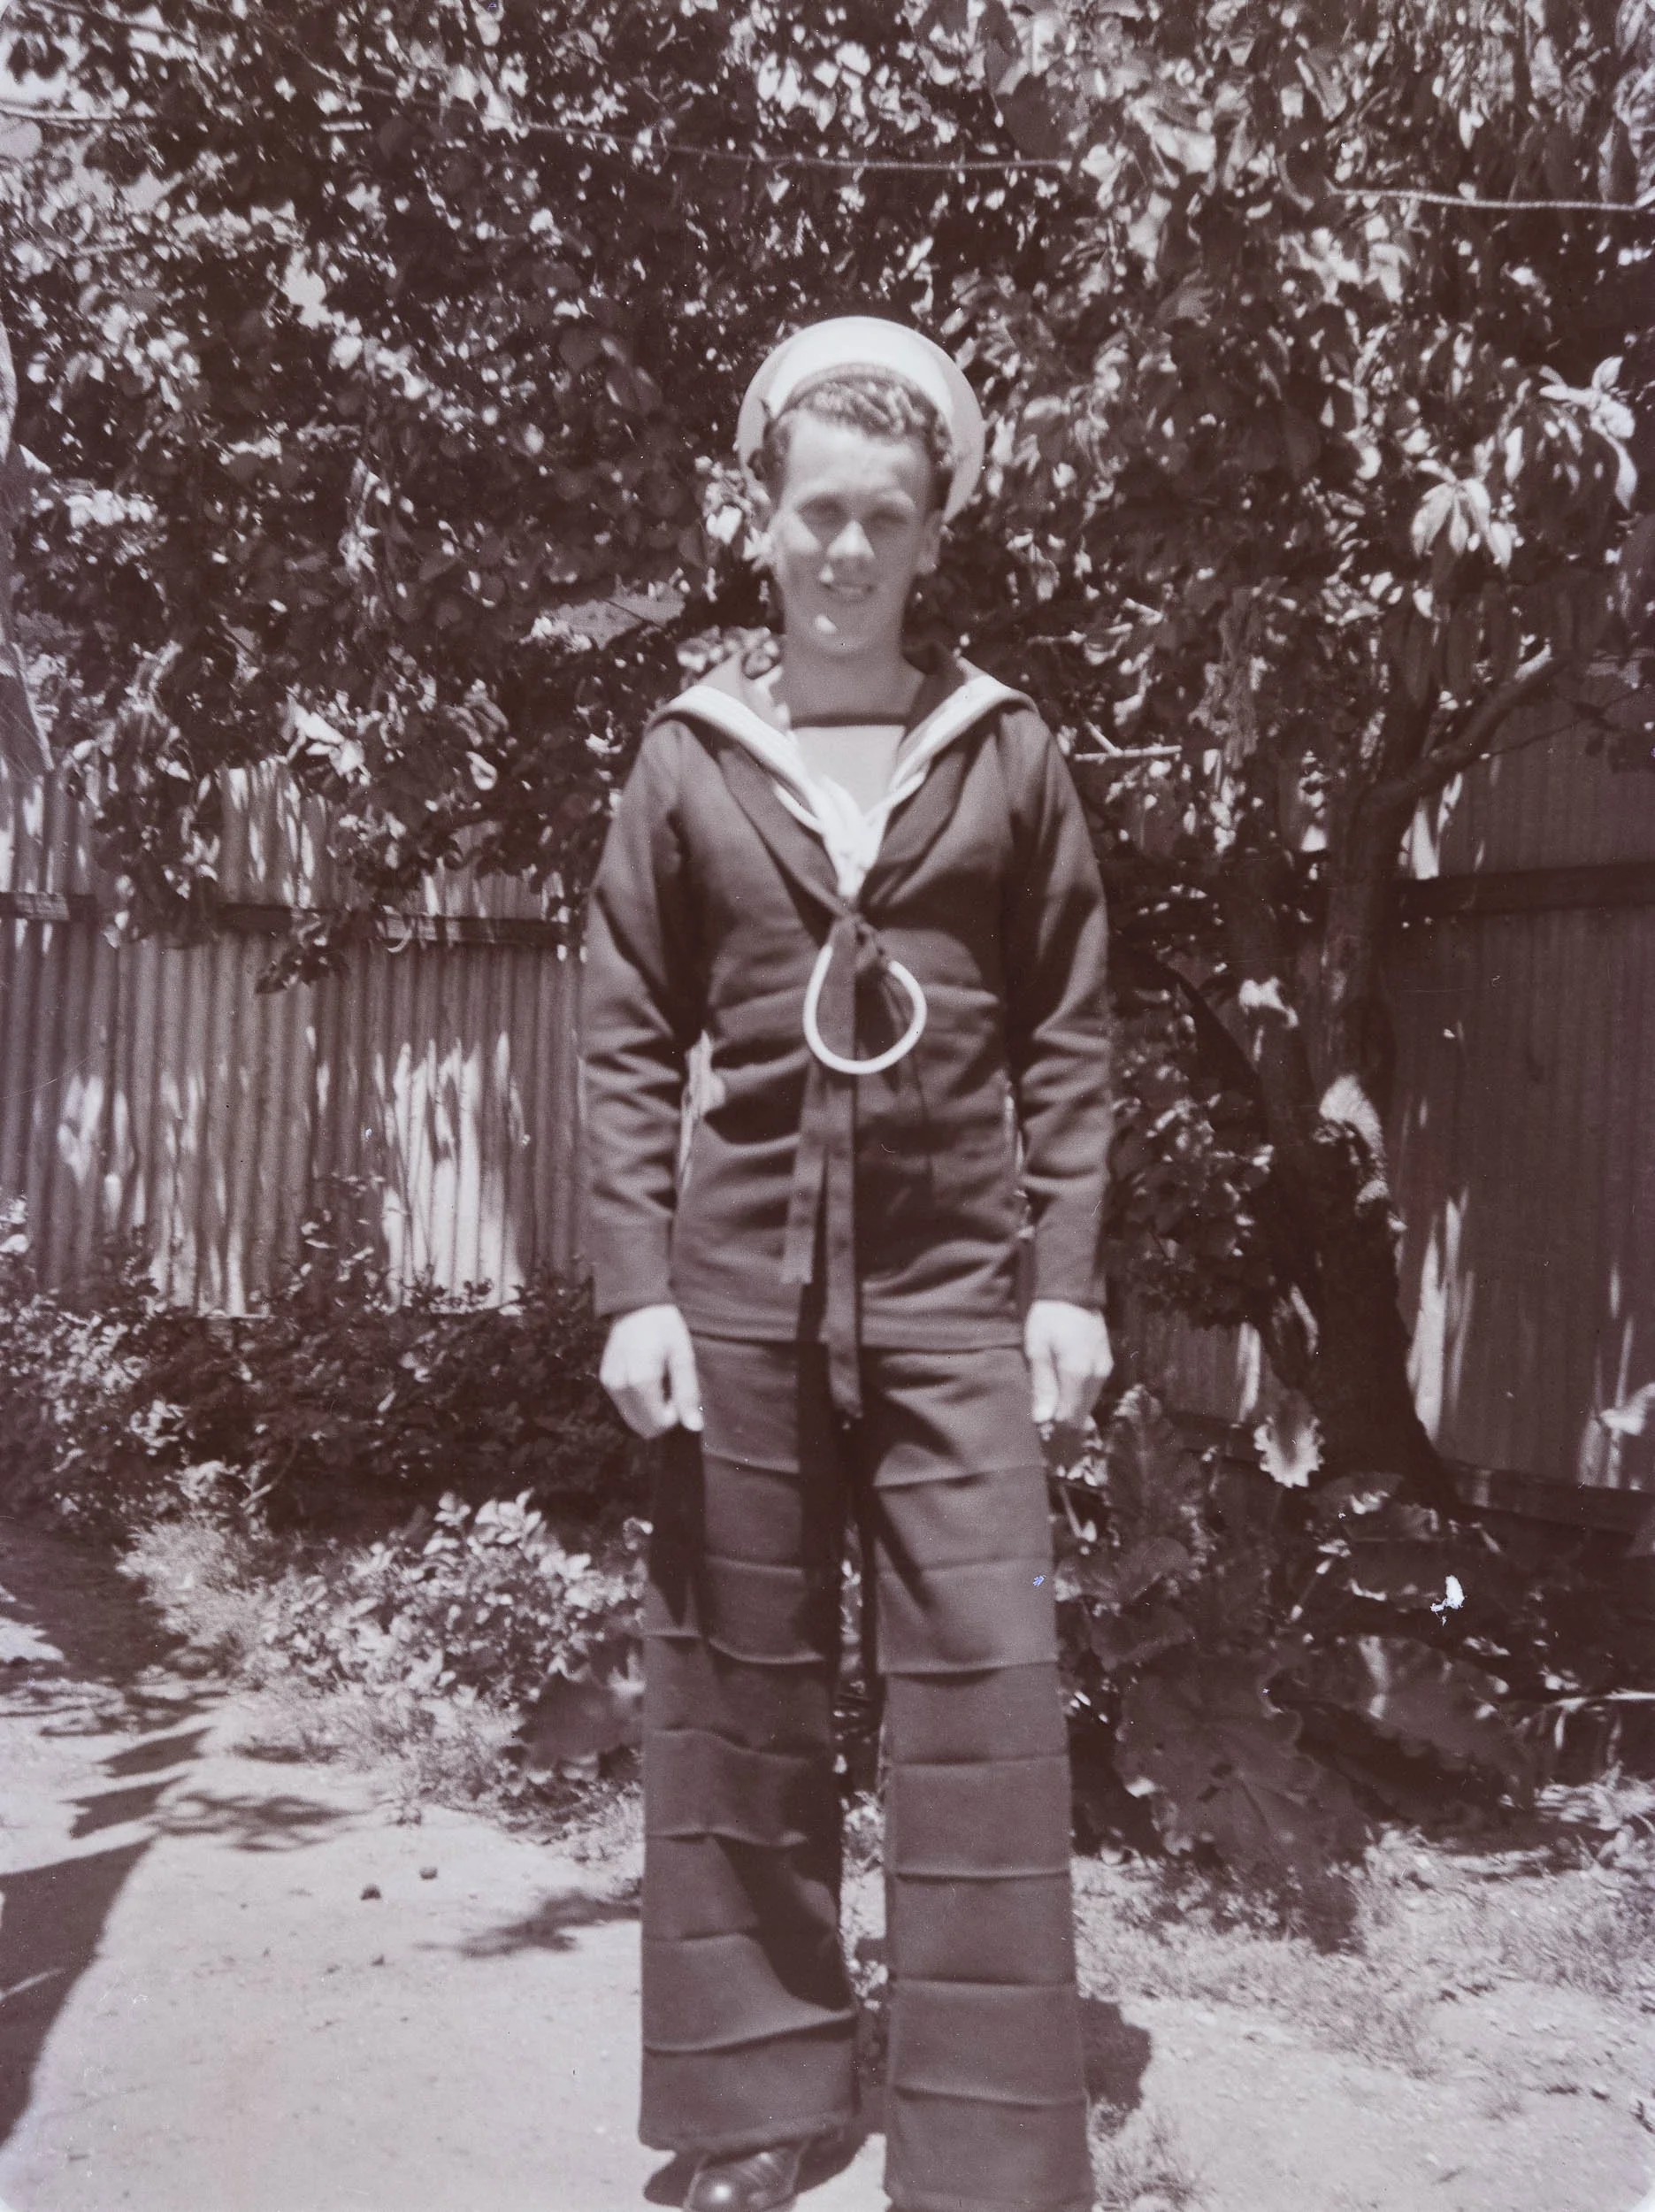
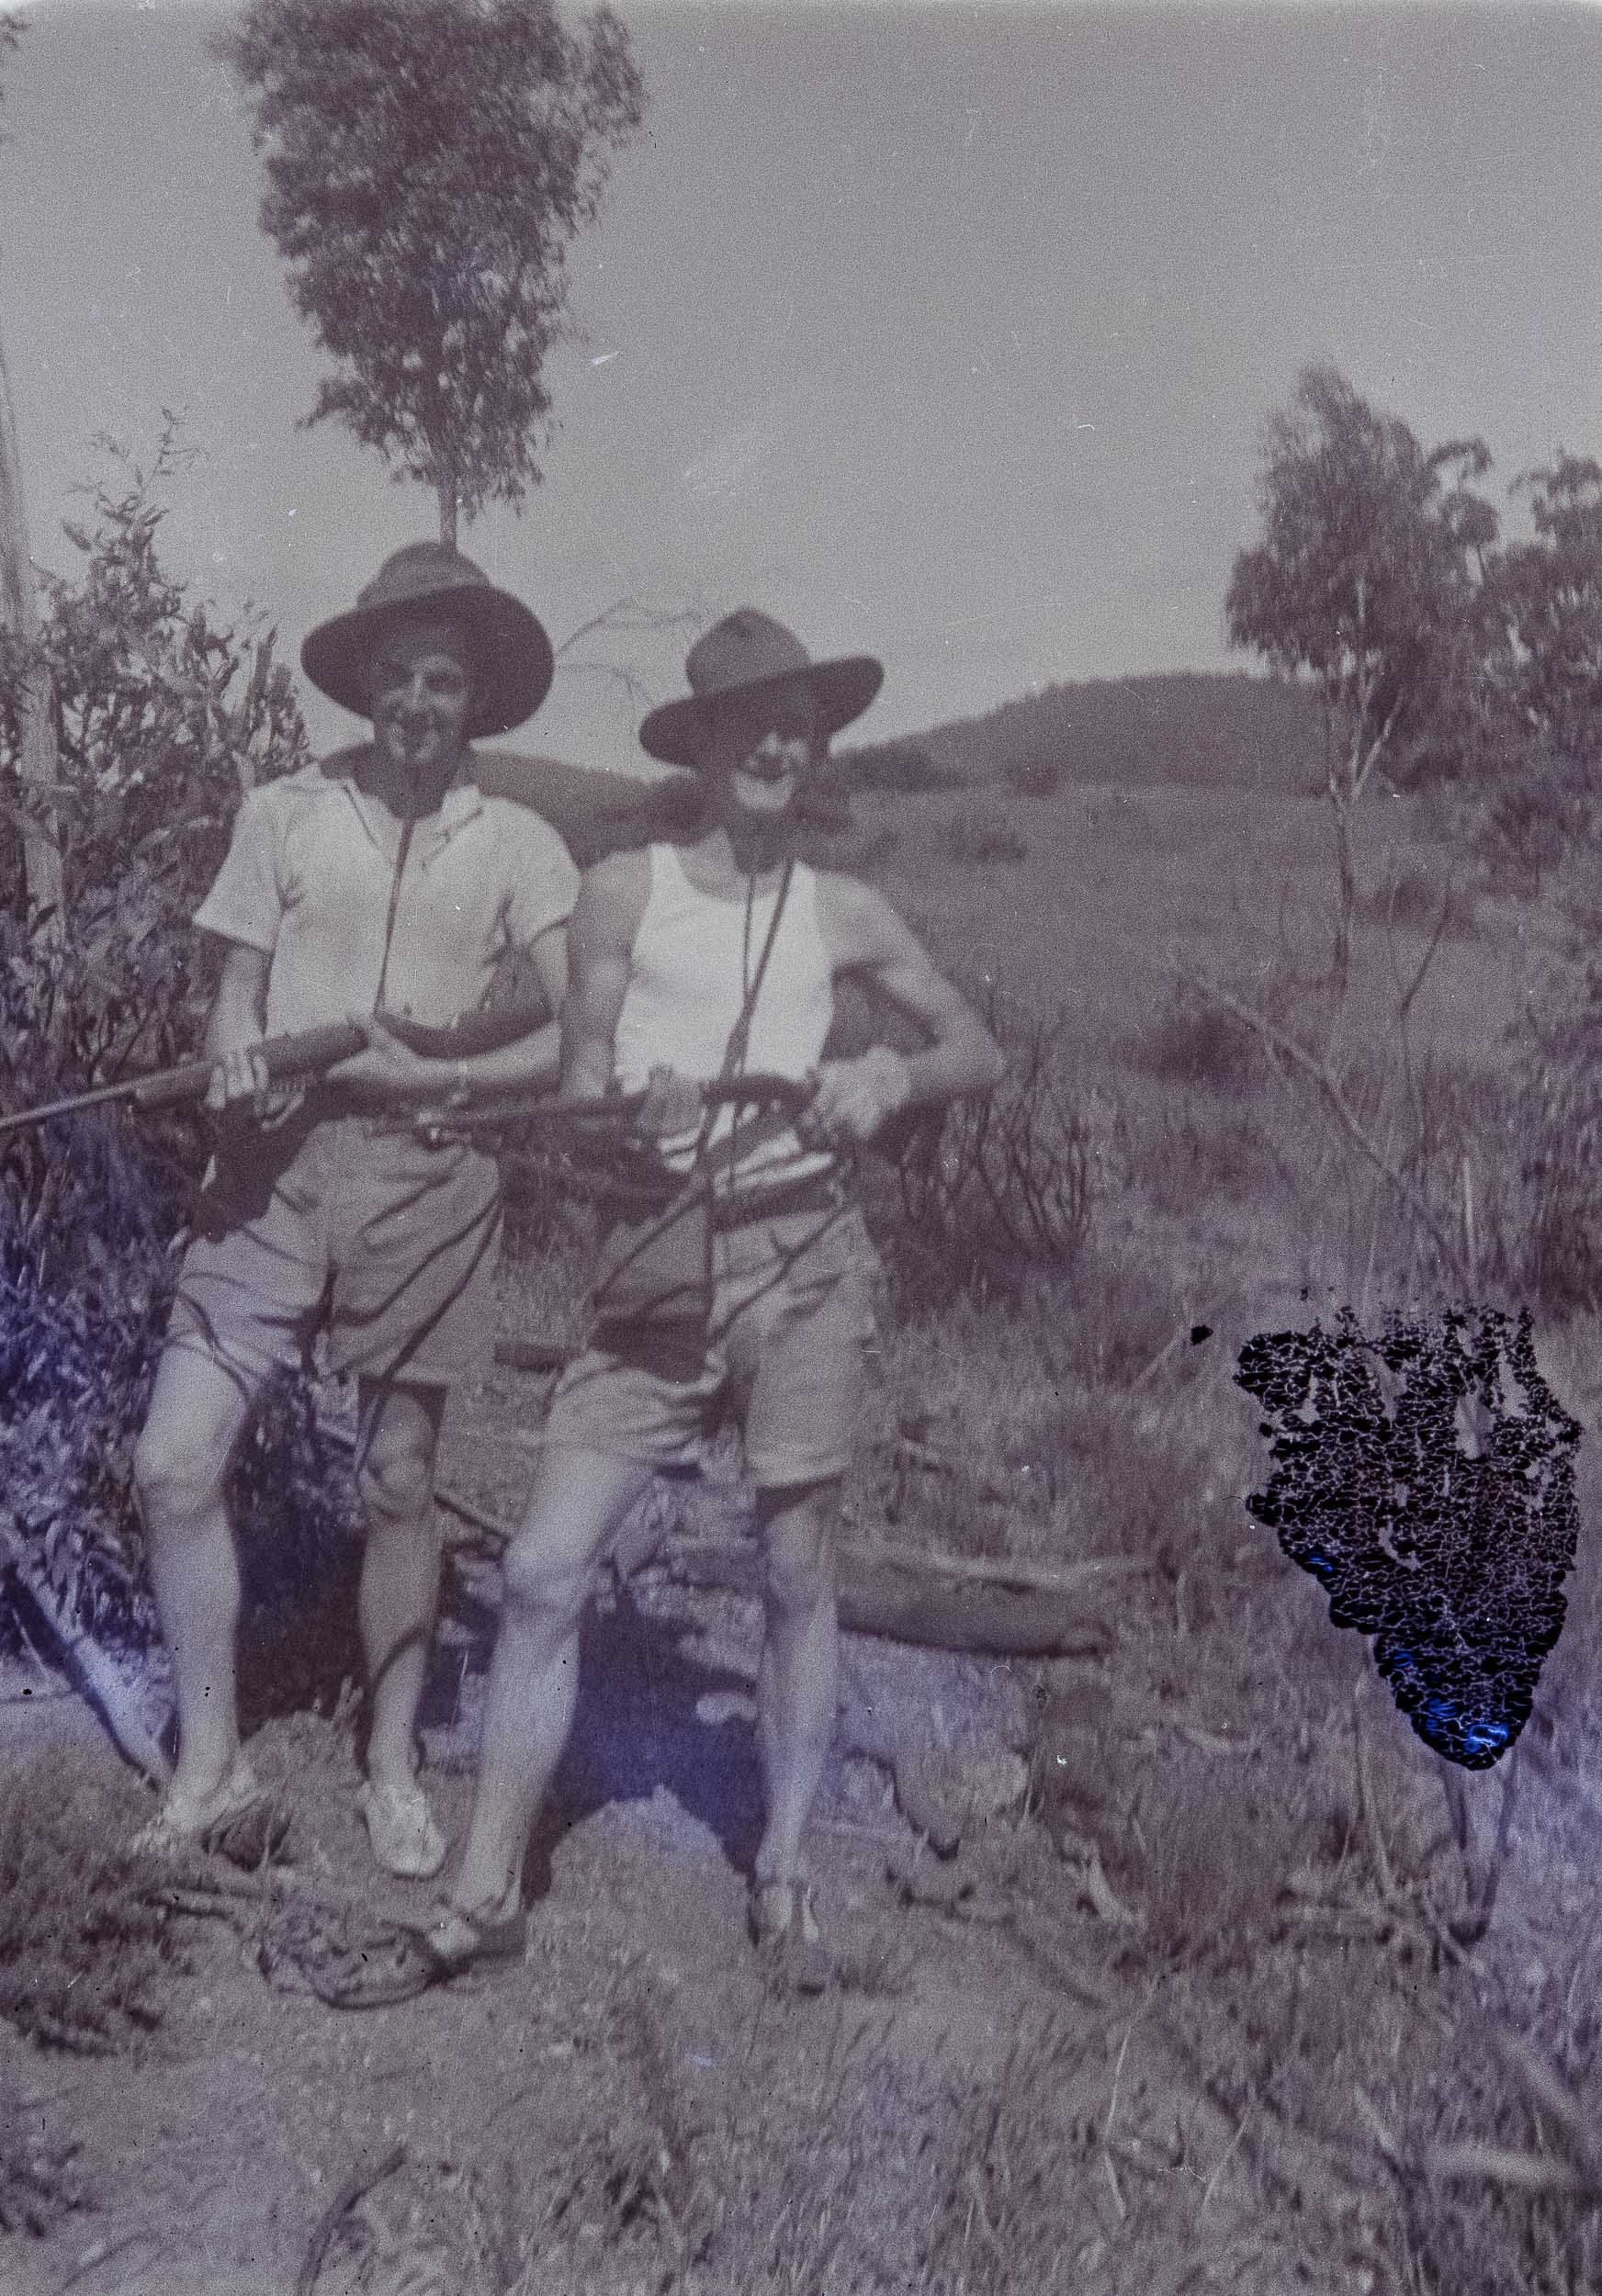
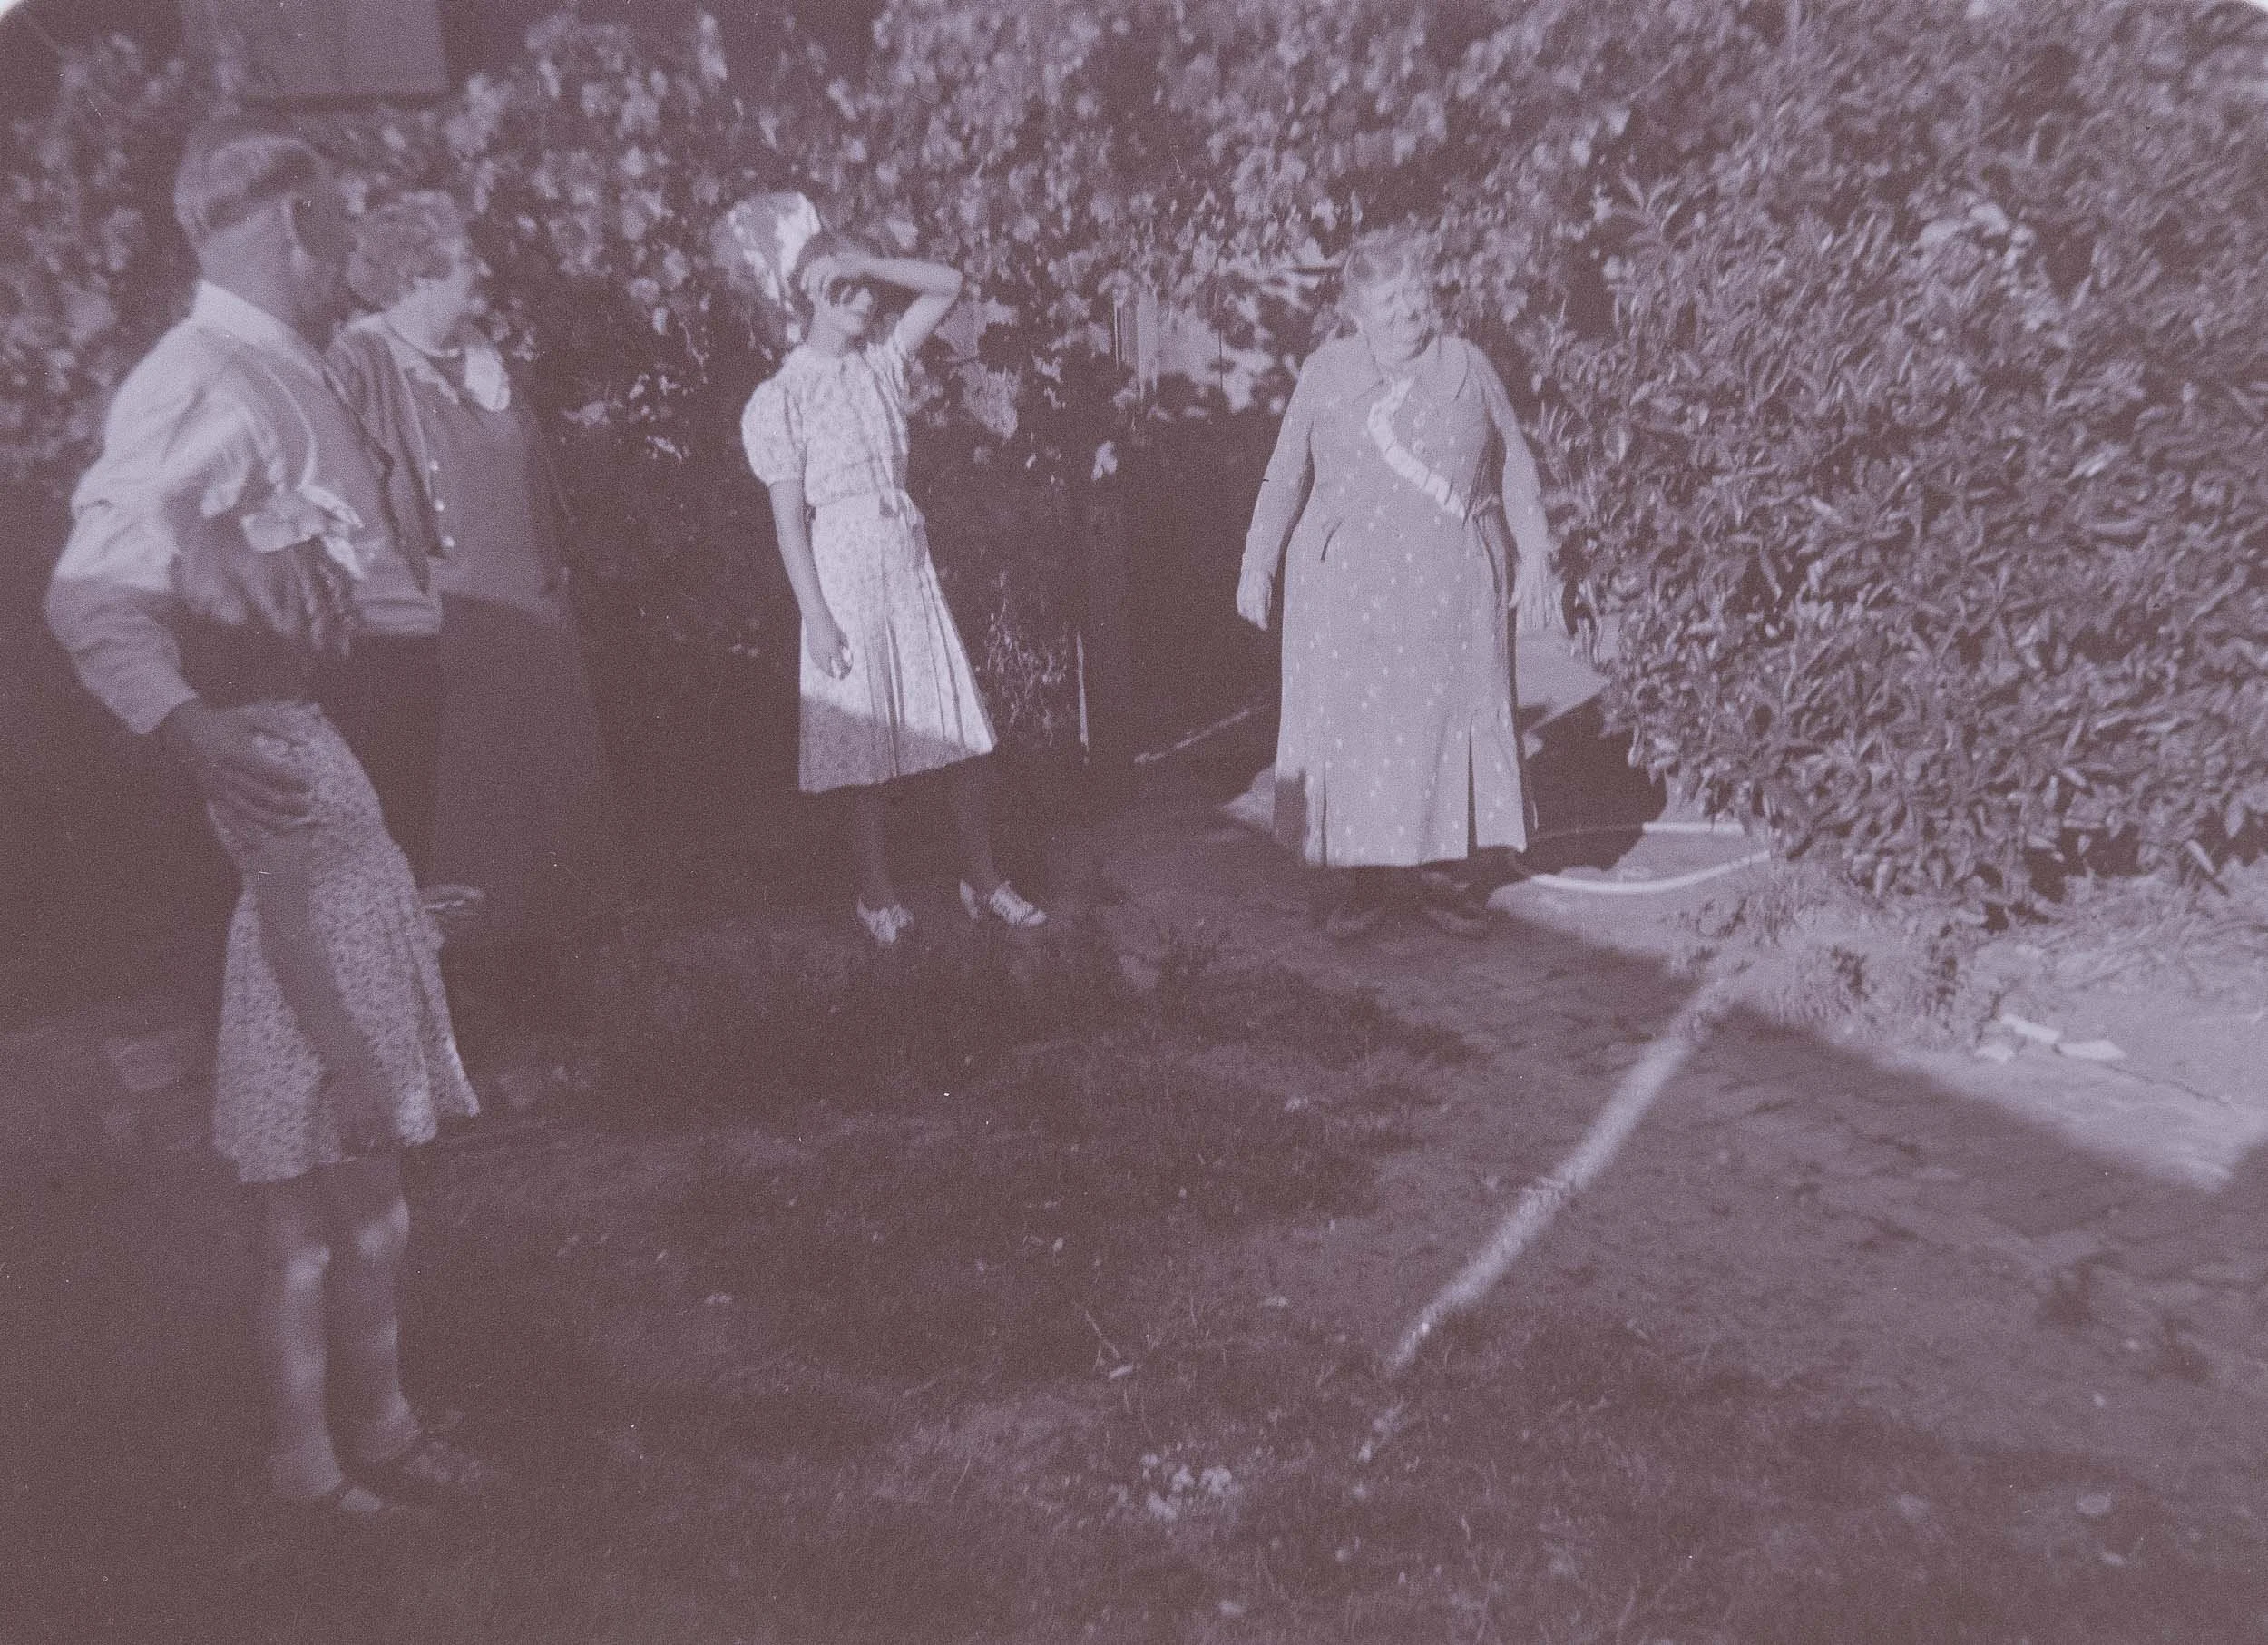
The packet of negatives contains 100 images, all snapshots from her adventures, beach days and daily life. None of it would have seemed especially important when the shutter was pressed.
Eighty years later, every part of it matters. The family have never seen these images.
Photography is more than taking pictures
Photography, for me, has always been much more than clicking away and posting the results on social media for a cheap dopamine hit.
It is about capturing memories, experimenting, exploring and creating.
After almost 30 years, photography for me is about creating an image simply because the process is enjoyable. Sometimes it is about documenting a place, a person or a moment that may never look the same again.
Just like these images, photography becomes storytelling.
There is something powerful about taking a negative exposed around 80 years ago, revealing the image it contains and giving it a new life.
The original photographer never would have imagined that the negative would one day be held flat by a custom 3D-printed frame, captured with a digital camera and viewed by family members on screens.
Yet here we are.
The technology has changed completely, but the purpose of a photograph remains the same: to hold onto something that would otherwise be lost.
Every element becomes history
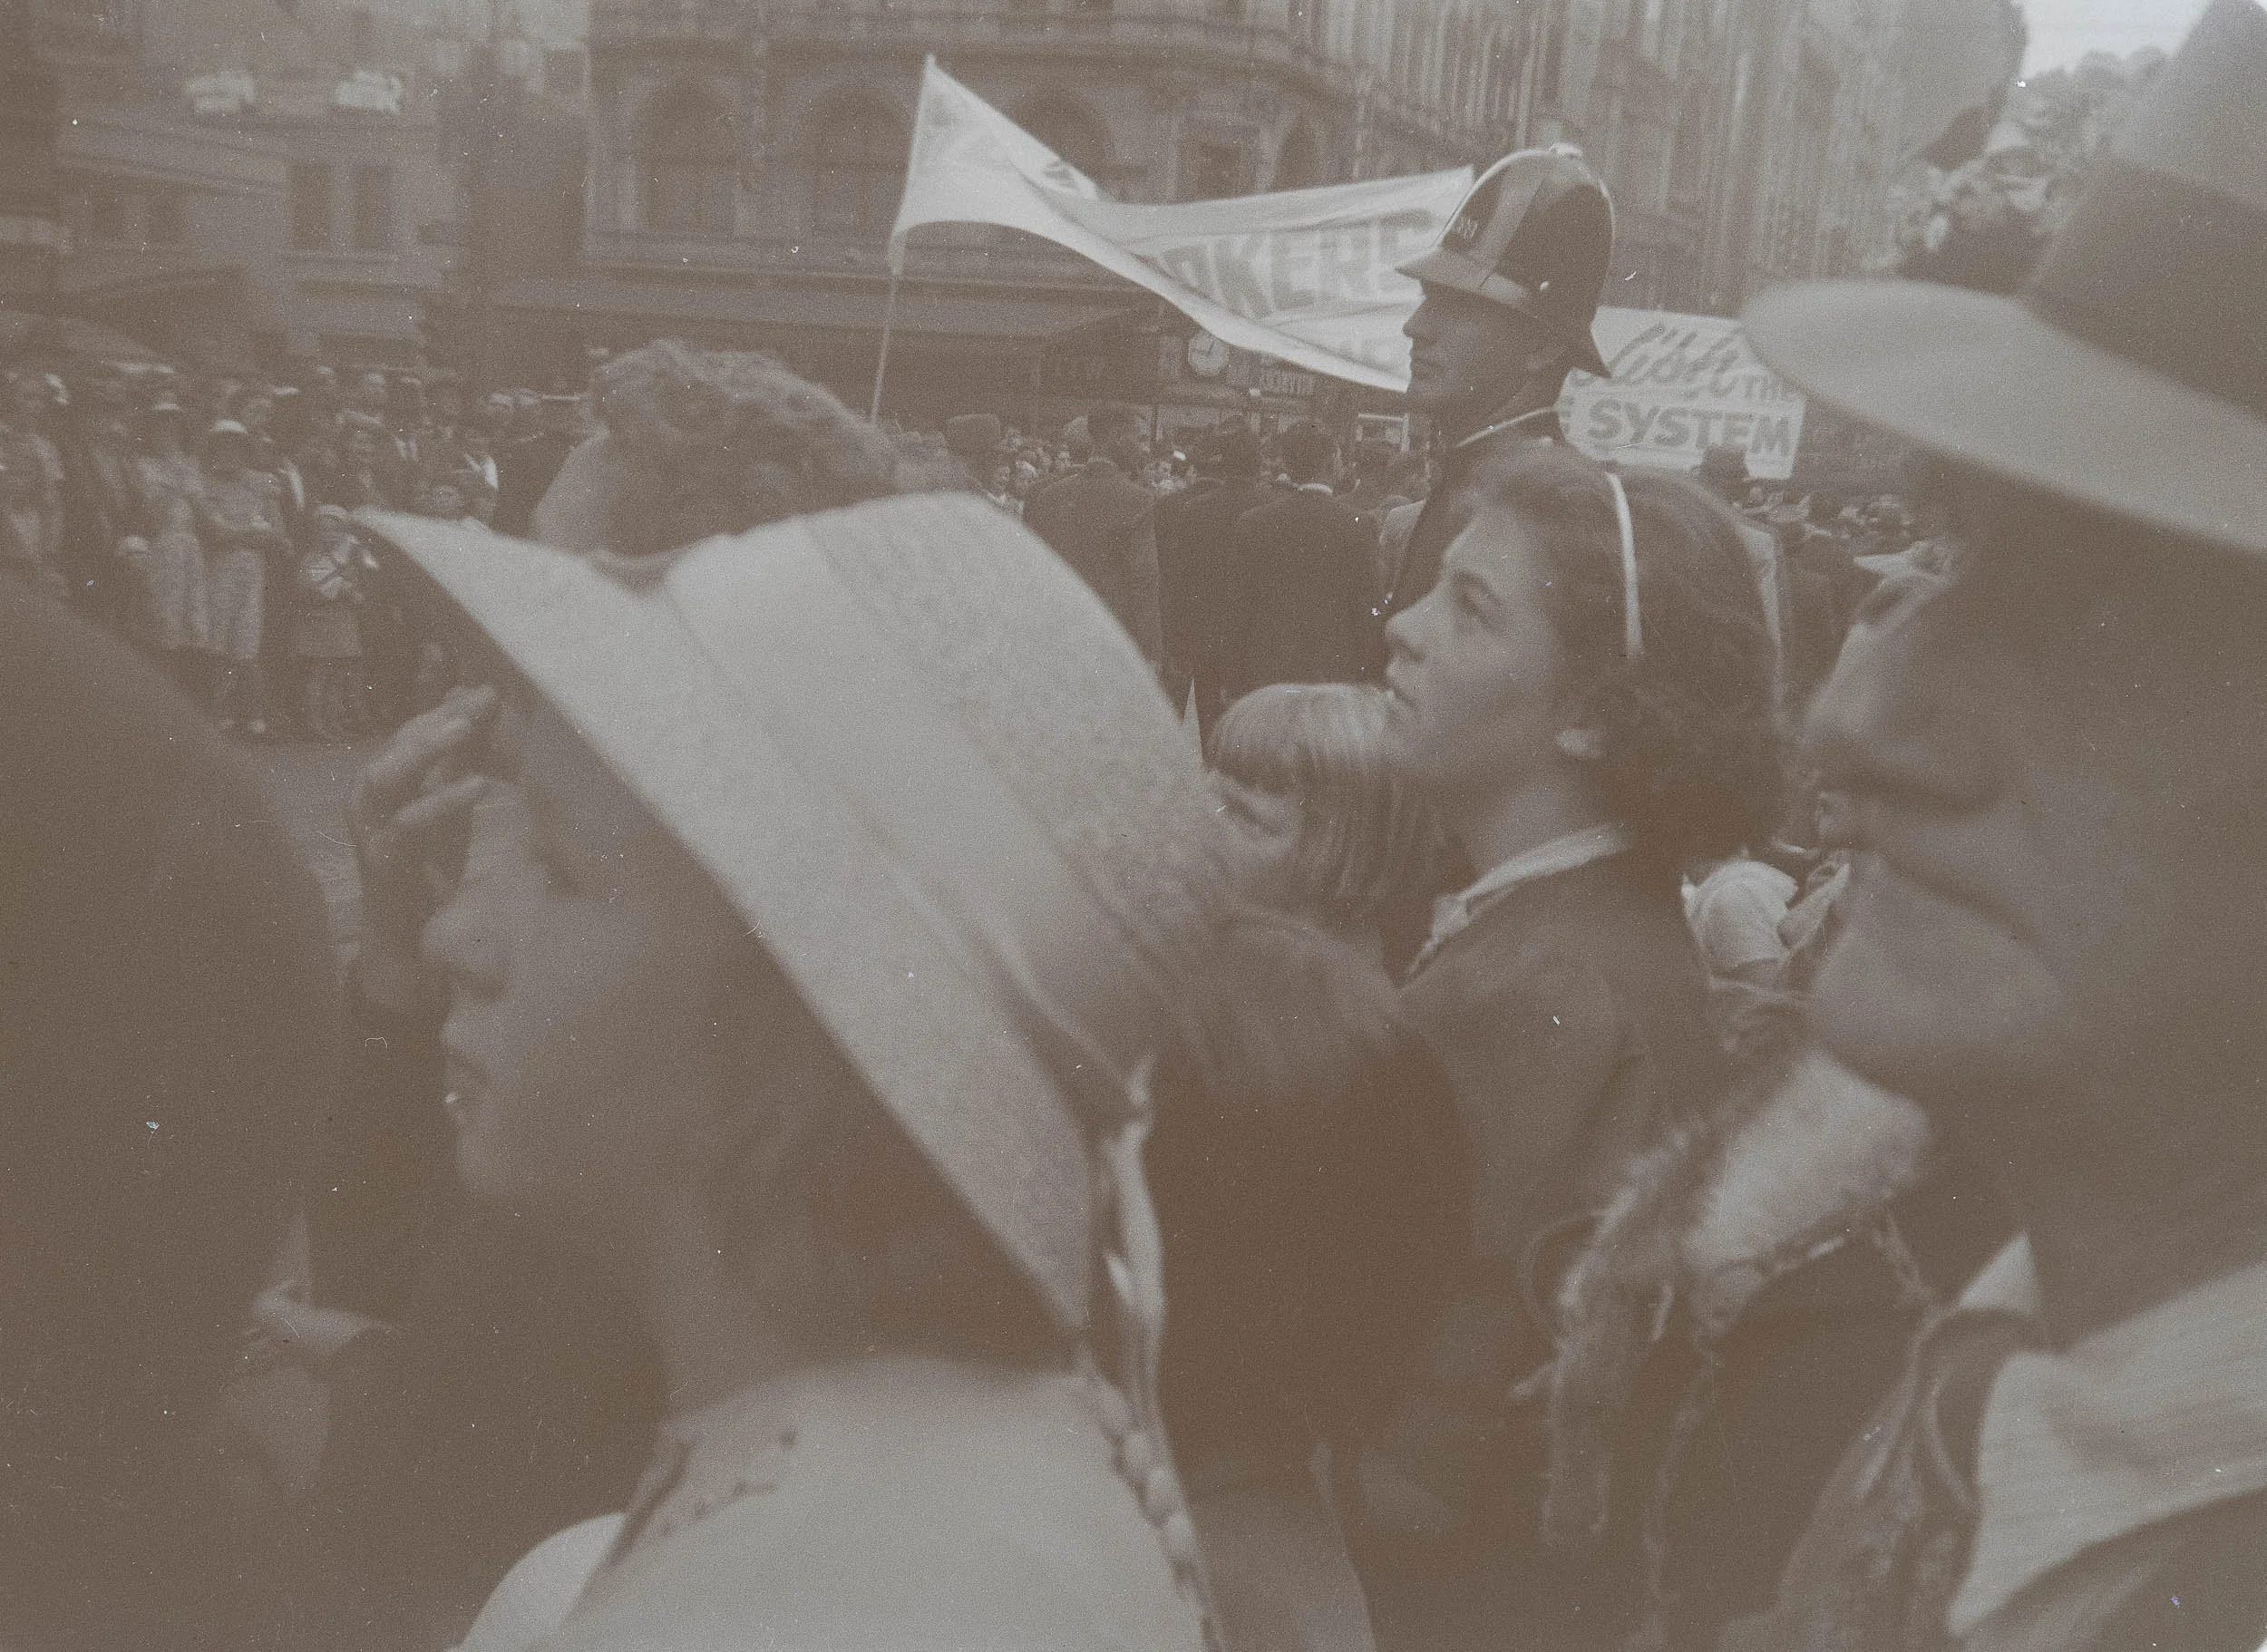
When these photographs were taken, nobody was deliberately recording history.
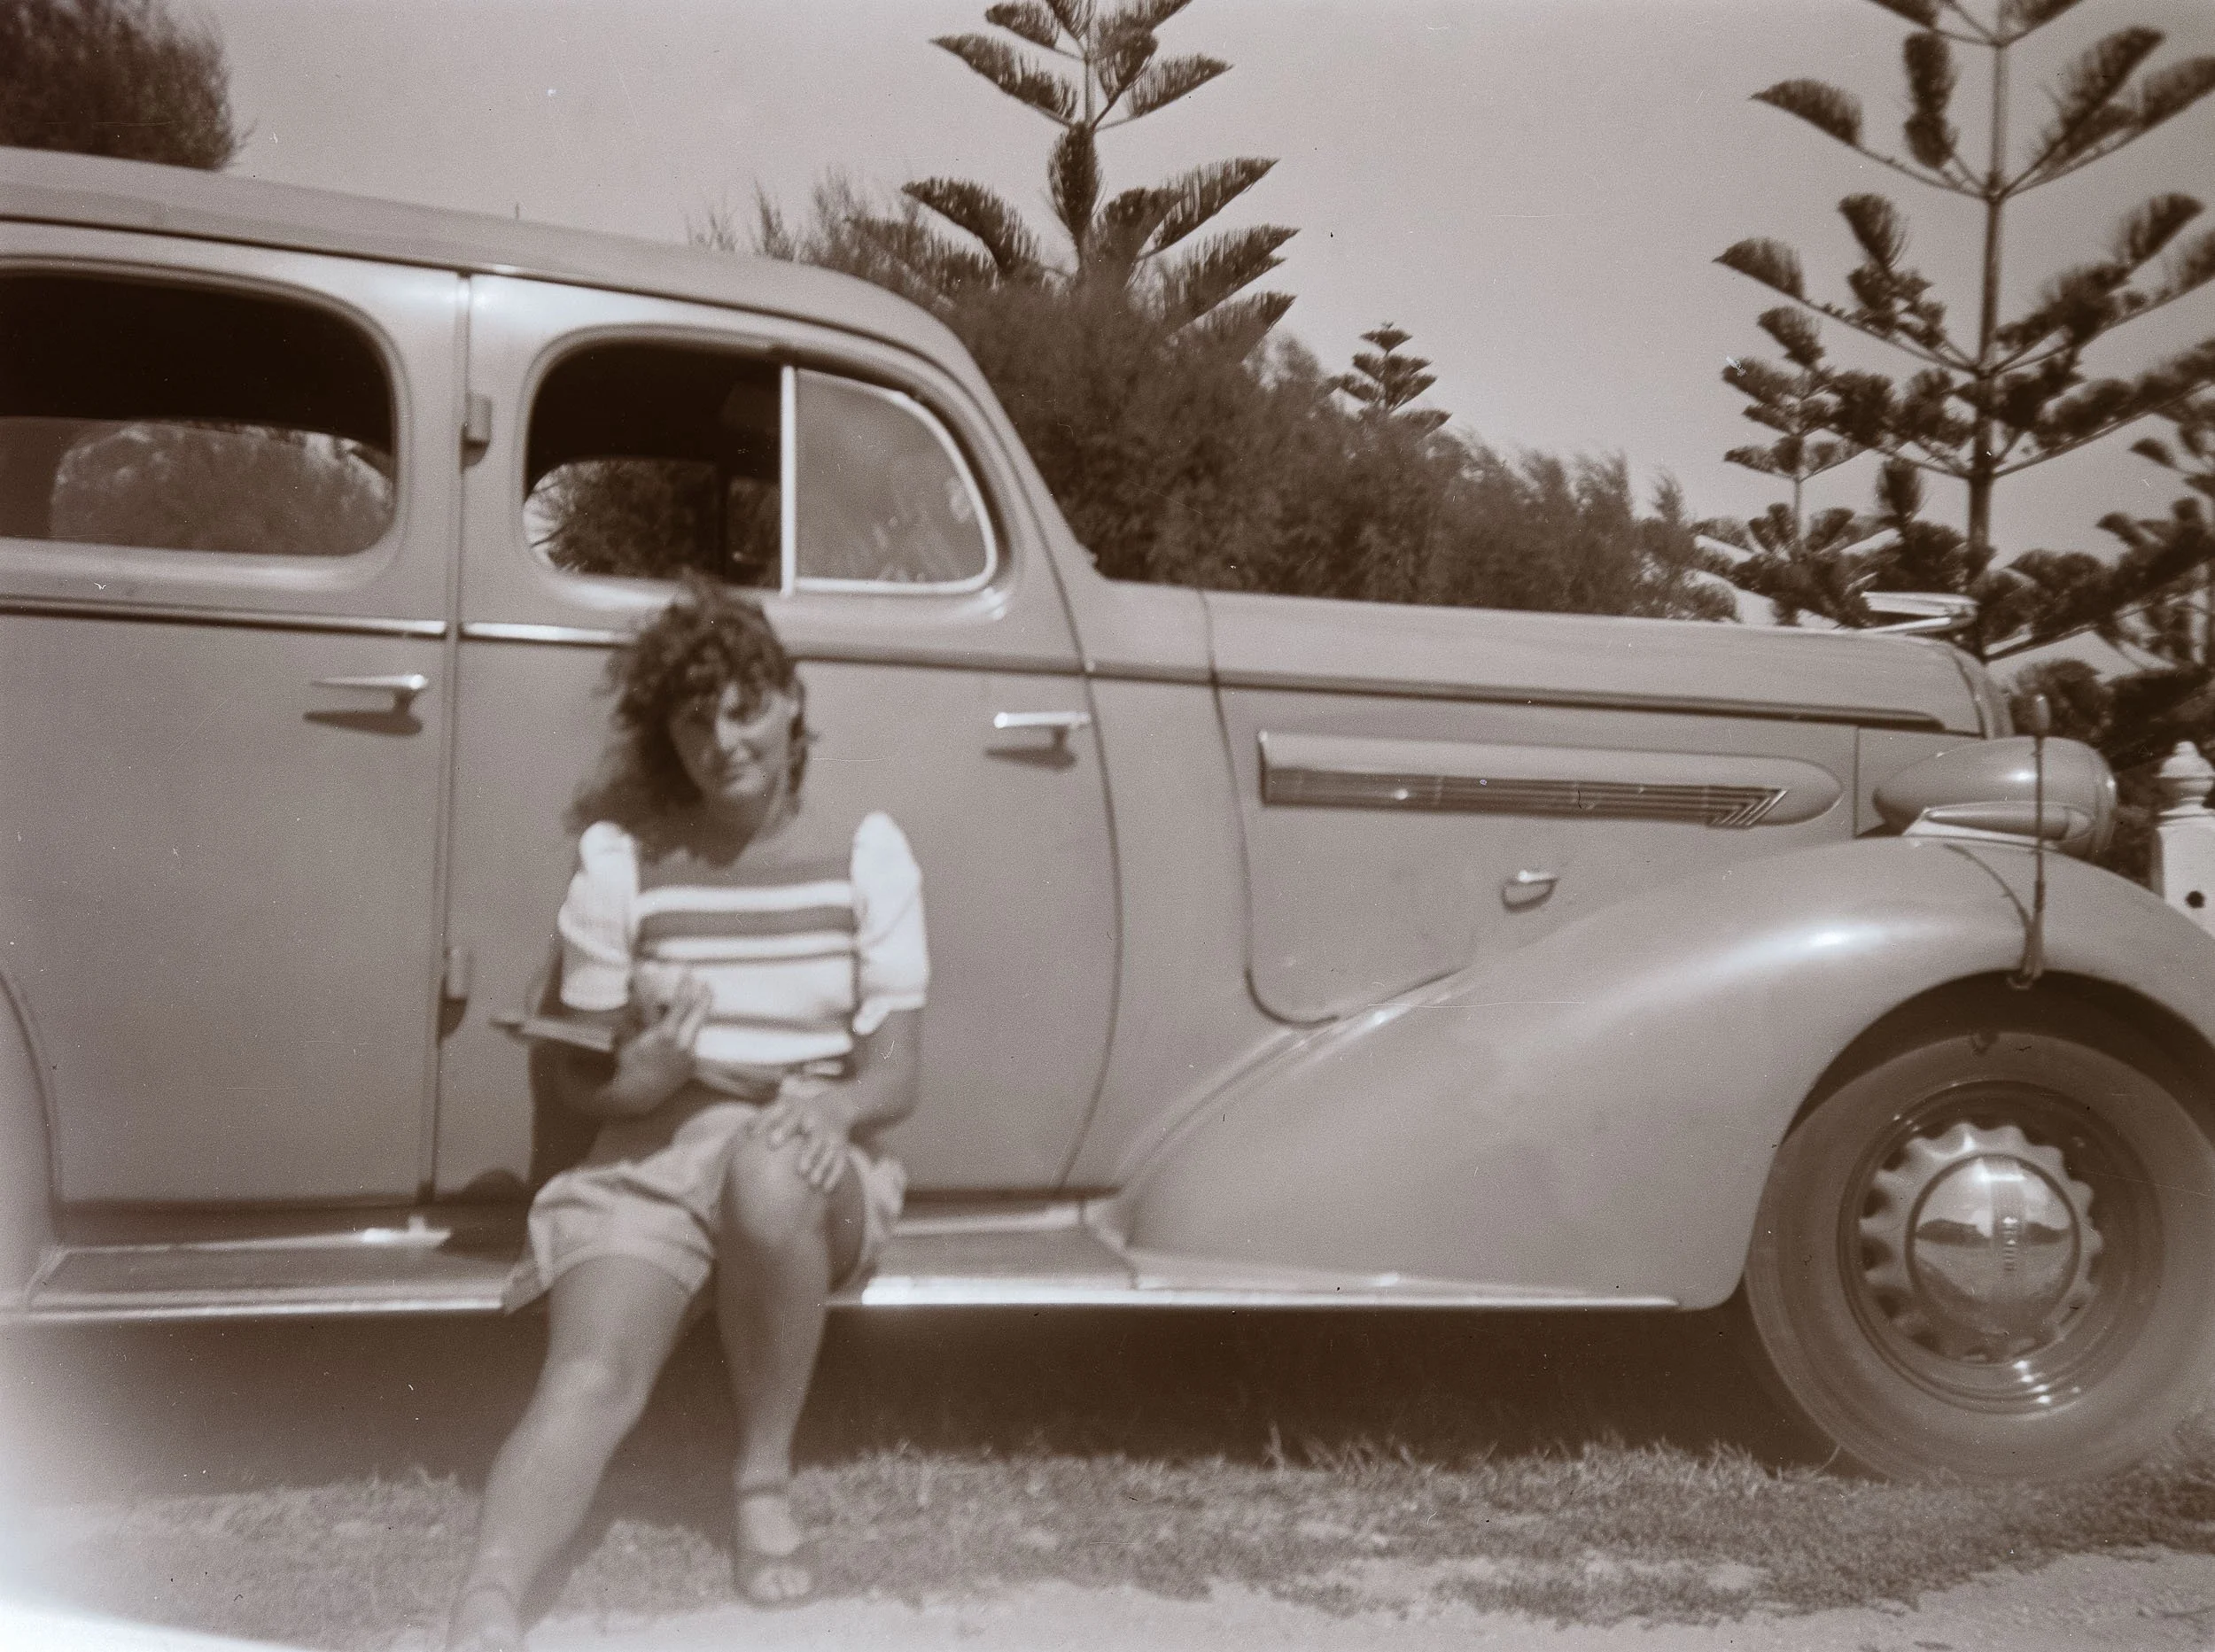
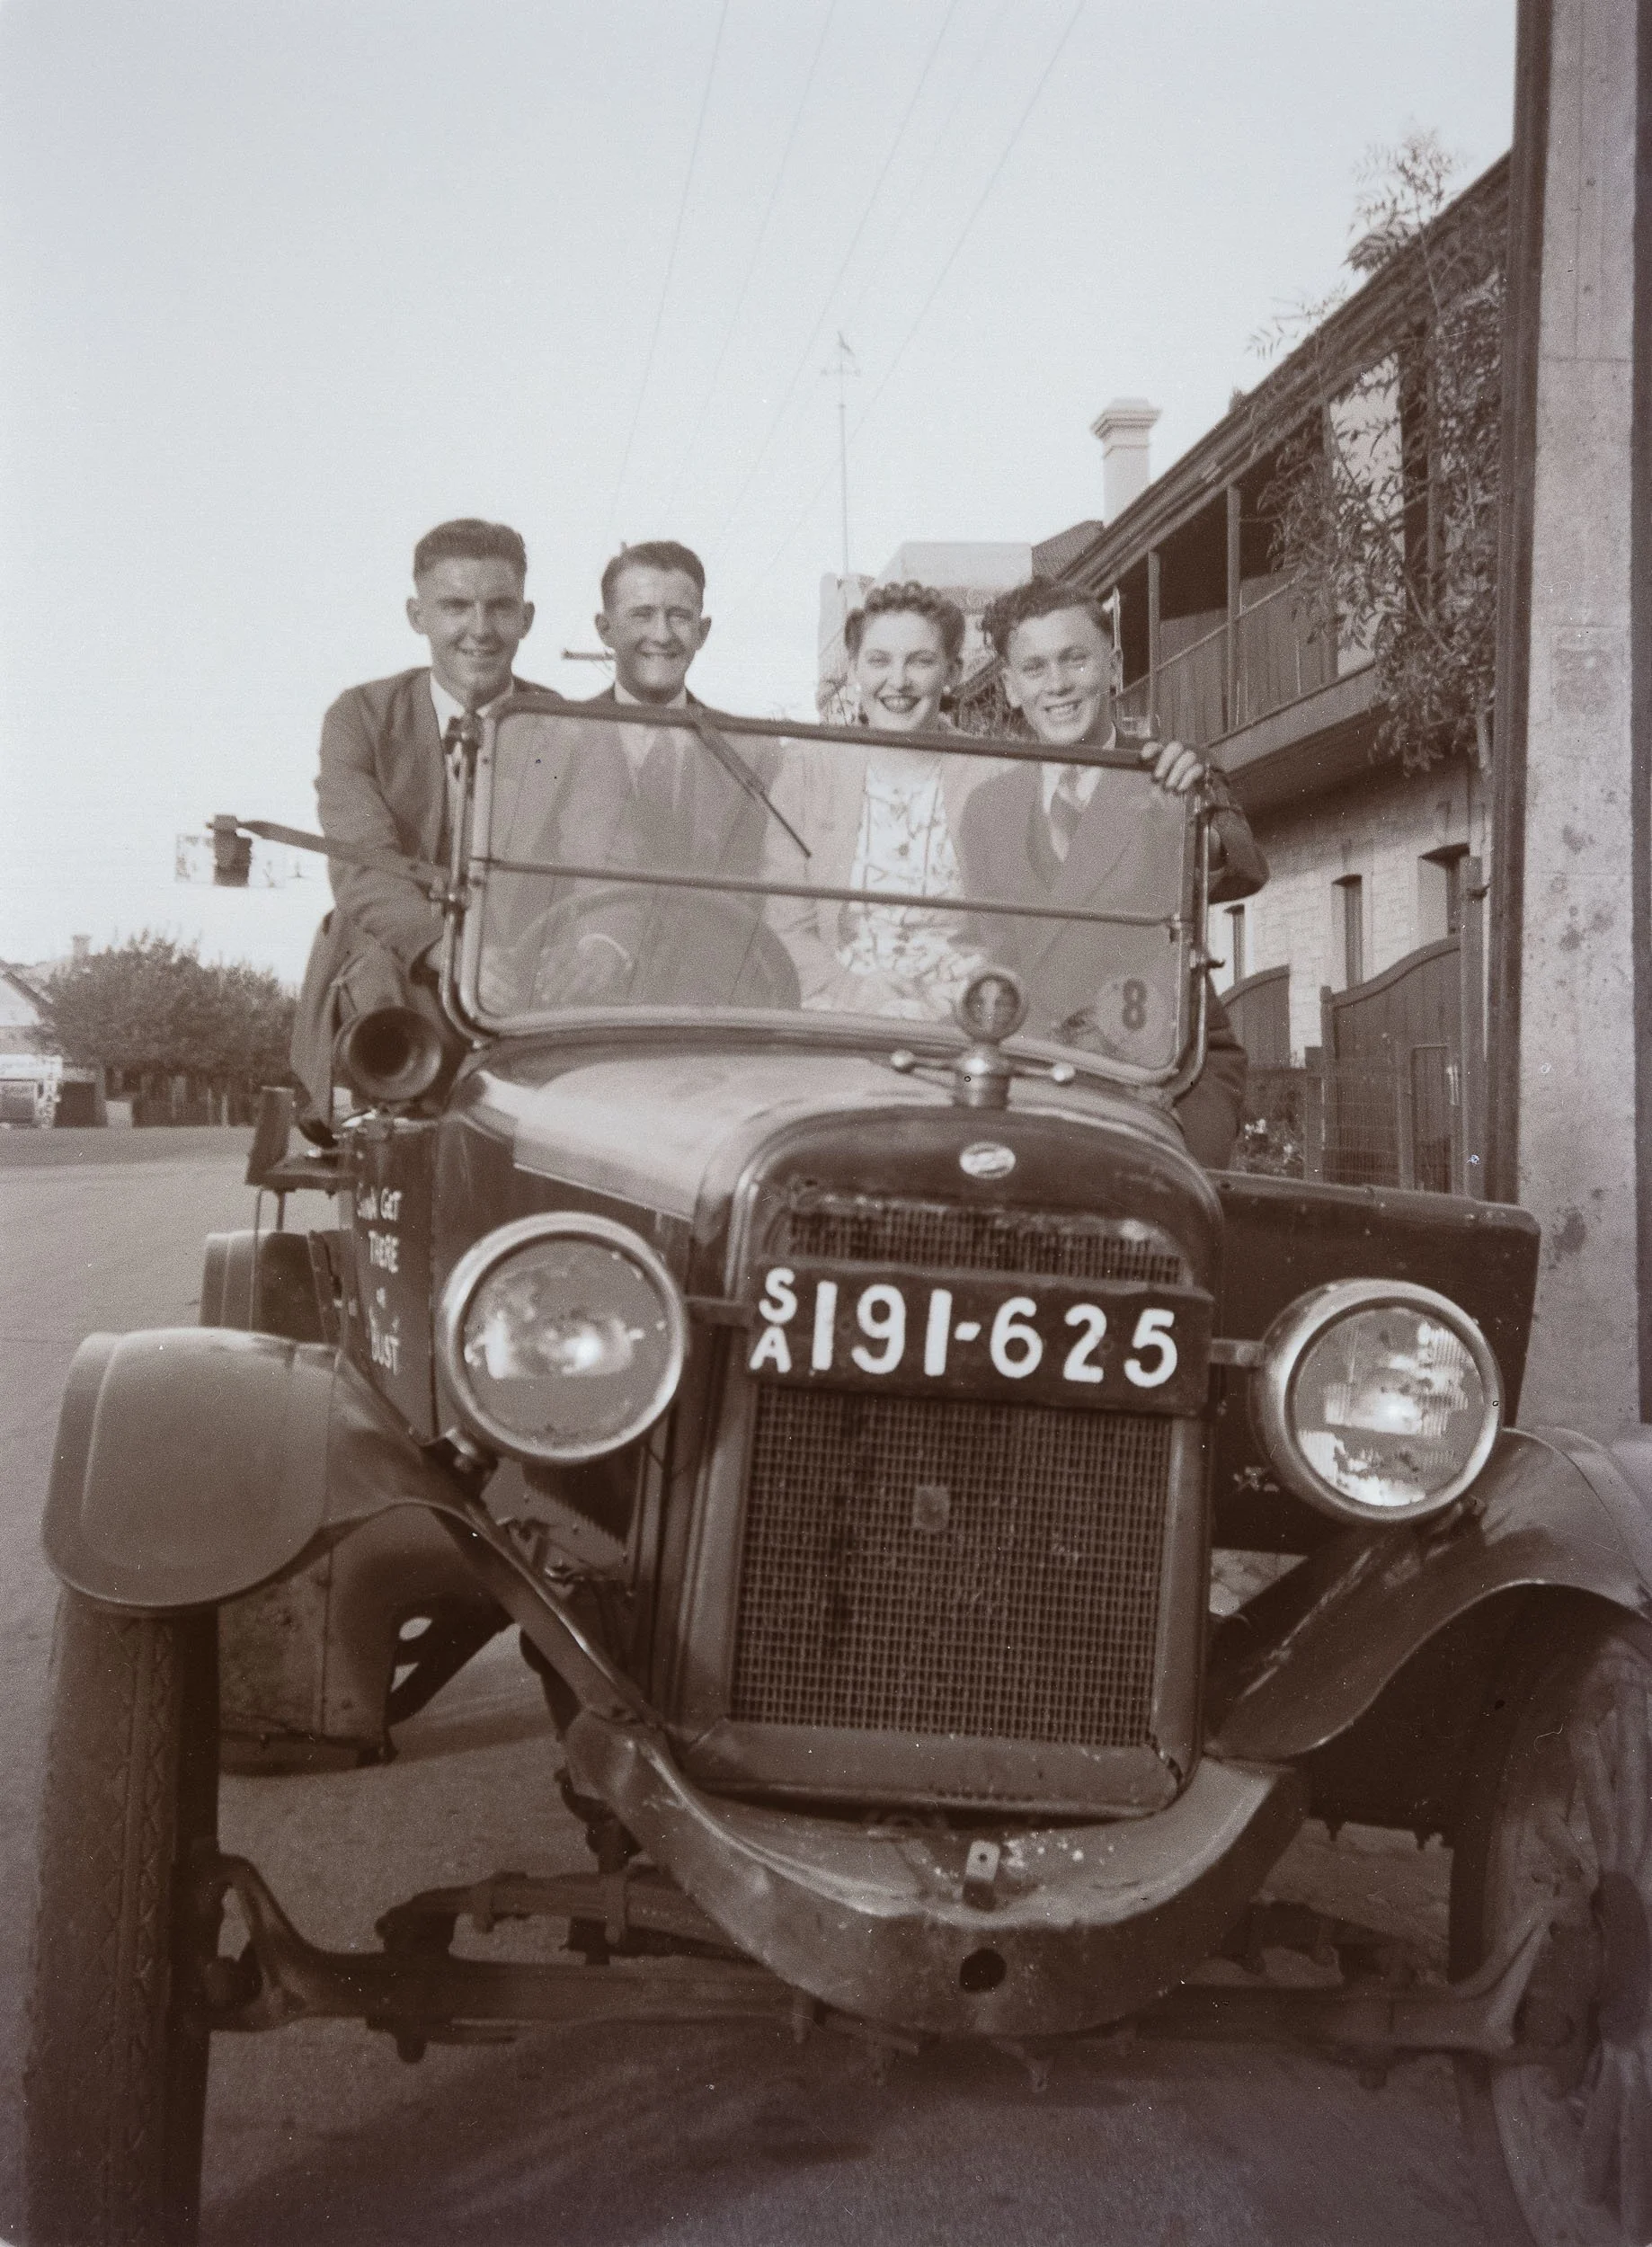
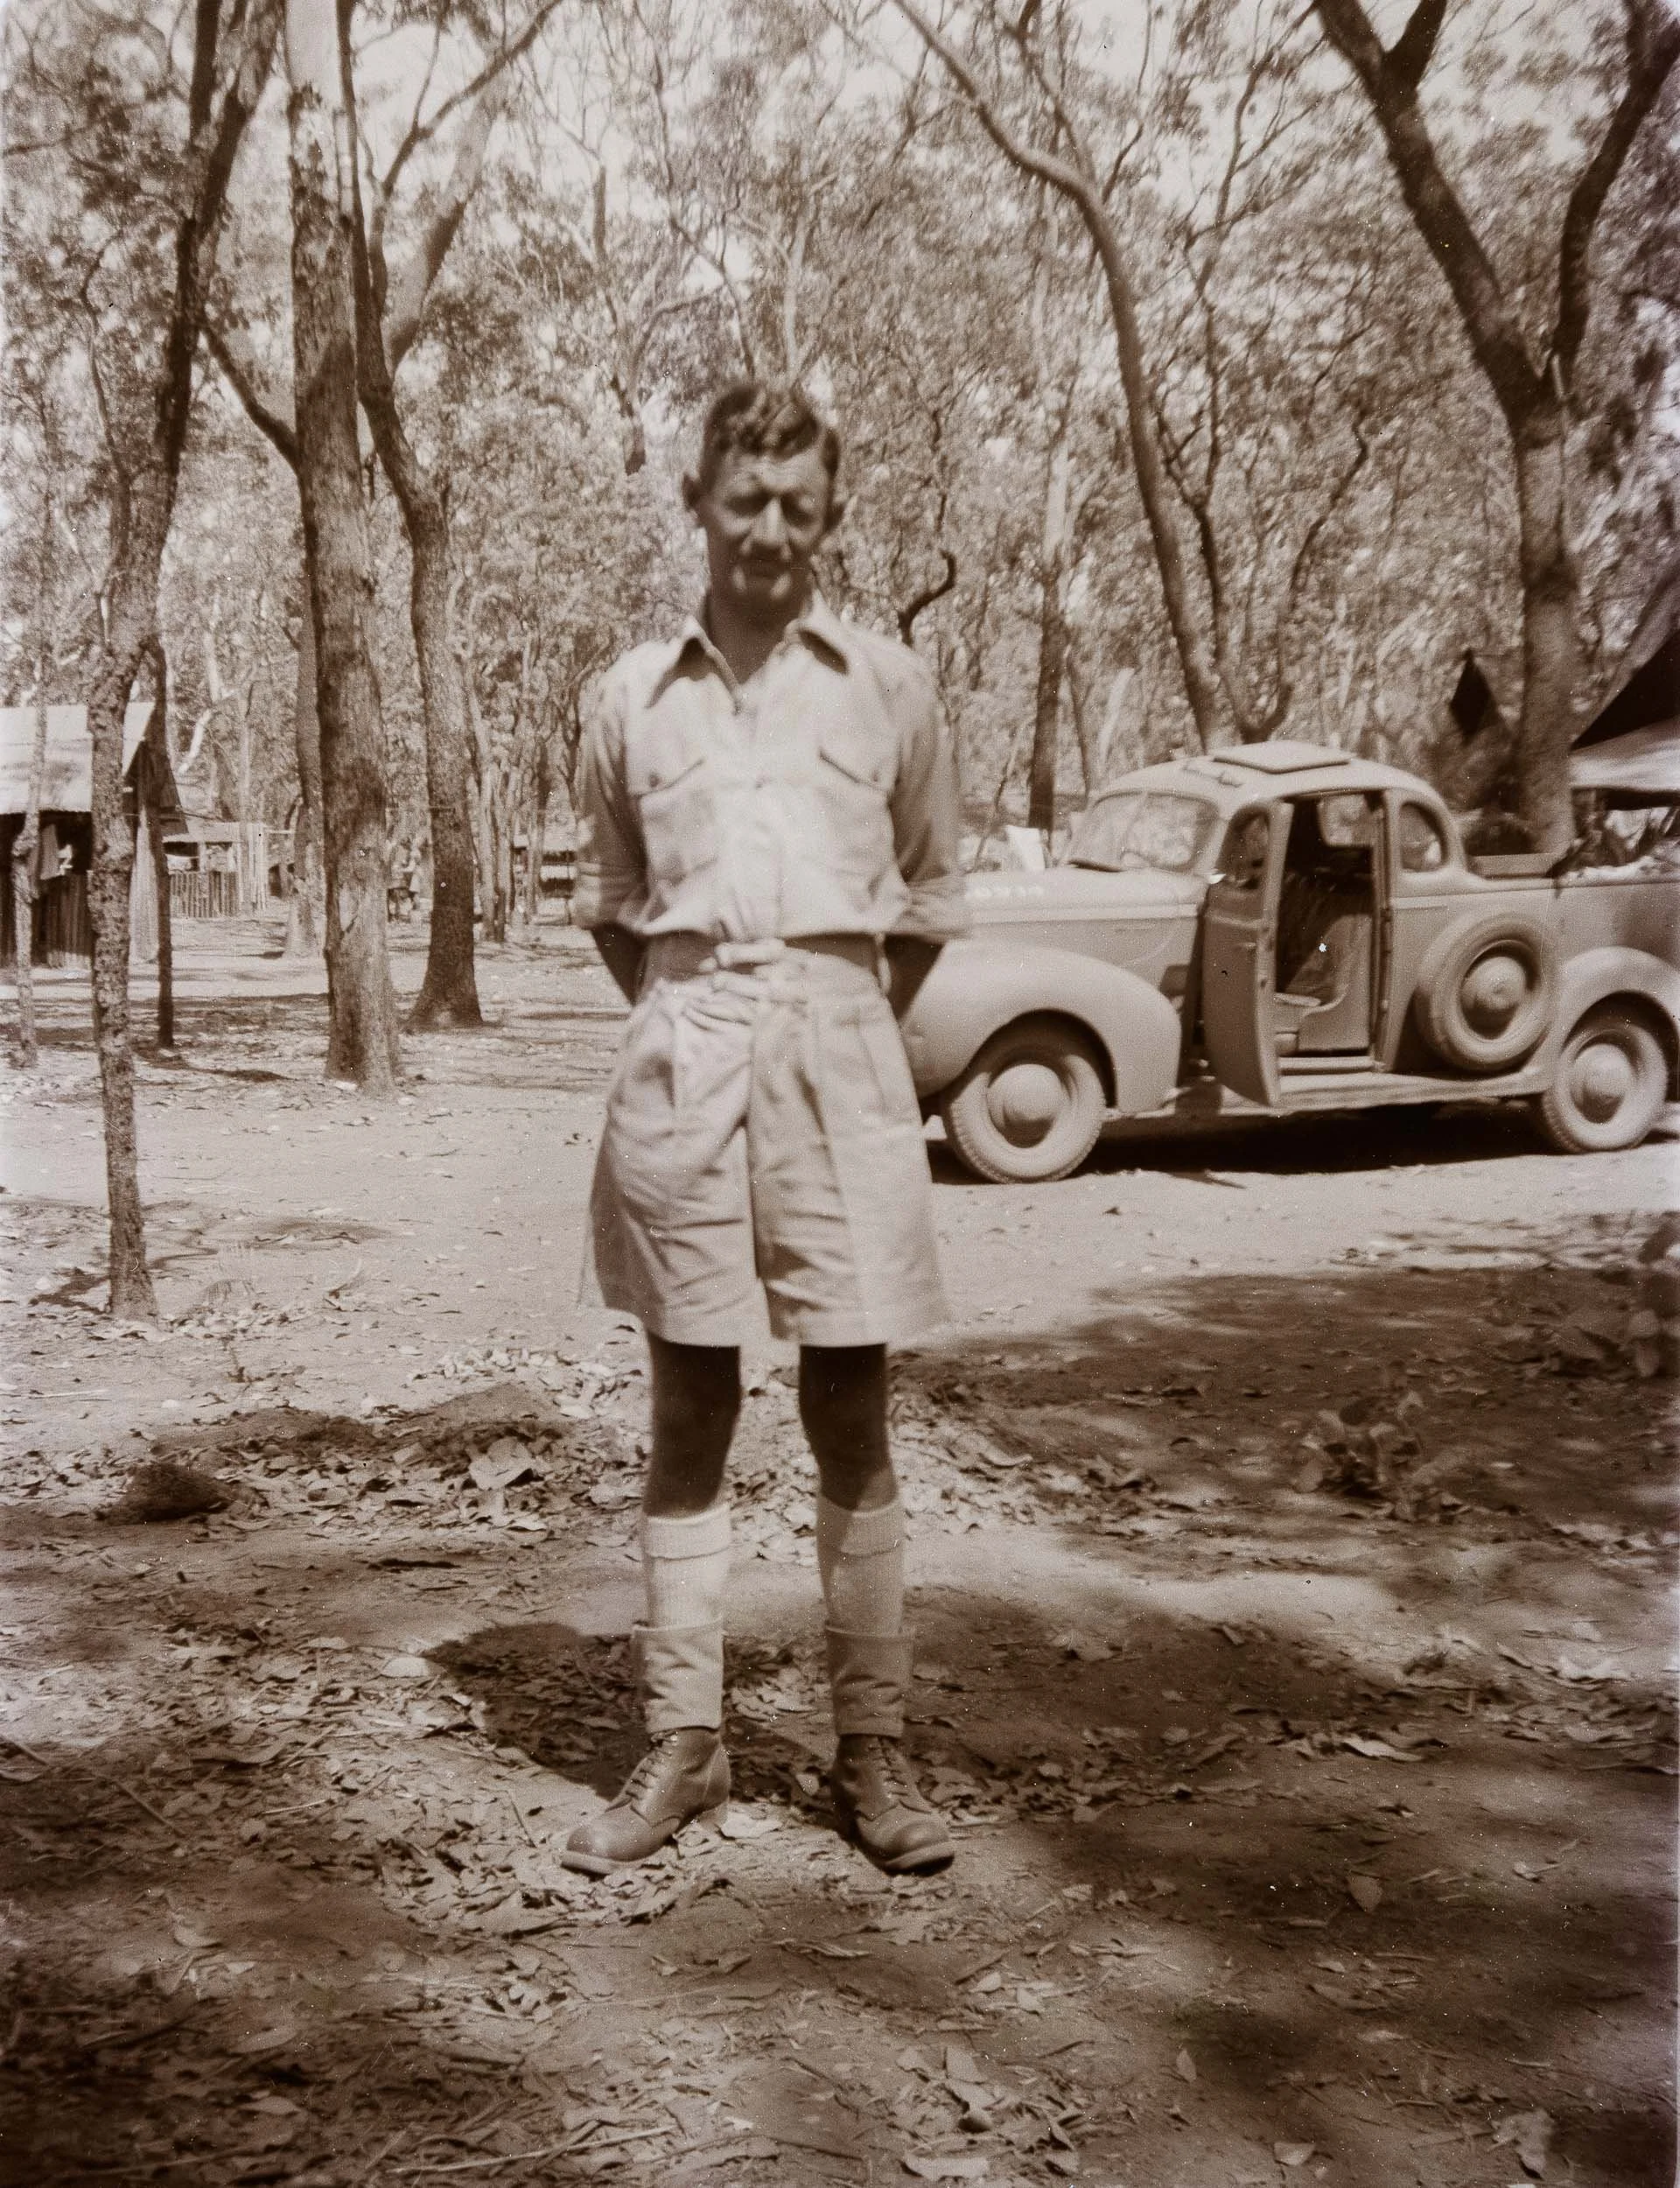
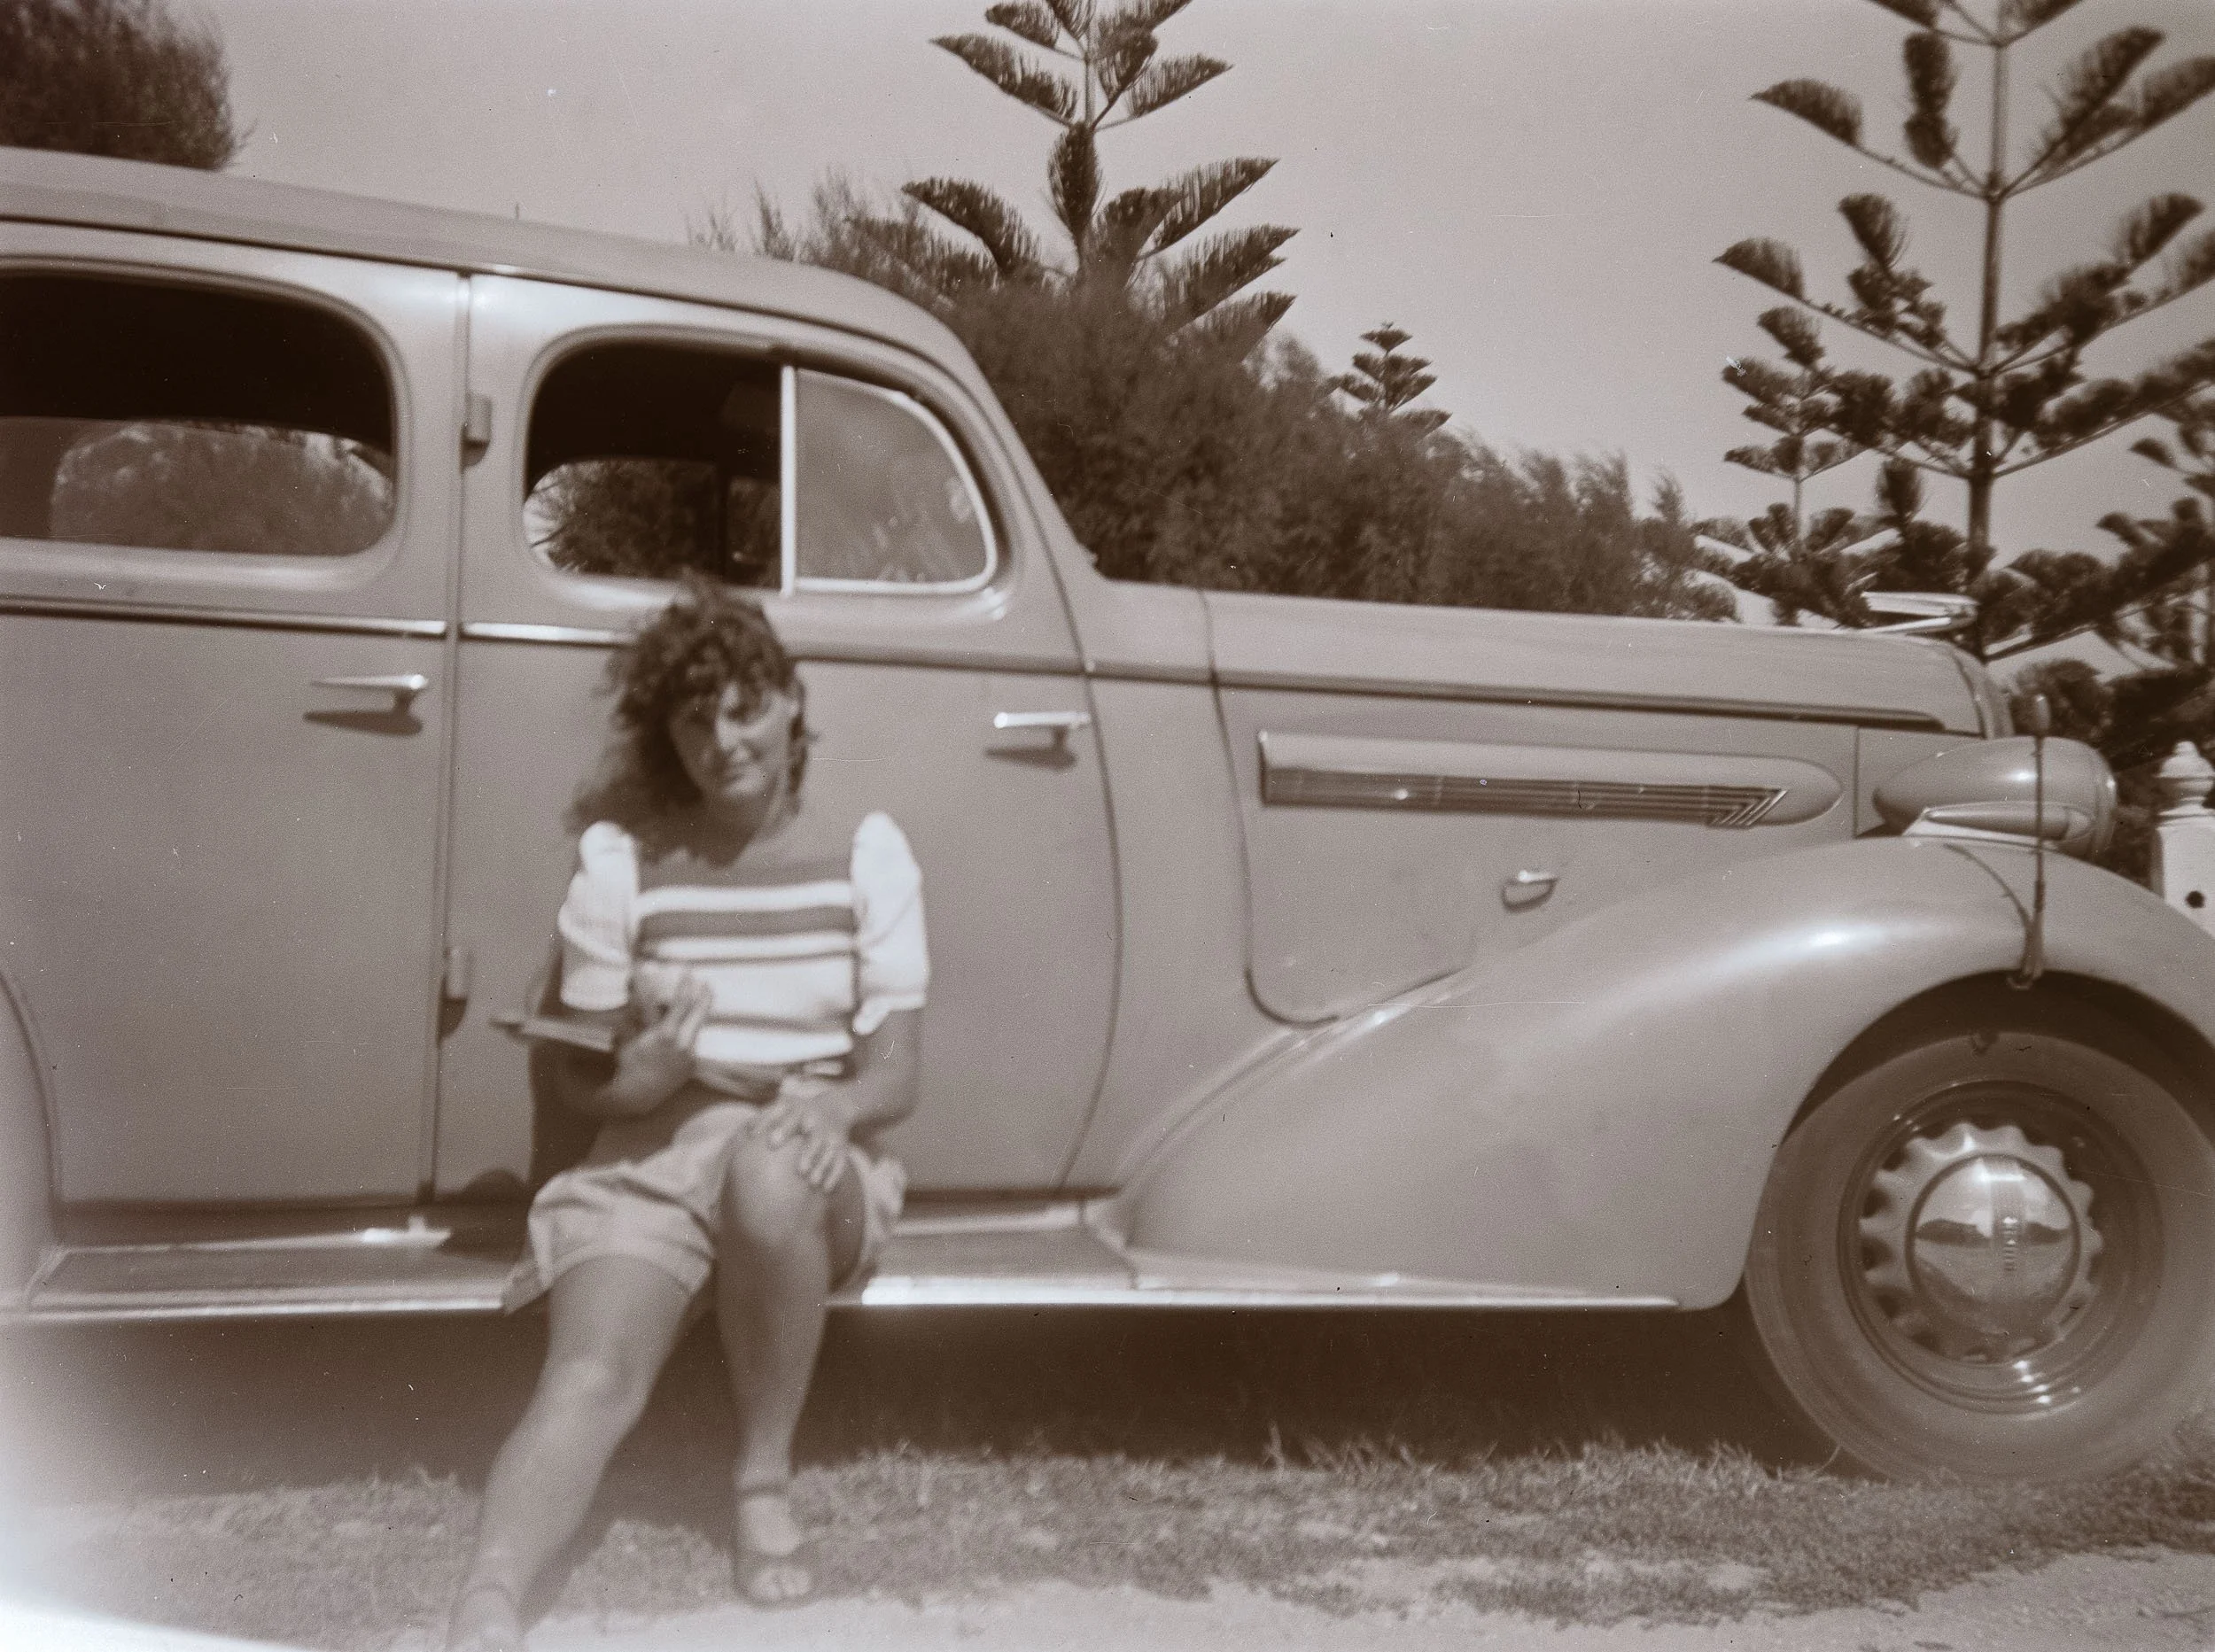
The car was simply a car. The building behind someone was simply where they happened to be standing.
Unassuming background features become a historical record; over time, suburban streets, houses, and coastlines all change. Clothing, hairstyles, advertising and everyday objects become markers of another time.
Family photographs are not only records of people. They are records of the places, objects and ordinary surroundings that shaped their lives.
Eighty years later, those details have value.
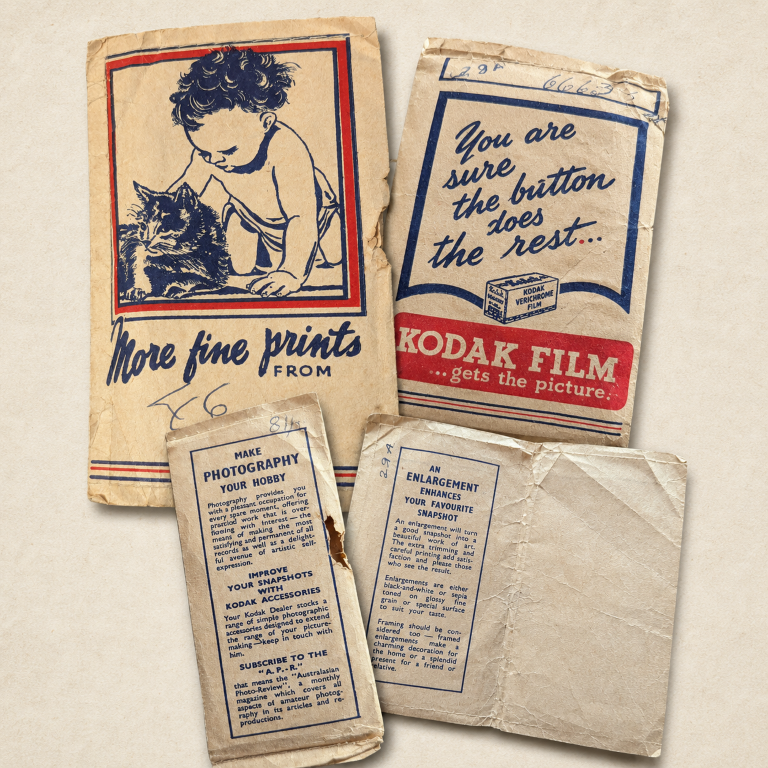
Even the old Kodak envelope is now part of the story
History without the filter
We now live in a world where much of what we see is carefully selected, edited and presented.
Social media rarely shows the whole story. It shows a fraction of a second, chosen from many, adjusted and posted to support the version of ourselves we want others to see. The result can be little more than a glimmer of reality. Personas are built. Uncomfortable details are removed.
Old family photographs can also be selective, of course. People were still dressed for the camera and chose when to press the shutter. But collections like this tend to retain something honest precisely because they were never created for an online audience.
There was no public profile to maintain and no algorithm to satisfy; images like these simply show people spending time together.
History has value when it is kept full. Preserving history does not mean pretending that every photograph is perfect. It means keeping enough of the detail for future generations to understand what was really there.
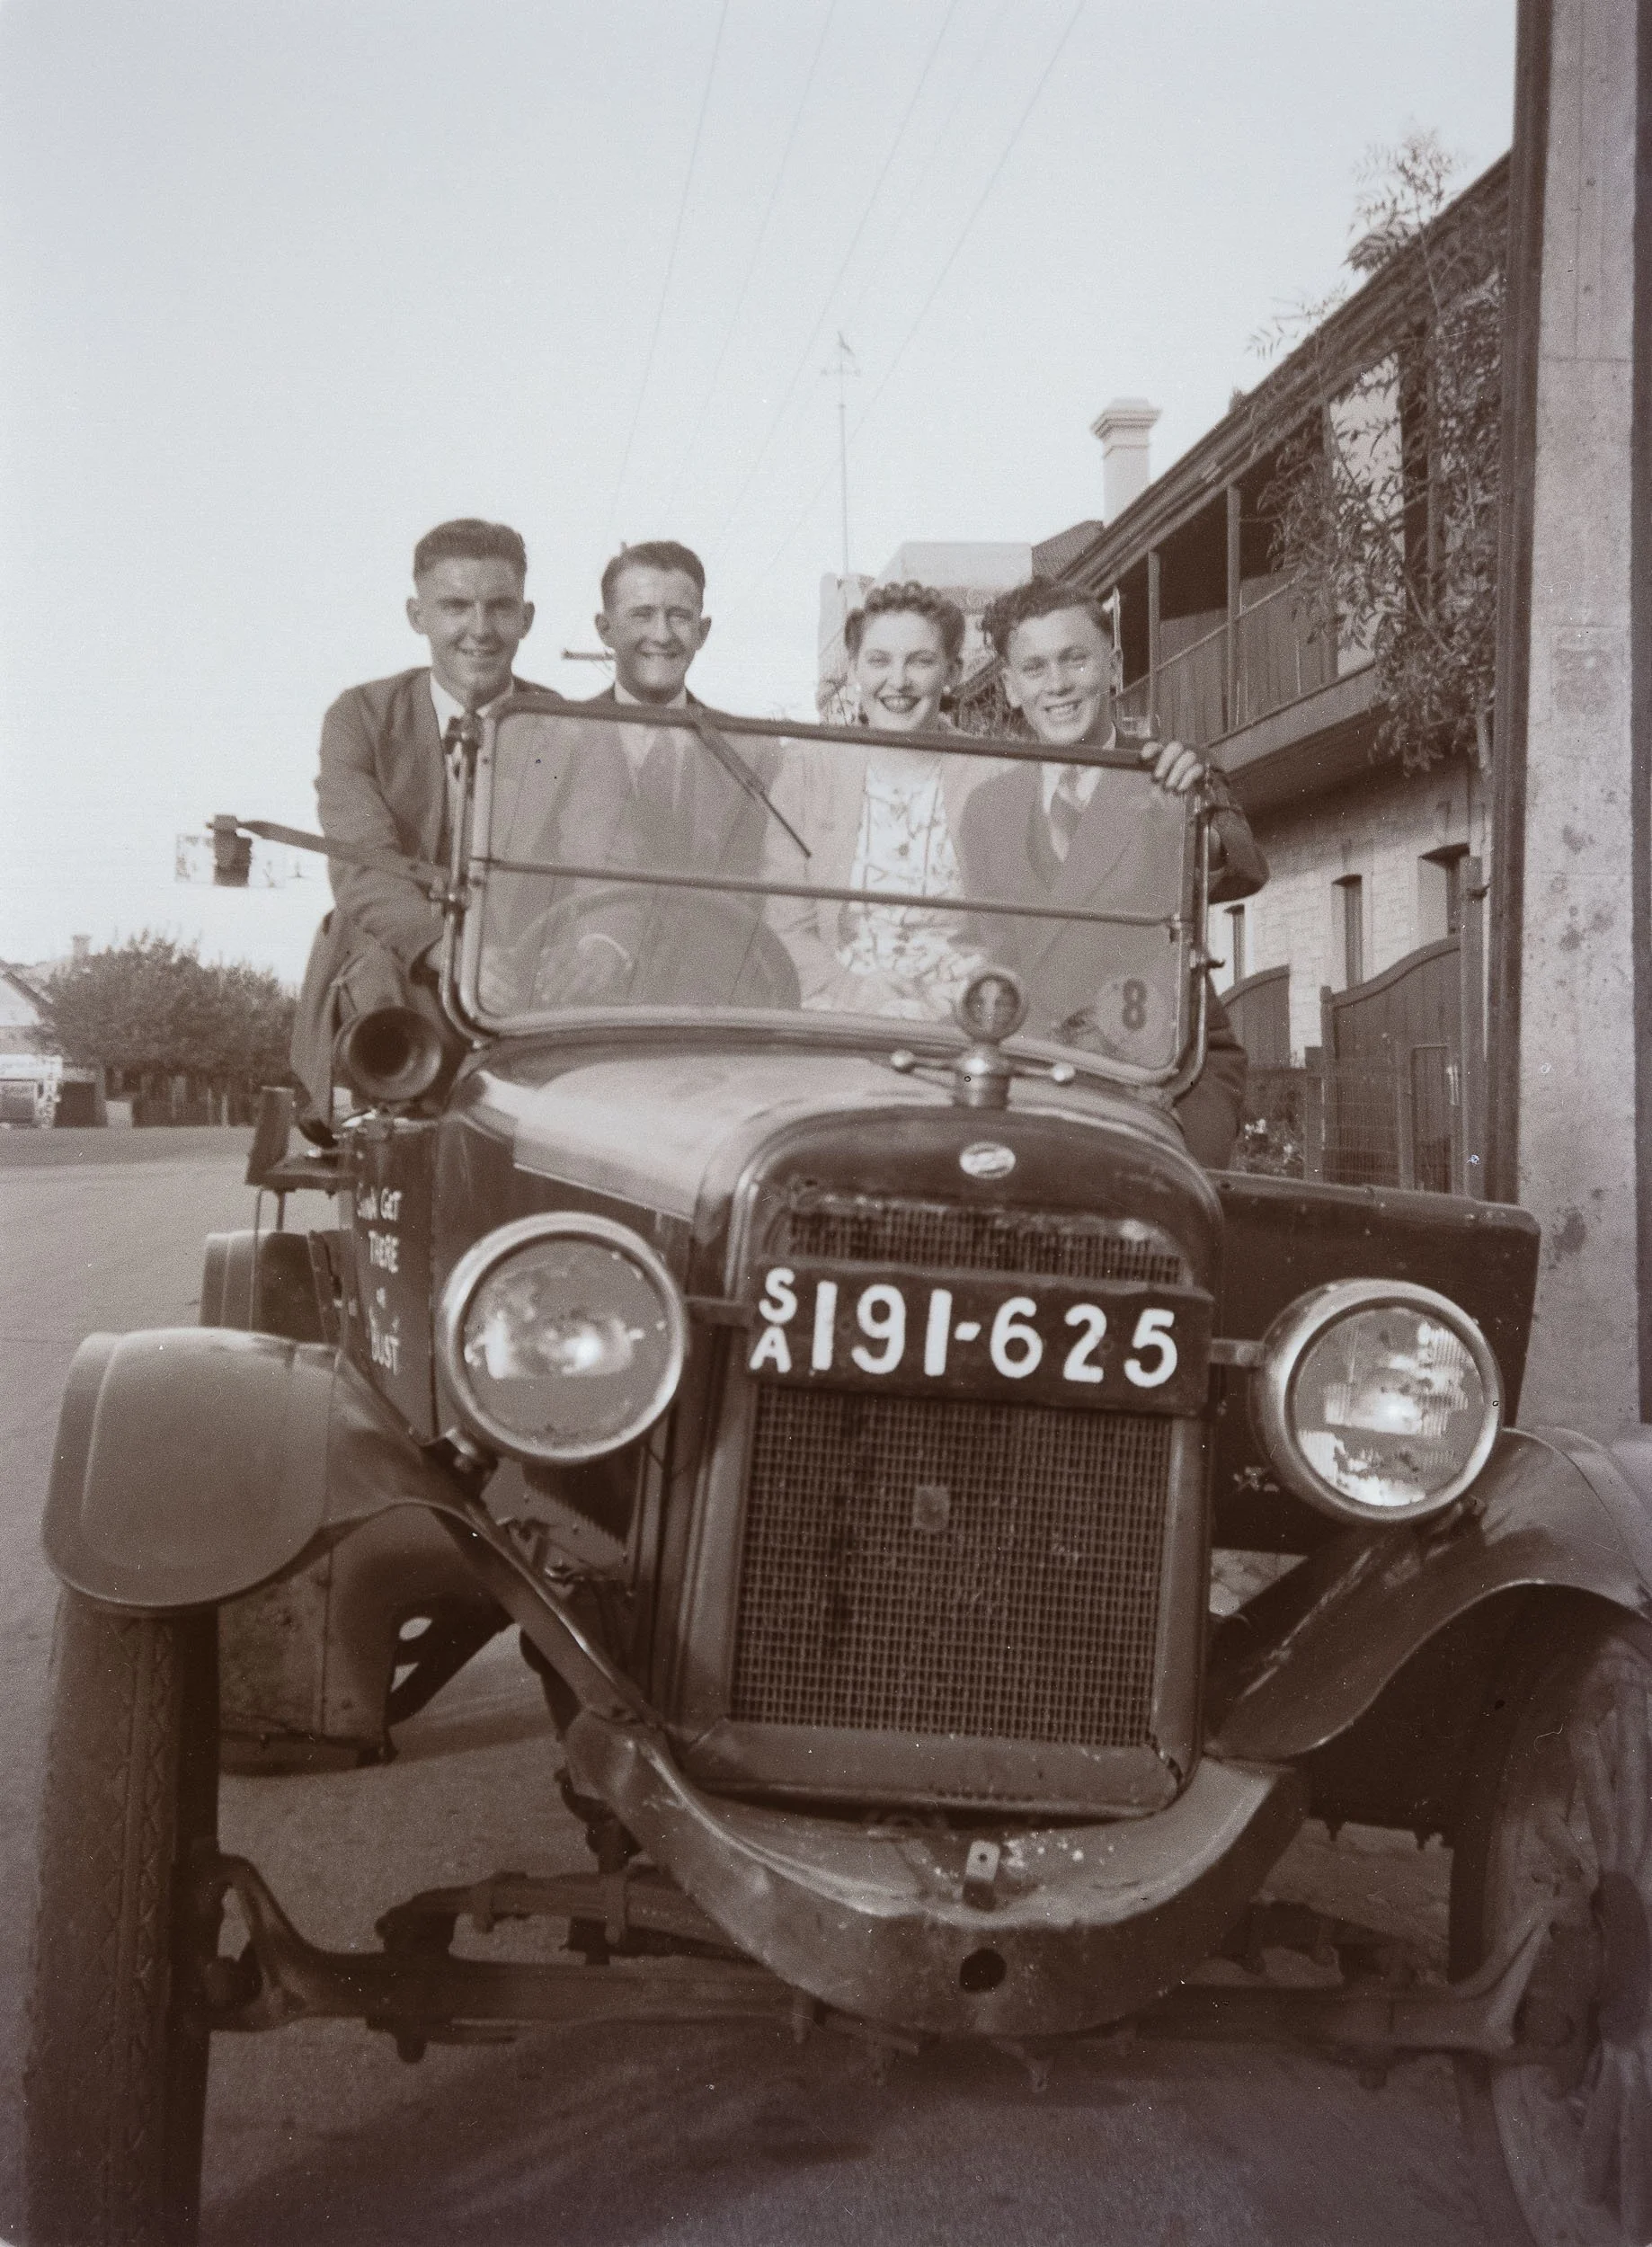
Building a way to convert film to digital
Converting film to digital is nothing new; there are many ways to convert images. Some are great, some not. Some are cheap, some are not.
I wanted to digitise these negatives properly; however, like many families, I could not afford the cost to send them to a professional service. So, once again they sat in the bottom of a cupboard.
Winding back a couple of years, I decided to do some research and put my know-how to work. Using some creativity, mechanical engineering, and design, I started putting ideas together, refining, and creating a simple photograph scanner for 35mm slides. This system has been working well for me, with a few design tweaks and around 2500 slides scanned for various people.
These negatives set a new challenge; the project was more complex than scanning 35mm slides.
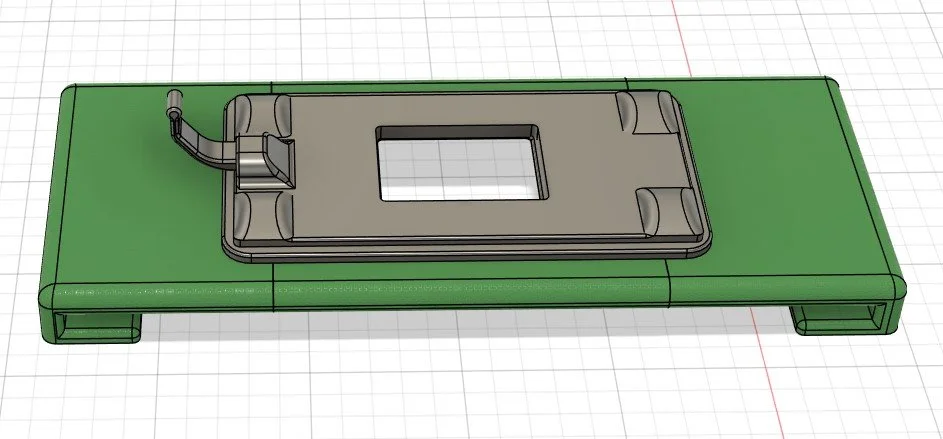
I designed and 3D printed a system to hold negatives flat and position them accurately. The aim was to create a repeatable setup that kept the film stable, evenly illuminated, and correctly aligned with the camera. Most importantly, they had to be FLAT!
The original negatives were mostly medium format and all hand-cut and varied in size and condition. The holder needed to support them without damage; it also needed to be easy to load, remove and adjust as I worked through the collection. Different inserts were designed and printed for different negative sizes. This meant that each frame could be placed without the need to be repositioned every time.
Once the physical setup was working, I photographed each negative in RAW and post-processed the files, including inverting, cropping, and slight adjustments. I try not to make them look as though they were photographed yesterday. The grain, small scratches and imperfections are part of their history, and the purpose is preservation rather than turning them into something they were never meant to be.
The whole process takes time. Designing the holder, printing prototypes, testing the lighting, capturing the negatives and processing the files is not a quick job.
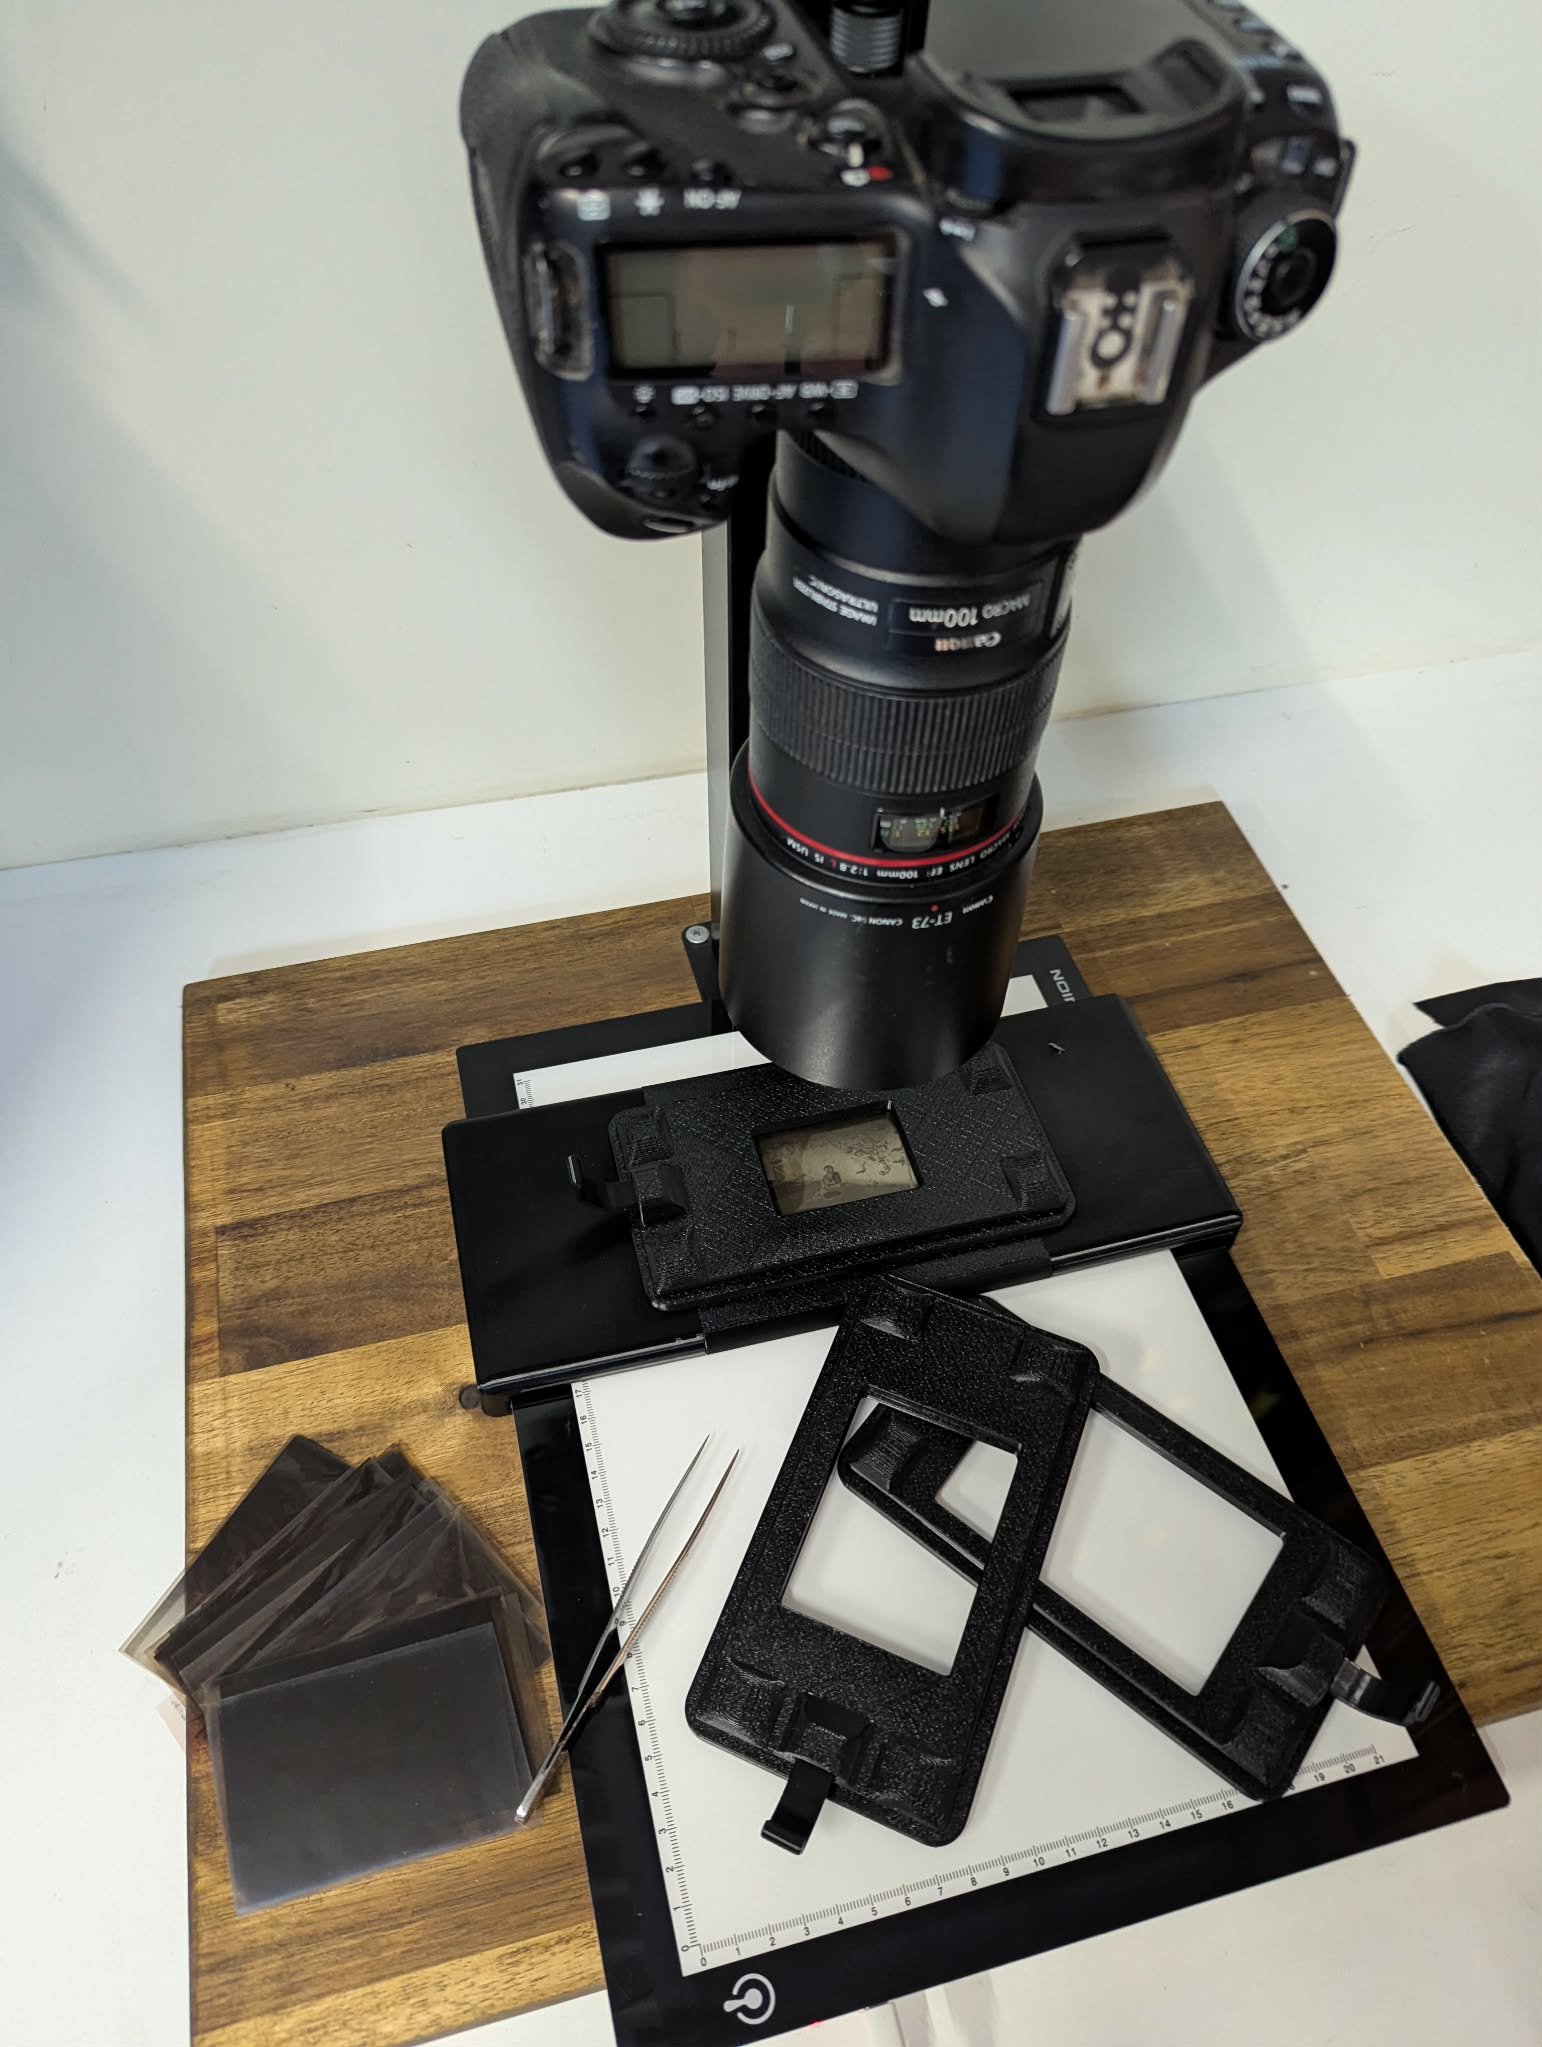
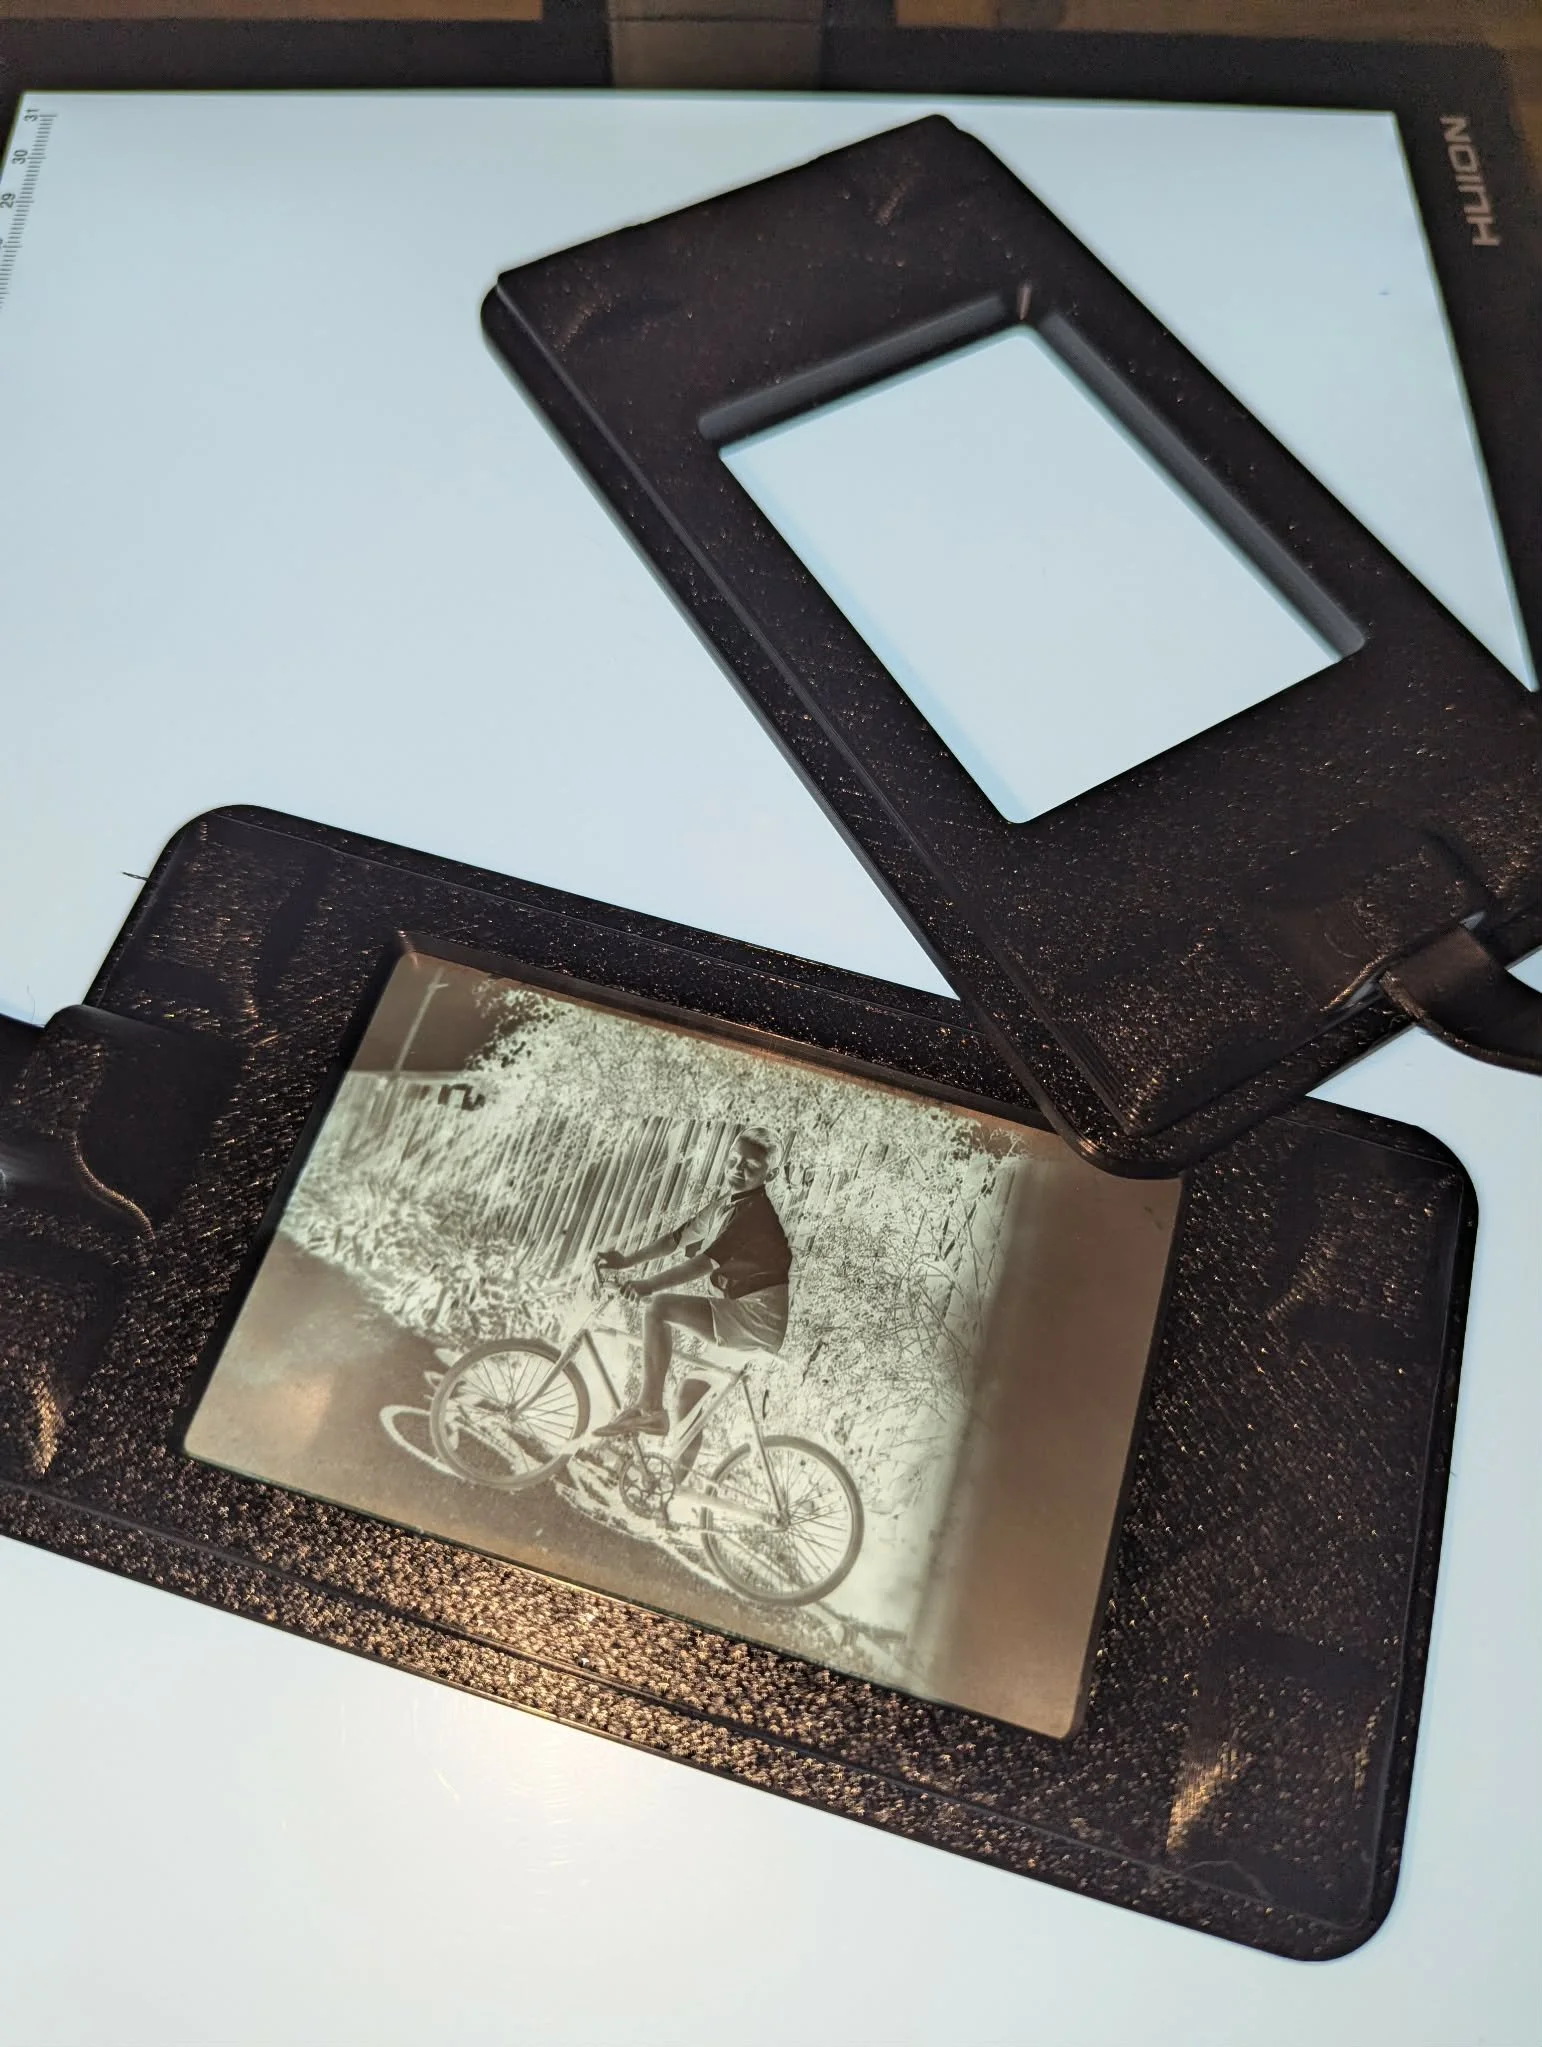
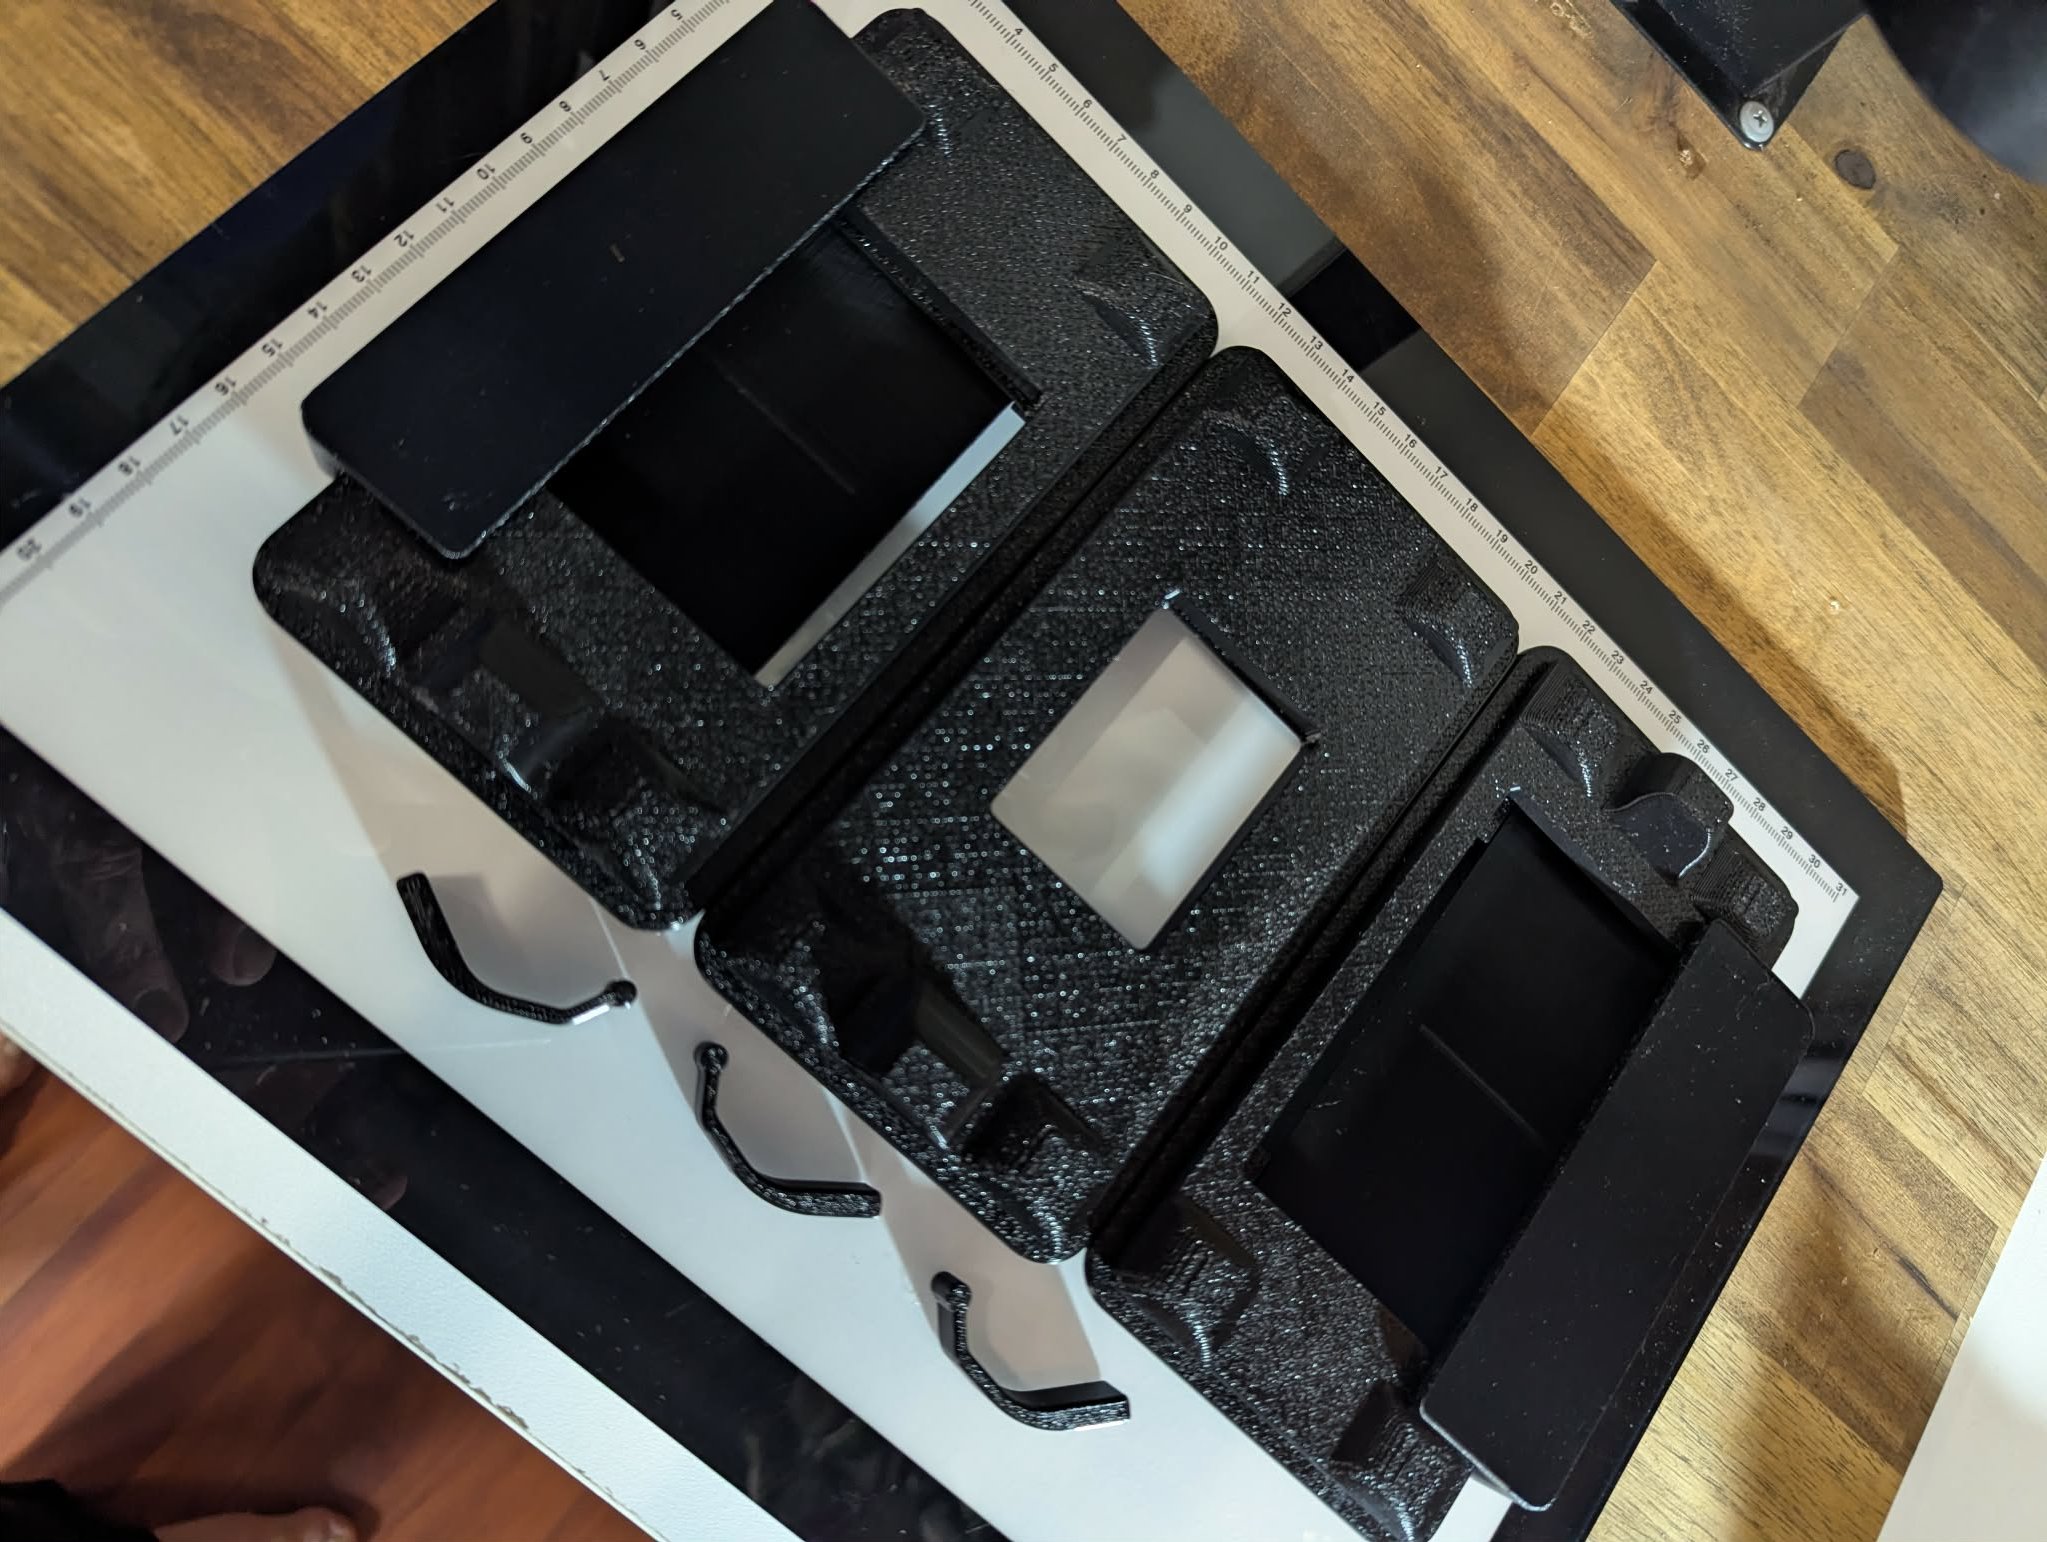
Numerous images were shot and then reshot, simply because it is very easy to lose focus using this method. Double and triple-checking focus for all 100 images was critical. Some are just not in focus. Using live view and magnifying x10 to manually focus on the film grain is always the best way to ensure the focus is true and correct.
Keep the originals!
Digitising a photograph does not mean the original should be thrown away.
Digital files are easy to copy, view and share, but hard drives fail, and online services disappear. Physical photographs and negatives have their own risks, but here, they have shown that they can survive for generations when they are kept dry, dark and protected.
The strongest approach is to keep both.
Store the negatives, slides and prints safely. Create high-resolution digital copies. Keep those in more than one location – such as a cloud service. Names, dates and locations recorded also become useful, especially for generations to come.
That information is often lost before the photograph itself.
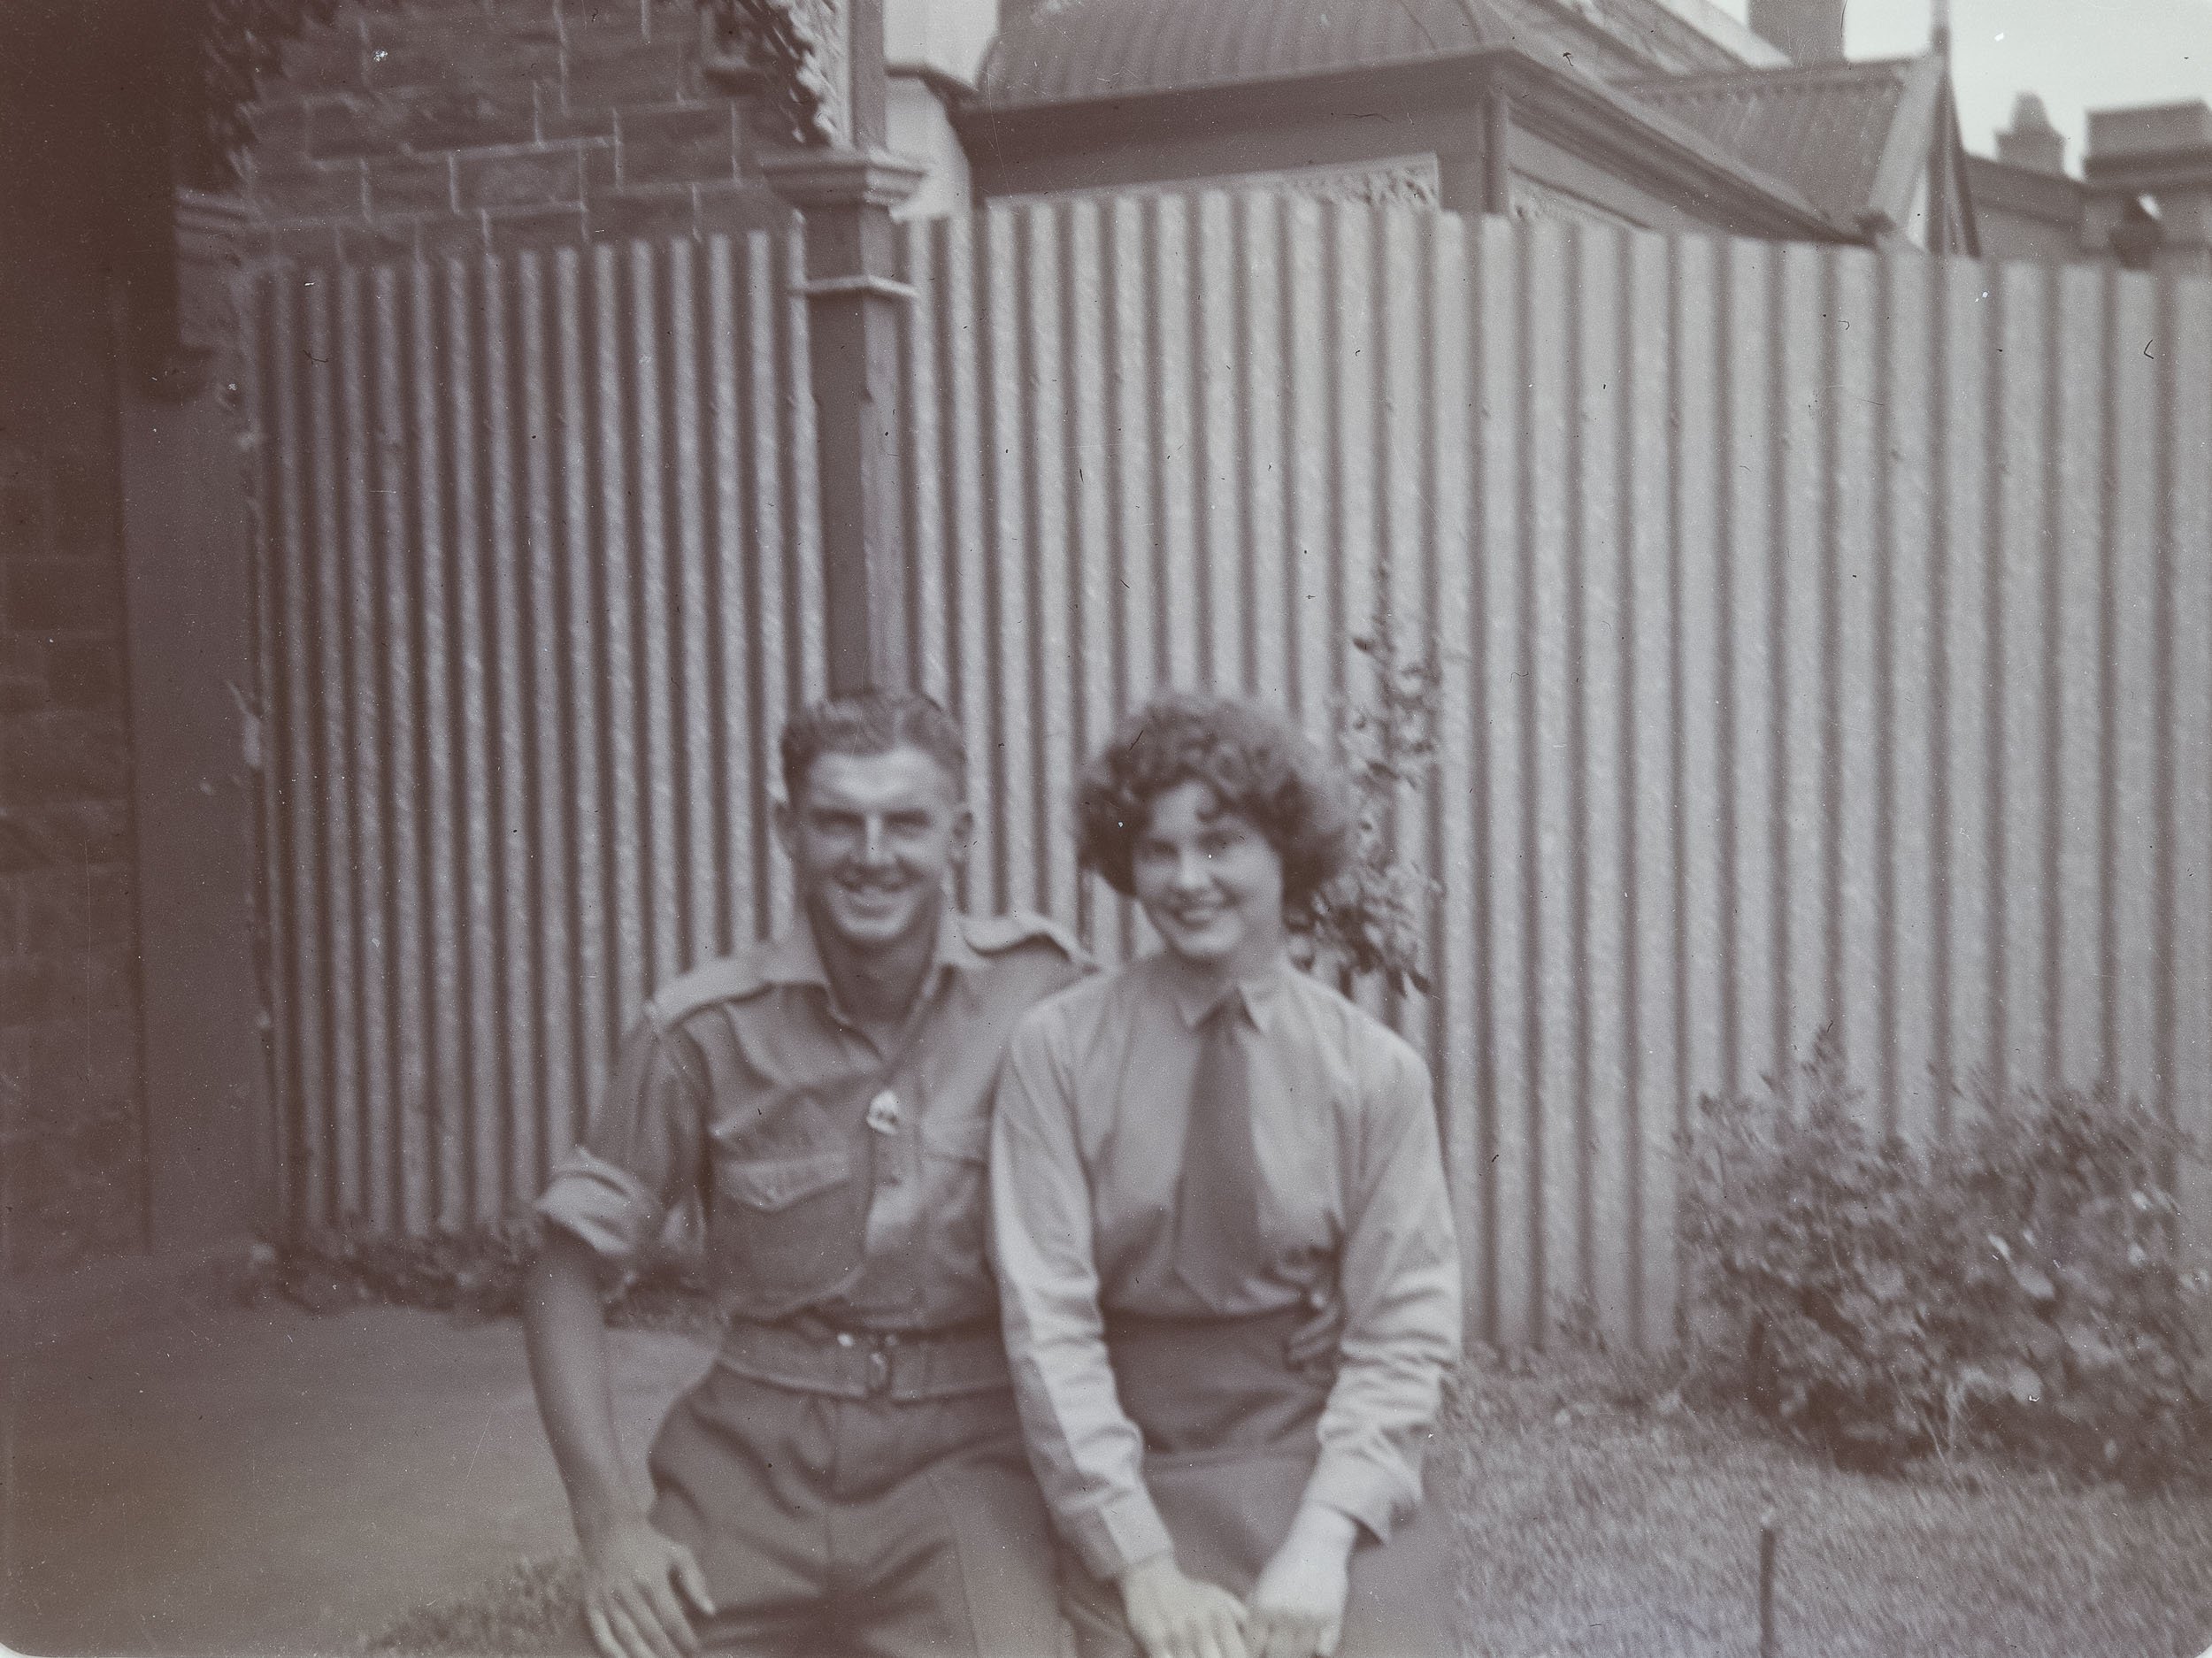
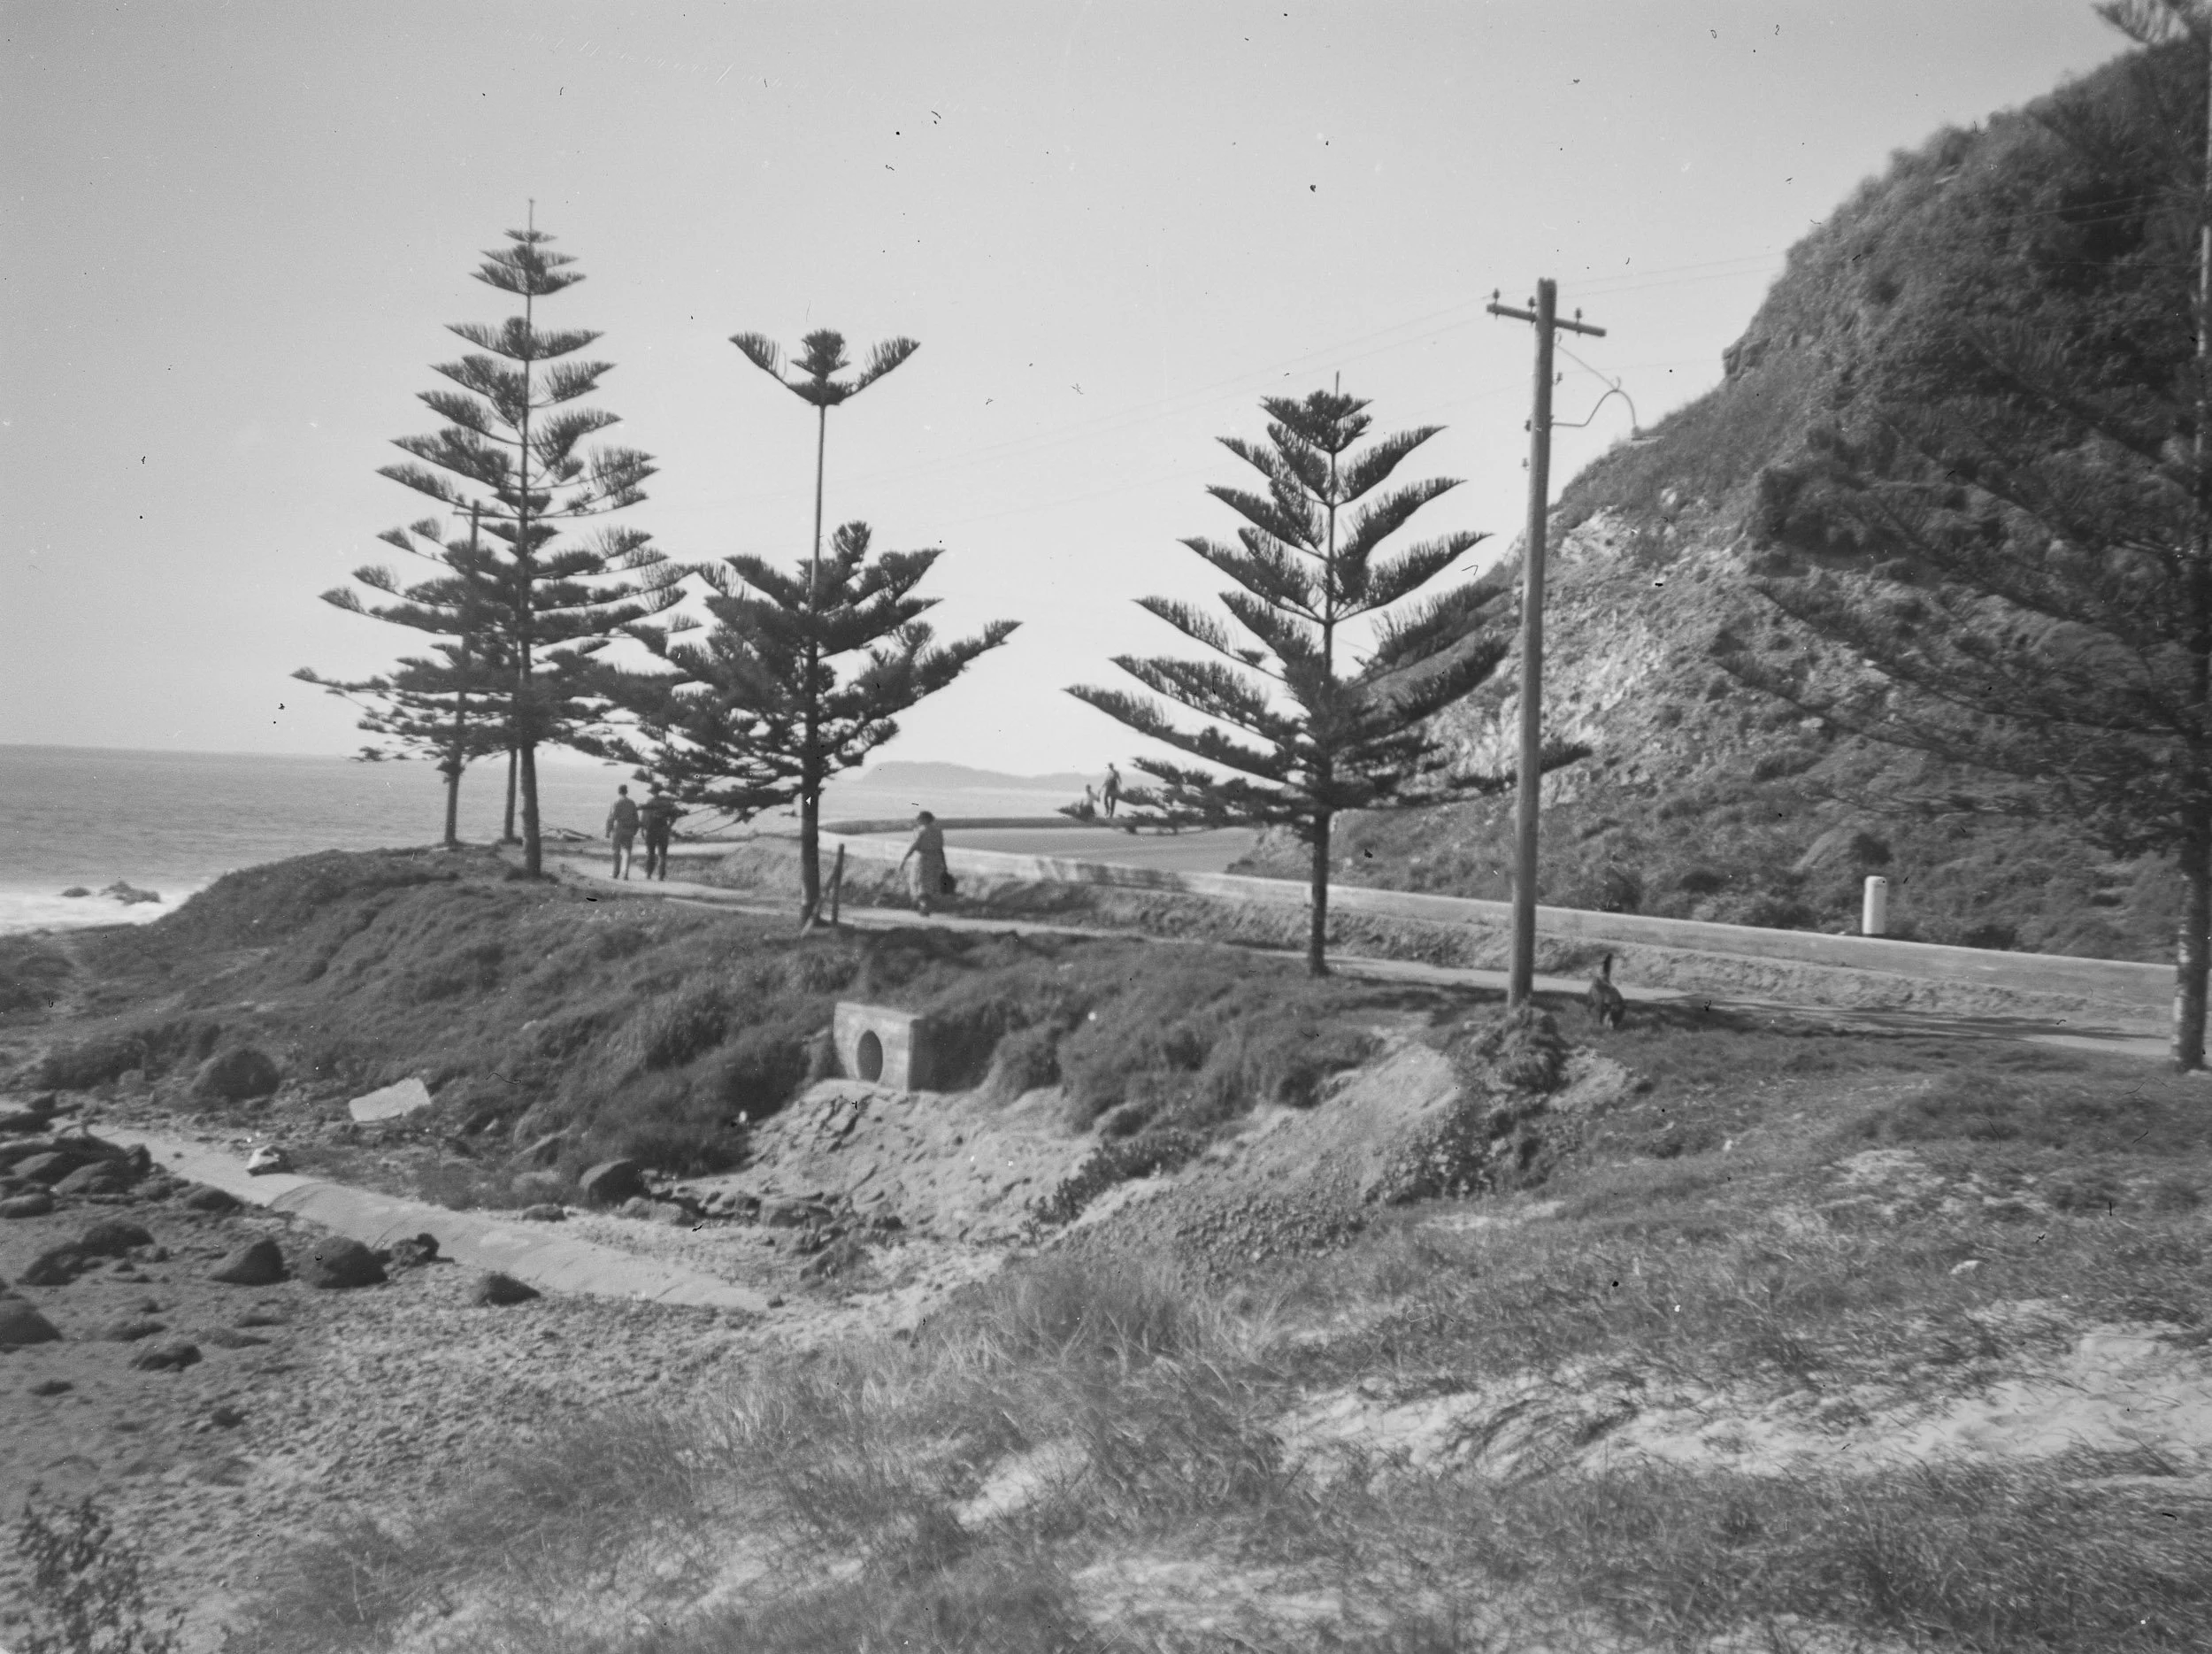
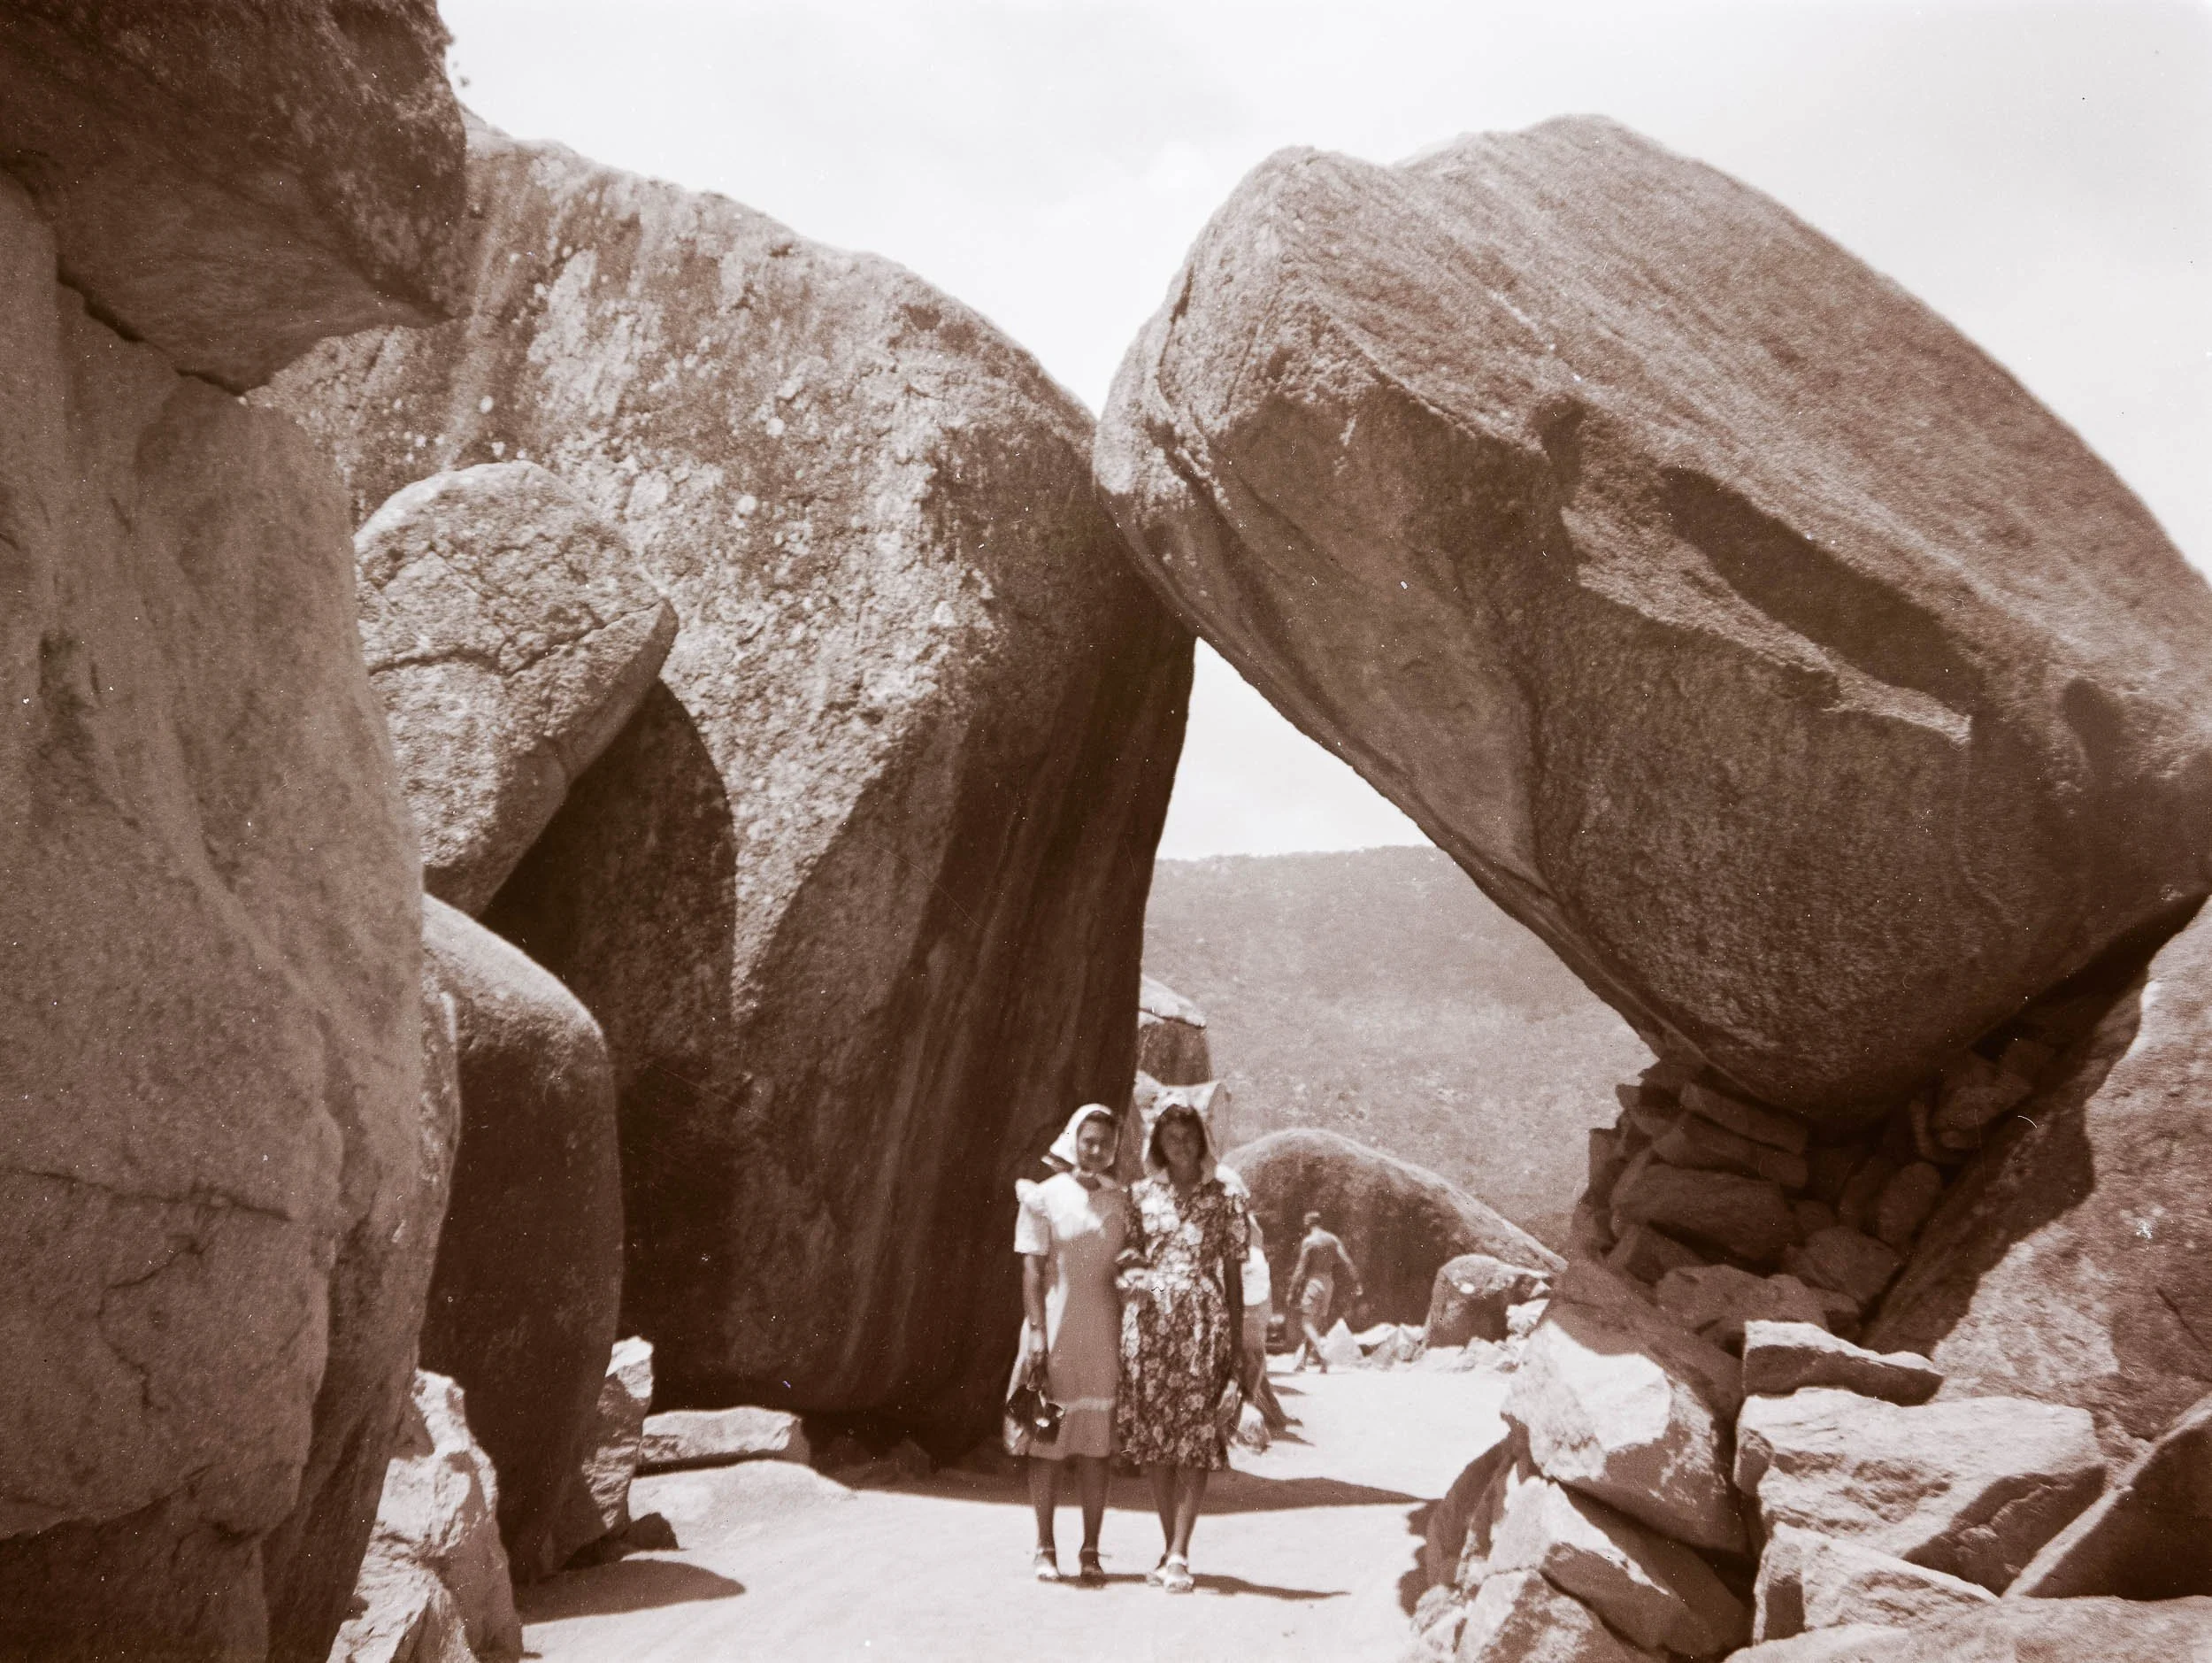
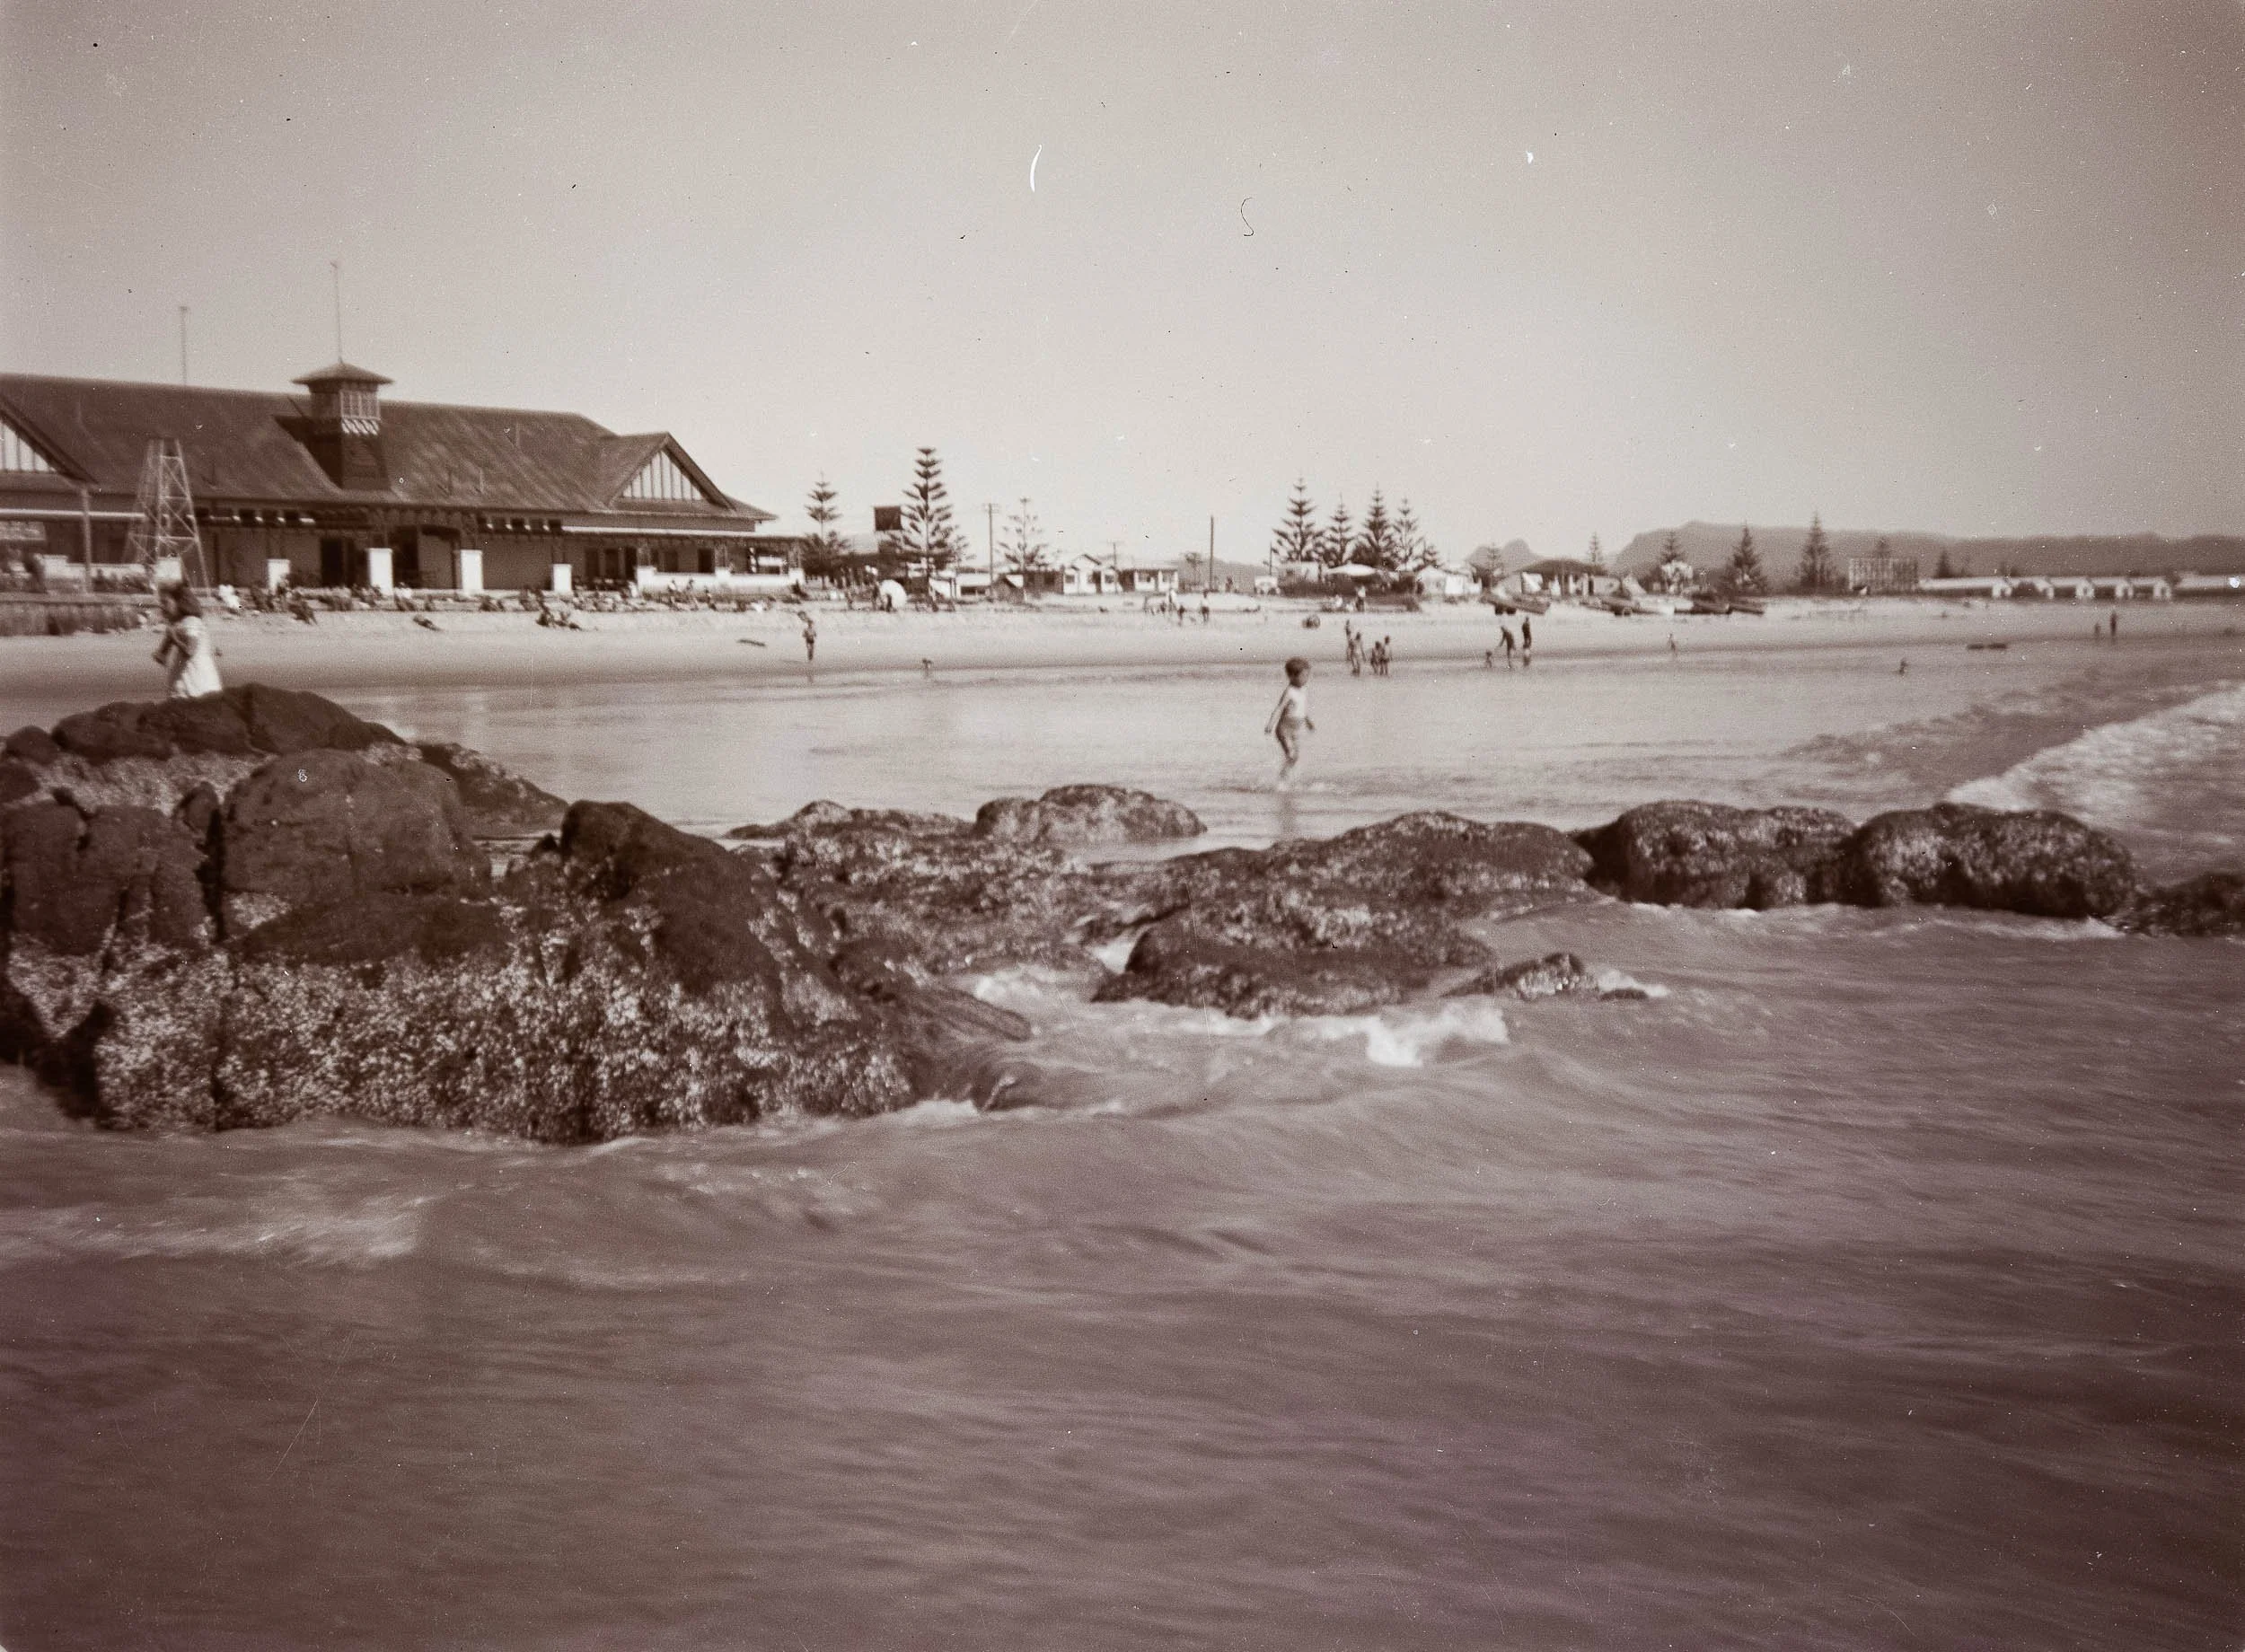
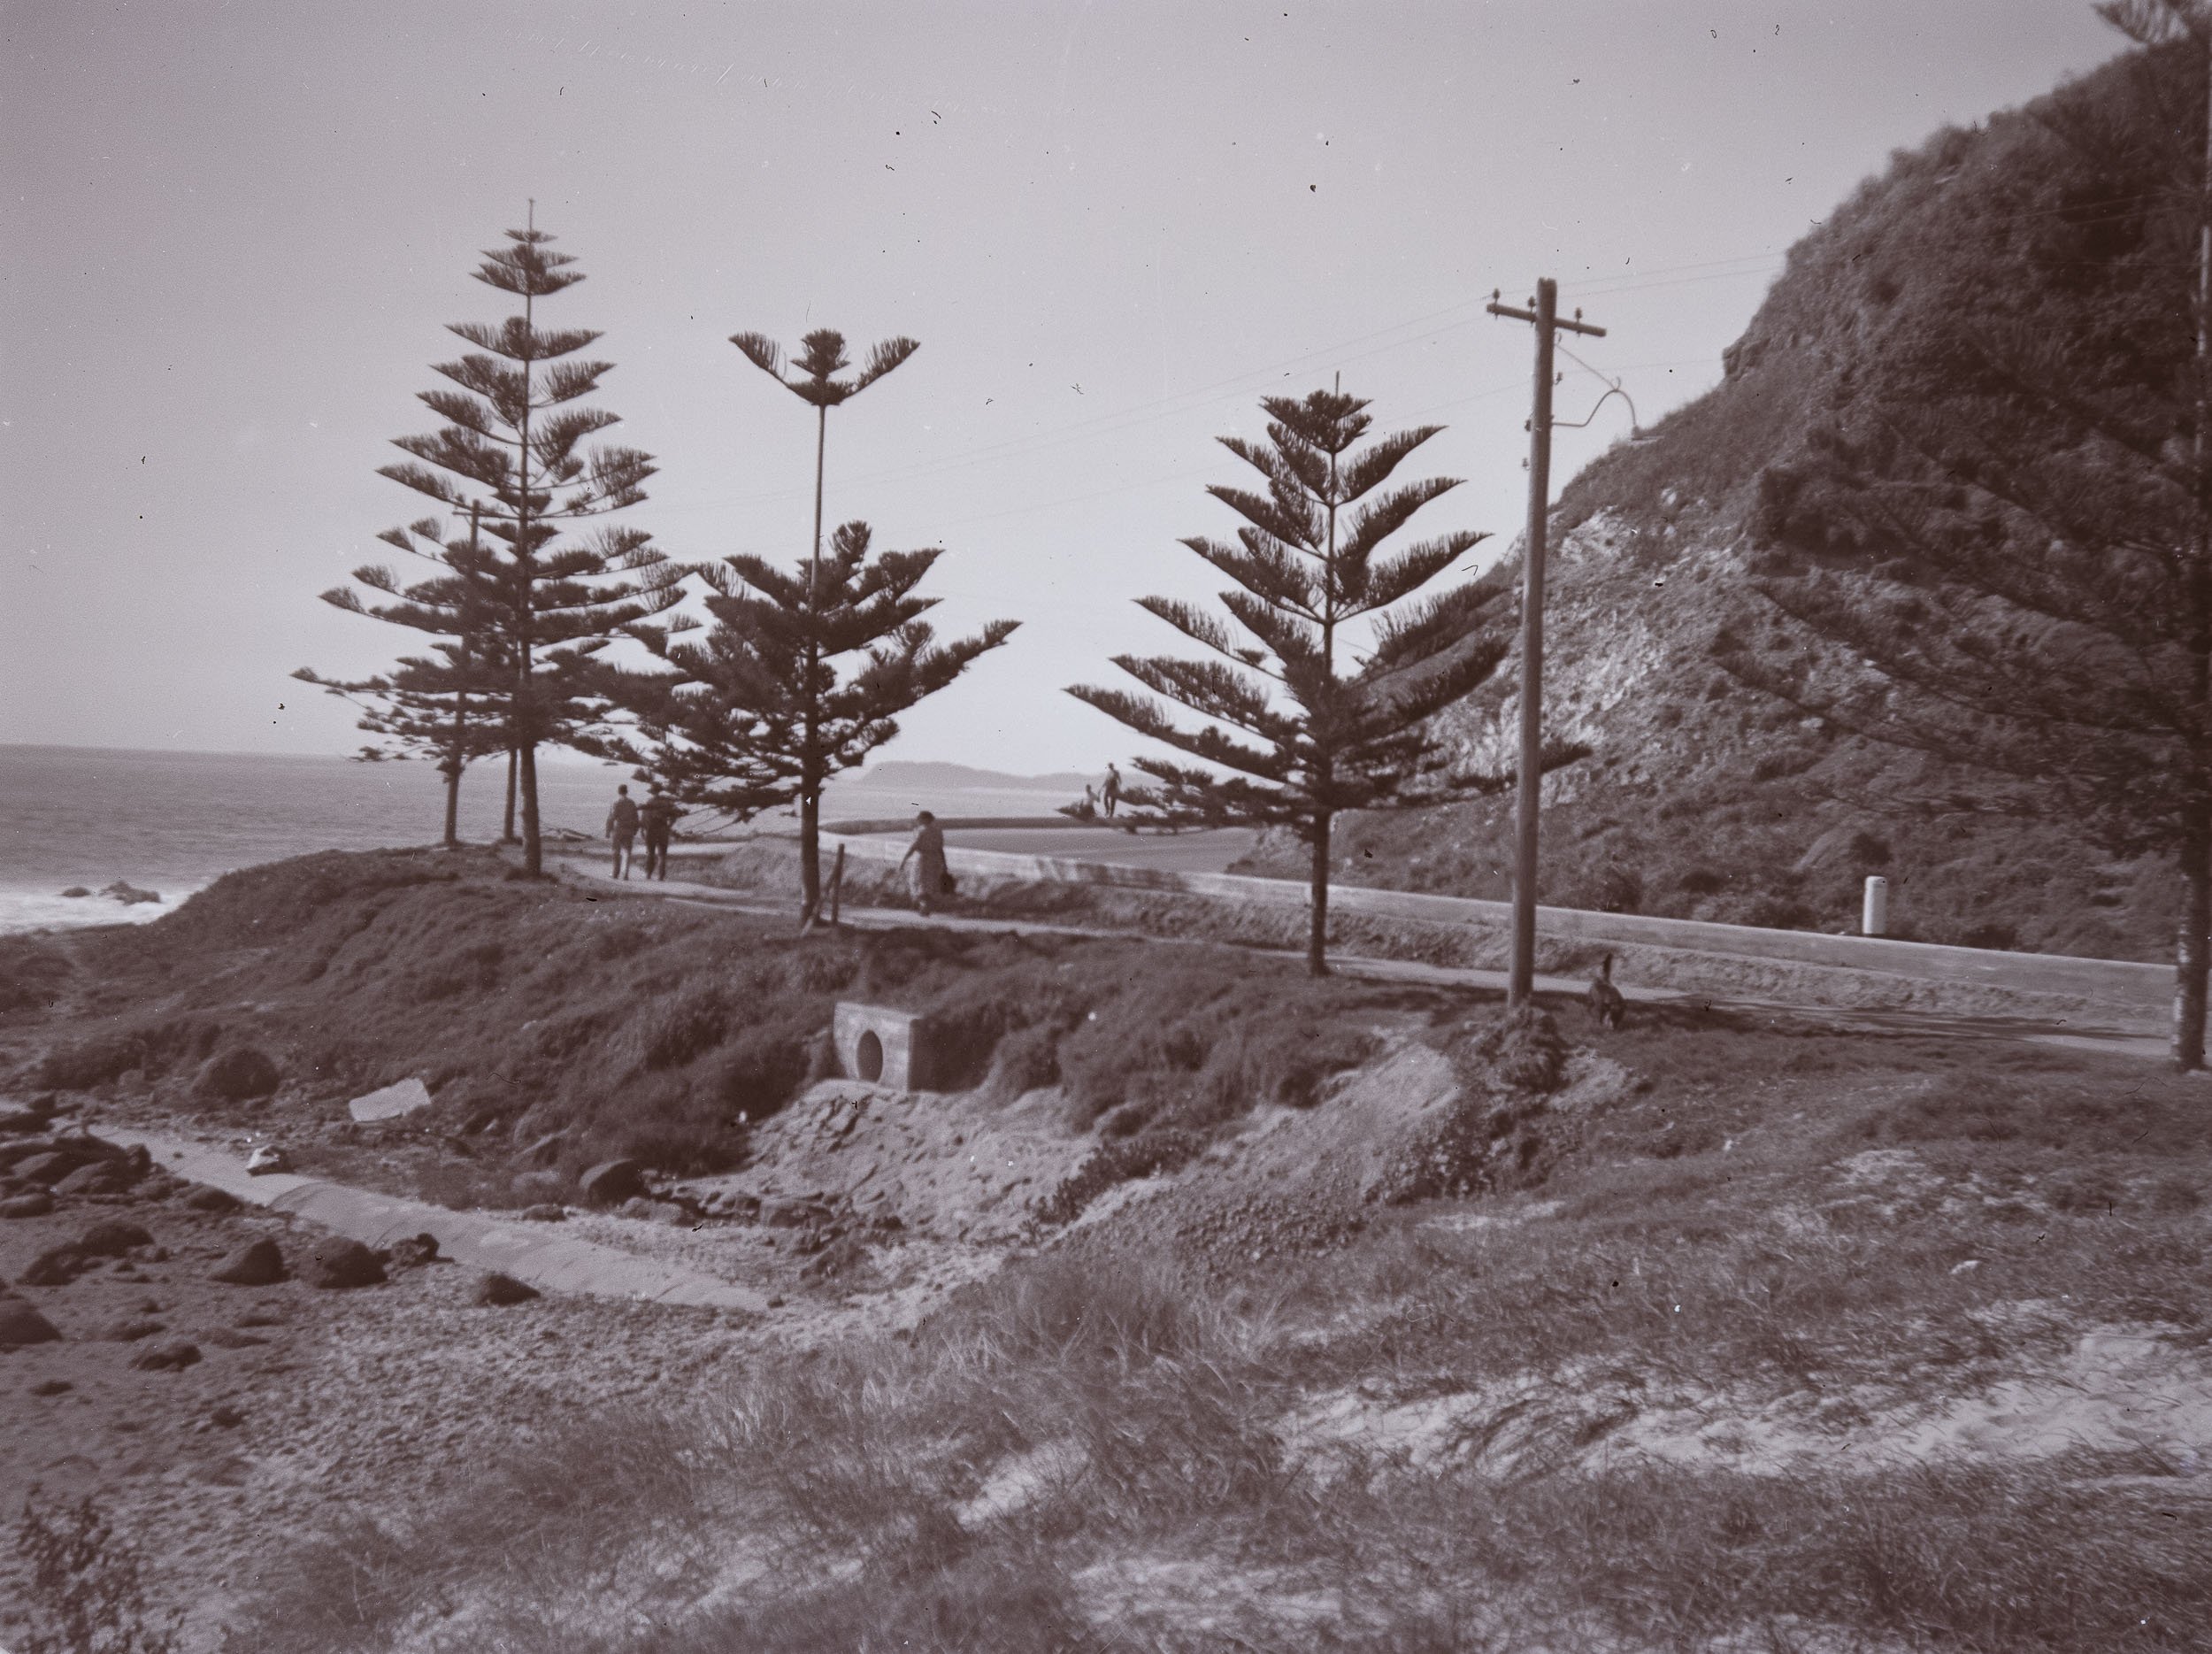
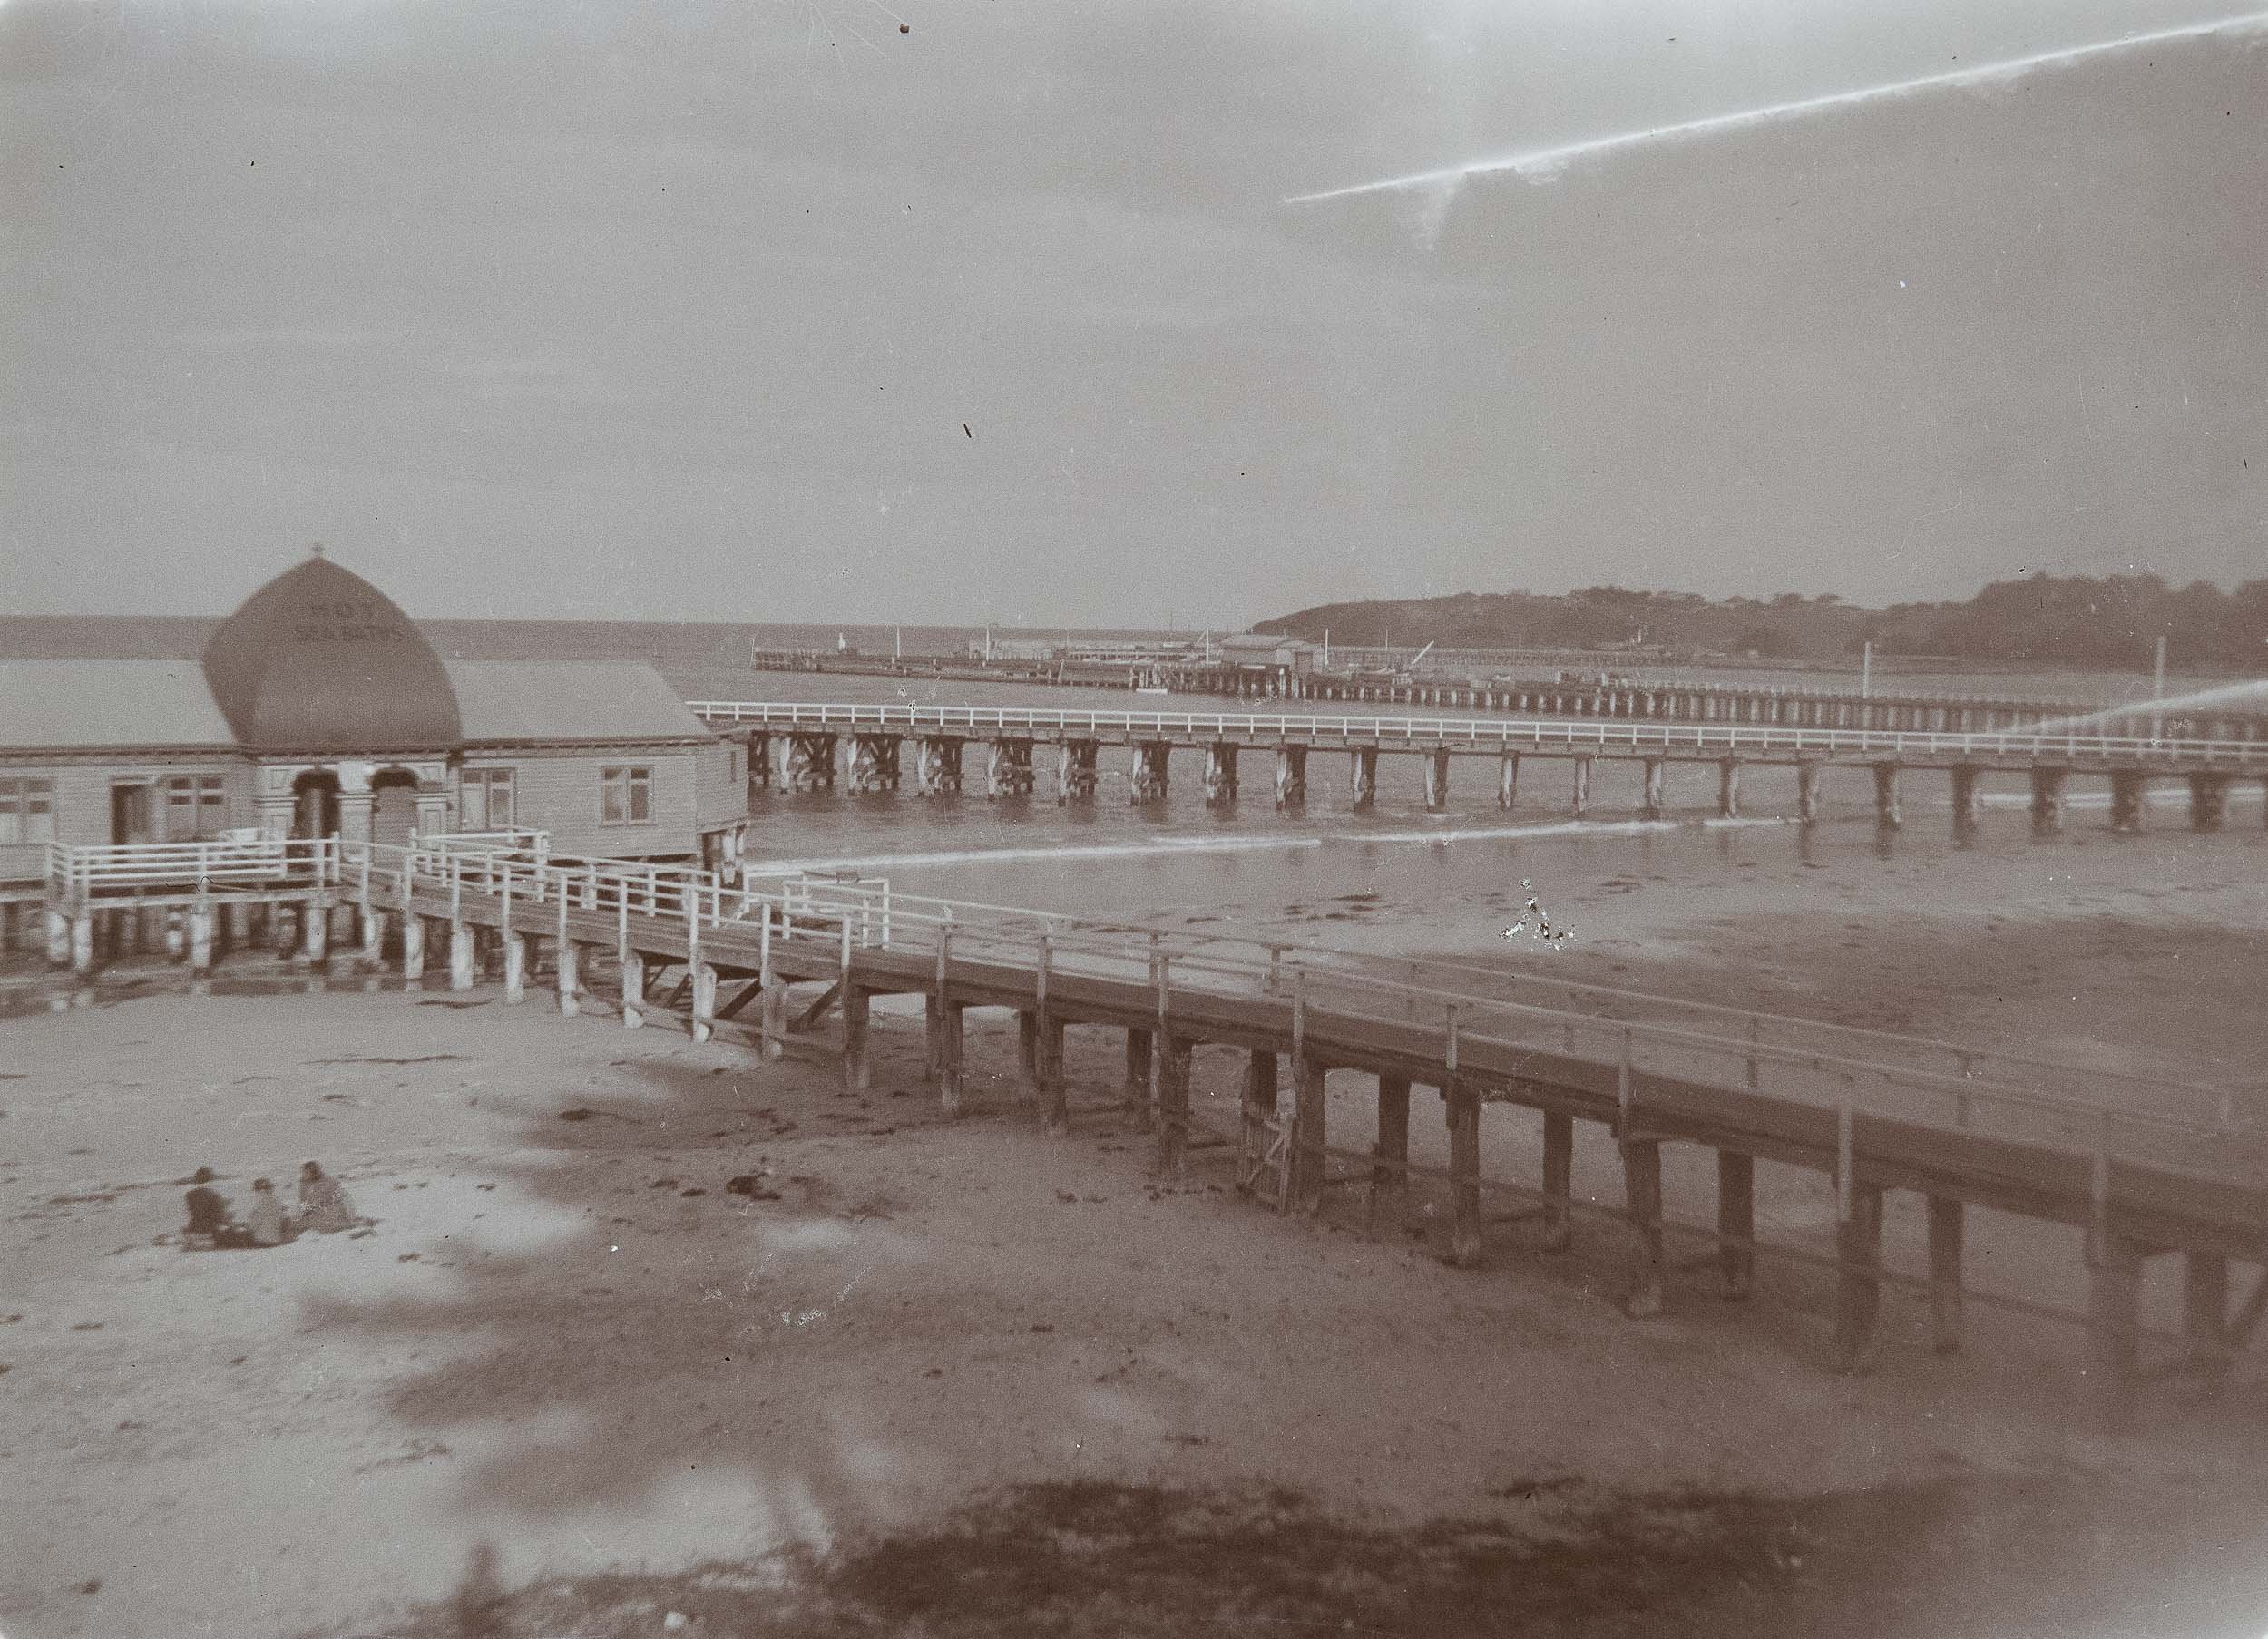
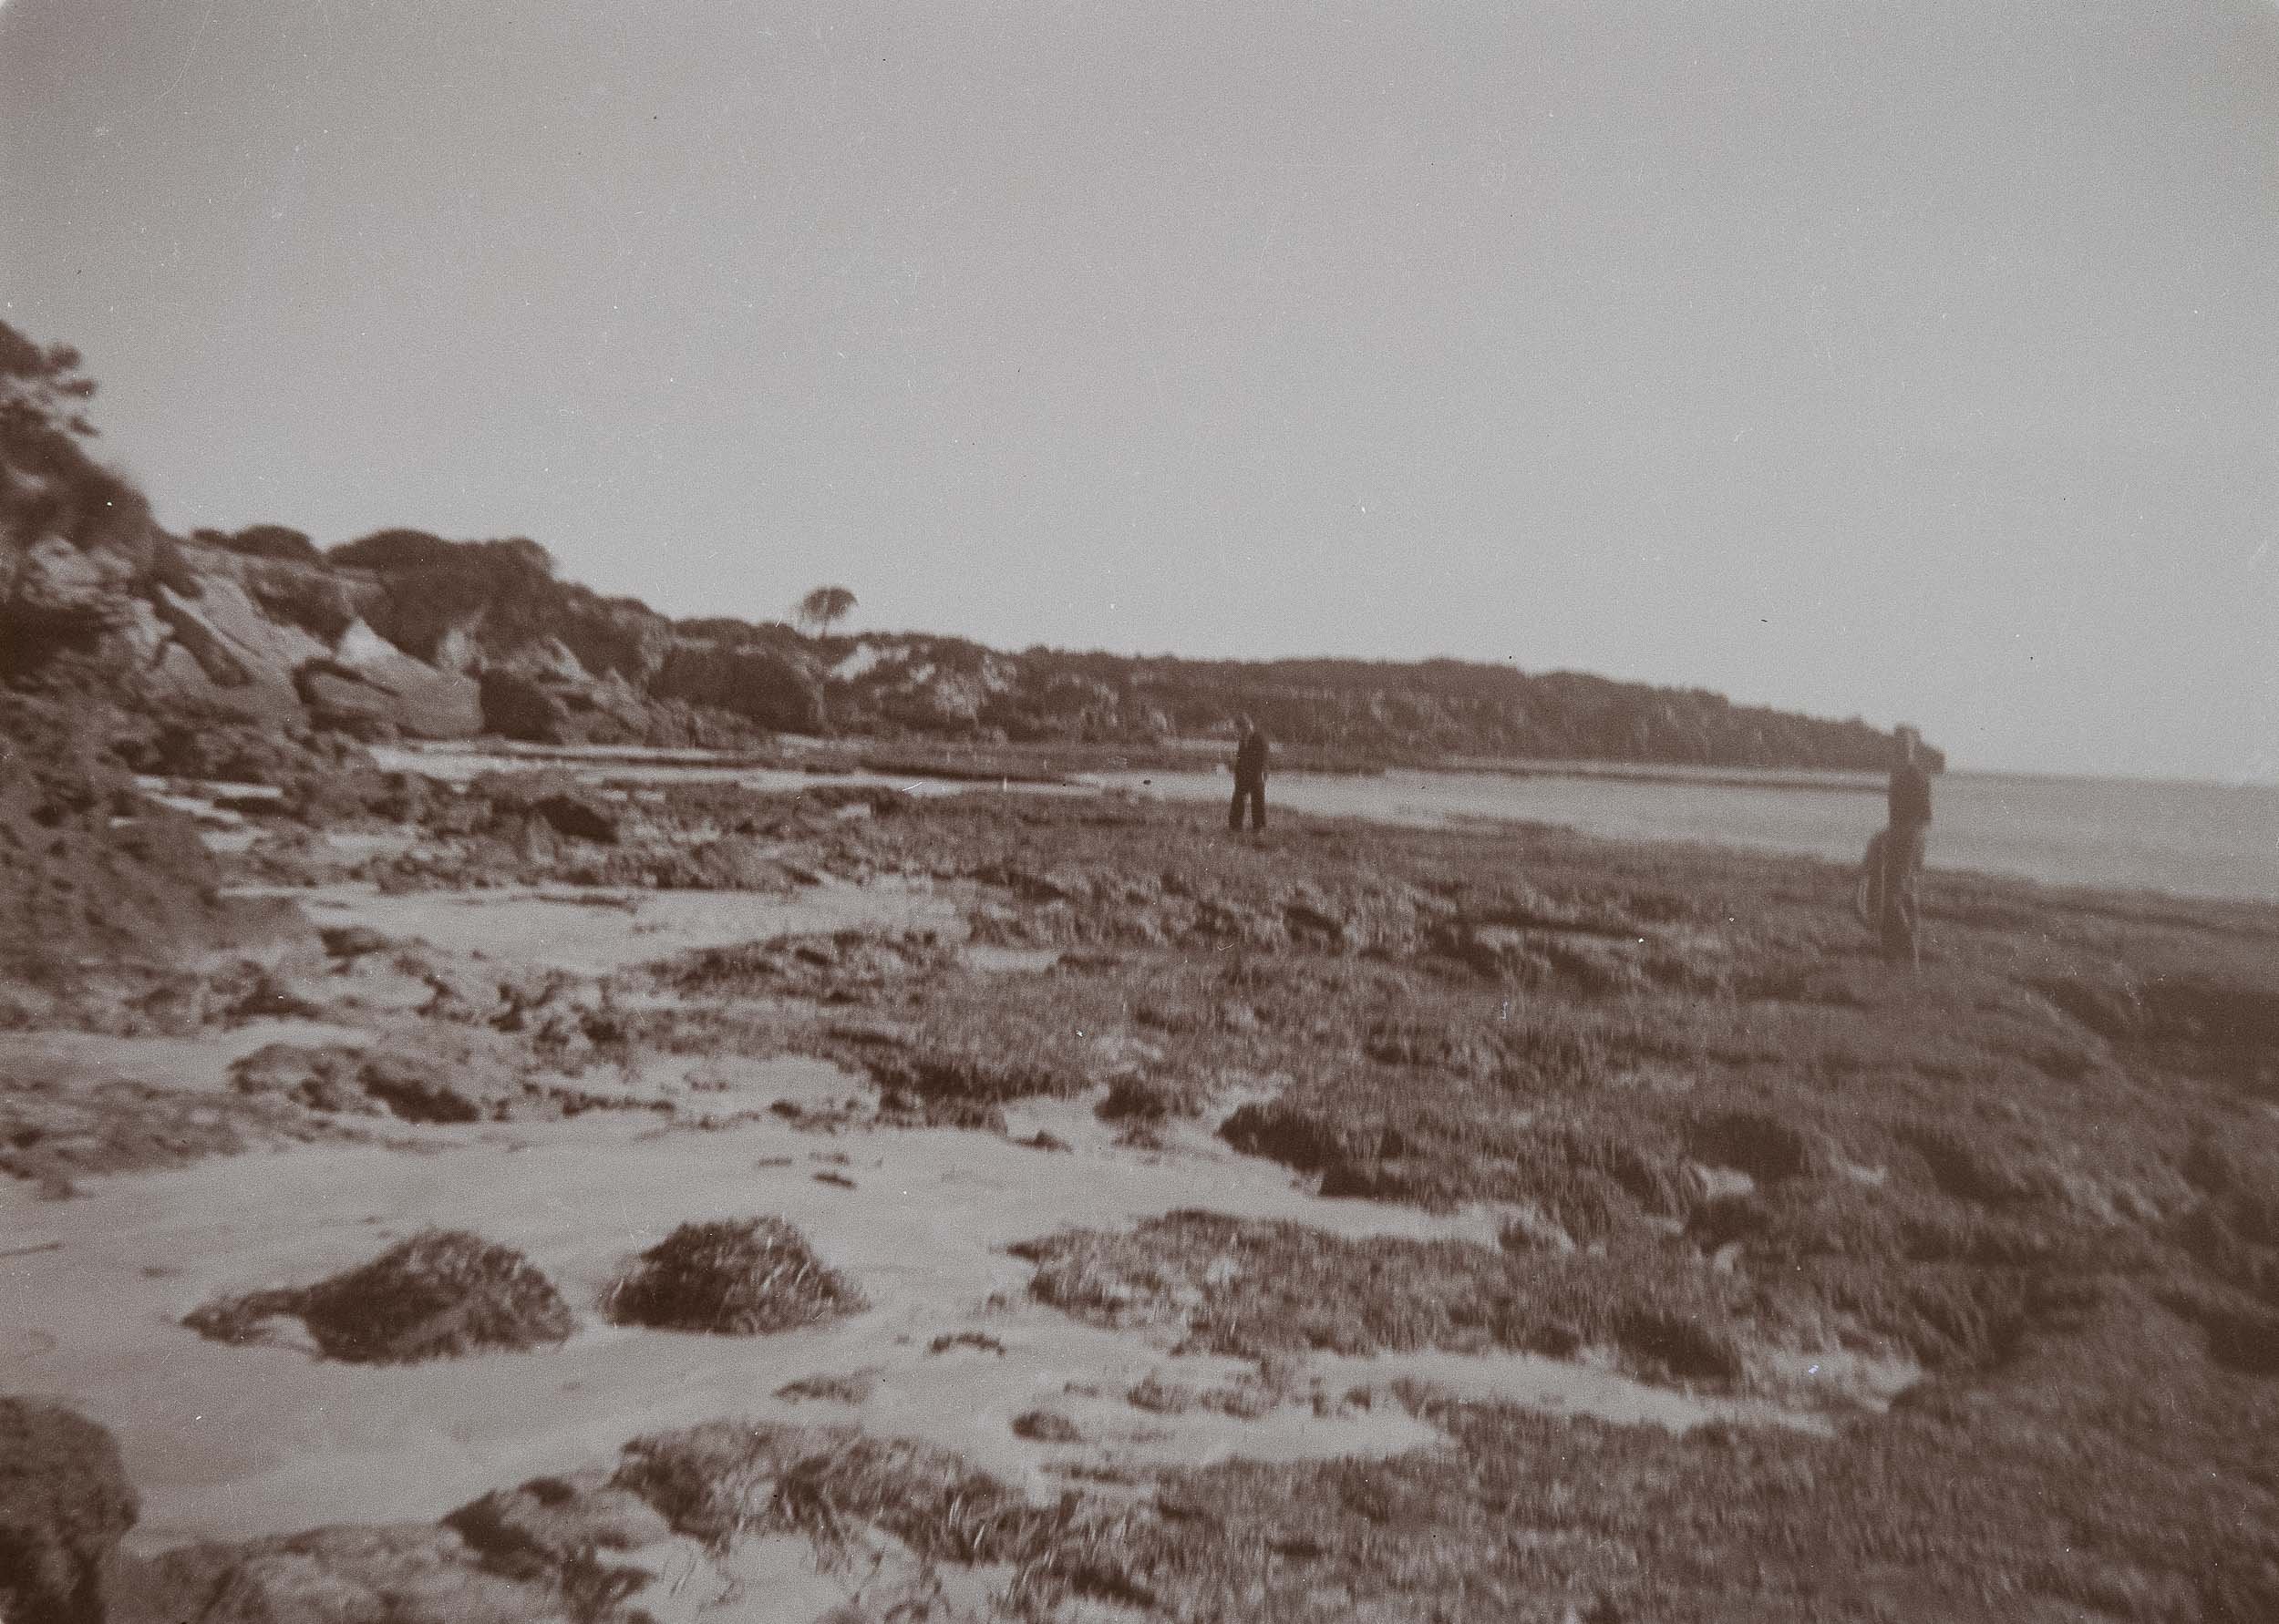
It’s not just people - Keep the street scenes. Keep the houses, sheds, and the cars. A family member may recognise a location decades later. A local historian may identify a building that no longer exists. Someone like me might happen across them and then search for the location and compare to now…Both of the following examples came from this pack!
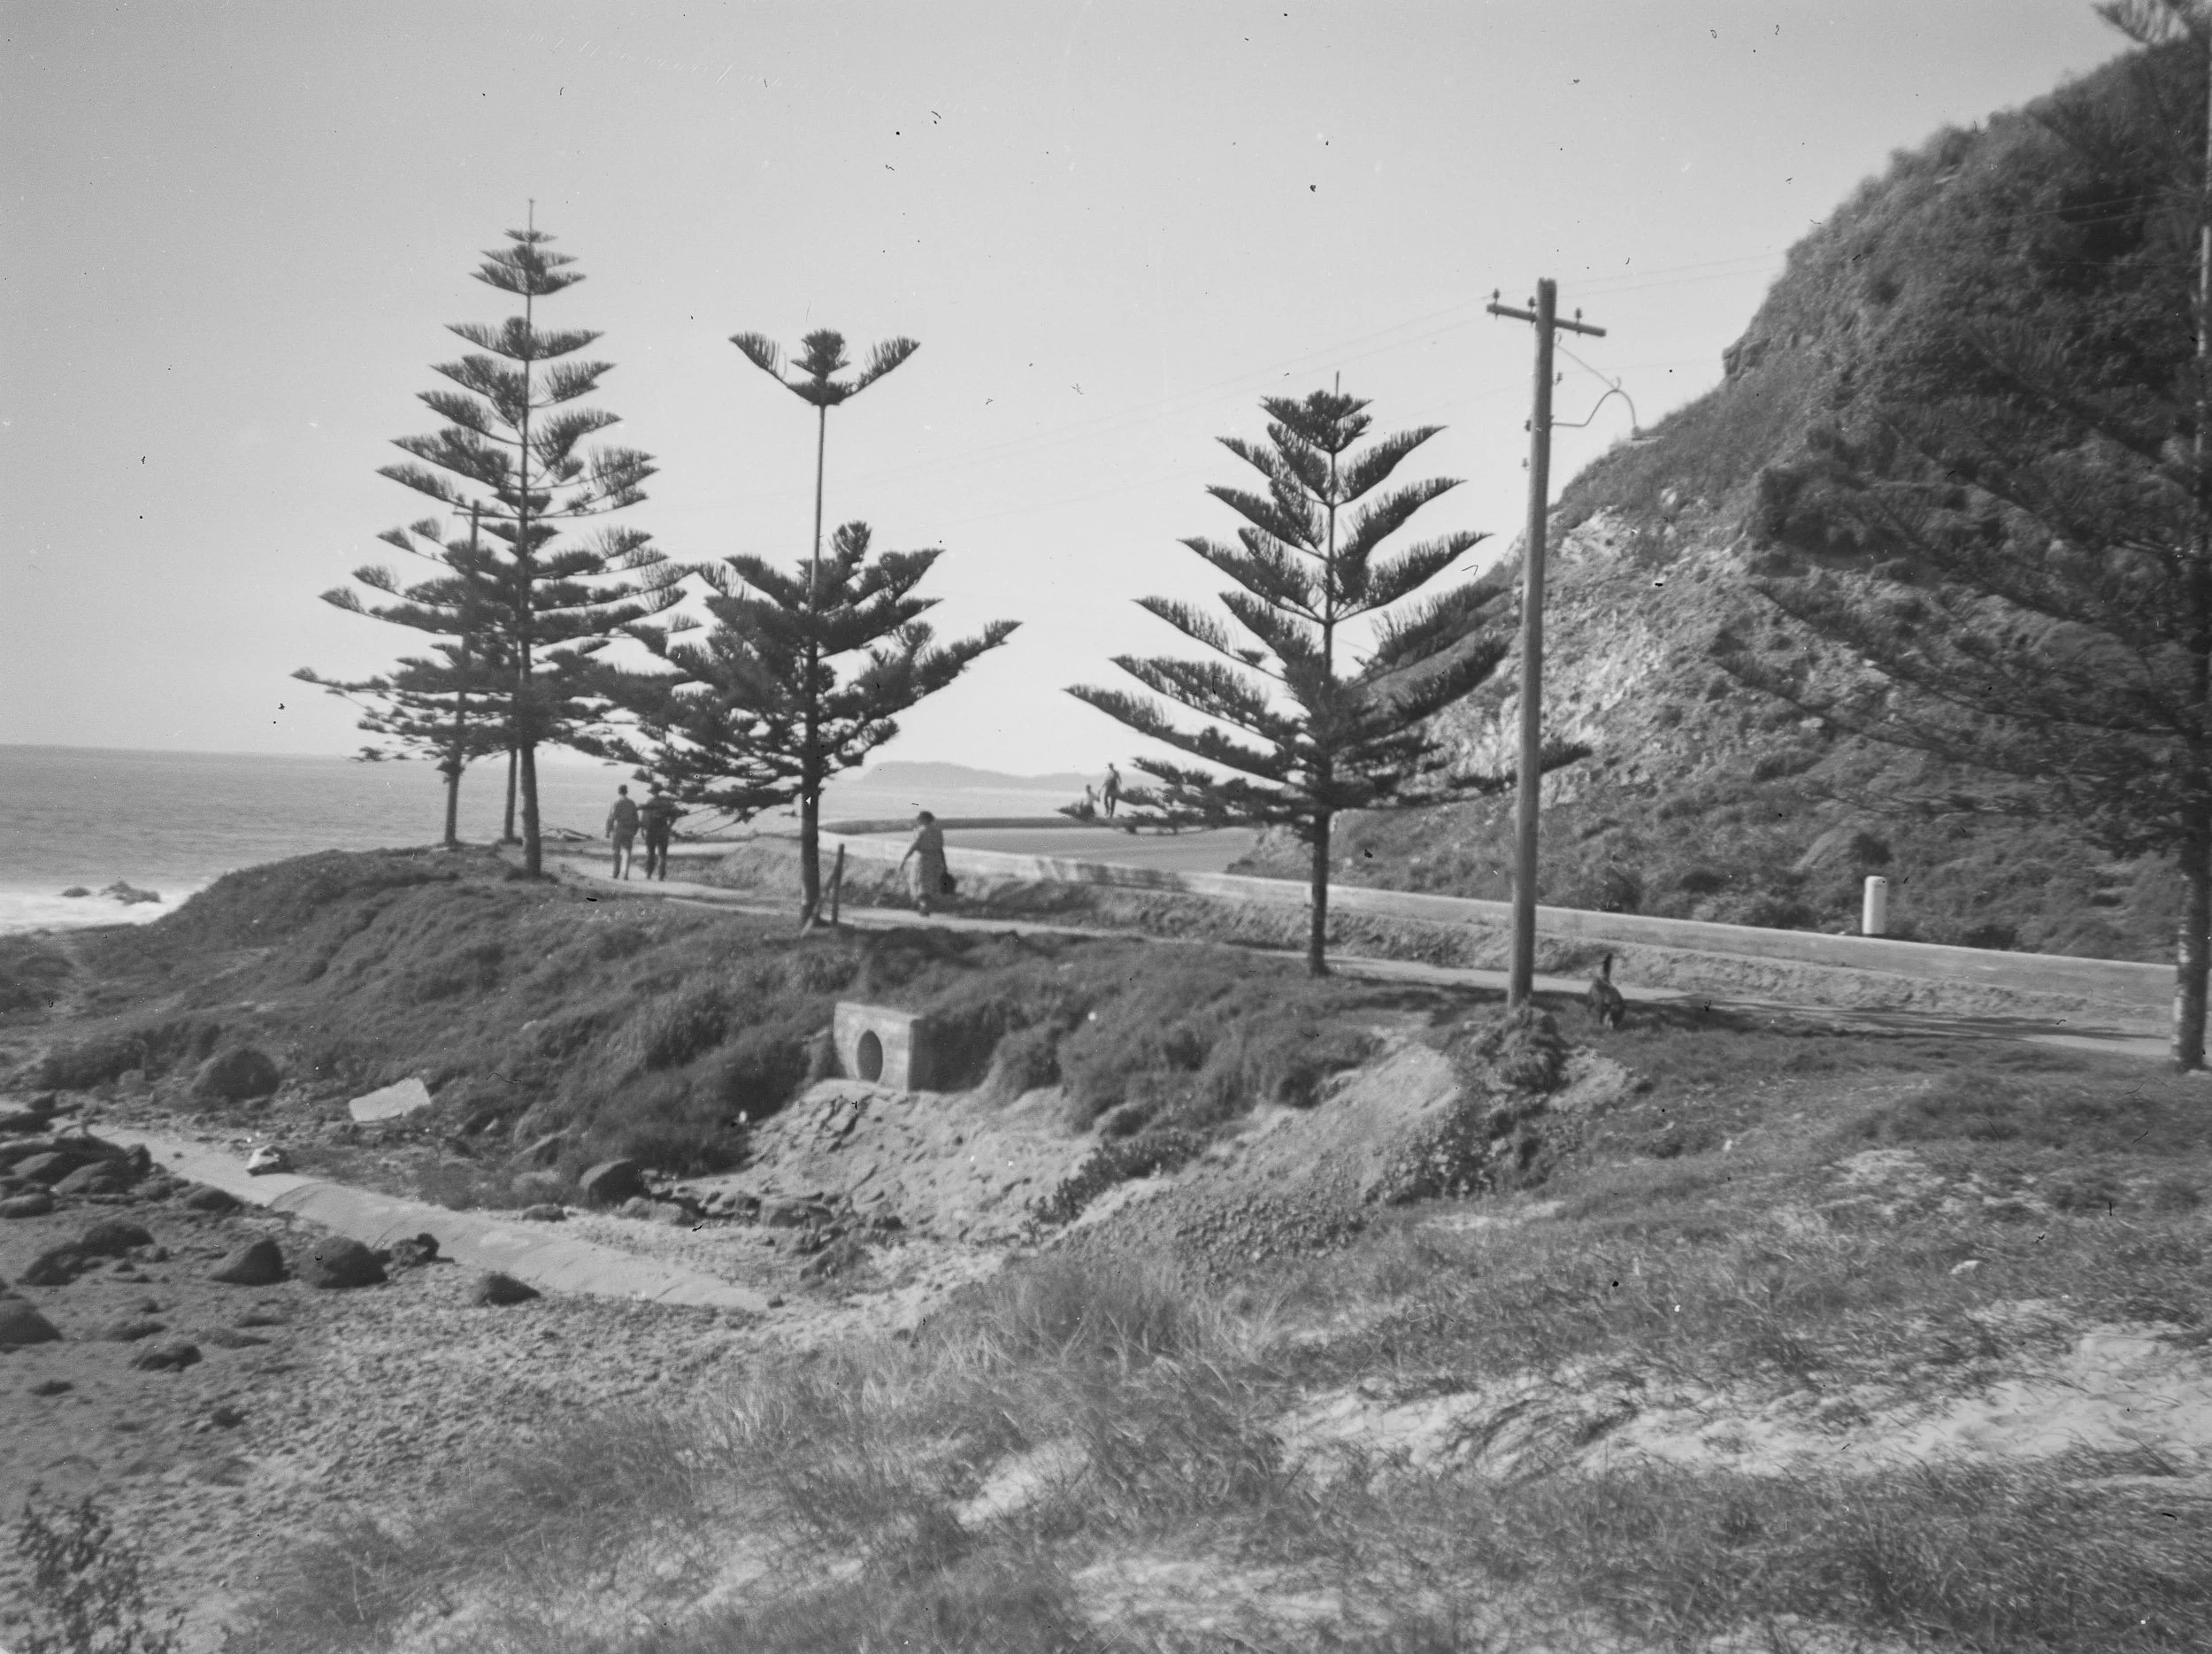
A holiday moment, approx 1930-50 - could be anywhere.
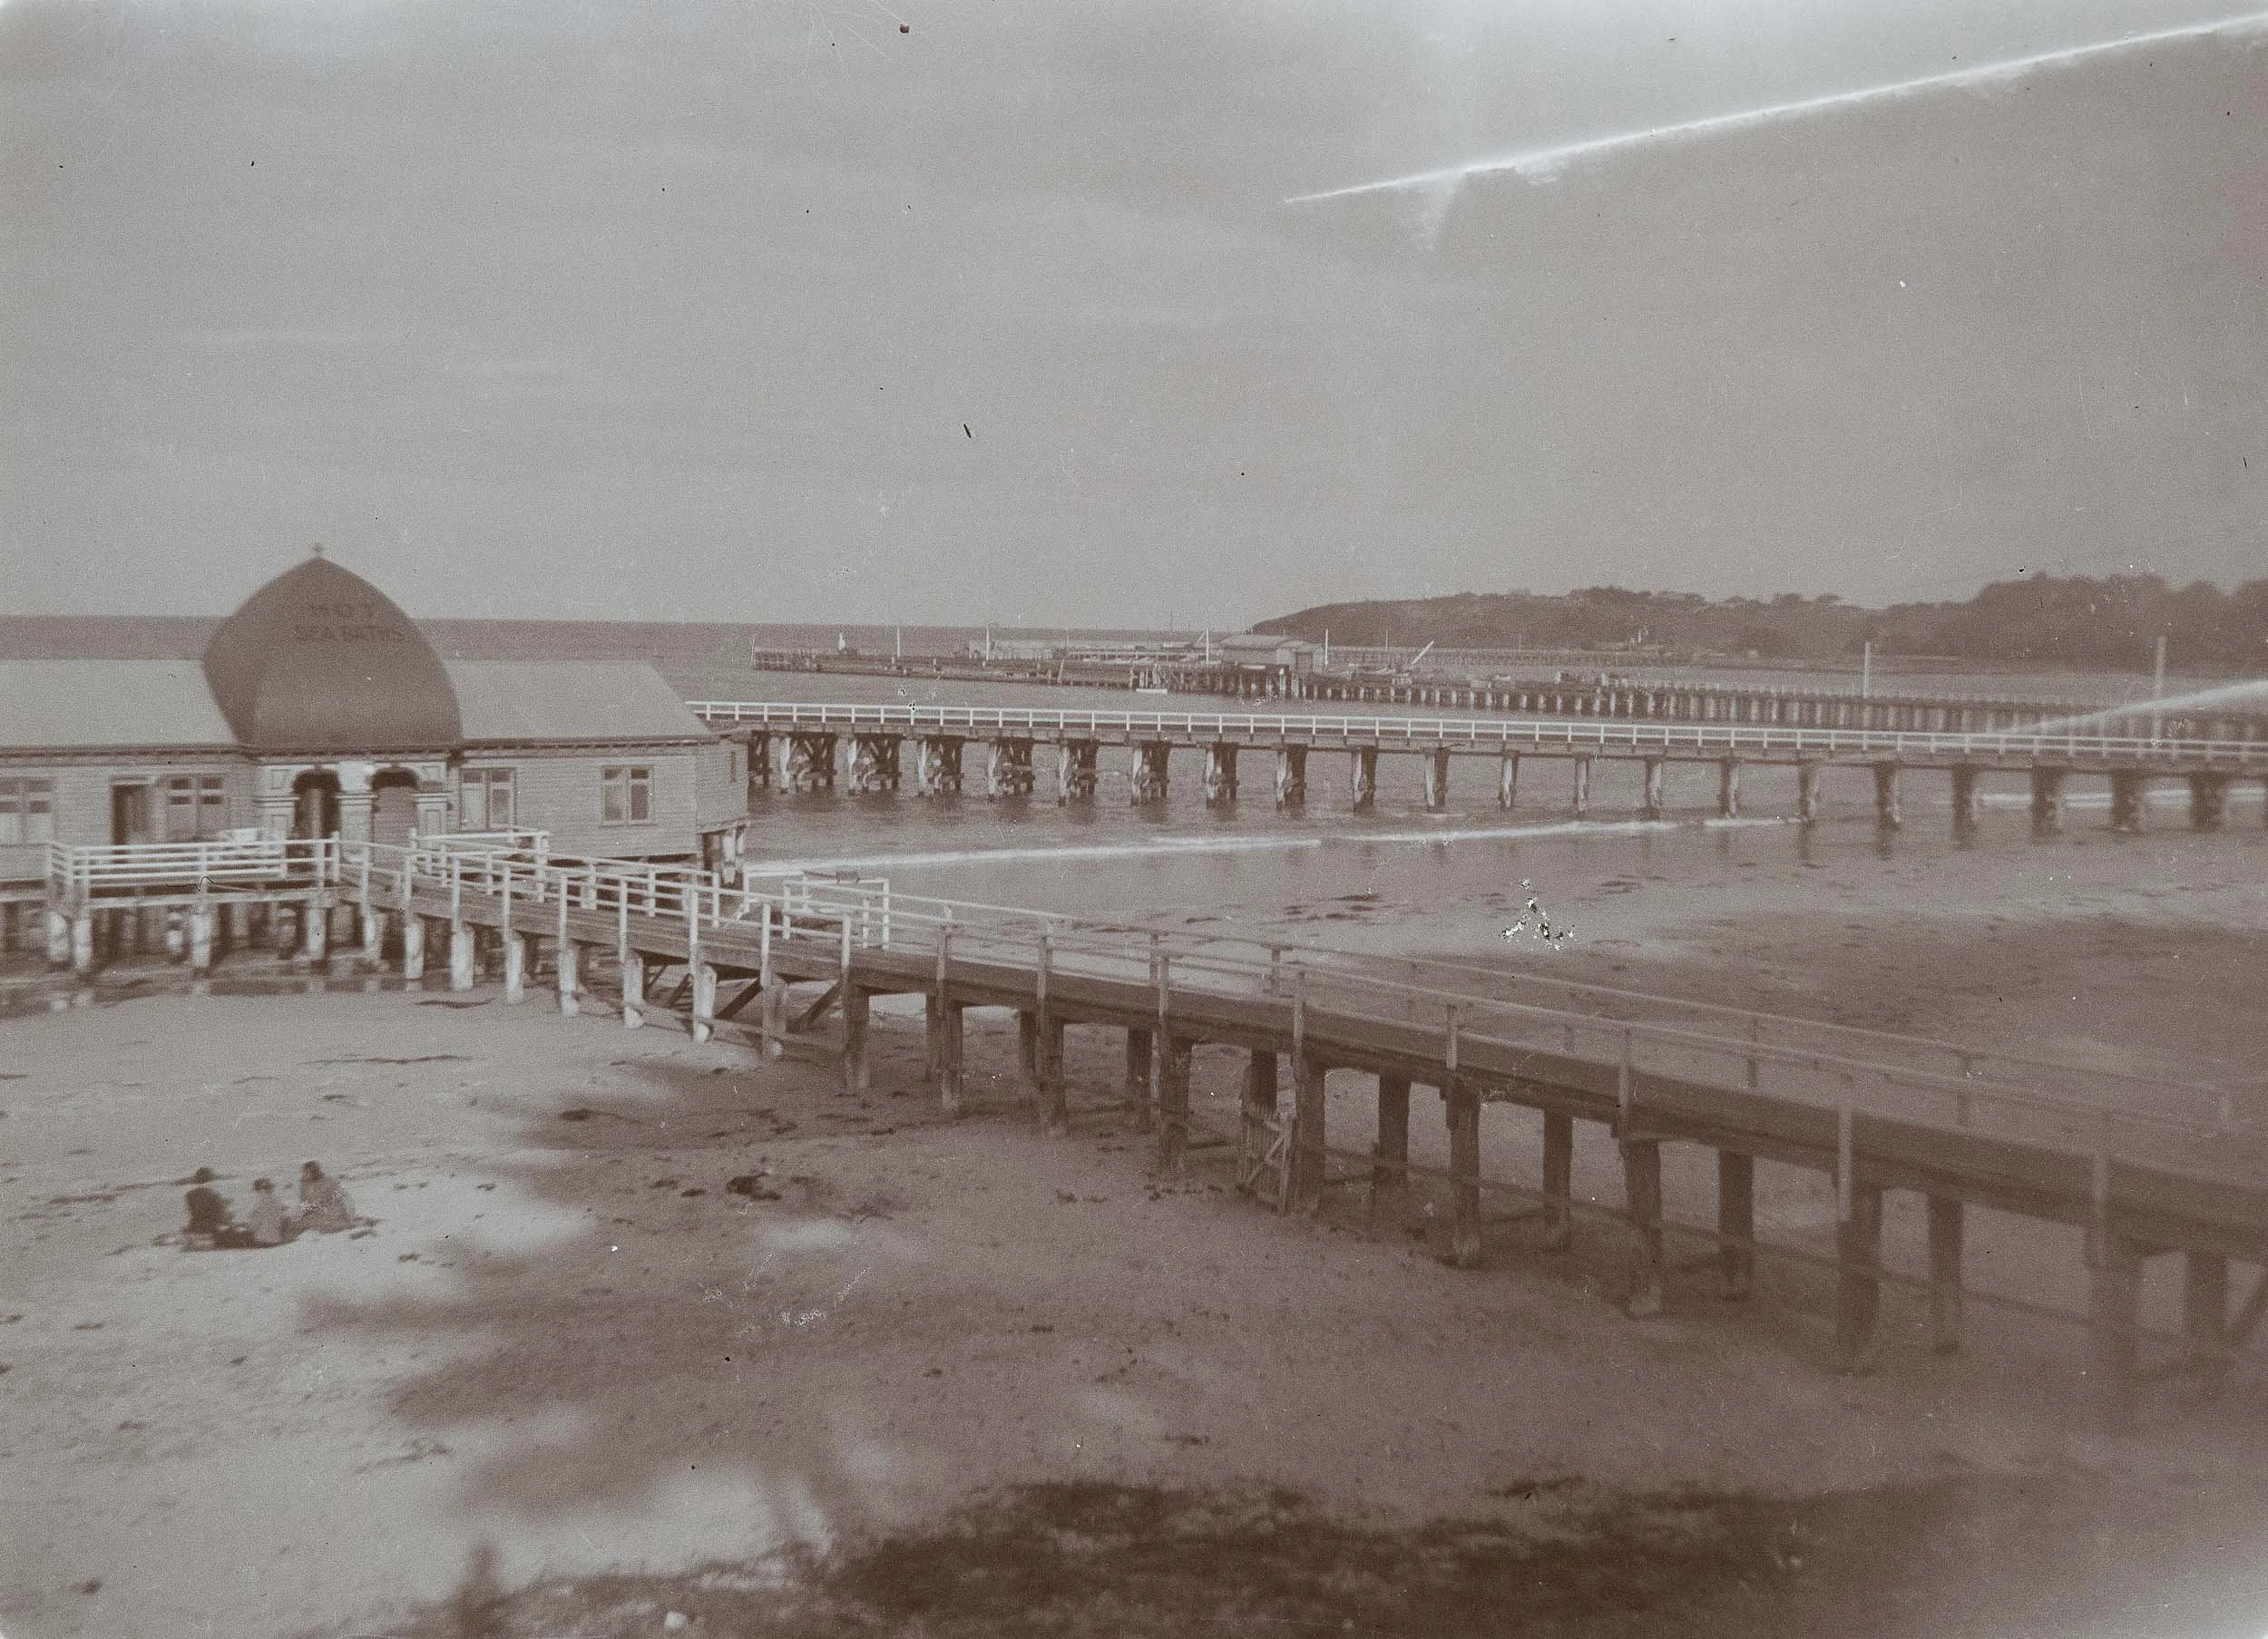
The unique building was a giveaway
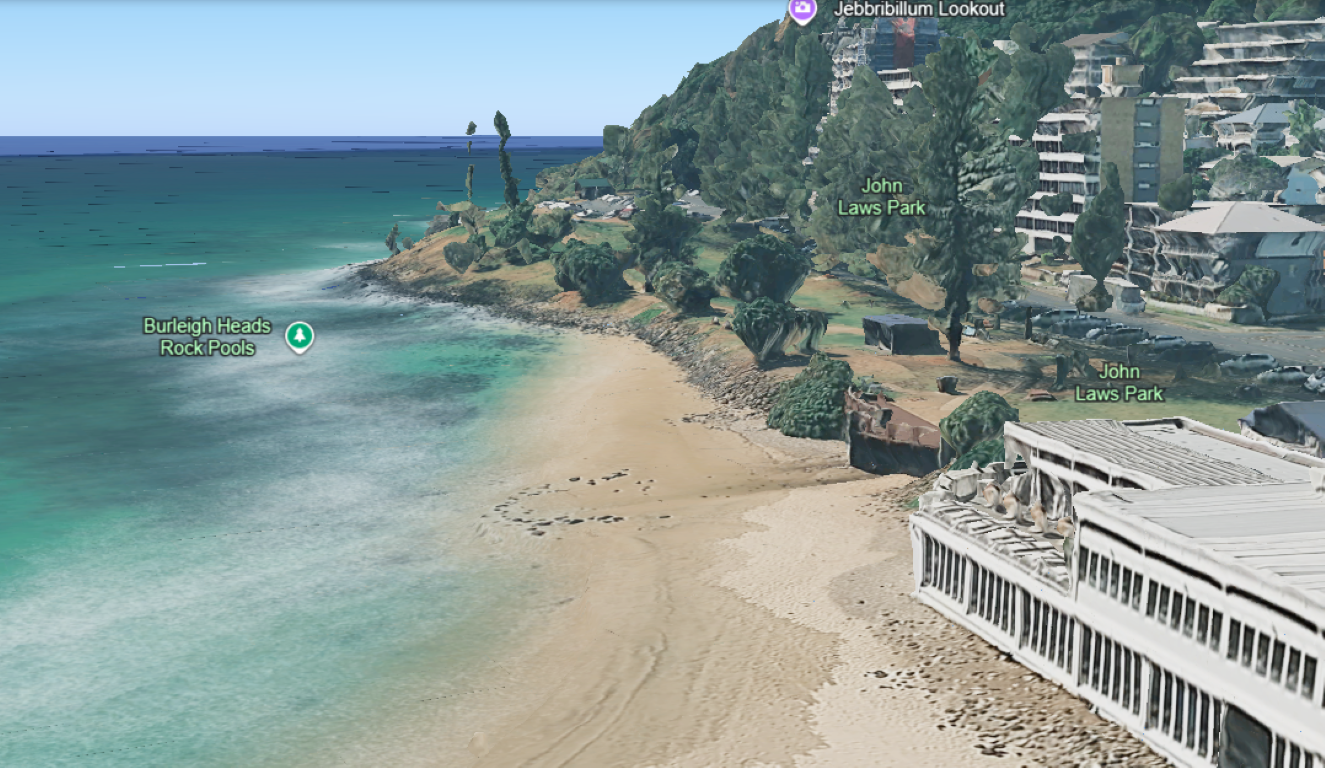
Burleigh Heads - Google Earth image
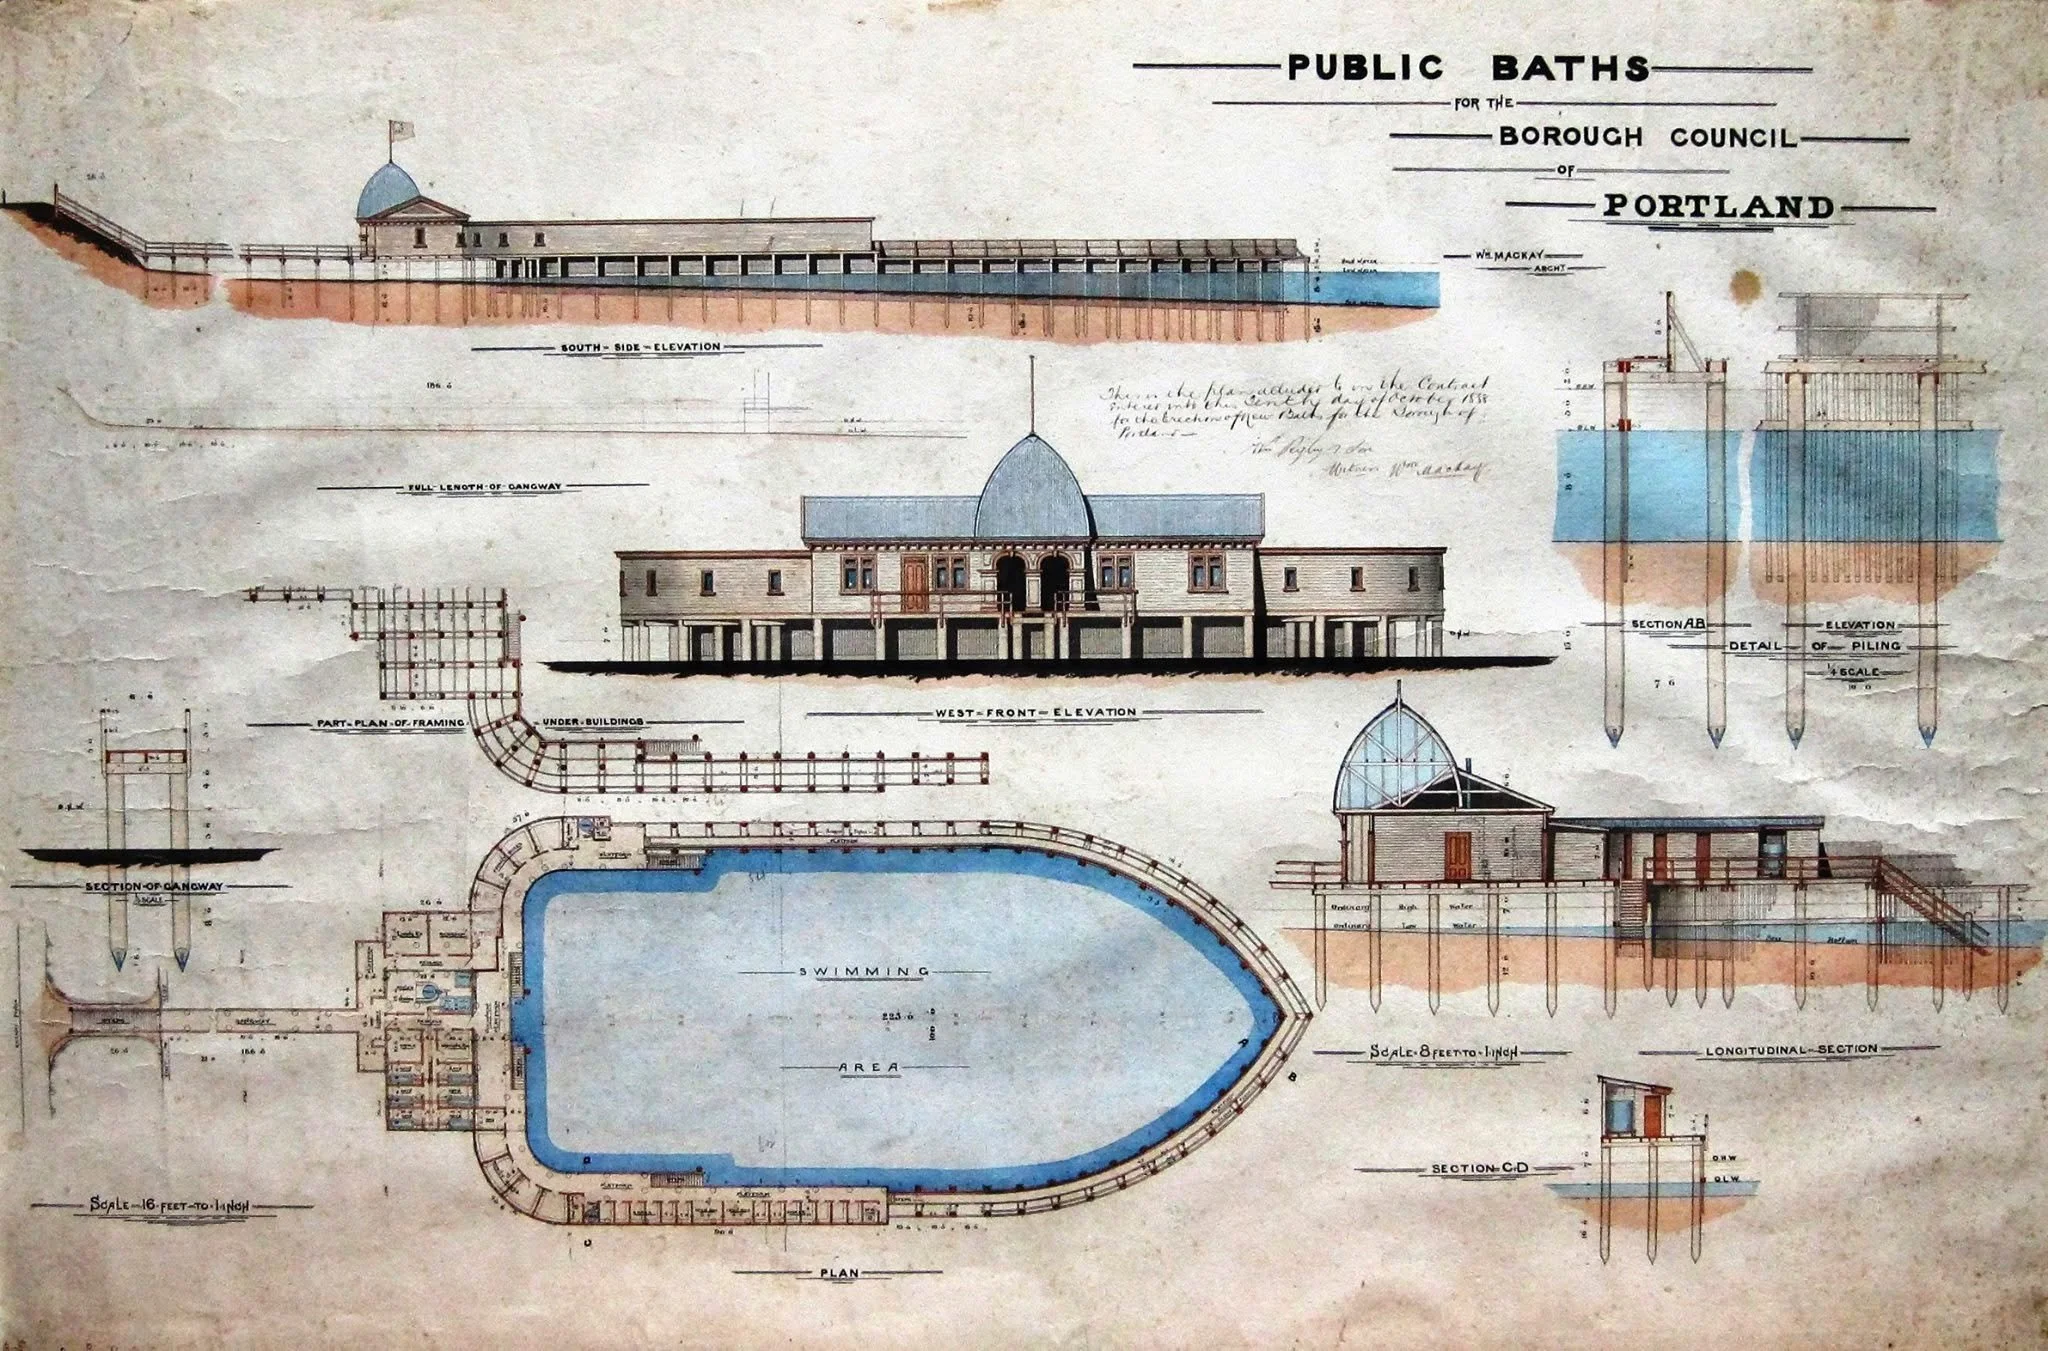
Portland Vic - confirmed with images
The negatives in this collection were not stored in ideal archival conditions. They were left in an old packet at the bottom of a cupboard. But they were kept. That was enough to allow us to do something with them now.
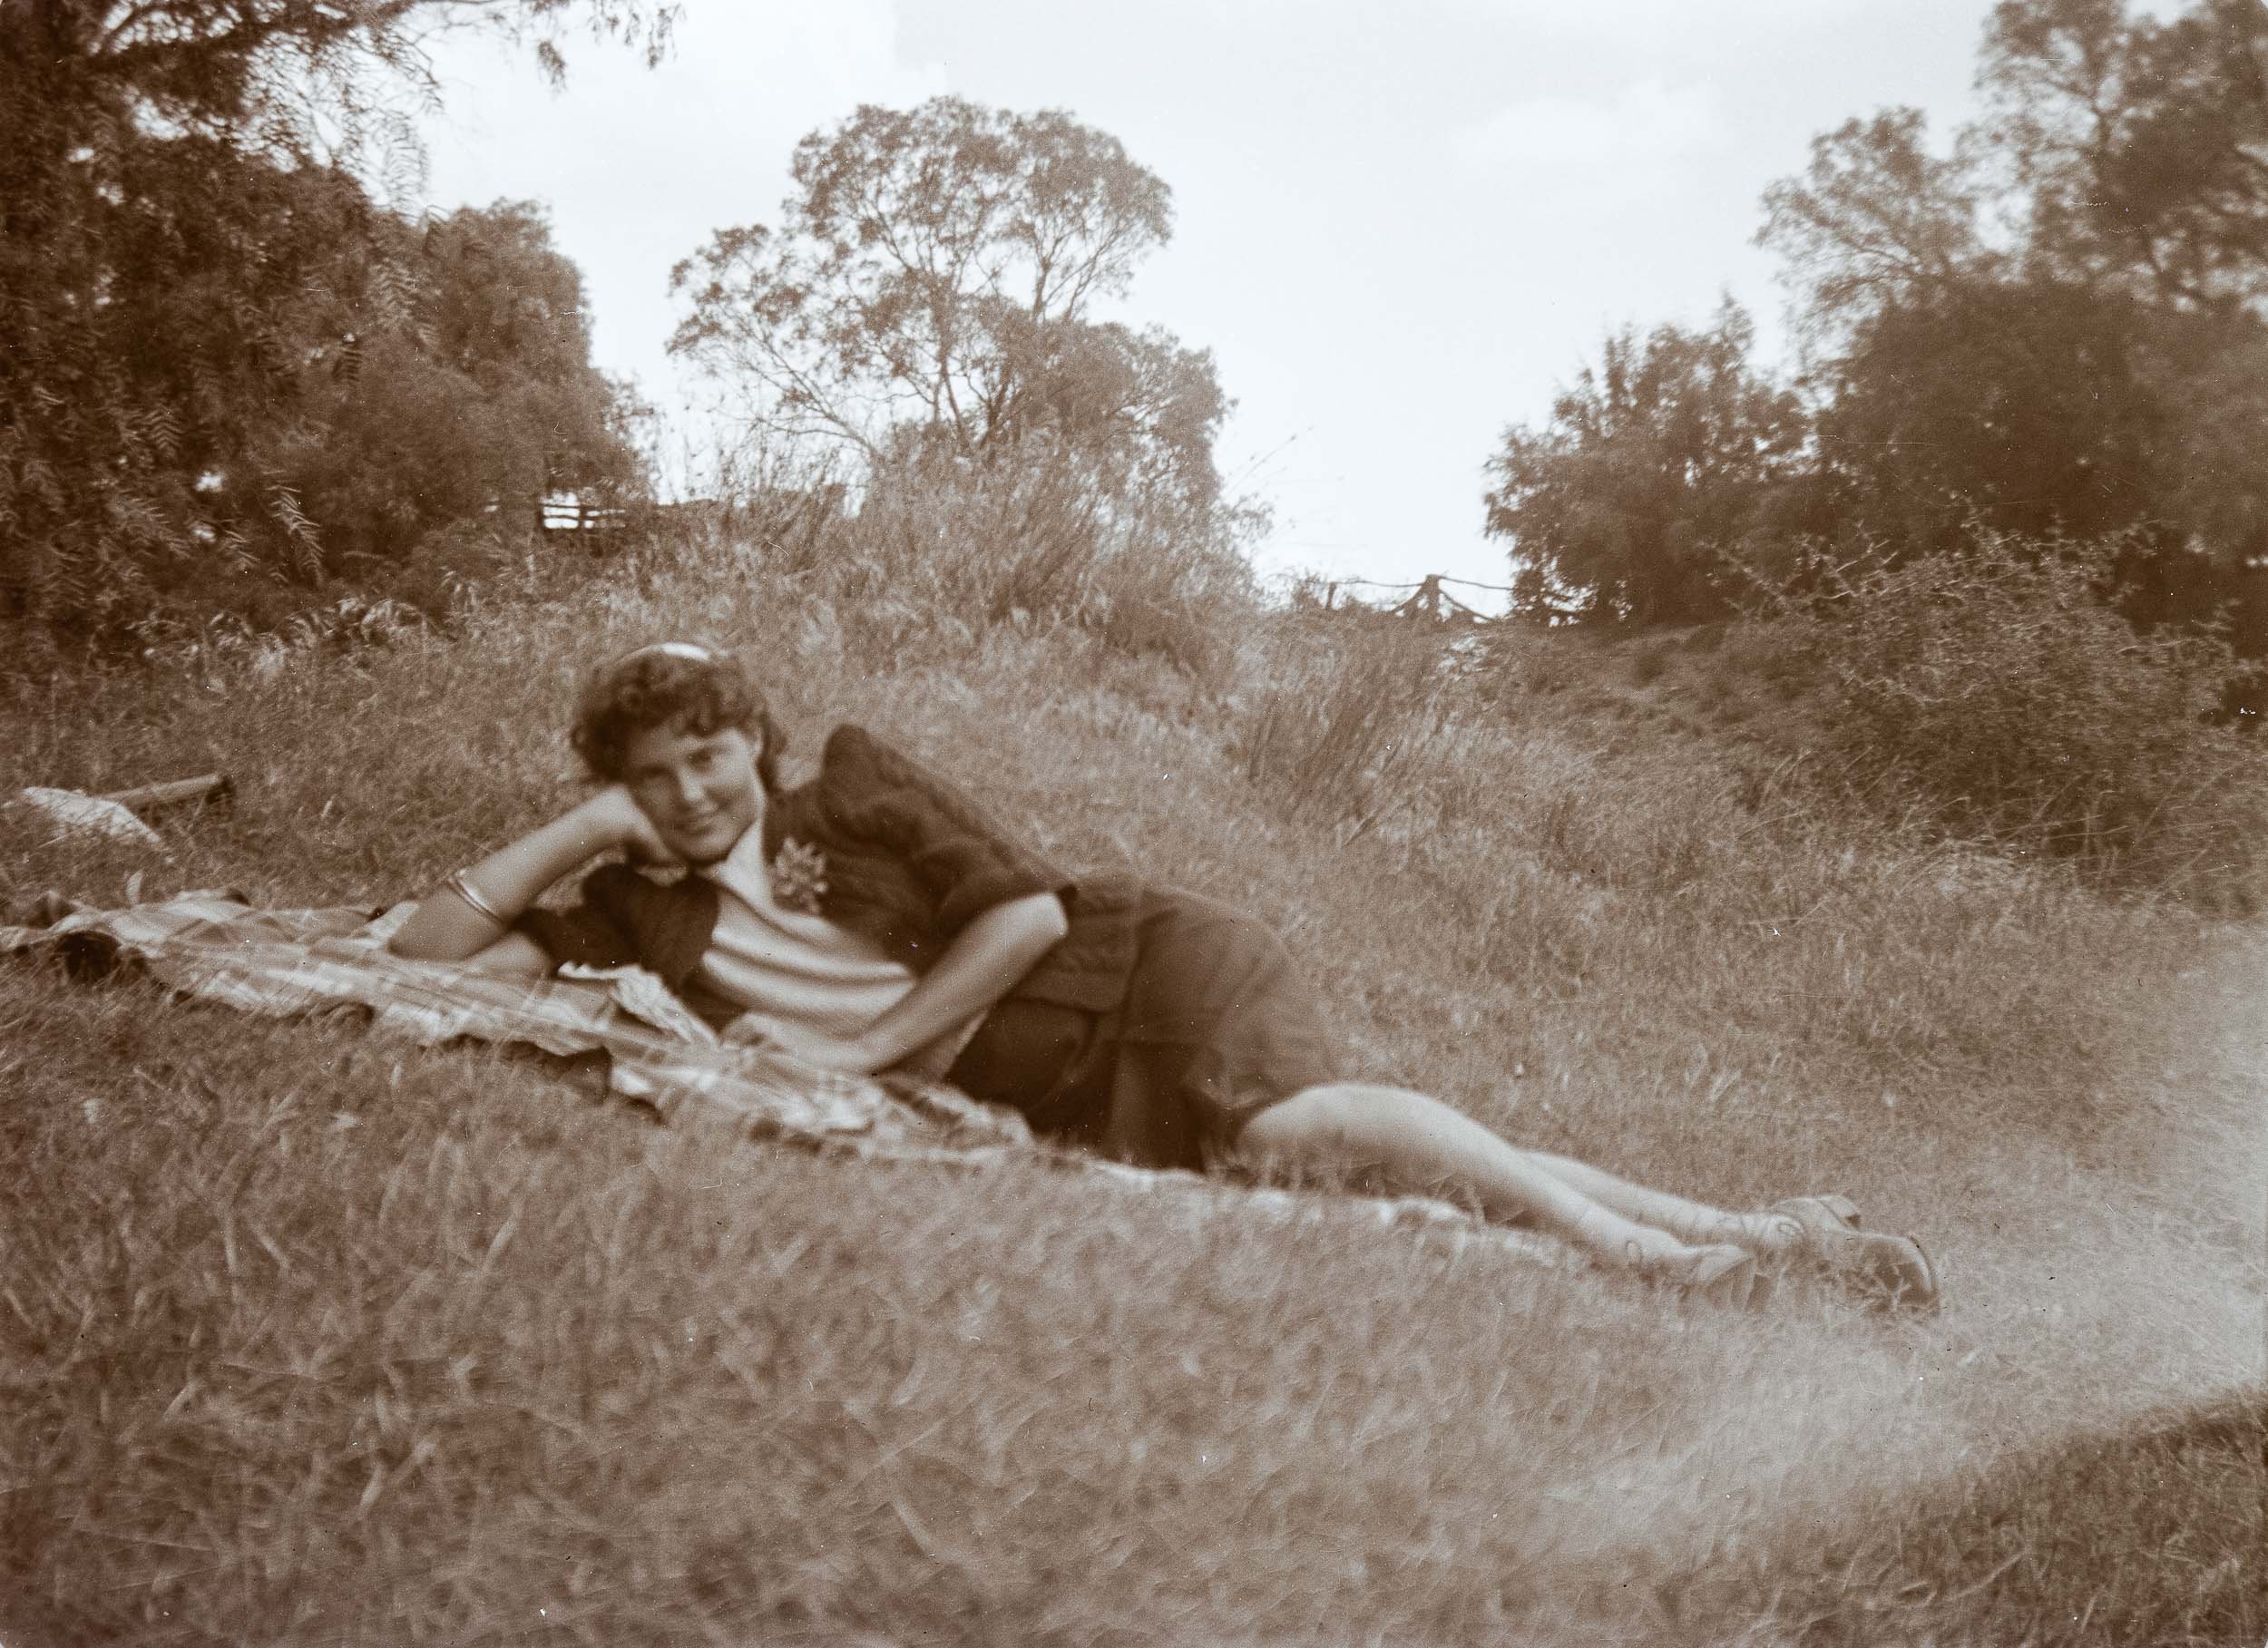
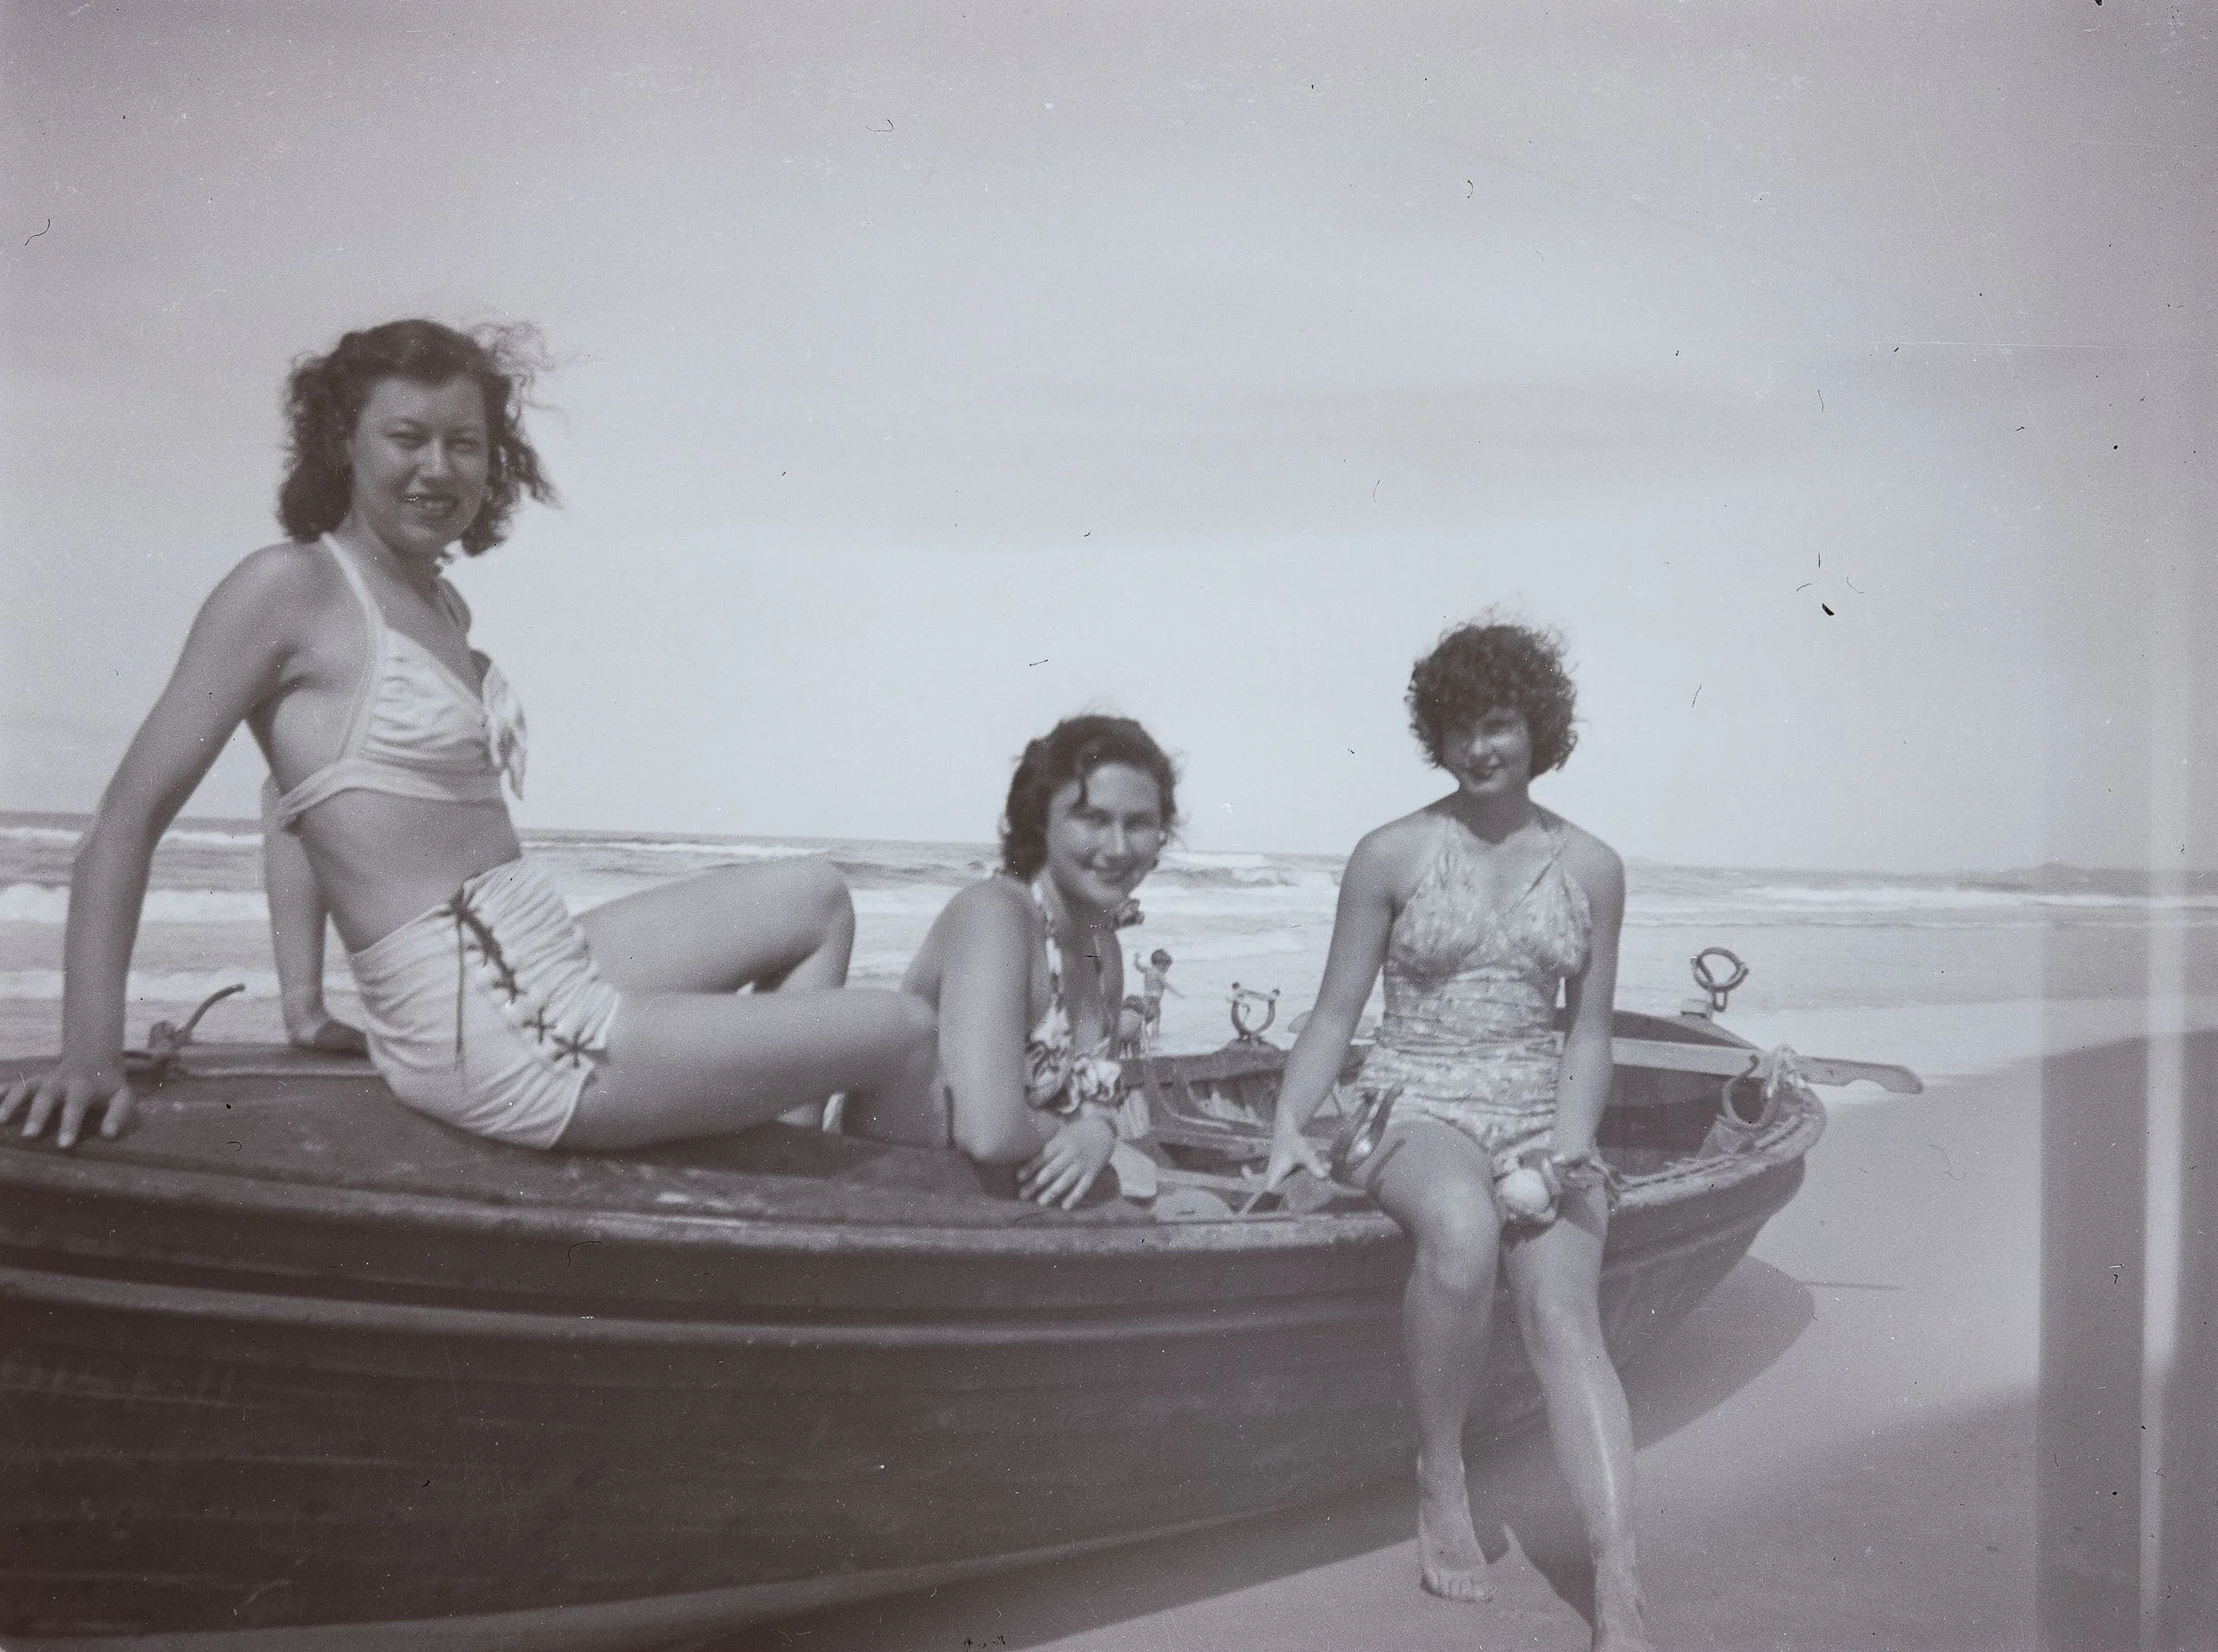
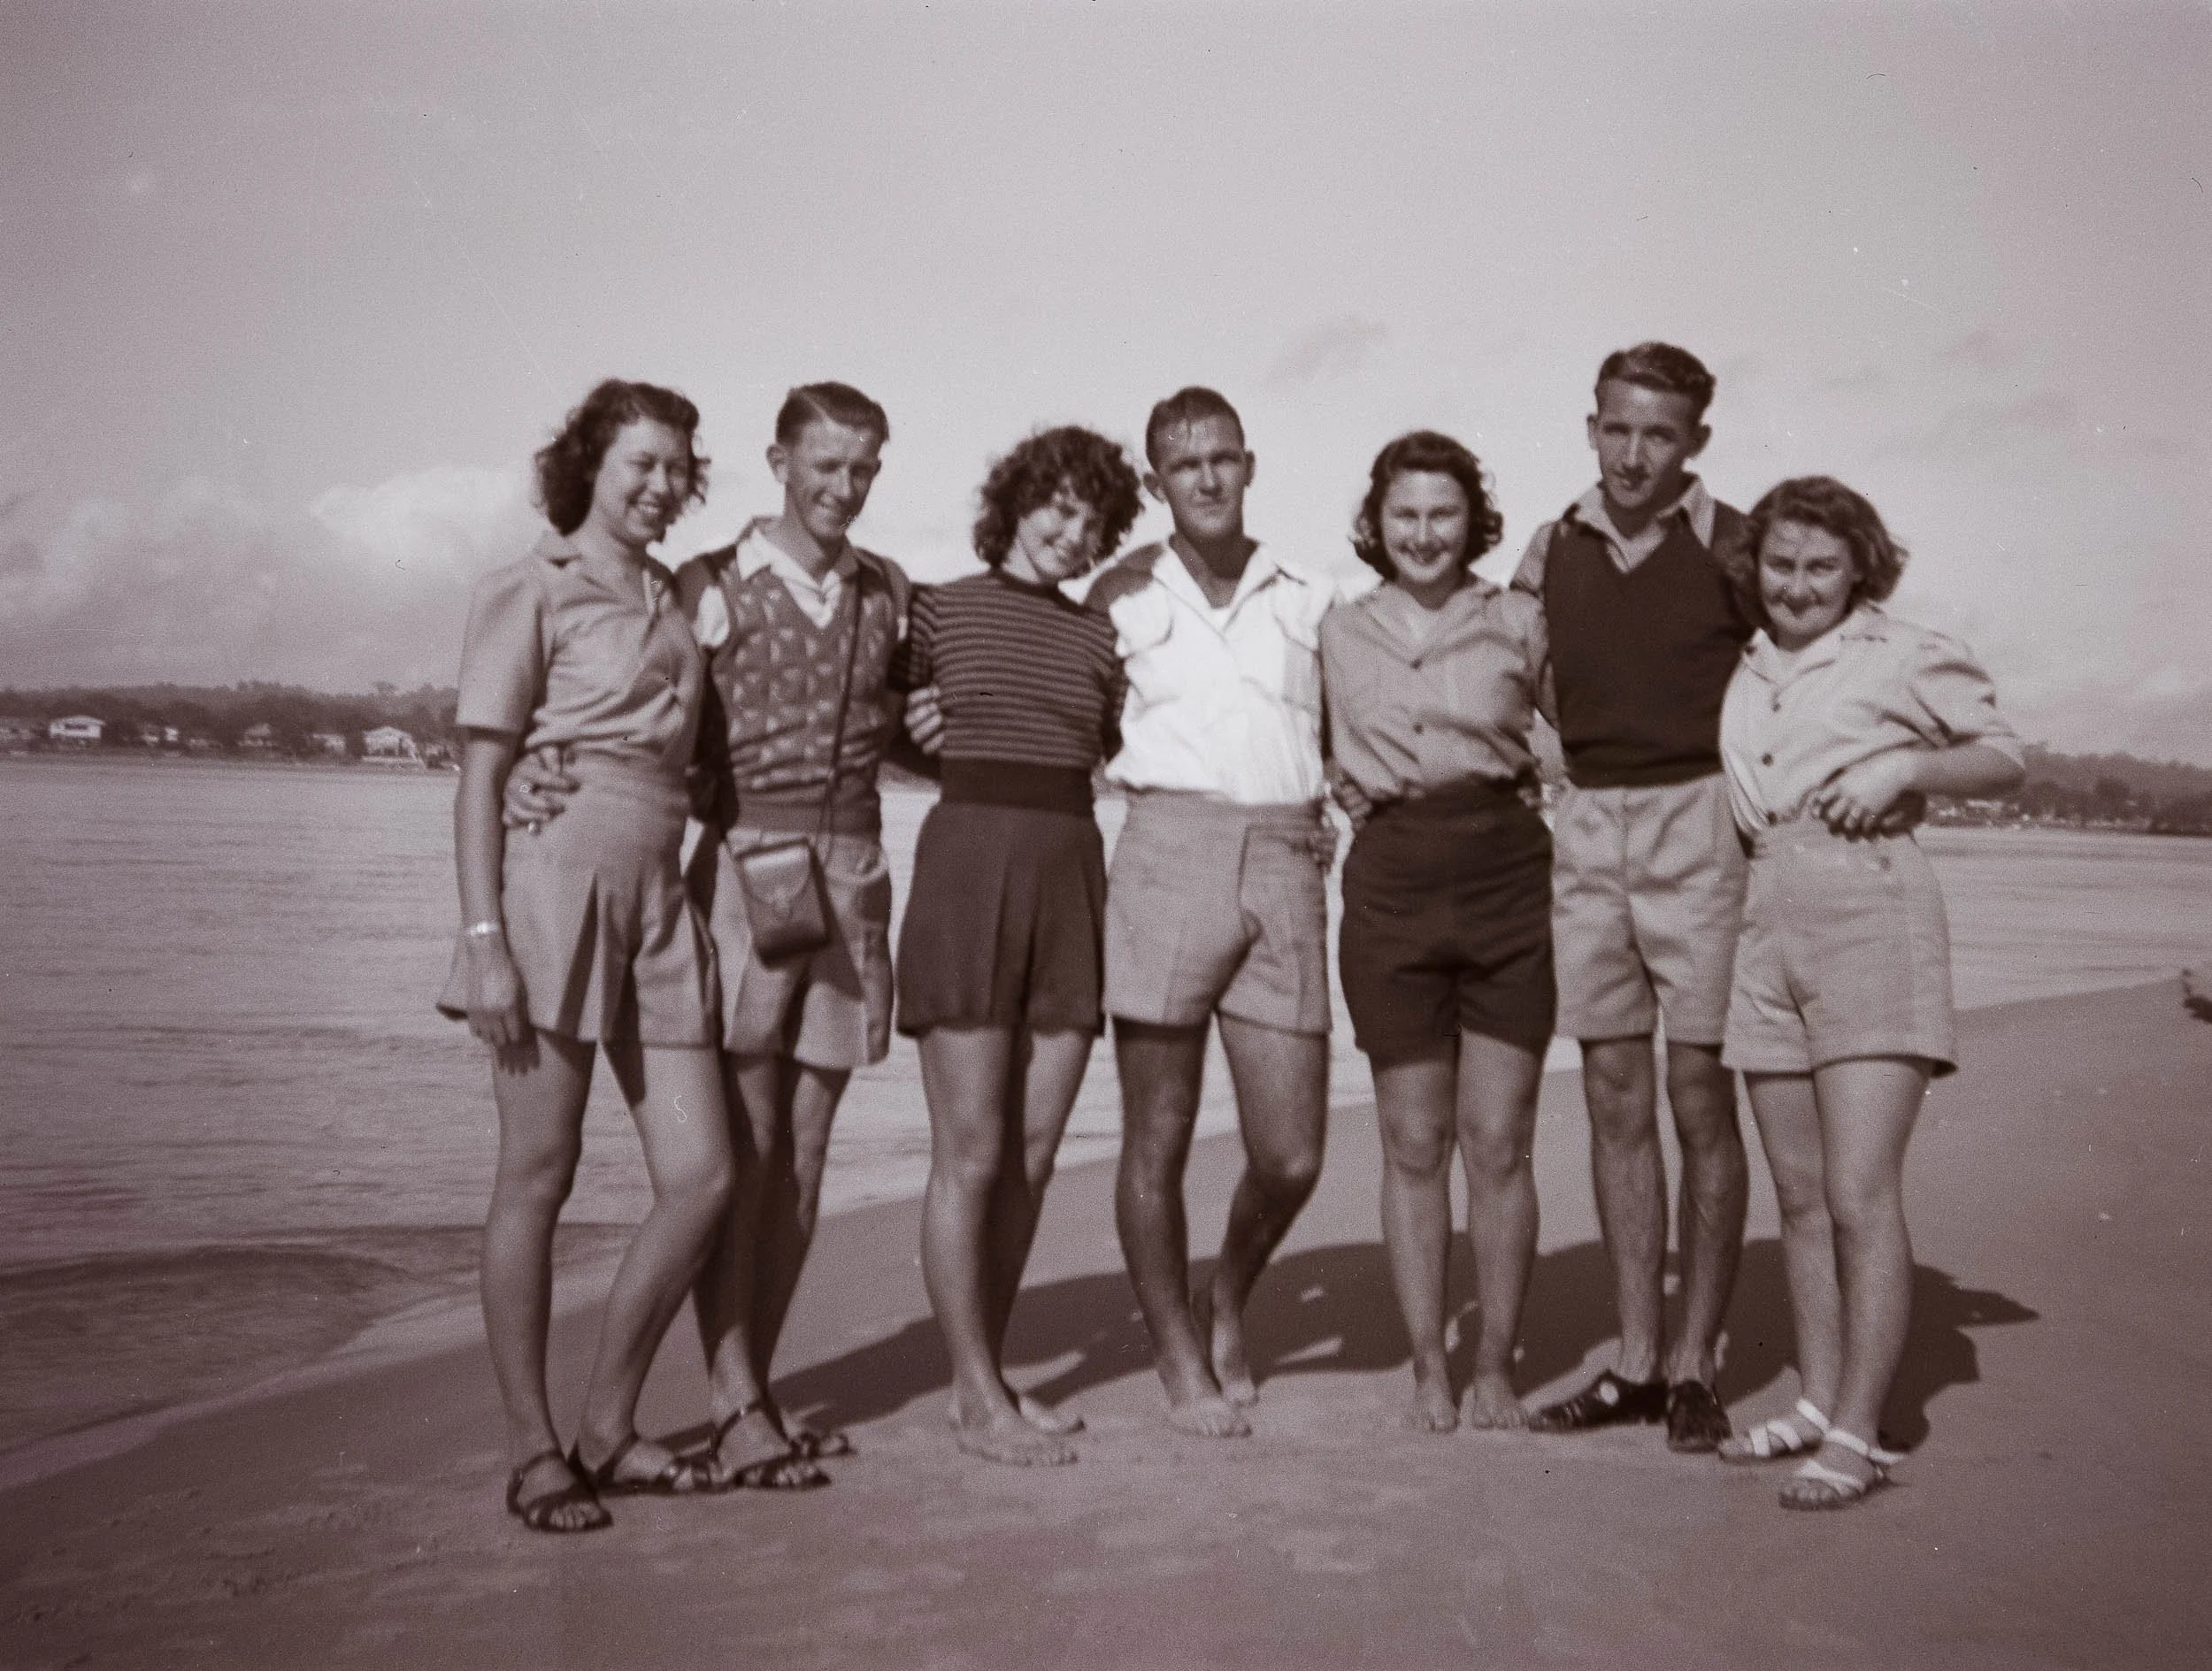
We can now see Granma as a young woman, well before the family was created. We can see her friends, her clothes, the places she visited and the outdoor life she clearly enjoyed.
We can see the sand beneath her feet and a little piece of the world she knew.
This is a piece of our family history. It’s been a pleasure to finally process these images for the next generation. Along with them goes the story of Lenna. A full-of-life personality that never lost her love of the beach.

Camera Rotation Photography
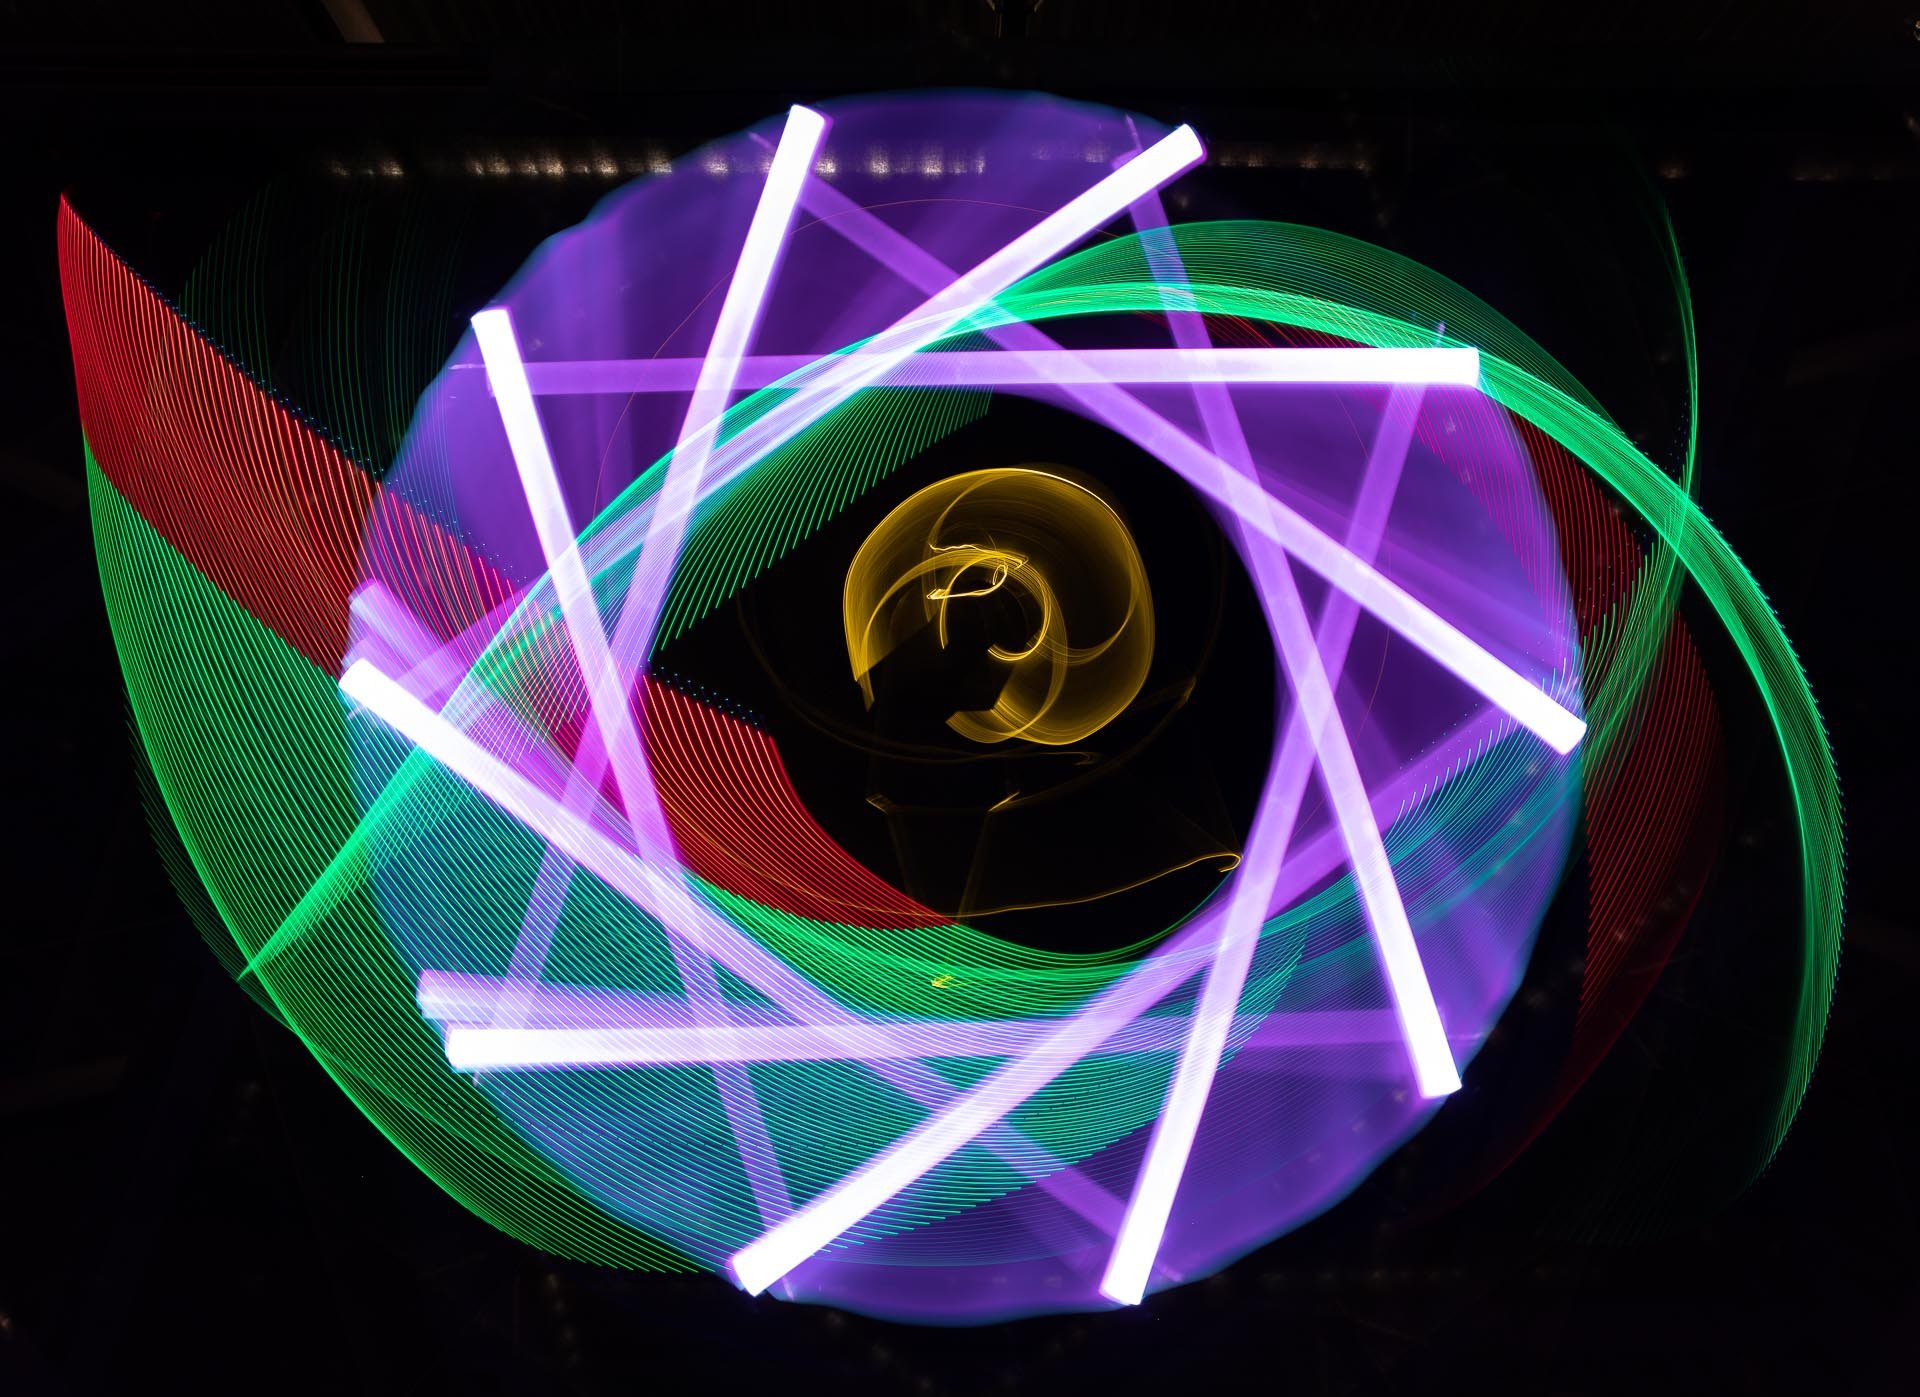
What camera rotation photography is, how I set my camera up to try it, and the results of combining the technique with light painting.
What is it?
-Camera rotation photography refers to the act of rotating the camera around its own axis while taking a photograph. This can be done manually by the photographer or using a tripod with a panning head. The technique creates a sense of movement and can be used to capture dynamic scenes or add visual interest to a static subject. It can also be used to correct perspective distortion in architectural photography.
A few years ago I dabbled with camera rotation photography, but quickly packed it away after not being able to put together a decent sturdy rig. At the time I wasn’t prepared to spend an amount of money on something that I probably wouldn’t do a lot of….
I continued to be in awe of the Light Painting artists using this technique and their work that is being created, knowing one day will be the time creatively to keep exploring and more importantly learning.
It was only recently after watching an interview with one of these artists, that the creative juices started to bubble again (see links below)..So I spent a morning pulling apart different tripod heads in the hope to make a rig that would hopefully hold my camera with no problem..
I proceeded to take some shots in the studio, and it seems to have worked! I’m actually looking forward to getting out into the wild and looking for scenes that will create a good rotation.
I’ll run through my initial setup, this is step one for me, and by no means perfect (or best practice), but as always, it’s a start. If you don’t start, you never will! LOL
Lens Capping
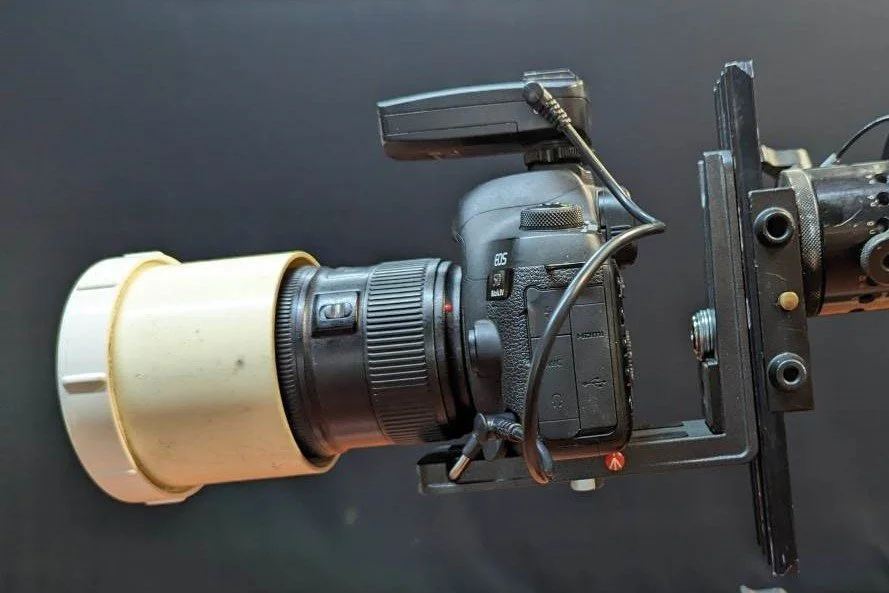
My very rough option for lens capping
The Setup
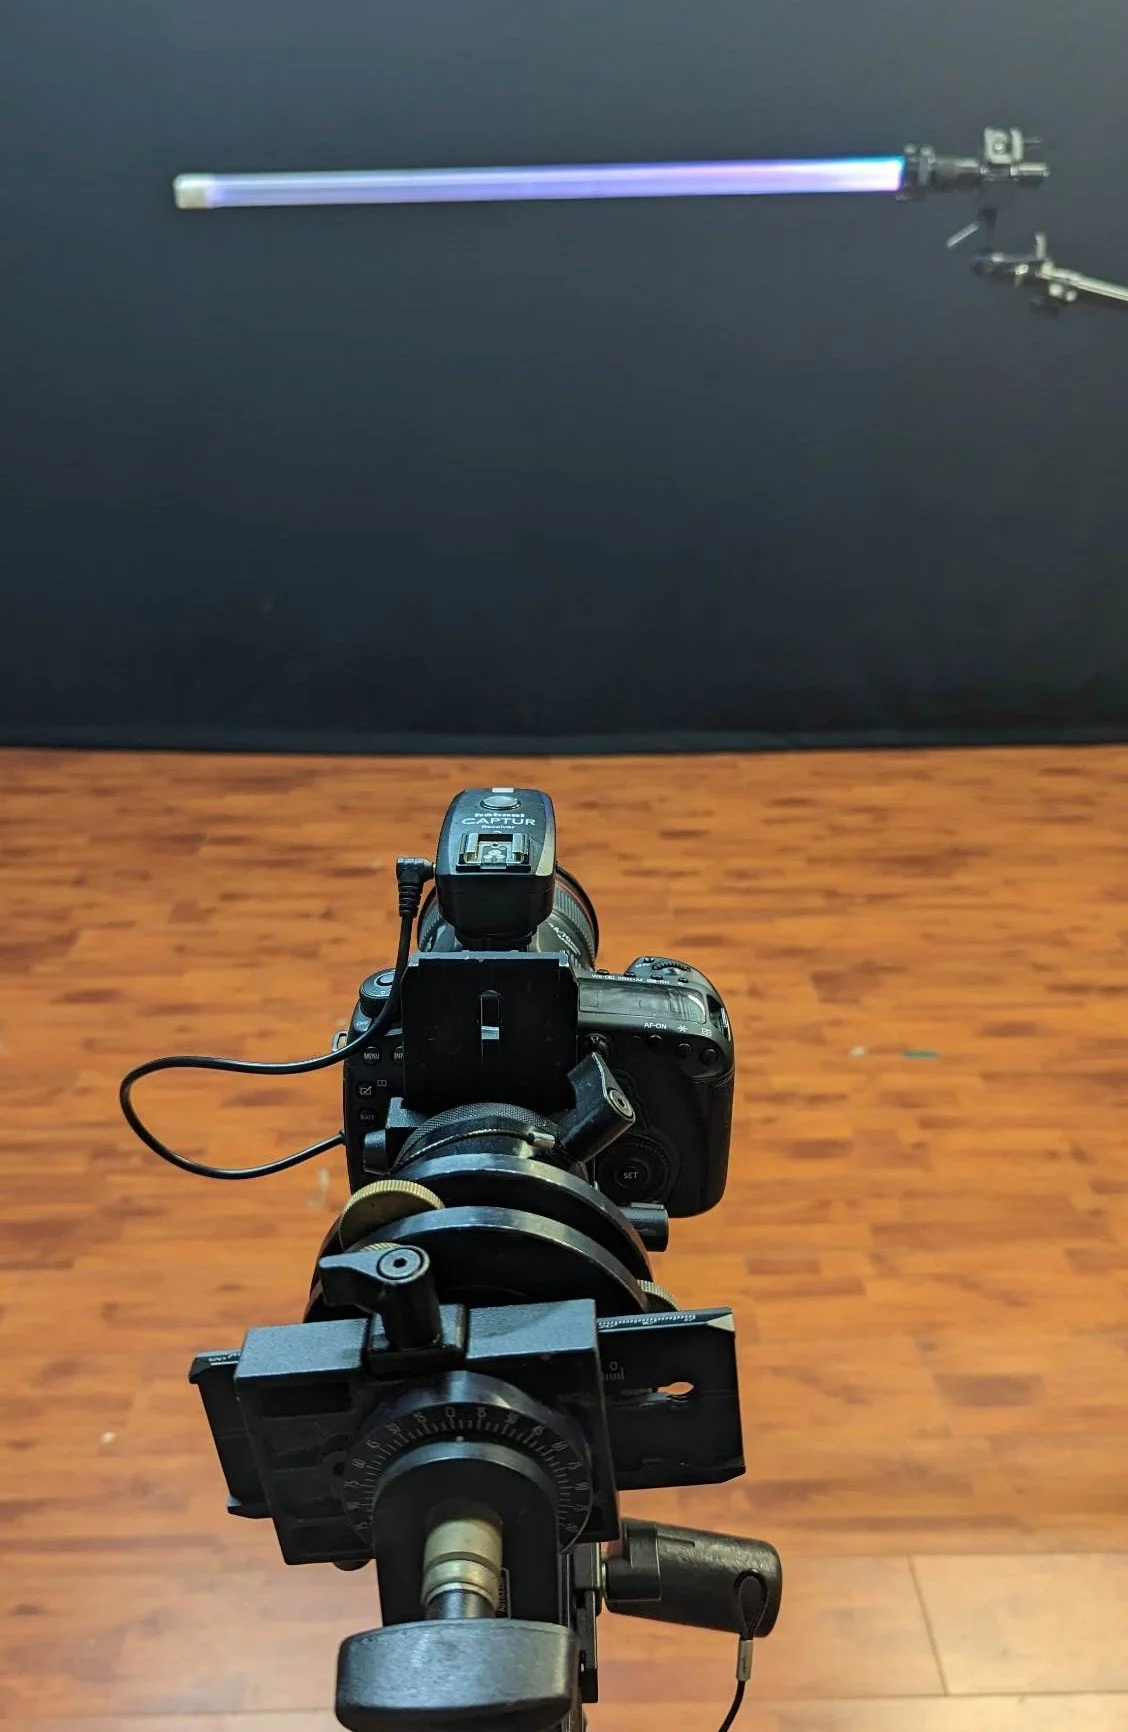
Setup for rotation, super simple for starting out. Tool is DIY acrylic tube. With KYO Tube
First test image
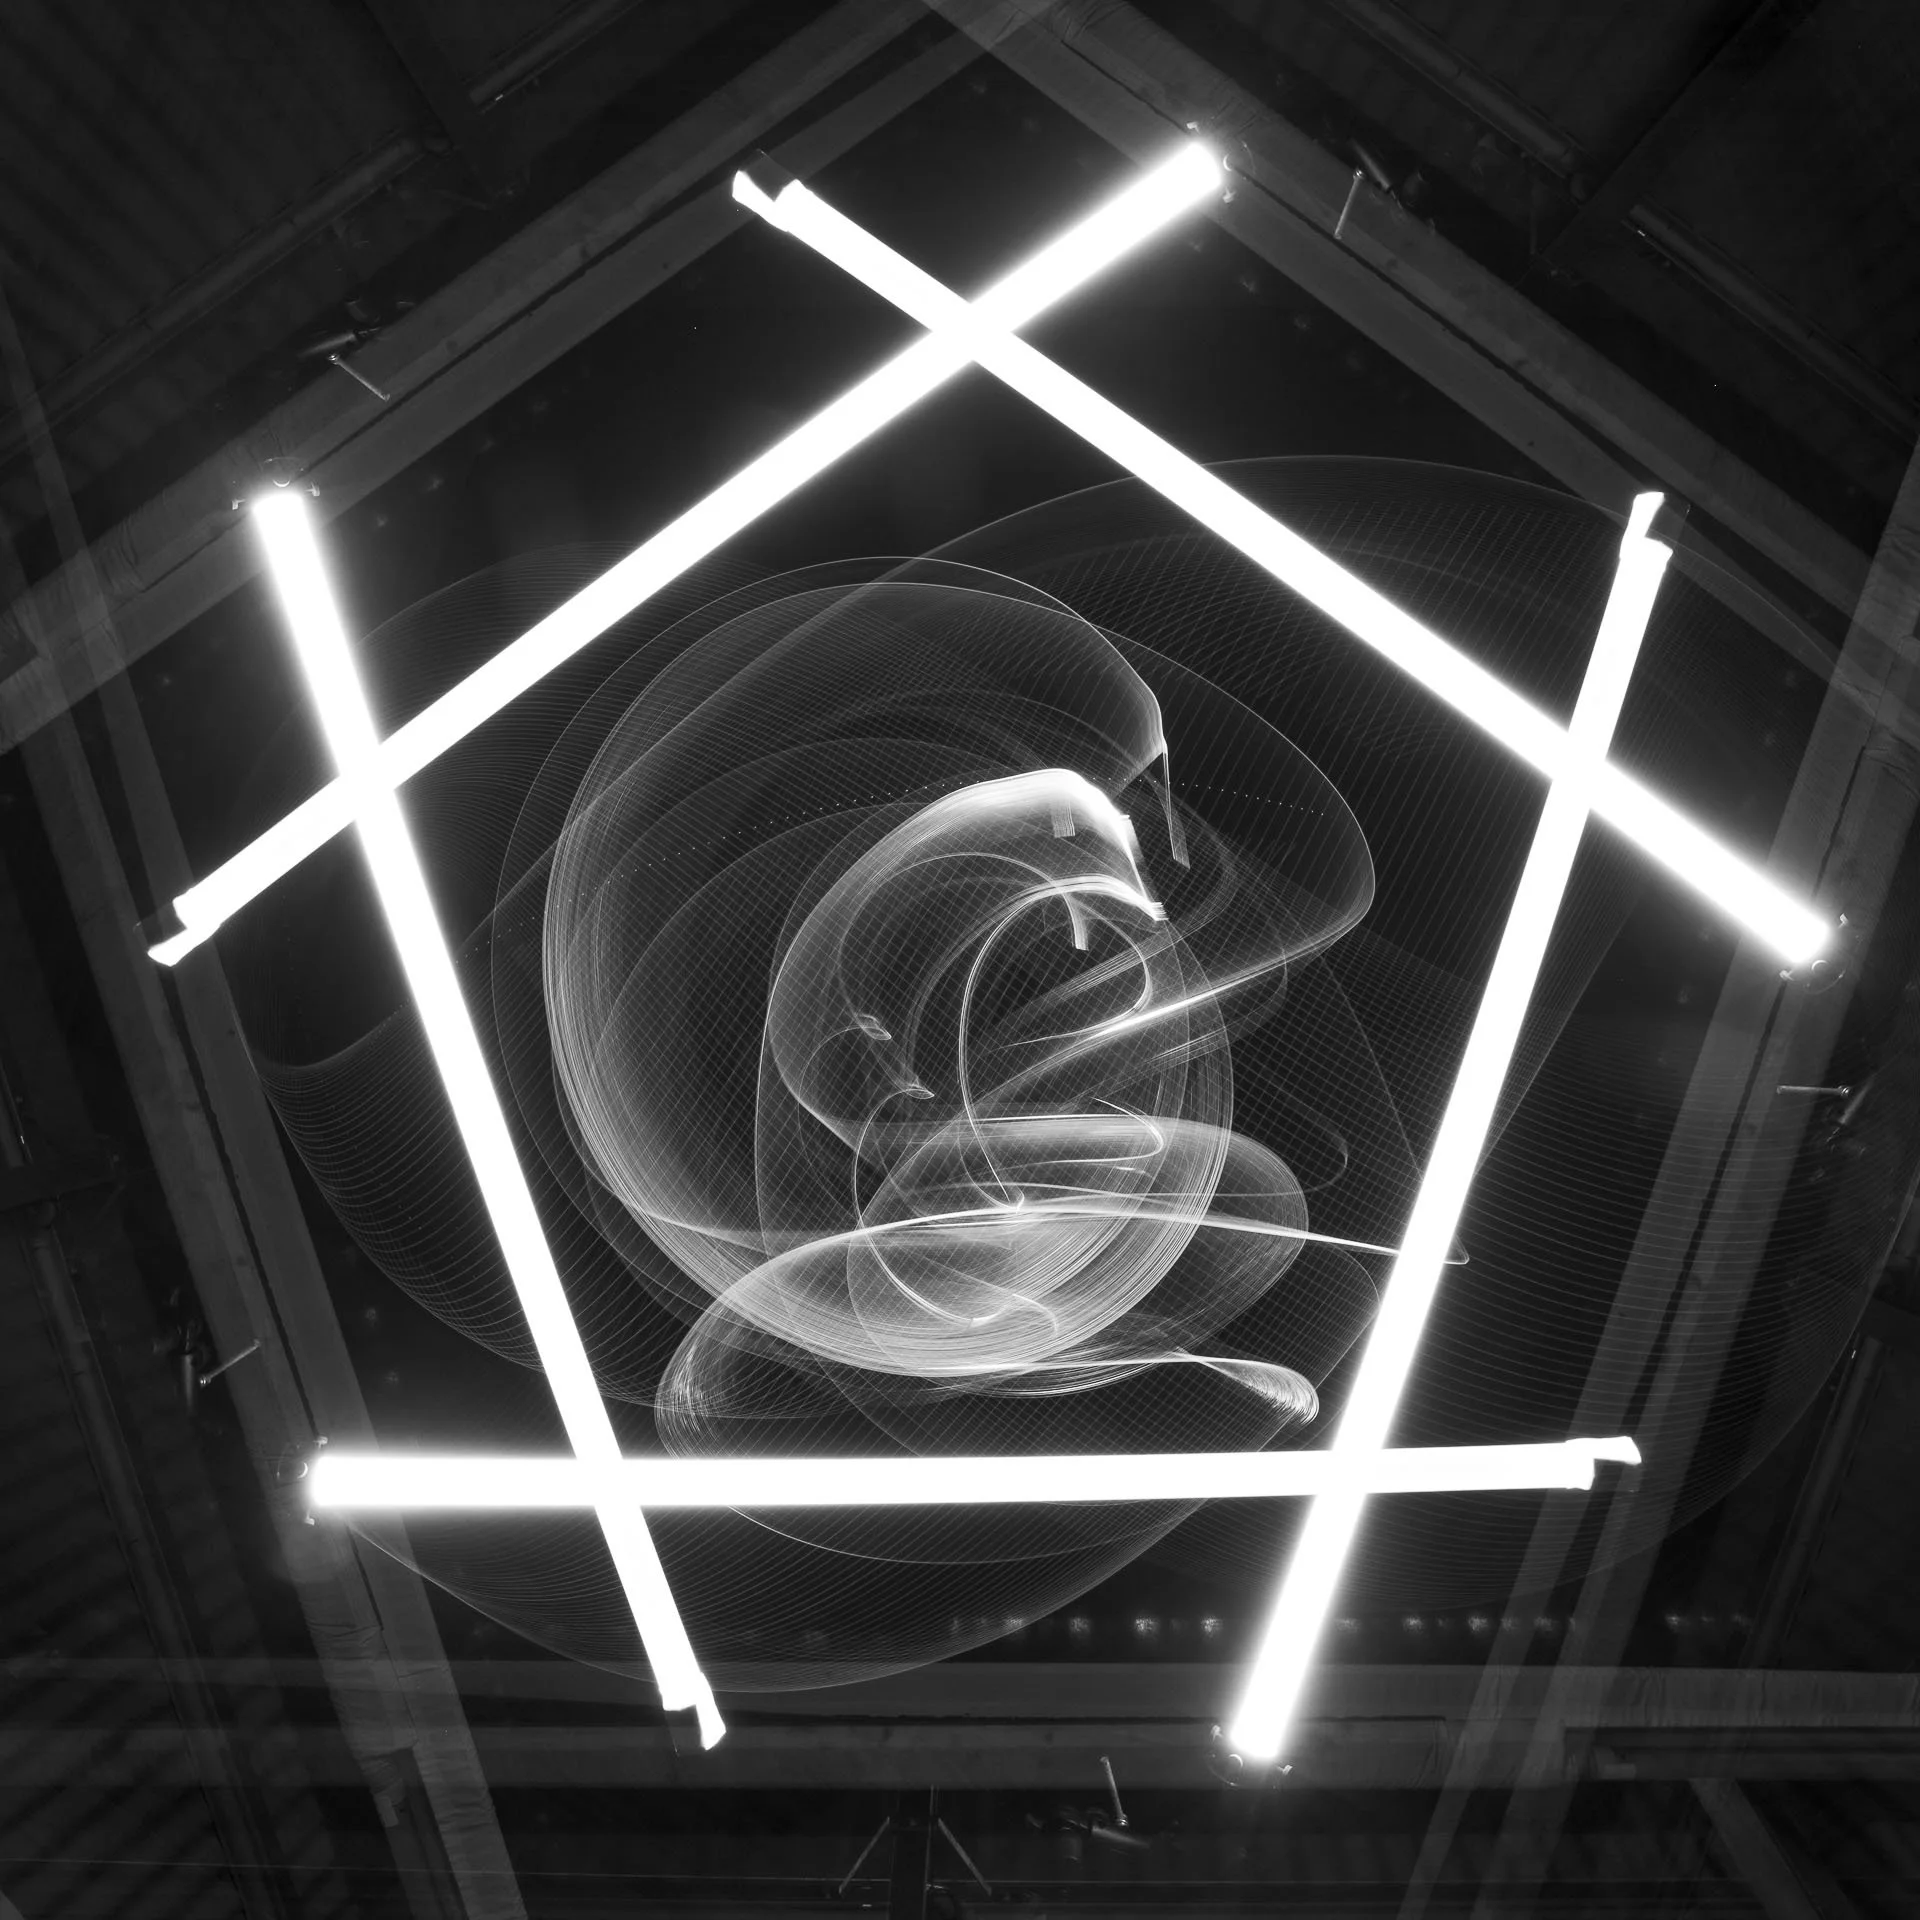
First image, a little light blading in the middle. The alignment check seemed ok at this point. Rotated at 72-degree increments.
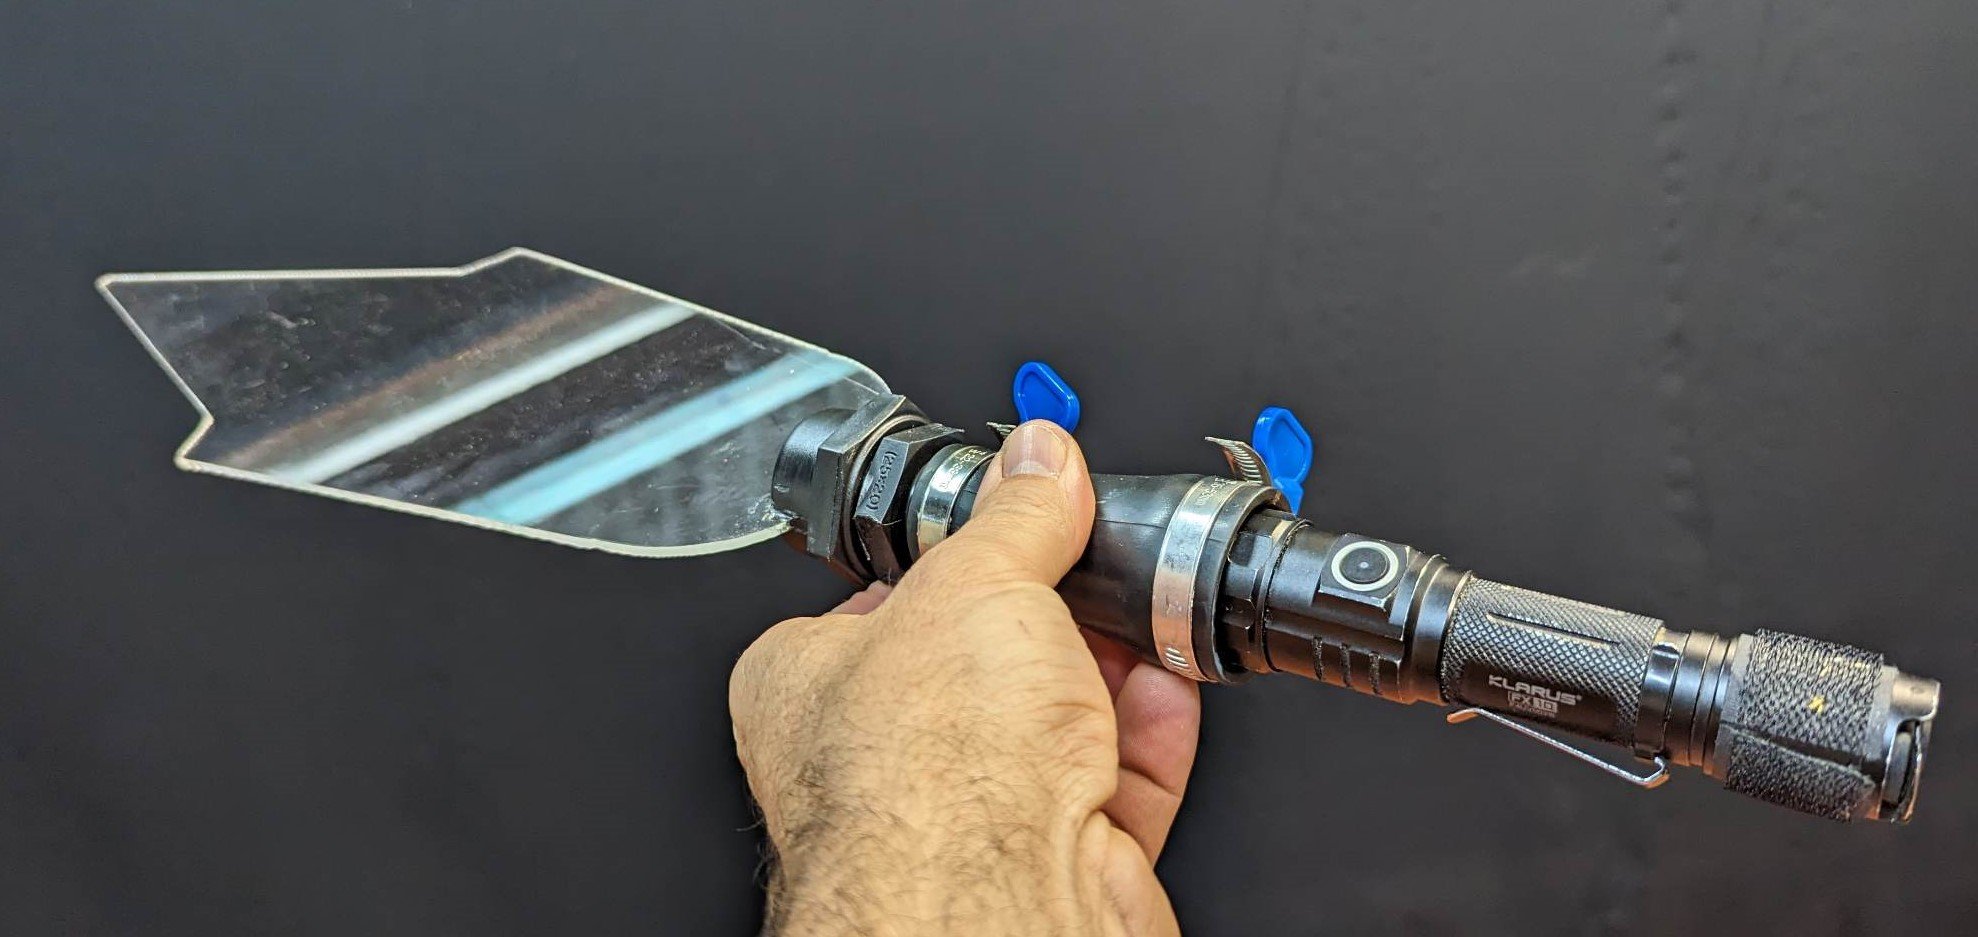
Blade tool as used
Blade of choice - Light Painting Au - Wedge. With Light Painting Brushes Universal Connector
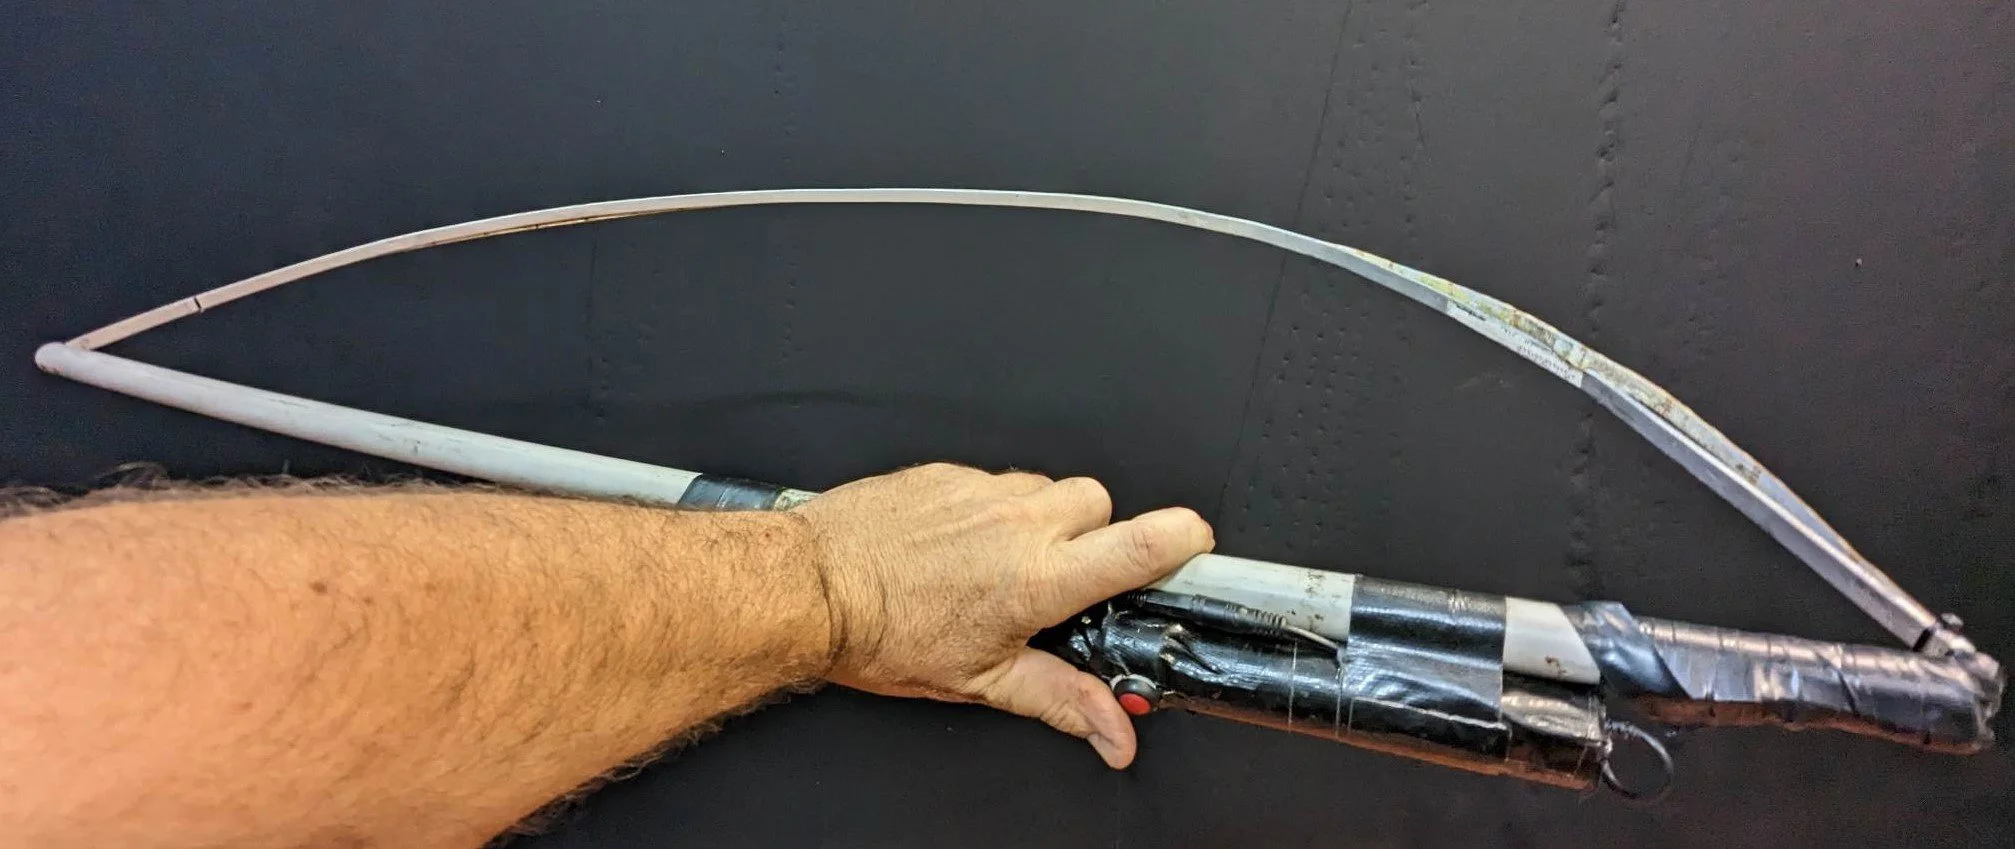
LED bow used
DIY Bluetooth LED bow
My method that seems to work ok…
1) Settings ISO100 F/9.0 Bulb (5 minutes on timer)
2) After aligning the tube tool with roughly the top of the frame, rotate and check the tool stays somewhat in the frame through the whole rotation.
3) Take a test shot,(I used the remote beeper for this)after three beeps/seconds cap the lens and rotate to the next position. Repeat until at the final position and stop the shutter. Check alignment - does it resemble an even shape?
4) Take more shots! I did the rotations first, then capped while getting the Light Painting tools sorted out. Uncap and Light Paint as you please.
5) Stop shutter
6) Repeat and have fun
I found that rotating at 36 degree increments worked well for what I wanted, this would change depending on the scene and what outcome you wish to achieve. This was a pretty short session for me just to get started and I’m hoping as this project develops that I’ll add to this blog to update my learnings.
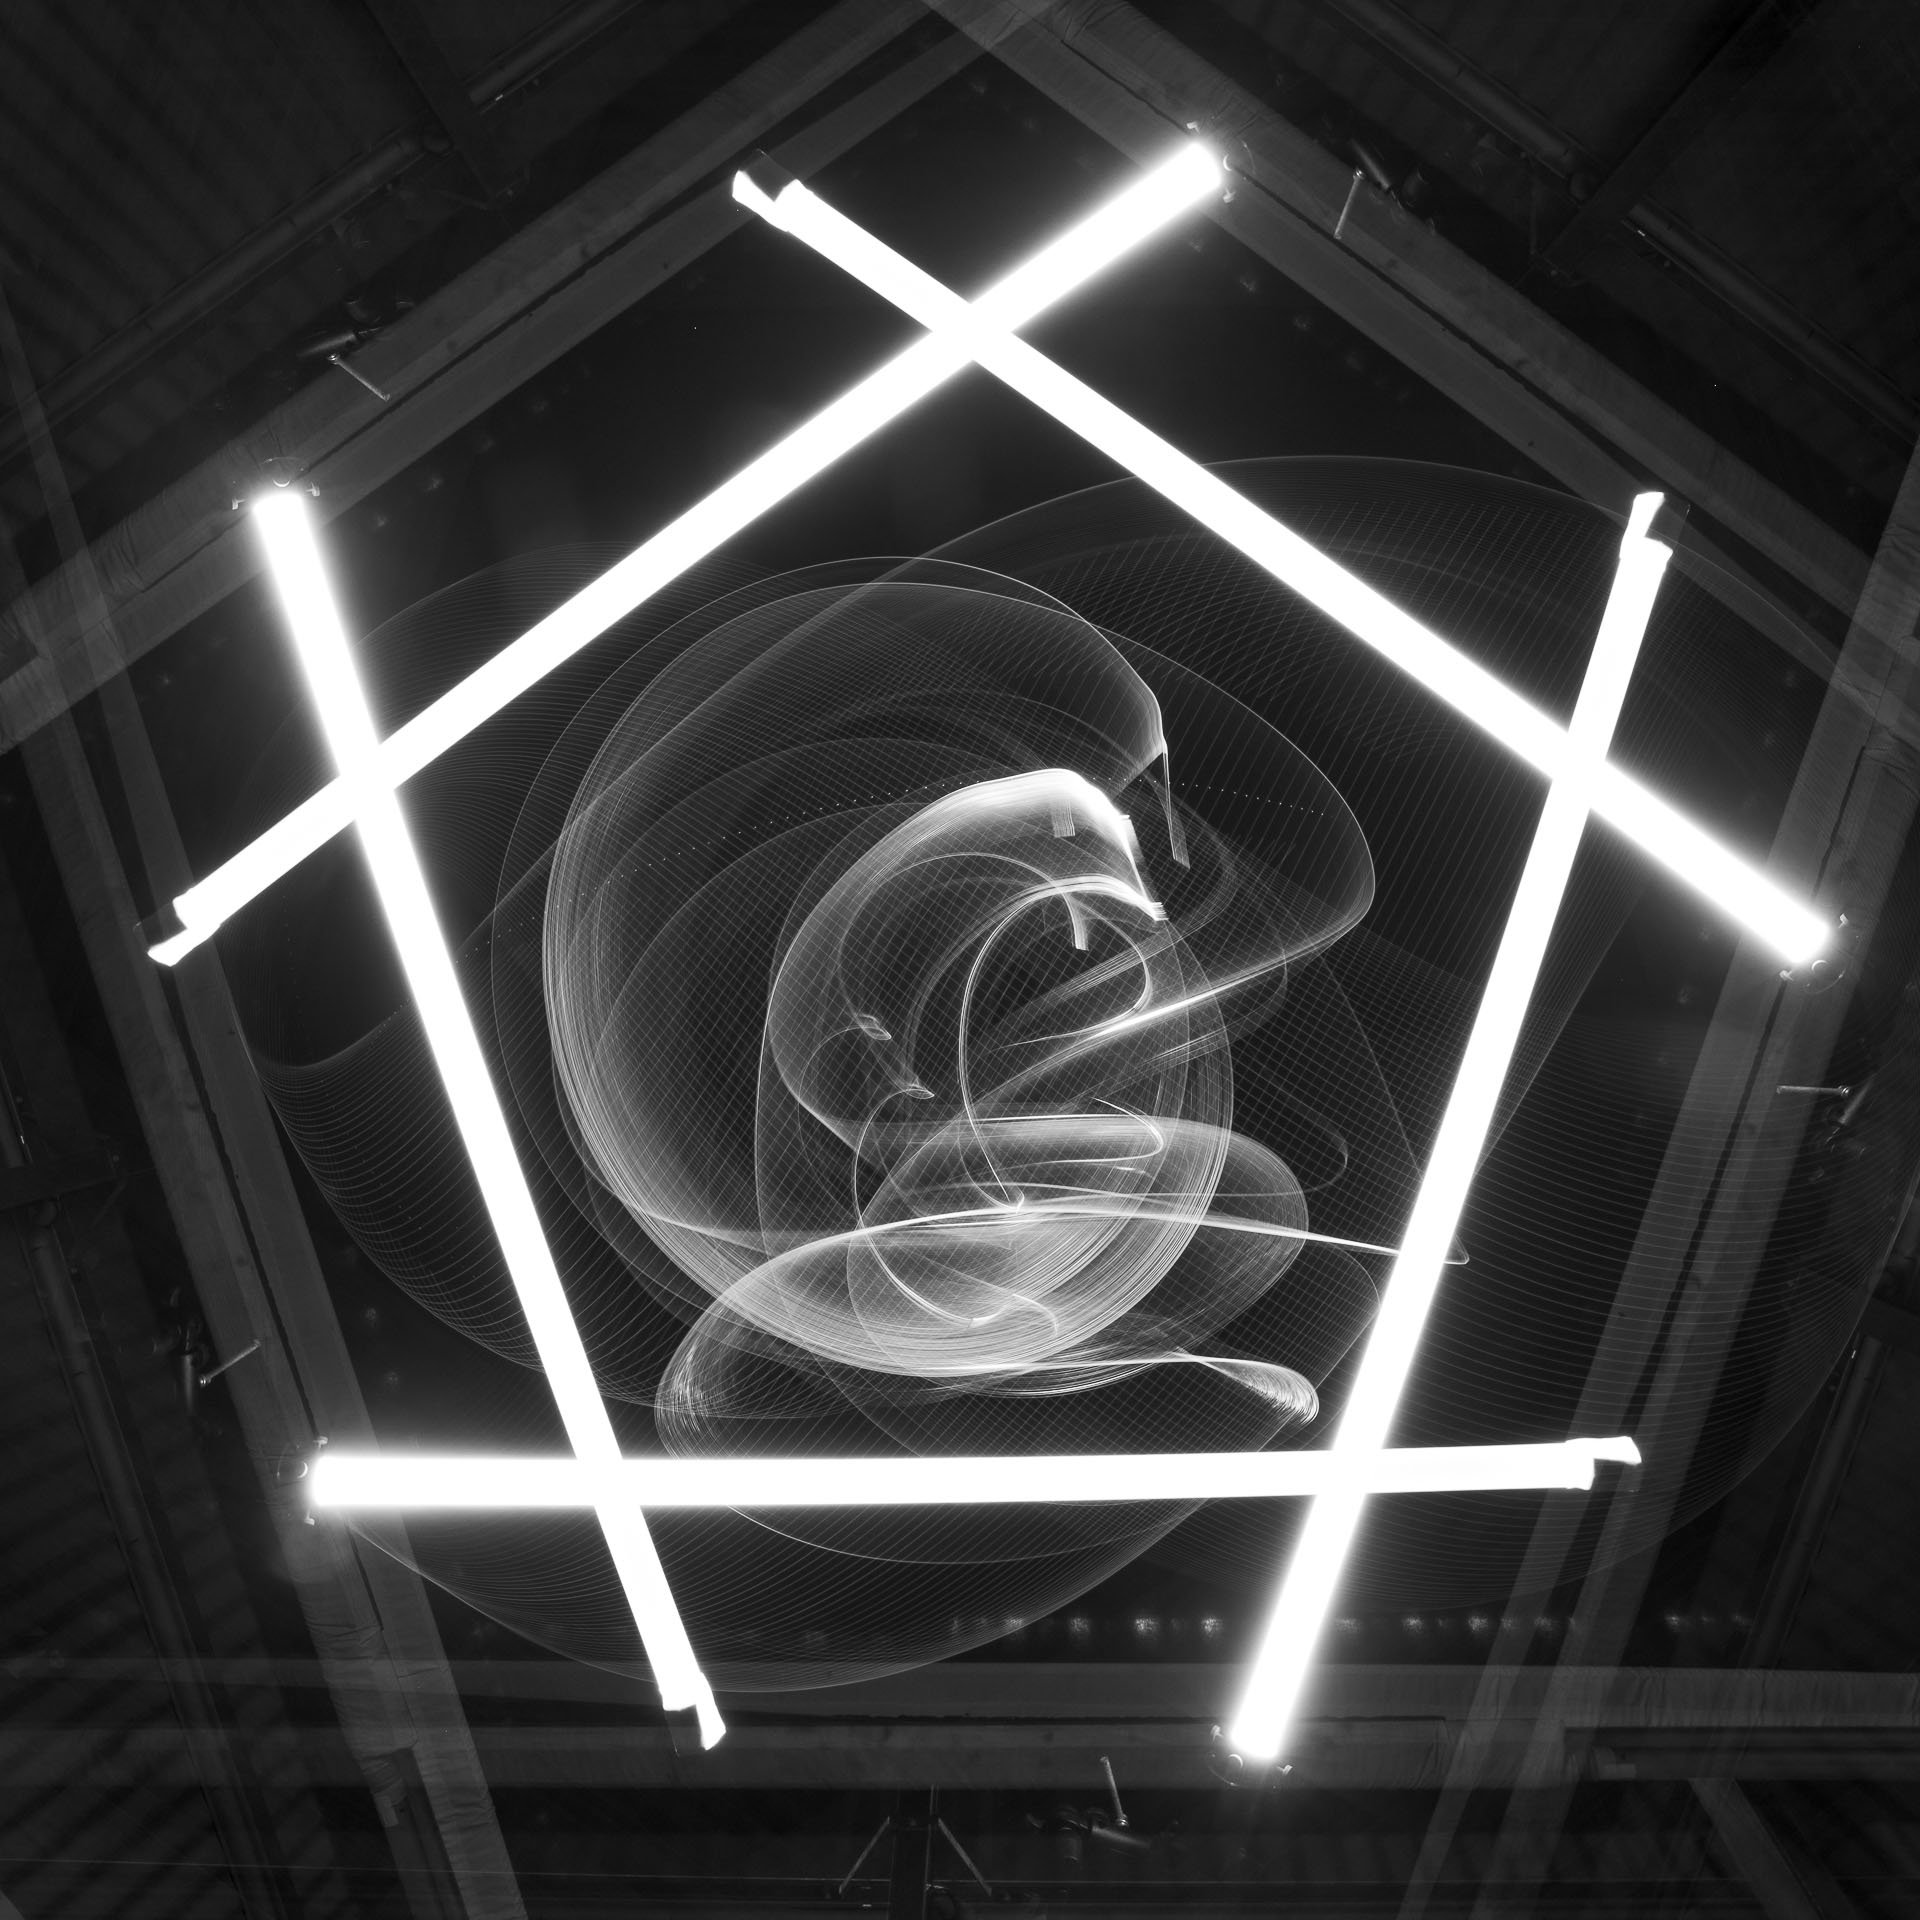
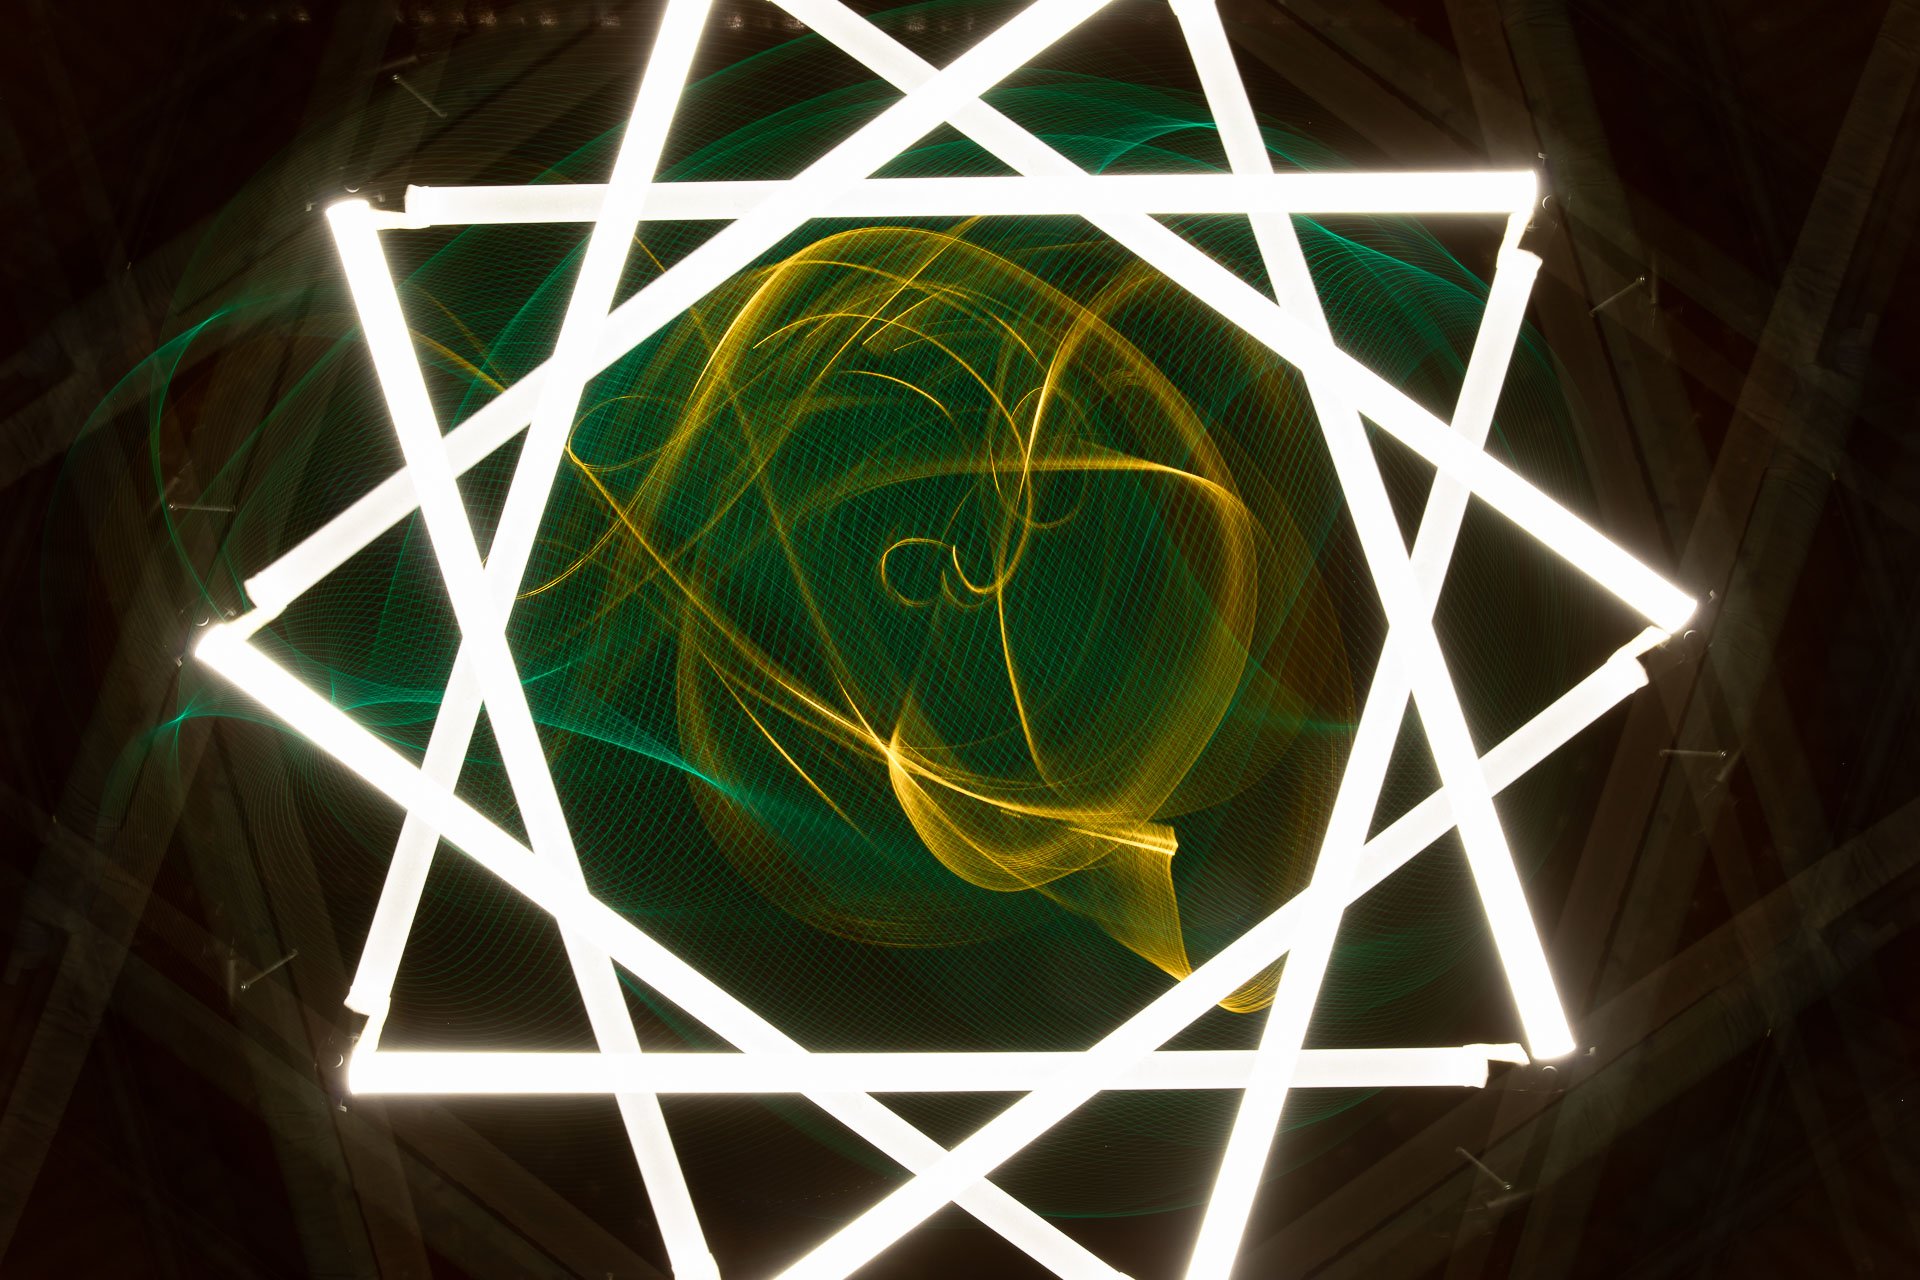
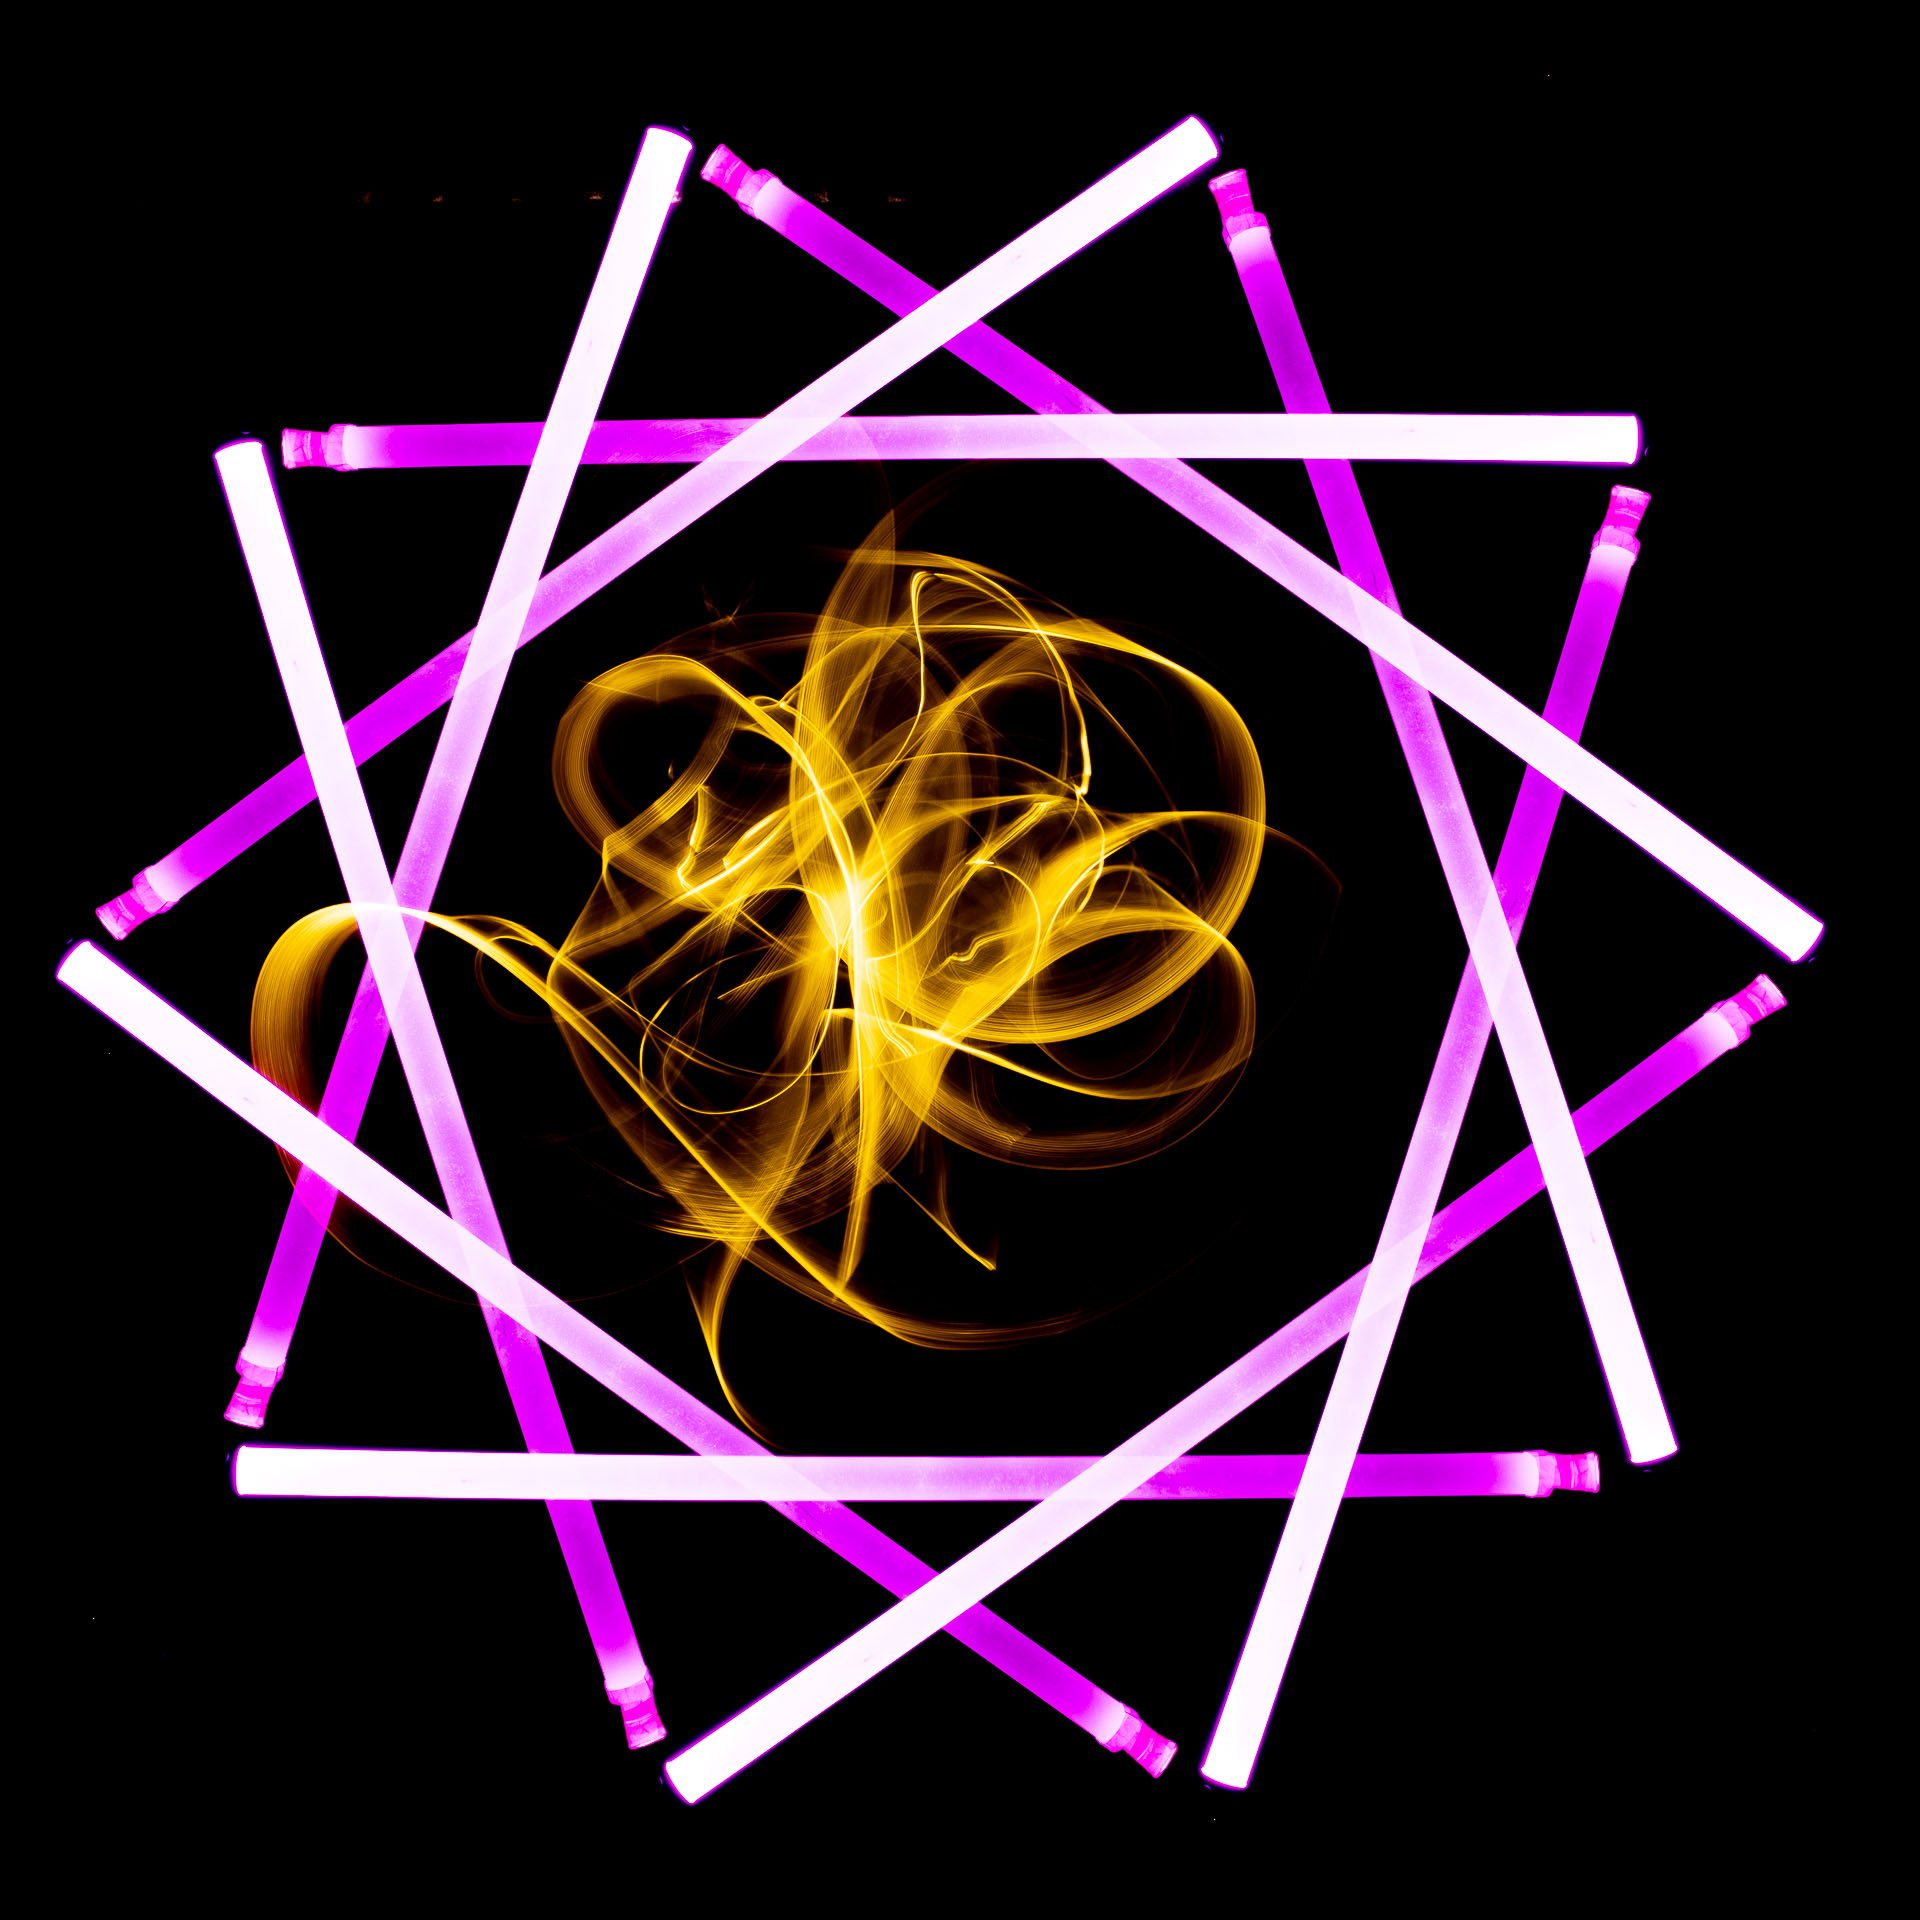
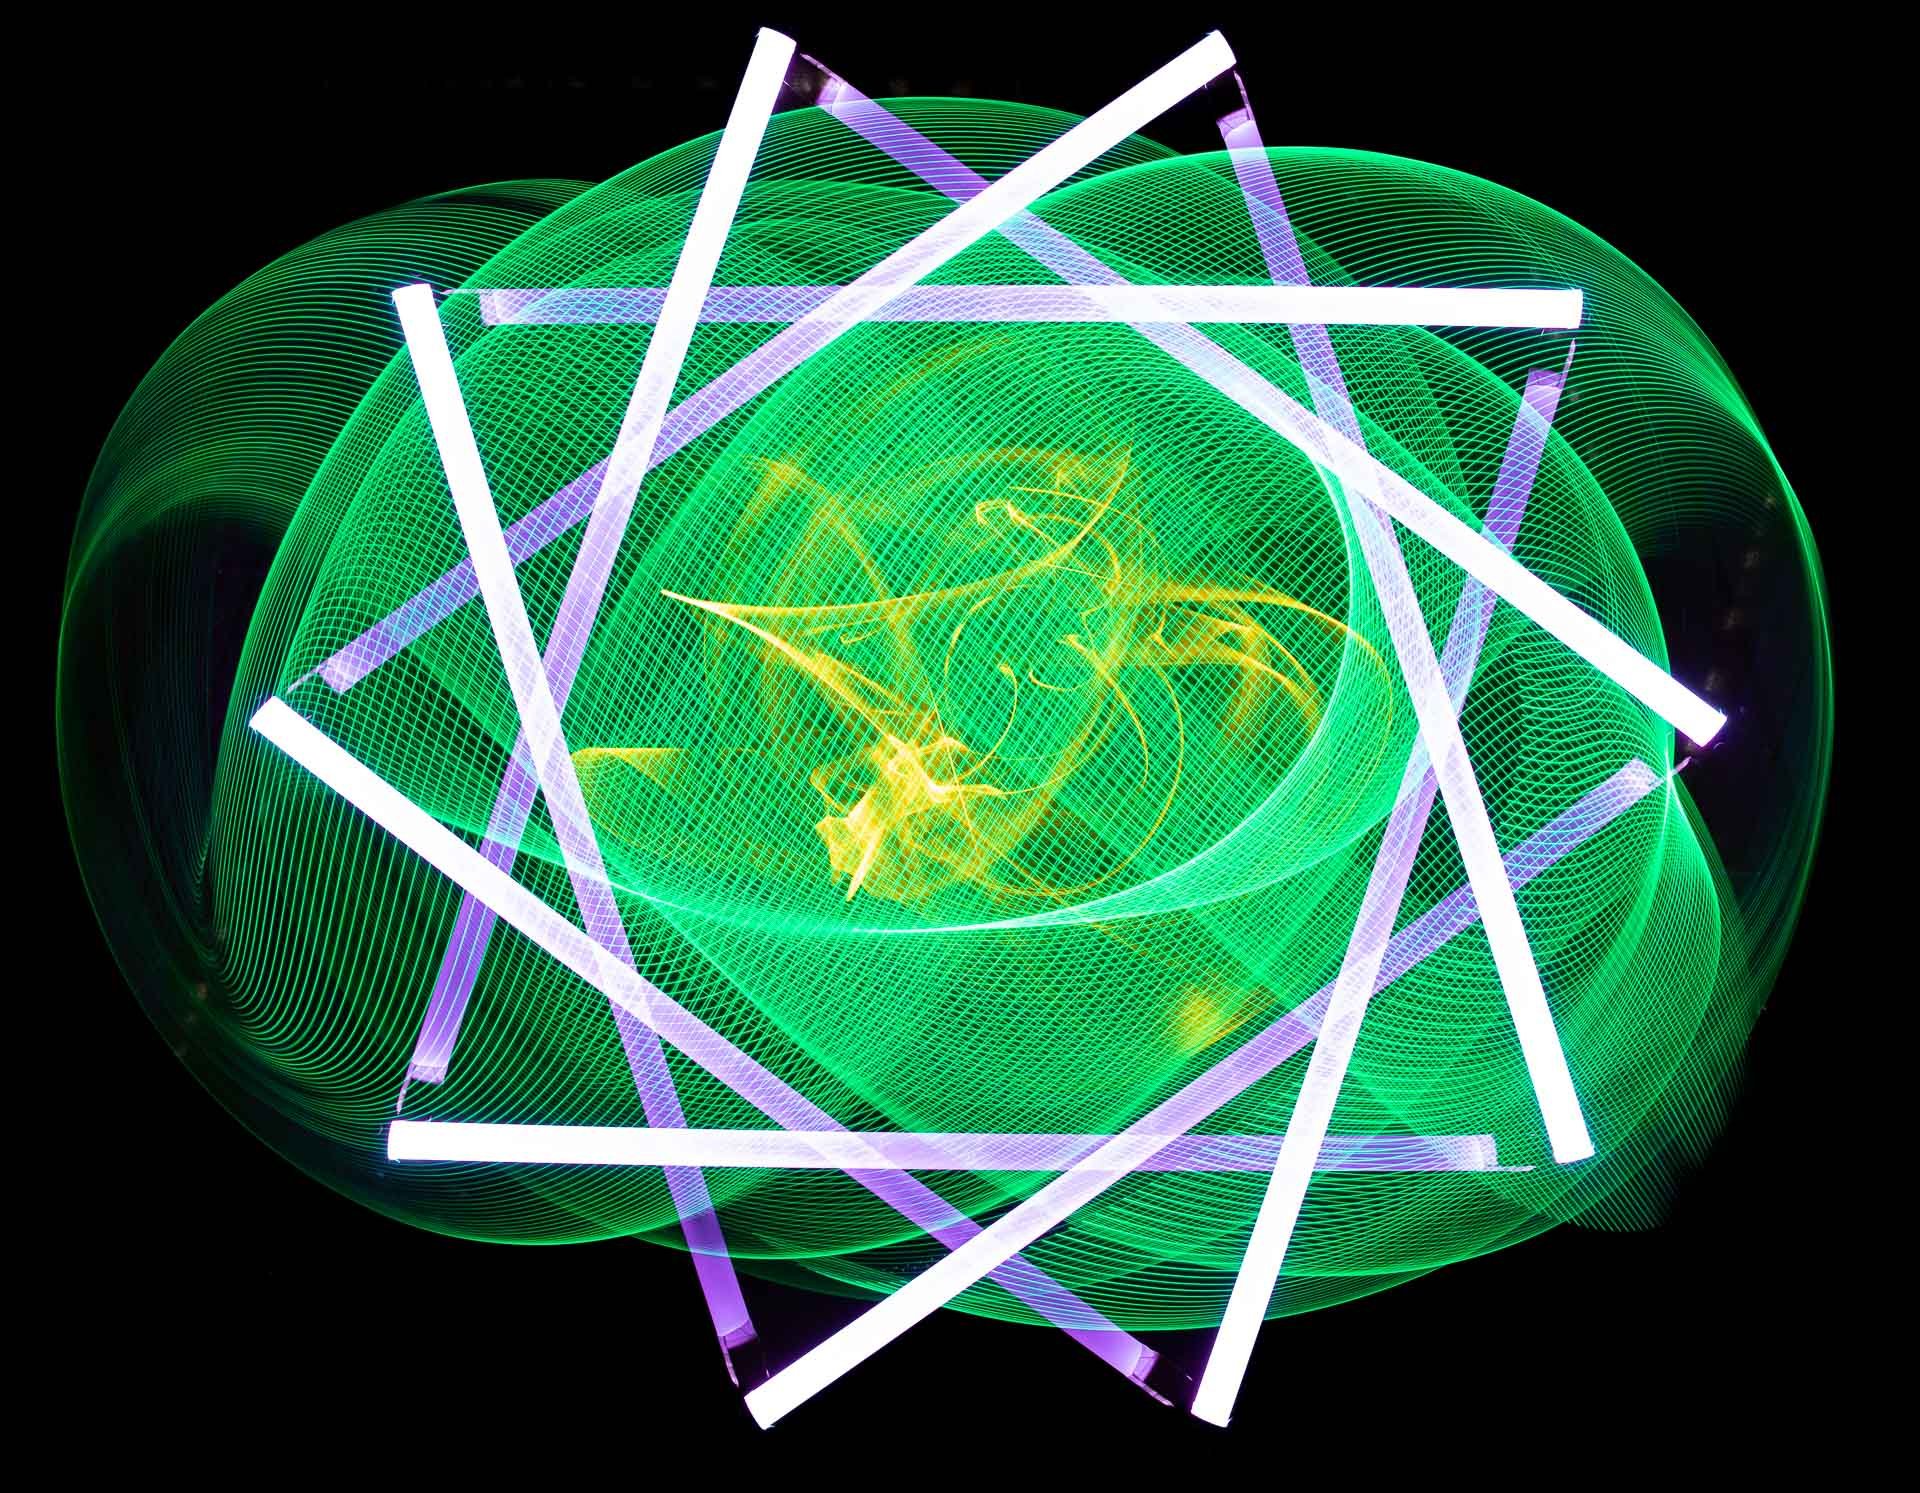
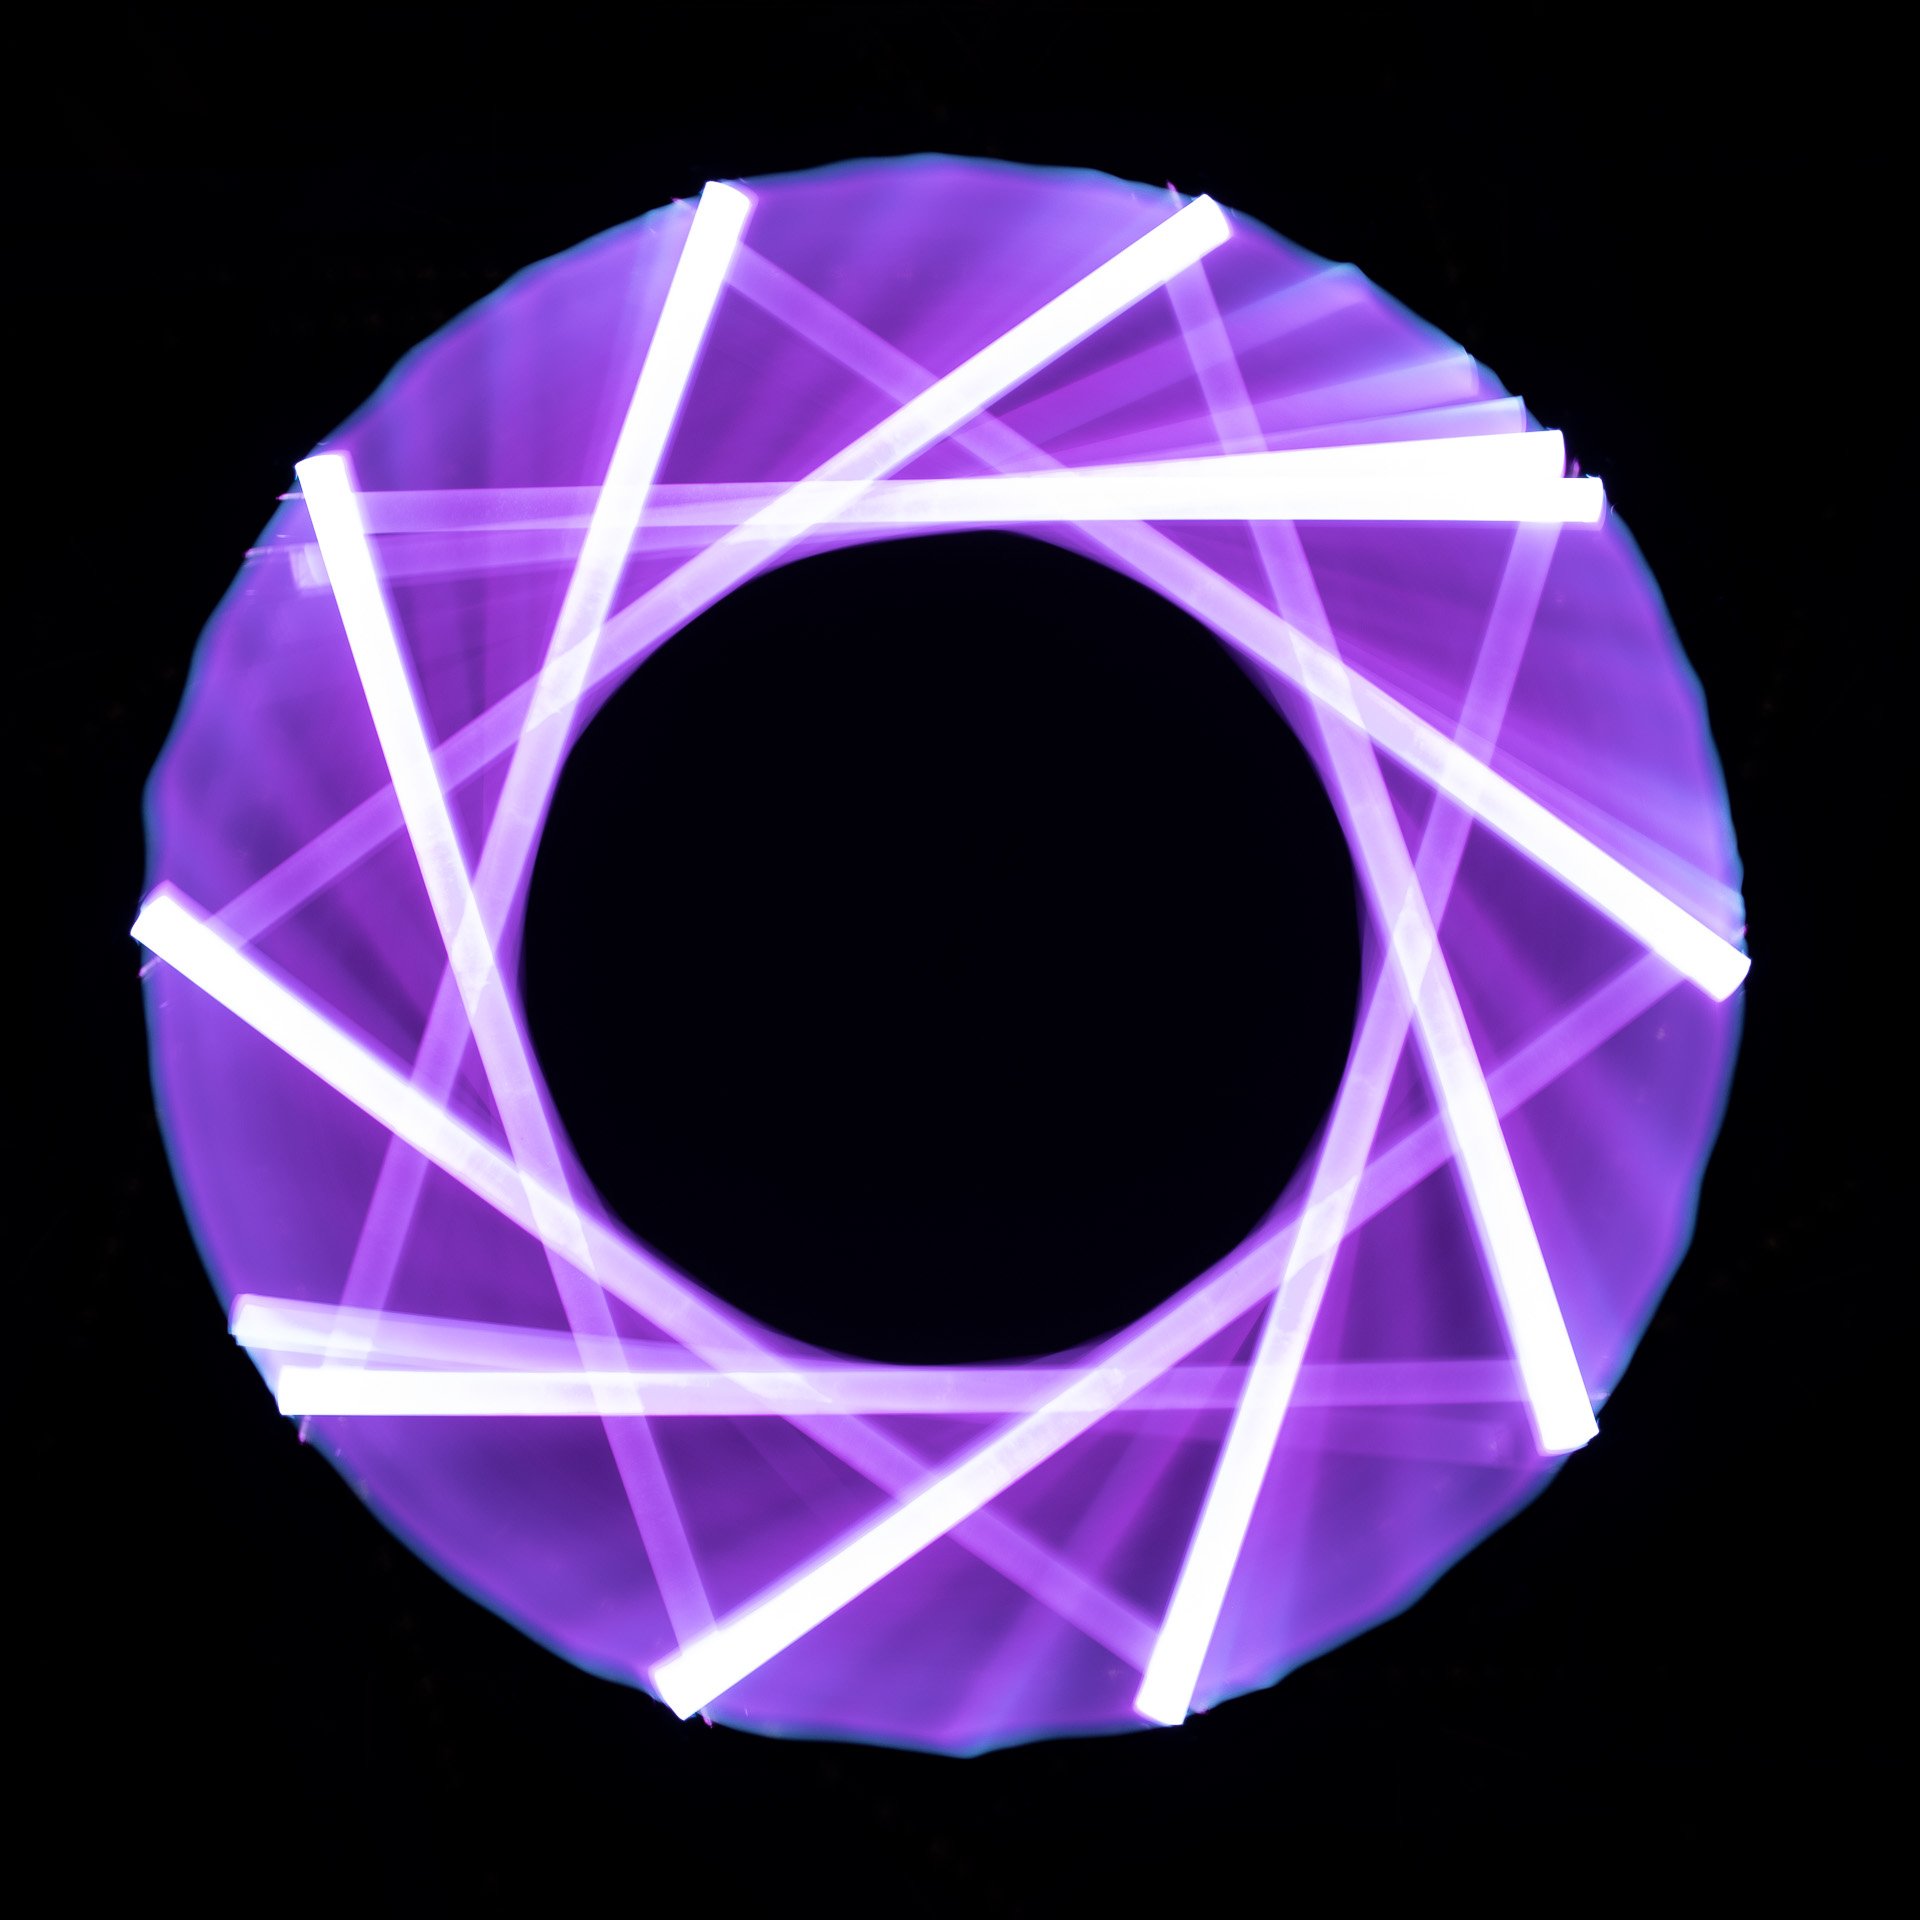
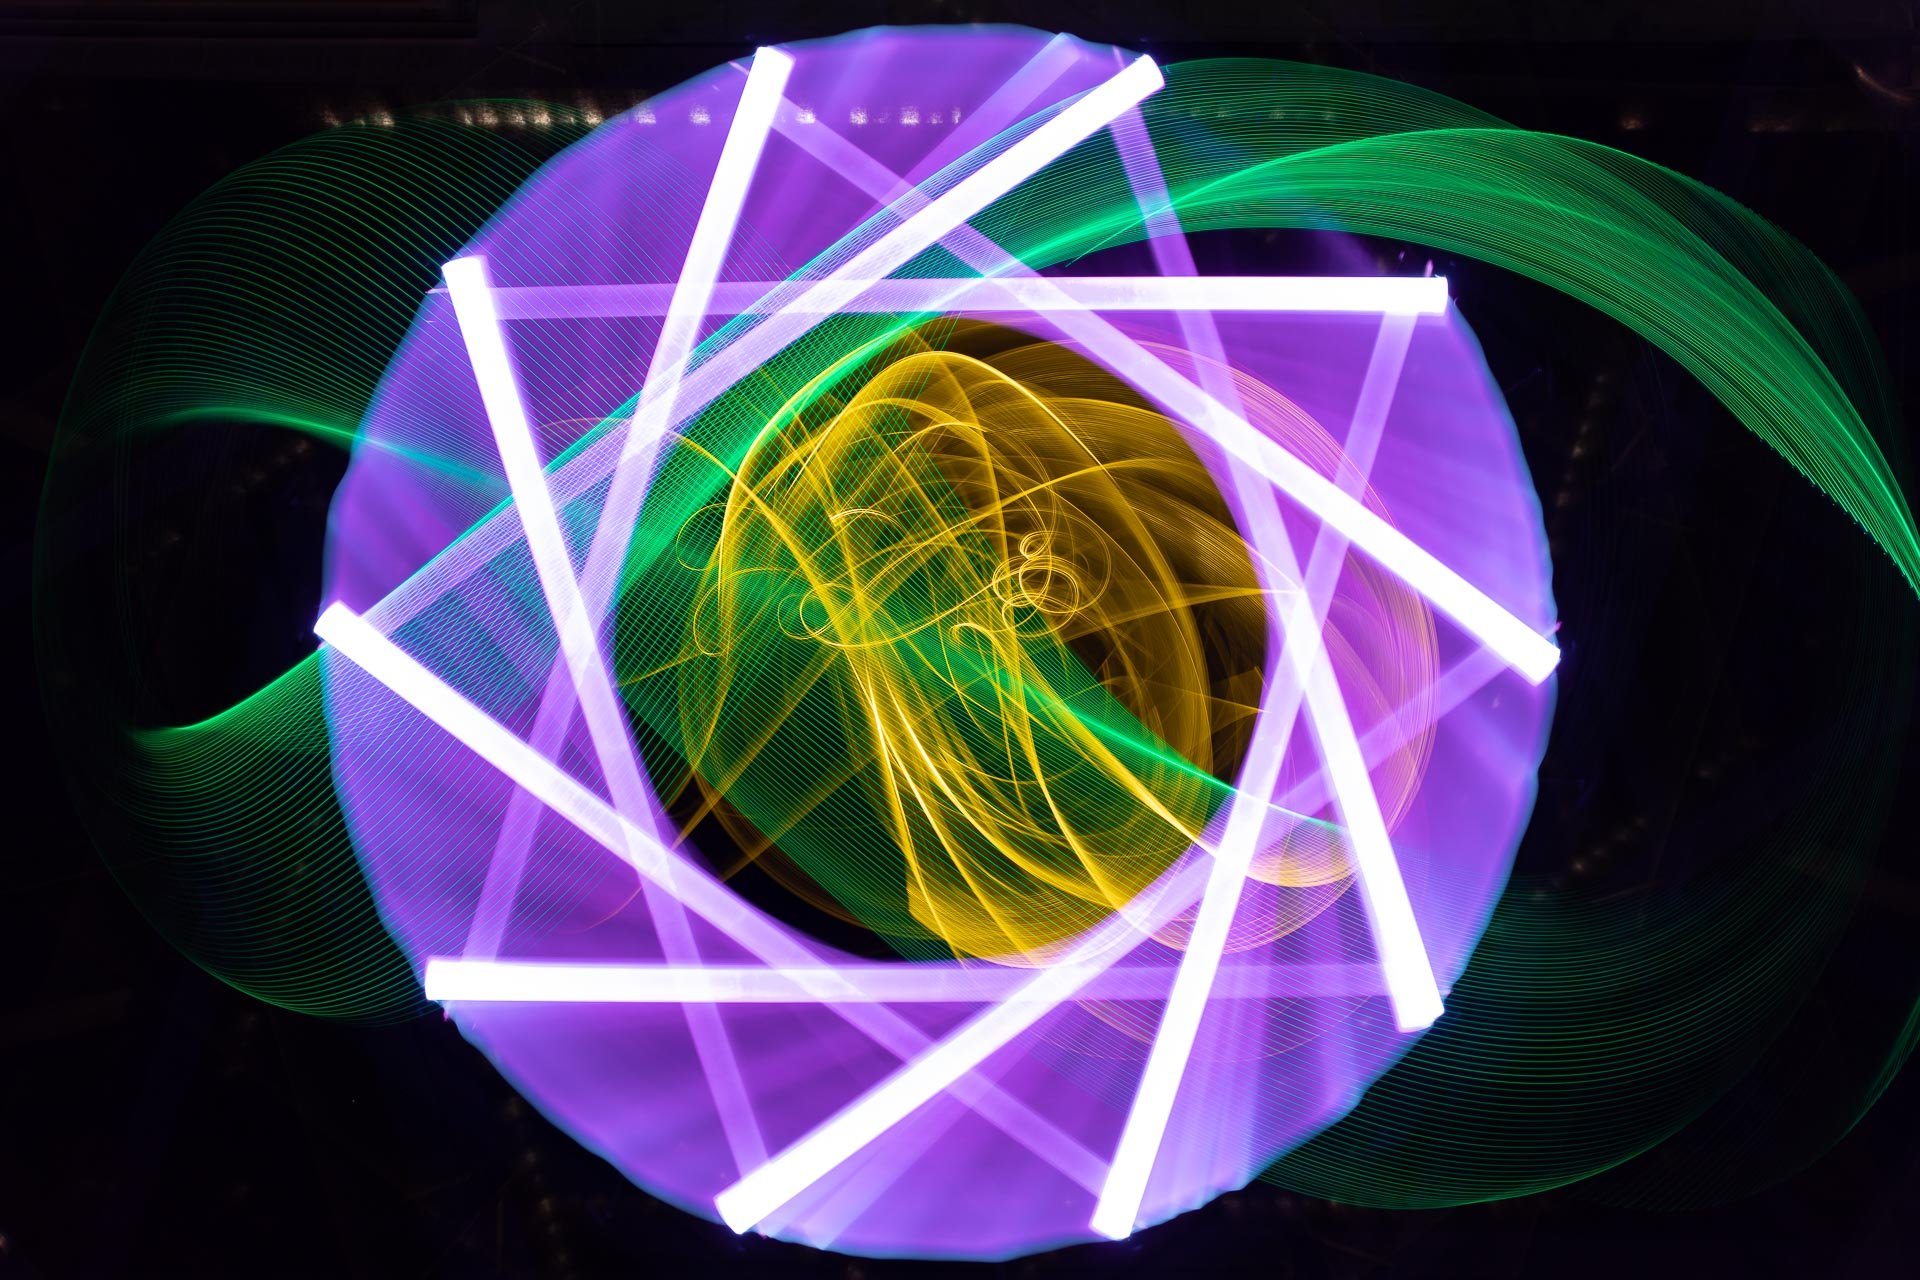
A few results from the session:
Inspiration
I always like to give a shout out to my main inspiration when giving something new a go. I feel this is a great part of the Light Painting culture that shows appreciation to the artists that have shared and therefore sparked the creativity.
A few Light Painting artists (to name a few) that use this technique, check them out